
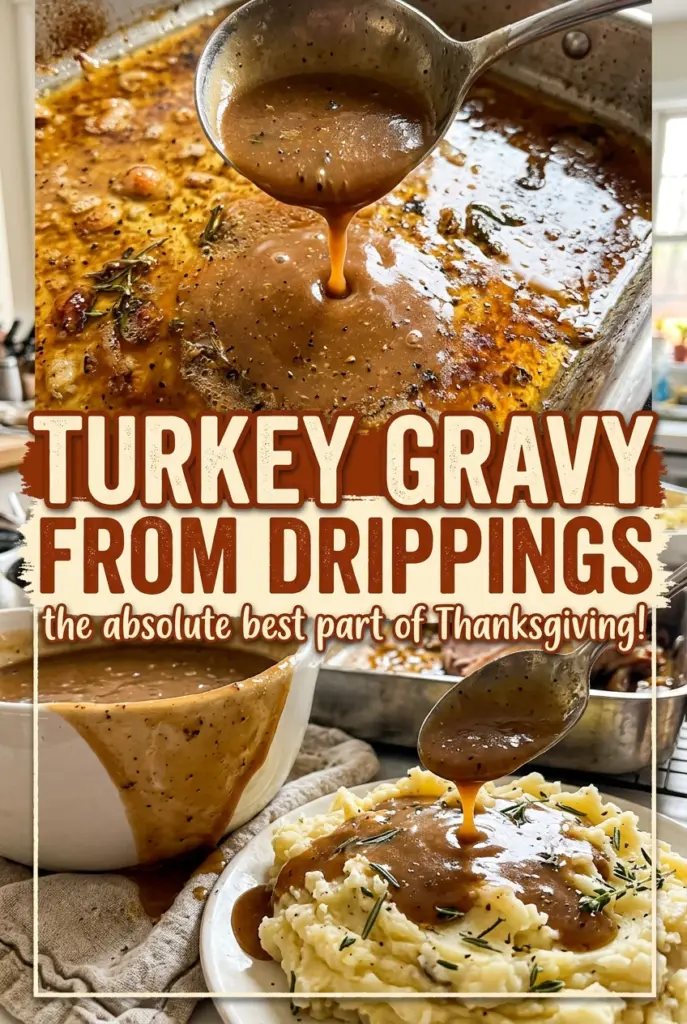
Turkey Gravy from Drippings
The turkey is resting, the roasting pan is full of savory juices, and the gravy still has to come together. I used to rush straight from the drippings to the…

By Ava
•
•
Reading time: 9 min
Tip: save now, make later.
The turkey is resting, the roasting pan is full of savory juices, and the gravy still has to come together. I used to rush straight from the drippings to the saucepan, only to wind up with a greasy layer on top and a sauce that wouldn’t thicken evenly. Taking a minute to separate the fat makes Turkey Gravy from Drippings much easier to control.
I measure the drippings and broth together to make four cups, then measure the fat separately for the roux. That gives the flour a steady base and lets the turkey juices bring their flavor without carrying excess fat into the gravy. The result is a smooth, savory pour that belongs beside the turkey.
Keep a whisk moving, especially as the liquid goes into the roux. The gravy thickens as it simmers, and its final seasoning is easiest to judge once it has had time to cook.
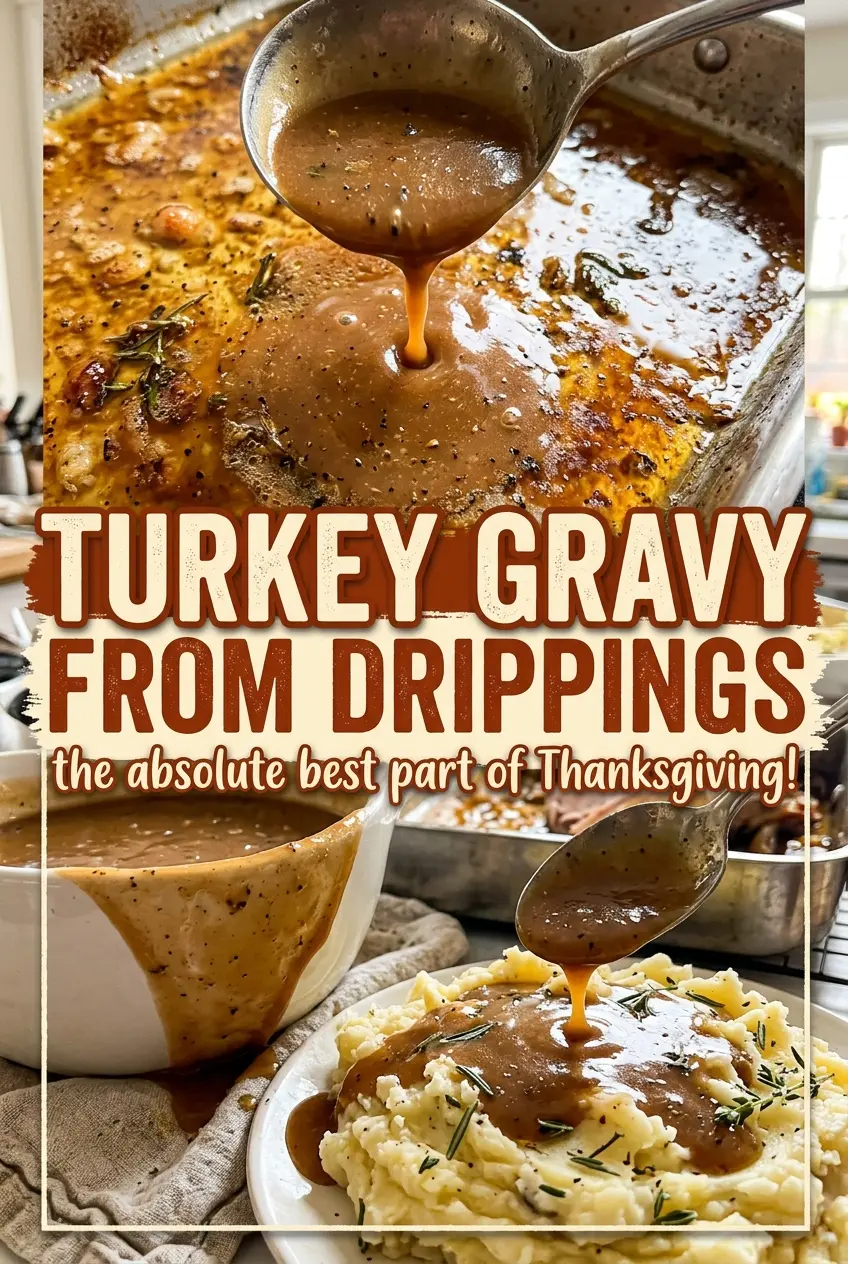
Kitchen Note
Give the roux the full two minutes over medium heat, whisking the whole time. It should look pale golden and smell nutty, not dark; that gentle color keeps the gravy’s flavor balanced.
Save this turkey gravy from drippings for a smooth, savory gravy built from the turkey’s own juices and a quick pale-golden roux.
Why the Fat-to-Liquid Balance Makes or Breaks Turkey Gravy
Turkey drippings carry two things the gravy needs: flavorful juices and rendered fat. They’re useful together in the roasting pan, but they don’t play the same role in the saucepan. The fat combines with flour to form the roux; the defatted juices become part of the liquid. Measuring those separately gives you a consistent starting point instead of guessing from whatever amount happens to be in the pan.
The proportions here are deliberately straightforward: a quarter cup of fat and a quarter cup of flour, followed by four cups of drippings and low-sodium chicken broth combined. That balance builds a gravy that thickens as it simmers without relying on an extra thickener. Straining the drippings first also keeps browned bits and stray solids from interrupting the smooth texture. Let the fat rise before measuring, then use all the defatted juices and add broth to reach the four-cup total. If the turkey produced only a little juice, the broth fills the gap without changing the roux proportions.
What the Turkey Fat, Flour, and Drippings Each Bring
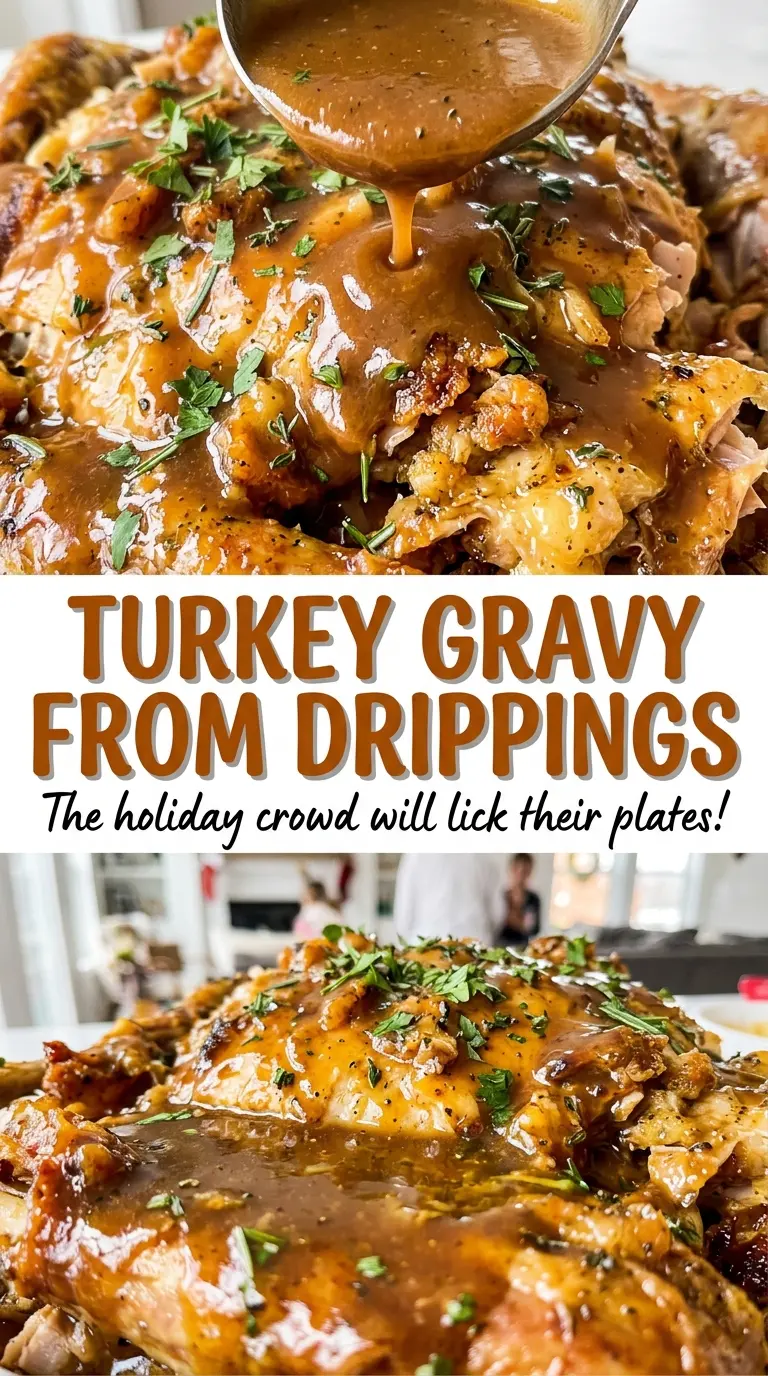
- Turkey fat or unsalted butter — Turkey fat gives the roux a savory, roast-turkey character. Unsalted butter works when there isn’t enough usable turkey fat, and you can use either one alone or combine them to make the measured amount. Unsalted butter keeps the final seasoning easier to control.
- All-purpose flour — Flour thickens the liquid while it simmers and gives the gravy its familiar, spoon-coating body. Measure it accurately and whisk it into the warm fat until no dry flour remains; a lumpy roux is harder to smooth out once the liquid is added. This recipe is built around all-purpose flour, so a different thickener would change the method.
- Turkey drippings — The defatted juices bring the roasted turkey flavor that makes this gravy taste connected to the meal. Straining them is worthwhile, even if they look clear, because it removes small cooked bits before they reach the finished sauce.
- Low-sodium chicken broth — Broth rounds out the drippings to the full amount of liquid and lets the turkey flavor stay at the center. Low-sodium broth is the better fit here because the drippings may already carry seasoning, and it leaves room to adjust the salt at the end.
- Kosher salt and black pepper — These season the finished gravy rather than the roux. The drippings and broth vary, so taste after simmering before adding any salt beyond the amount in the ingredient list.
Build the Roux First, Then Give the Gravy Time to Thicken
Separate the Fat from the Turkey Juices
Strain the turkey drippings into a fat separator or a measuring cup and leave them to stand until the fat rises. Measure the fat, using unsalted butter to make up any shortfall, and keep the defatted juices. Combine those juices with enough low-sodium chicken broth to make four cups total. Having the fat and liquid measured before the saucepan goes on the heat keeps the next stage moving smoothly.
Cook the Pale-Golden Roux
Heat the measured fat in a 3-quart saucepan over medium heat. Whisk in the flour right away, then keep whisking for two minutes as it cooks. The roux should turn pale golden and smell nutty; if it starts getting dark, lower the heat so it doesn’t continue browning too quickly. Scrape around the edges and across the bottom so flour doesn’t sit undisturbed in one spot.
Whisk in the Liquid Gradually
Pour in the drippings mixture a little at a time while whisking, rather than adding the full amount all at once. The roux may tighten briefly as the first liquid goes in; keep whisking and add more gradually until the mixture is smooth. Bring the gravy to a simmer over medium-high heat, then cook for five to eight minutes, whisking often. Watch for it to thicken and cling lightly to the whisk.
Finish the Simmer and Season
Reduce the heat to low and simmer the gravy for five minutes. Stir in the kosher salt and black pepper, then taste before adding any more salt. If the gravy seems thinner than you want before that final low simmer, give it the full cooking time and keep whisking often; it thickens as it cooks. Take the saucepan off the heat once the seasoning is where you want it.
Choose the Fat That Fits the Turkey You Roasted
Use all turkey fat for a deeper roast flavor
When the drippings yield enough fat, use it for the full measured amount. The gravy will have a more pronounced turkey character, which suits a deeply browned bird and keeps the fat choice simple.
Use unsalted butter when drippings run short
If you don’t collect enough turkey fat, supplement it with unsalted butter until you have the measured amount. Butter keeps the roux rich and helps the gravy come together, though the finished flavor is a little less roast-forward than an all-turkey-fat version.
Combine turkey fat and butter for a middle ground
Use a combination of the two fats to reach the measured total. You’ll keep some of the turkey’s savory flavor while using butter to fill in what the drippings didn’t provide.
Storage and Reheating
- Refrigerator: Store covered in the refrigerator for 3 to 4 days. The gravy will firm up as it chills.
- Freezer: Freeze in an airtight container for up to 3 months. Thaw it in the refrigerator; the texture may look slightly separated until it’s warmed and whisked.
- Reheating: Warm it gently in a saucepan over low heat, whisking as it loosens, until it reaches 165°F. Avoid high heat, which can make the gravy scorch on the bottom before it’s evenly hot.
Questions That Come Up While Making Turkey Gravy
Turkey Gravy from Drippings
Ingredients
Equipment
Method
- Strain the turkey drippings into a fat separator or measuring cup and let stand until the fat rises.
- Measure 1/4 cup fat, supplementing with unsalted butter if needed, and combine the defatted juices with enough chicken broth to make 4 cups.
- Heat the 1/4 cup fat in a 3-quart saucepan over medium heat, whisk in the flour, and cook for 2 minutes, whisking constantly, until the roux is pale golden and smells nutty.
- Gradually whisk in the drippings mixture.
- Bring to a simmer over medium-high heat and cook for 5 to 8 minutes, whisking often, until the gravy thickens.
- Reduce the heat to low and simmer for 5 minutes.
- Stir in the salt and pepper and taste; add more salt if needed.