

Dry Brine Turkey
The skin on a turkey that's spent a day uncovered in the refrigerator feels noticeably drier than it did when it went in. That change is exactly what I want…

By Ava
•
•
Reading time: 9 min
Tip: save now, make later.
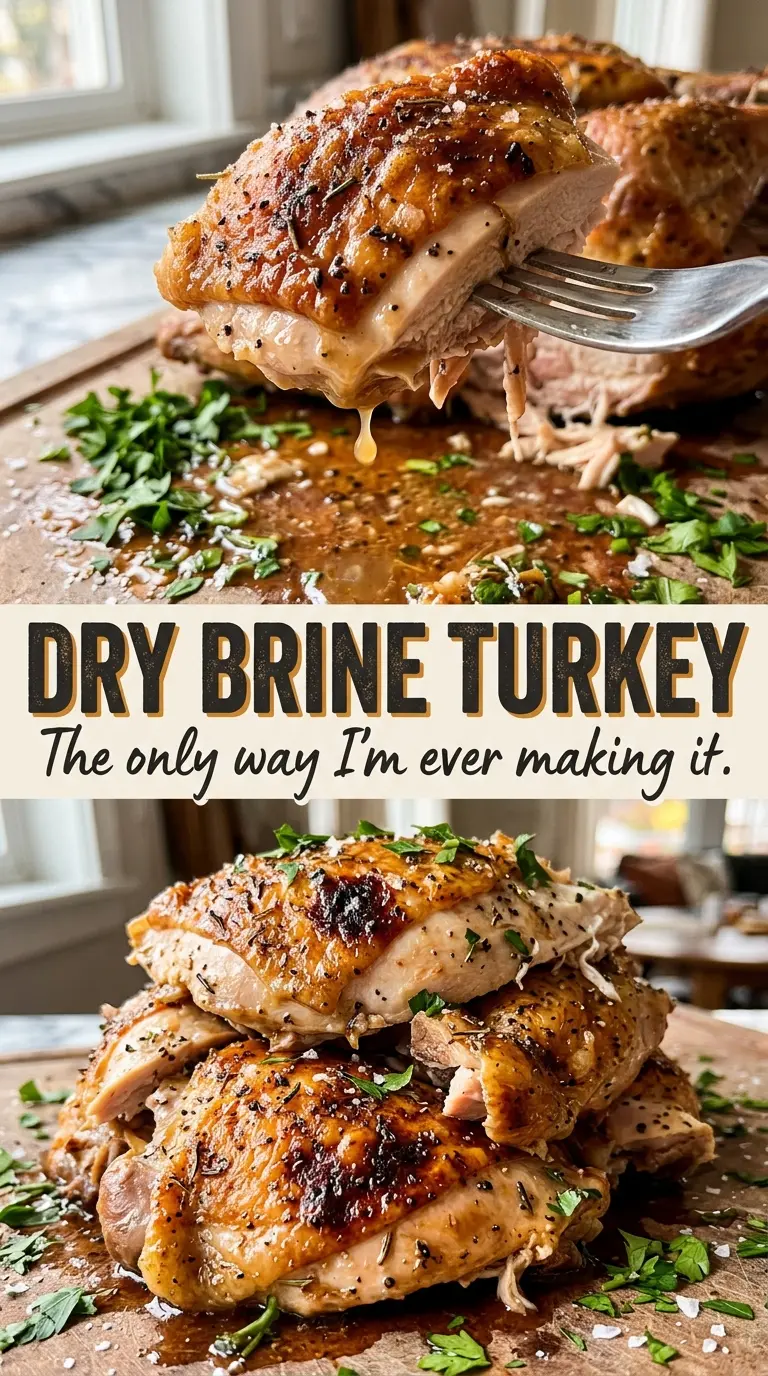
The skin on a turkey that’s spent a day uncovered in the refrigerator feels noticeably drier than it did when it went in. That change is exactly what I want before the bird hits the oven: dry skin browns more readily, while the salt has time to season beyond the surface. This dry brine turkey keeps the prep simple, but it does ask you to plan ahead.
I rub Diamond Crystal kosher salt over the whole bird, tuck some beneath the breast and thigh skin, and leave the turkey uncovered on a rack for 24 to 48 hours. There’s no bucket of brine to find room for in the fridge, and the turkey goes straight from its resting rack to the roasting pan. A hot start followed by a lower oven gives the skin time to color while the thicker parts cook through. After a proper rest, the meat is ready to carve with crisp-looking skin and seasoning in every slice.

Kitchen Note
When you slide your hand beneath the breast skin, work a little at a time. If the skin pulls tight, ease back rather than forcing it; keeping it intact makes room for the salt underneath without creating a tear.
Save this dry brine turkey for a well-seasoned bird with drier, browning-ready skin and a straightforward roast.
Why the Uncovered Refrigerator Rest Does More Than Season the Meat
A dry brine and a wet brine don’t prepare turkey skin in the same way. Here, salt seasons the bird while the uncovered refrigerator rest also lets moisture on the skin’s surface evaporate. That matters when the turkey reaches the oven: a damp surface has to dry before it can brown, while a dry one is ready to take on color sooner.
Keep the bird breast side up on a rack, rather than setting it directly in the bottom of the roasting pan. Air can move around more of the turkey, and the rack keeps the underside from sitting in moisture that collects in the pan. Leave the turkey uncovered during the full refrigerator rest; covering it traps humidity around the skin and works against the drying you’re trying to achieve.
The rest also gives the salt time to do its work. This isn’t a quick sprinkle right before roasting, so build the refrigerator time into your cooking schedule. The payoff is a turkey that’s seasoned beyond the outermost layer and has a better starting point for browning, without the extra container or liquid required for a wet brine.
The Salt and Skin Choices That Shape This Dry Brine
- Whole turkey — Start with a fully thawed bird with the neck and giblets removed. A turkey that has been injected with a seasoned solution or labeled self-basting already contains added salt and moisture, so it won’t behave like an unseasoned bird with this salt treatment.
- Diamond Crystal kosher salt — The crystal size and light texture are part of how this salt amount is measured. Don’t swap in fine table salt spoon for spoon; its smaller grains pack more densely, which can leave the turkey too salty.
- Neutral oil — The oil helps coat the skin before roasting without adding a strong flavor. A basic neutral cooking oil is a good fit here; there’s no need to use an expensive specialty oil.
- Ground black pepper — This seasons the oiled skin for the roast. Ordinary ground black pepper is all you need, so save a pricier pepper for a dish where its aroma is more prominent.
From a Dry Surface to a Juicy Carve: The Turkey Timeline
Dry the bird and loosen the skin gently
Take paper towels to the fully thawed turkey, patting the outside dry before you start. Gently loosen the skin over the breast and thighs without tearing it. You’re making space to season the meat beneath, not trying to detach the skin. If the bird still feels wet after patting, use fresh paper towels until the surface feels dry.
Get the salt over and under the skin
Rub the Diamond Crystal kosher salt evenly over the whole turkey, including beneath the loosened skin and inside the cavity. Check the breast and thighs for bare patches rather than leaving most of the salt on one part of the bird. Spread it around with your hands so the seasoning isn’t concentrated in a single spot. This is the only seasoning that needs to go on before the refrigerator rest.
Give the turkey its uncovered refrigerator rest
Set the turkey breast side up on a rack in a roasting pan and refrigerate it uncovered for 24 to 48 hours. The skin should look drier by the time the bird is ready for the oven. Keep the pan level as you move it so the turkey stays settled on the rack. Don’t cover the bird during this stage.
Start hot, then lower the oven
Heat the oven to 425°F with a rack in the lower third. Rub the turkey skin with the neutral oil and season it with the ground black pepper, then roast for 30 minutes. Reduce the oven to 325°F and continue roasting for 2 to 3 hours. If the skin browns too quickly, tent the turkey loosely with foil rather than letting the surface get too dark.
Check both parts and let the meat rest
Use a thermometer in the thickest part of the breast and the innermost thigh; both readings need to reach 165°F. The breast and thigh don’t always cook at the same pace, so check each spot rather than relying on the clock alone. Transfer the turkey to a cutting board and let it rest for 30 minutes before carving. That pause gives the juices time to settle instead of running straight onto the board.
Three Small Changes That Fit This Turkey Without Reworking the Brine
Leave off the black pepper
For a pepper-free bird, omit the ground black pepper and keep the salt, oil, and roasting method the same. The skin will still brown, but it won’t have the peppery edge; this is the simplest adjustment for diners who avoid pepper.
Use canola oil for the skin
Canola oil works in place of another neutral oil because it coats the skin without bringing a strong flavor of its own. Keep the same amount and apply it just before roasting. The result stays close to the original, with no added oil flavor competing with the turkey.
Serve it for a gluten-free meal
The turkey, salt, neutral oil, and pepper in this preparation are naturally gluten-free, so there’s no flour-based coating or breading to replace. Keep the bird’s seasoning and roasting method unchanged for a gluten-free main dish.
Storage and Reheating
- Refrigerator: Store carved leftovers in a covered container for 3 to 4 days. The skin softens in storage, even though the meat stays useful for another meal.
- Freezer: Freeze carved portions tightly wrapped or in an airtight container for up to 2 to 6 months for best quality. Portioning the meat first makes it easier to thaw only what you need.
- Reheating: Reheat sliced portions covered in the microwave or oven until hot throughout. Reheat only what you plan to serve; warming the whole bird again tends to dry out the breast before the center is hot.
Questions That Come Up While Dry-Brining a Whole Turkey
Dry Brine Turkey
Ingredients
Equipment
Method
- Pat the turkey dry with paper towels and gently loosen the skin over the breast and thighs without tearing it.
- Rub the salt evenly over the turkey, including under the loosened skin and inside the cavity.
- Set the turkey breast side up on a rack in a roasting pan and refrigerate uncovered for 24 to 48 hours.
- Heat the oven to 425°F with a rack in the lower third.
- Rub the turkey skin with the oil and season with the pepper.
- Roast for 30 minutes, then reduce the oven to 325°F and roast for 2 to 3 hours, until a thermometer inserted in the thickest part of the breast and the innermost thigh reads 165°F.
- Tent loosely with foil if the skin browns too quickly.
- Transfer the turkey to a cutting board and let it rest for 30 minutes before carving.