
Raspberry Almond Thumbprint Cookies
The butter and sugar turn pale and fluffy before the almond extract even hits the bowl; that warm, nutty smell is the first sign these cookies are going to be…

By Ava
•
•
Reading time: 9 min
Tip: save now, make later.
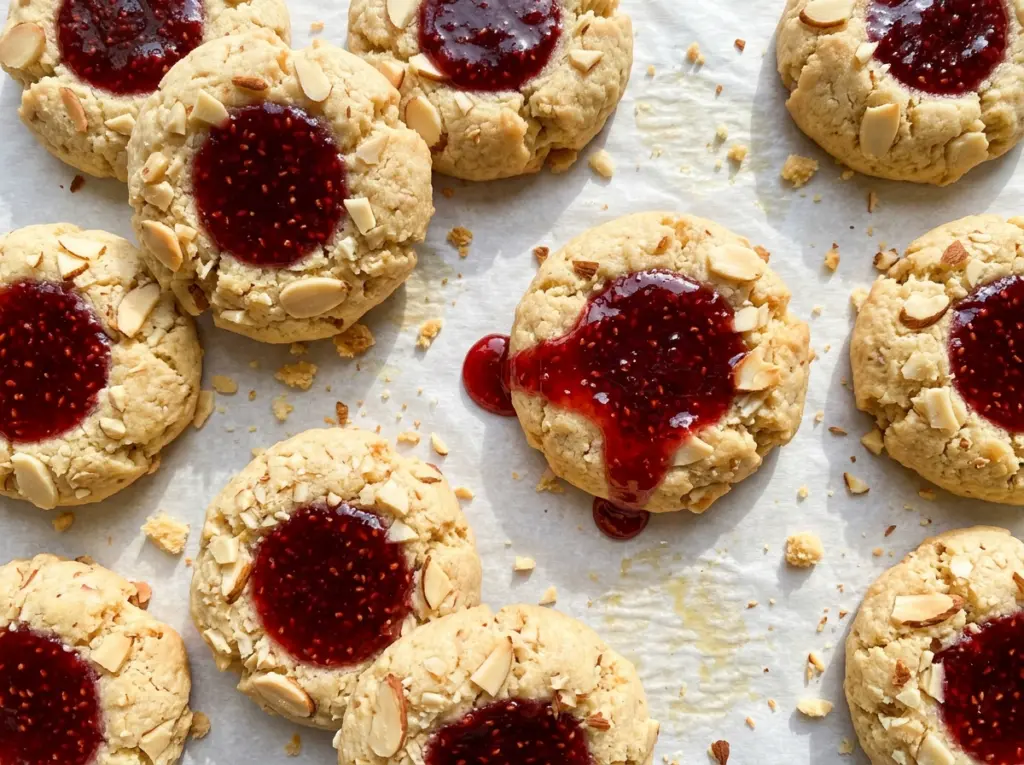
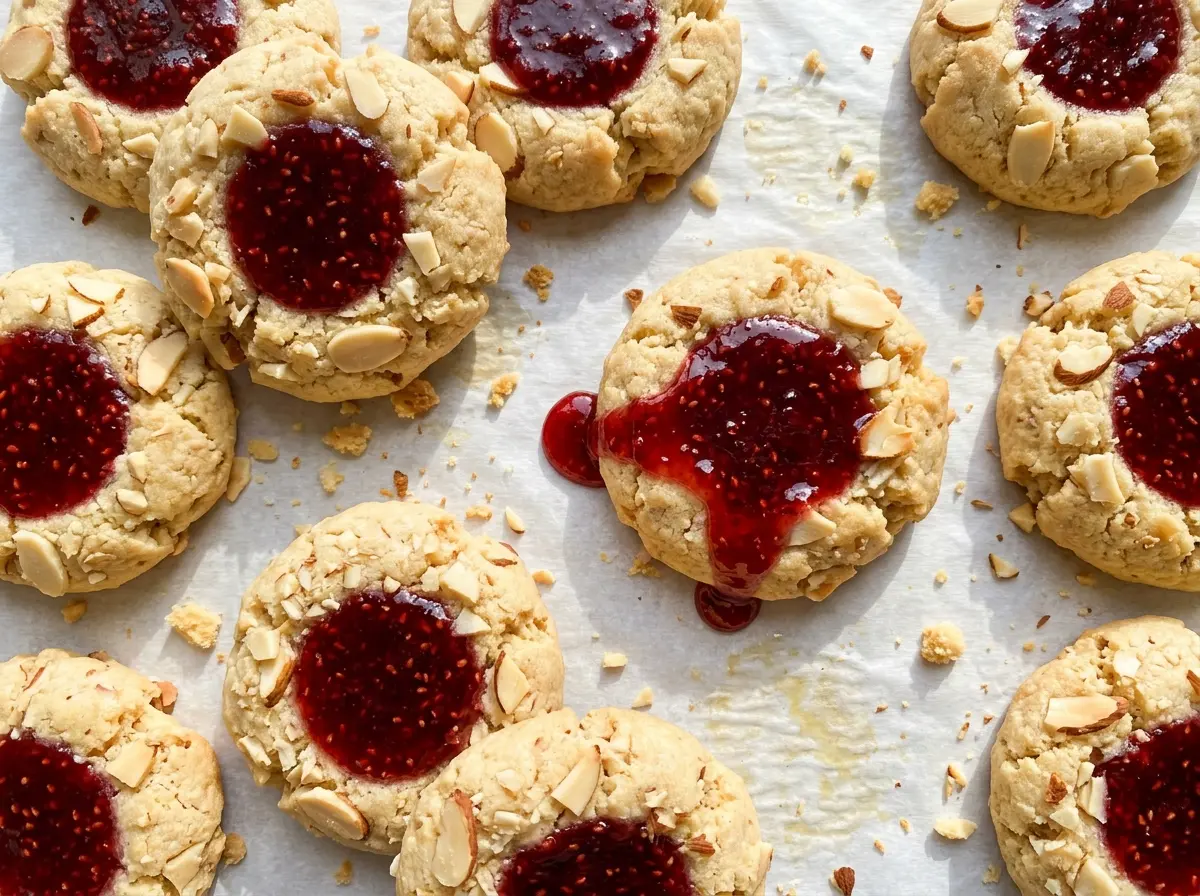
The butter and sugar turn pale and fluffy before the almond extract even hits the bowl; that warm, nutty smell is the first sign these cookies are going to be different from a plain butter cookie. Raspberry Almond Thumbprint Cookies bake up tender, with a soft crumb and a little pocket of bright berry jam in the middle. They’re sweet without being heavy, and the almond keeps each bite from tasting one-note.
I like that the dough is easy to handle once it’s had a short rest in the refrigerator. Almond flour adds a delicate texture, while the all-purpose flour gives the cookies enough structure to hold their shape around the filling. Press the centers deep enough to make room for the jam, and you’ll get a balanced bite of cookie and raspberry in every one.
Kitchen Note
Let the cookies sit on the baking sheets for 5 minutes before moving them. They’re delicate while hot, and that short rest lets the bottoms firm up without leaving them on the pan long enough to keep baking.
Save these Raspberry Almond Thumbprint Cookies for a bake with tender almond centers and bright raspberry jam in every bite.
Why a Shallow Thumbprint Leaves You With More Cookie Than Jam
The indentation needs to be deep enough to hold the filling, not just leave a dimple on top. A shallow press gives the jam nowhere to sit, so it can spread across the surface as the cookies bake. Pressing too hard in one spot can also split the dough, especially because almond flour makes the dough more tender than an all-wheat cookie dough.
Roll each portion into a smooth ball first, then press your thumb straight down into the center with steady pressure. You’re looking for a clear well with a little dough still underneath it; don’t push all the way through to the baking sheet. If a small edge crack appears, gently smooth it closed with your fingertips before adding the filling. That keeps the center intact and gives the jam a defined place to settle.
Chilling the dough before shaping helps here, too. It firms the butter and makes the dough less sticky, so the balls hold together while you press them. The goal isn’t a stiff dough that crumbles apart; it’s a soft dough that rolls cleanly and keeps a neat indentation.
What the Almond Flour, Egg Yolks, and Jam Bring to These Cookies

- Unsalted butter — Butter gives the cookies their rich, tender crumb and helps the sugar cream into a light base. Softened butter should give slightly when pressed but shouldn’t look shiny or greasy. A plant-based baking stick can replace it for a dairy-free batch, though the flavor and spread may differ.
- Egg yolks — Yolks bind the dough and add richness without the extra moisture of egg whites. They’re doing a specific job here, so I wouldn’t replace them with whole eggs; the dough and final texture won’t be the same.
- All-purpose flour and almond flour — The all-purpose flour supplies structure, while almond flour makes the crumb more delicate and gives the cookies their nutty character. Use almond flour rather than coarse almond meal for a finer texture. A cup-for-cup gluten-free baking blend can replace the all-purpose flour, but the cookies may be more fragile.
- Vanilla and almond extracts — Vanilla rounds out the buttery dough, and almond extract gives the flavor its unmistakable bakery-style note. Basic extracts work well; the almond extract is potent, so measure it carefully rather than adding a splash by eye. You can leave it out for a gentler, less distinctly almond cookie.
- Seedless raspberry jam — Seedless jam gives you a smooth, bright filling without raspberry seeds interrupting the tender cookie. A smooth, spreadable jam is easiest to spoon into the centers; if yours is unusually firm, stir it in its jar first rather than piling it into the wells.
From Soft Dough to Neat Raspberry Centers
Cream the Butter and Sugar Until Fluffy
Beat the softened butter and granulated sugar in a large bowl with an electric mixer on medium speed for about 2 minutes. The mixture should look lighter in color and fluffy rather than dense or greasy. Beat in the egg yolks, vanilla extract, and almond extract until they’re combined. Scrape down the bowl if the butter is clinging to the sides so the flavorings mix evenly through the dough.
Bring the Dough Together Without Overmixing
Whisk the all-purpose flour, almond flour, and kosher salt in a separate medium bowl, then add them to the butter mixture. Mix on low just until a soft dough forms; stop when there are no dry streaks instead of continuing to beat it smooth. The dough should hold together when pressed, not look wet or stretchy. Cover it and refrigerate for 30 minutes, until it’s firm enough to roll.
Shape the Cookies and Fill the Wells
Heat the oven to 350°F and line two 18×13-inch rimmed baking sheets with parchment paper. Roll the chilled dough into 1-inch balls and set them 2 inches apart on the sheets. Press a deep indentation into the center of each ball, then spoon about 1/2 teaspoon of seedless raspberry jam into each well. Keep the filling in the center rather than mounding it above the dough.
Bake Until Set, Then Let Them Rest
Bake both sheets for 12 to 15 minutes, switching their positions halfway through so they bake evenly. The cookies are ready when they look set and the bottoms are lightly golden; the tops don’t need to turn brown. Leave them on the baking sheets for 5 minutes, then transfer them to a wire rack to cool completely. The centers will settle as the cookies cool.
Easy Ways to Change the Jam or Make a Gluten-Free Batch
Swap in Seedless Strawberry or Apricot Jam
Use the same amount of seedless strawberry or apricot jam in place of the raspberry jam. Strawberry keeps the filling familiar and sweet, while apricot brings a softer, fruitier contrast to the almond. Choose a smooth jam so it sits neatly in the small centers.
Make Them Gluten-Free
Replace the all-purpose flour with the same volume of a cup-for-cup gluten-free baking blend, and keep the almond flour as written. The dough may feel a little more delicate, so handle the shaped balls gently and close any small cracks before filling. The finished cookies can have a more tender, fragile bite than the original.
Dial Back the Almond Flavor
Leave out the almond extract and keep the vanilla. The almond flour will still give the cookies a mild nuttiness, but the aroma will be subtler and the raspberry will stand out more.
Storage and Reheating
- Refrigerator: These cookies don’t need refrigeration; keep them in an airtight container at room temperature for up to 3 days. If you refrigerate them, expect the cookies to firm up and the jam to become tackier.
- Freezer: Freeze completely cooled cookies in an airtight container with parchment between layers for up to 2 months. Thaw them at room temperature while still in the container to limit condensation on the jam.
- Reheating: They’re best at room temperature and don’t need reheating. Avoid microwaving, which can make the jam hot before the cookie warms through.
Questions I Get Asked About Raspberry Almond Thumbprints
Raspberry Almond Thumbprint Cookies
Ingredients
Equipment
Method
- Beat the butter and sugar in a large bowl with an electric mixer on medium speed until light and fluffy, about 2 minutes.
- Beat in the egg yolks, vanilla extract, and almond extract until combined.
- Whisk the all-purpose flour, almond flour, and salt in a medium bowl.
- Add the flour mixture to the butter mixture and mix on low just until a soft dough forms.
- Cover and refrigerate the dough for 30 minutes, until firm enough to roll.
- Heat the oven to 350°F.
- Line two 18x13-inch rimmed baking sheets with parchment paper.
- Roll the dough into 1-inch balls.
- Place the balls 2 inches apart on the prepared baking sheets.
- Press a deep indentation into the center of each ball with your thumb.
- Spoon about 1/2 teaspoon raspberry jam into each indentation.
- Bake both sheets for 12 to 15 minutes, switching their positions halfway through, until the cookies are set and lightly golden on the bottoms.
- Let the cookies cool on the baking sheets for 5 minutes.
- Transfer the cookies to a wire rack to cool completely.