
Vegan Sugar Cookies
When the baking sheets come out, the edges should be set and lightly golden while the centers are still pale. I watch the edges instead of waiting for the tops…

By Ava
•
•
Reading time: 9 min
Tip: save now, make later.
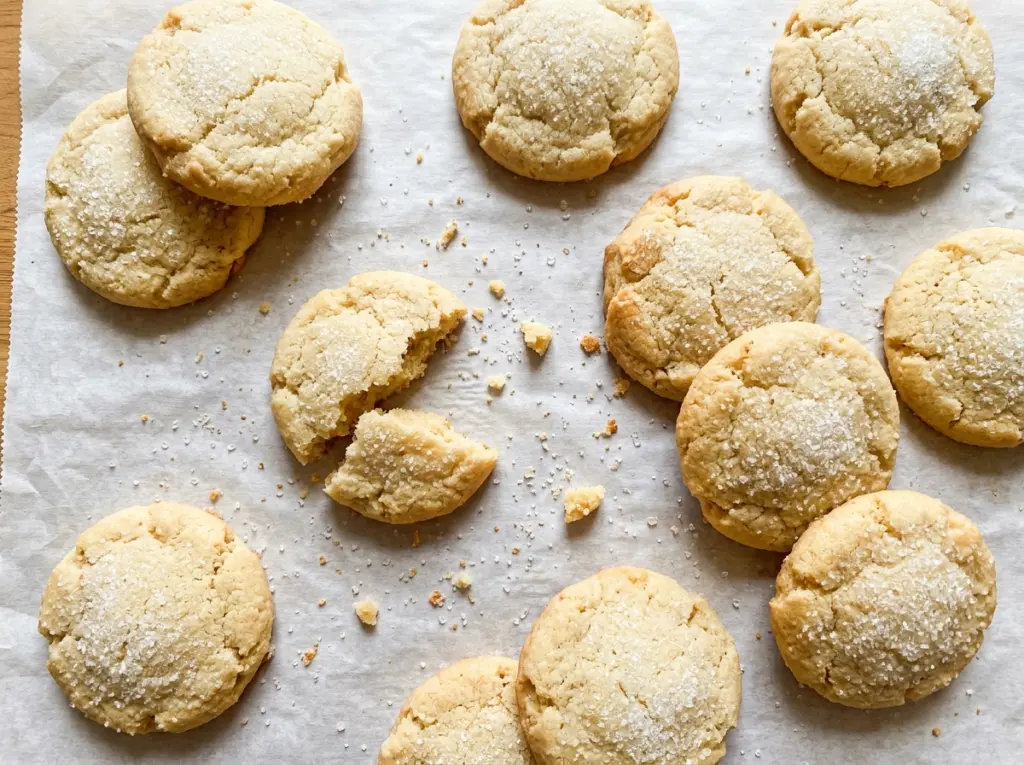
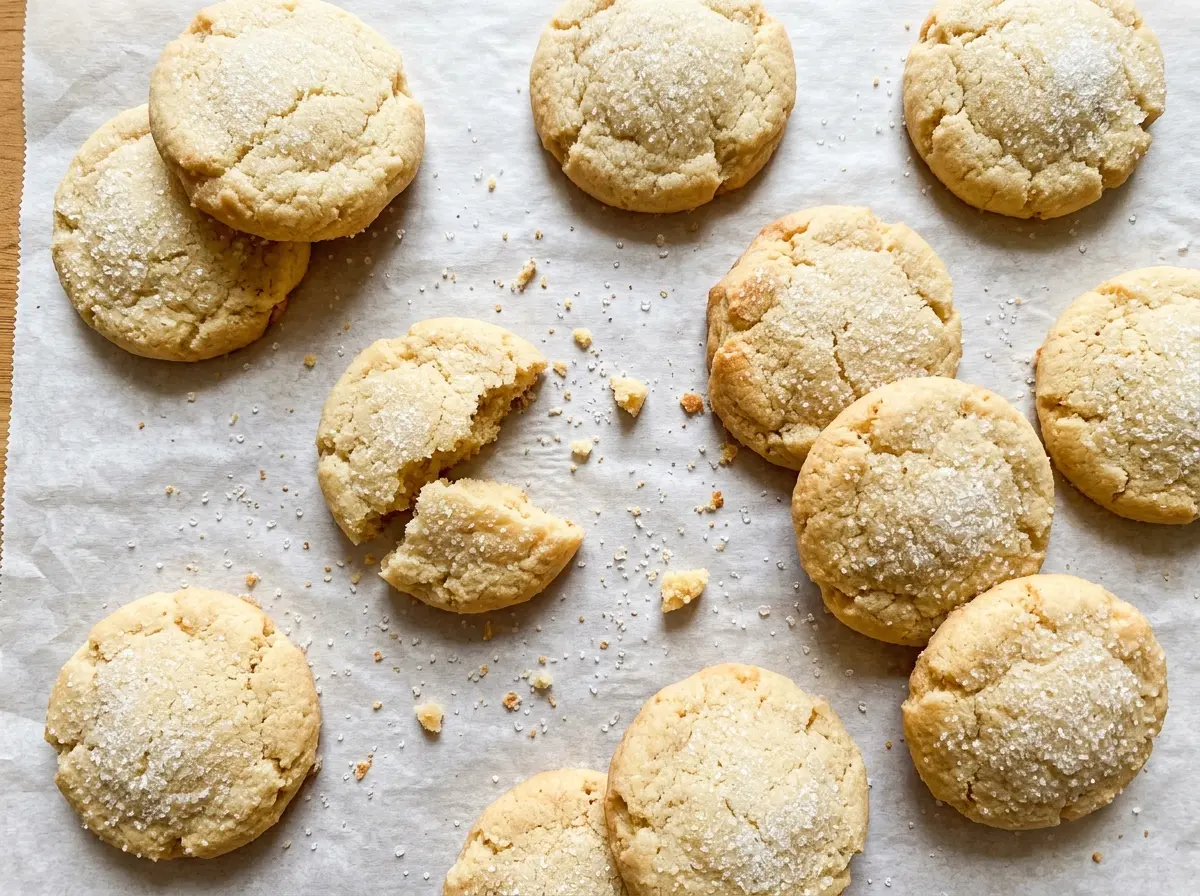
When the baking sheets come out, the edges should be set and lightly golden while the centers are still pale. I watch the edges instead of waiting for the tops to brown; these vegan sugar cookies finish cooling on the pan, and that tender middle is part of what makes them worth baking.
The dough is scooped and flattened, so there’s no rolling pin or pile of scraps to deal with. A little sugar on the outside gives each cookie a delicate crunch, while vanilla keeps the flavor familiar and simple. They’re a straightforward, dependable cookie for a baking day when you want something sweet without eggs or dairy.
Kitchen Note
Spoon the flour into your measuring cup and level the top instead of dipping the cup into the bag. Scooping packs in extra flour, and a dry dough is harder to portion and can bake up crumbly.
Save these vegan sugar cookies for a simple dairy-free bake with tender centers and a lightly sugared edge.
Why Chilling This Vegan Butter Dough Keeps the Cookies from Spreading
Vegan butter softens quickly, and a warm dough can spread before the edges have time to set. Chilling the covered dough for 30 minutes firms it back up, so the cookies hold their shape better in the oven. The difference is especially noticeable here because each portion starts as a round ball and gets only a gentle flattening before it bakes.
That chill also makes the dough easier to handle. If it feels sticky or soft when you scoop it, resist adding flour; extra flour changes the balance and can make the cookies dry. Let the cold dough do the work. After chilling, portion it into even balls, coat them in sugar, and flatten them to the same thickness so they bake at a similar pace.
These are soft, round sugar cookies rather than crisp cutouts with sharply defined edges. Keeping the dough cold and the flattening gentle gives you that familiar cookie shape without asking the dough to hold a detailed design.
What the Vegan Butter, Sugar, and Flour Each Bring to These Cookies

- Vegan butter sticks — Sticks are made for baking and give the dough a firmer starting point than many tub spreads. Choose a plain, familiar brand; there’s no need for a premium variety. Tub-style spread can be softer and may make the cookies spread more.
- Granulated sugar — The sugar creams with the butter and helps the edges turn lightly golden. Regular granulated sugar is the right choice here; coarser crystals won’t blend into the dough in the same way. The extra sugar for coating adds a delicate crunch outside.
- Unsweetened soy milk — A small amount supplies moisture to bring the dough together without adding dairy. Use an unsweetened version so you don’t introduce extra sweetness or a competing flavor. Another unsweetened plant milk can work in the same quantity, though the finished flavor may shift slightly.
- All-purpose flour — This gives the cookies enough structure to stay tender while holding their round shape. A standard store-brand flour works well. Avoid swapping in a self-rising blend, since it already contains leavening.
- Baking powder — This gives the cookies a little lift instead of leaving them dense. Check that it’s fresh; old baking powder can lose strength and leave the cookies flatter.
- Vanilla extract — Vanilla gives the simple dough its warm, familiar aroma. Pure vanilla and imitation vanilla both work here, so use whichever you keep on hand.
From Creaming the Butter to Catching the Golden Edges
Set Up Both Racks and Baking Sheets
Heat the oven to 350°F with racks in the upper and lower thirds. Line two large baking sheets with parchment paper so the cookies release easily after baking. Using both racks lets the sheets bake together, but they’ll need to trade positions partway through. Have the wire rack ready for cooling, too.
Cream the Butter and Bring in the Wet Ingredients
Beat the vegan butter with 1 cup of the sugar in a large bowl on medium speed for about 2 minutes. It should look creamy rather than lumpy, with the sugar worked through the butter. Beat in the soy milk and vanilla until combined. If the mixture looks a little uneven, keep mixing just until those wet ingredients are incorporated.
Mix in the Dry Ingredients, Then Chill
Whisk the flour, baking powder, and salt together in a medium bowl before adding them to the butter mixture. Mix on low speed just until no dry streaks remain; stop there, because extra mixing can make the cookies tougher. Cover the dough and refrigerate it for 30 minutes. The chilled dough should feel firmer and easier to scoop than it did in the bowl.
Portion, Coat, and Flatten
Scoop the dough into 1 1/2-tablespoon portions and roll each portion into a ball. Coat the balls in the remaining 2 tablespoons of sugar, then arrange 12 on each prepared sheet with about 2 inches between them. Gently flatten each one to about 1/2 inch thick. Keep the portions even; cookies with noticeably different thicknesses won’t finish at the same time.
Bake Until the Edges Set
Bake both sheets for 10–12 minutes, swapping their rack positions and rotating them front to back halfway through. Look for edges that are set and lightly golden; the tops don’t need to turn brown. Let the cookies cool on the baking sheets for 5 minutes before transferring them to a wire rack. Moving them too soon can break the warm cookies, which firm up as they cool.
Three Small Changes for a Different Sugar Cookie
Use oat milk in place of soy milk
Swap in the same quantity of unsweetened oat milk. The cookies stay vegan, with a mild oat note instead of soy; use an unsweetened carton so the dough doesn’t become sweeter than intended.
Leave off the sugar coating
Roll the dough into balls and flatten them without coating them in the reserved sugar. The cookies will have a more matte top and less crunch at the edges, while keeping the same vanilla-forward center.
Trade vanilla for almond extract
Use almond extract in place of the vanilla, keeping the same quantity. It gives the cookies a stronger almond aroma that stands out against the simple sugar-and-butter base.
Storage and Reheating
- Refrigerator: These cookies don’t need refrigeration. Store them in an airtight container at room temperature for up to 5 days; chilling them makes the texture firmer.
- Freezer: Freeze fully cooled cookies in an airtight container, with parchment between layers, for up to 2 months. Thaw at room temperature while still covered to limit condensation on the cookies.
- Reheating: They’re good at room temperature, but you can warm one in the microwave for about 5 seconds. Longer heating can soften the vegan butter and make the cookie greasy.
Questions That Come Up When Baking Vegan Sugar Cookies
Vegan Sugar Cookies
Ingredients
Equipment
Method
- Preheat the oven to 350°F with racks in the upper and lower thirds.
- Line two large baking sheets with parchment paper.
- Beat the vegan butter with 1 cup of the sugar in a large bowl on medium speed until creamy, about 2 minutes.
- Beat in the soy milk and vanilla until combined.
- Whisk the flour, baking powder, and salt in a medium bowl.
- Mix the flour mixture into the butter mixture on low speed just until no dry streaks remain.
- Cover the dough and refrigerate it for 30 minutes.
- Scoop the dough into 1 1/2-tablespoon portions and roll them into balls.
- Coat the dough balls in the remaining 2 tablespoons of sugar.
- Arrange 12 on each baking sheet, spacing them about 2 inches apart.
- Gently flatten each to about 1/2 inch thick.
- Bake both sheets for 10–12 minutes, swapping their rack positions and rotating them front to back halfway through, until the edges are set and lightly golden.
- Let the cookies cool on the sheets for 5 minutes.
- Transfer them to a wire rack to cool completely.