
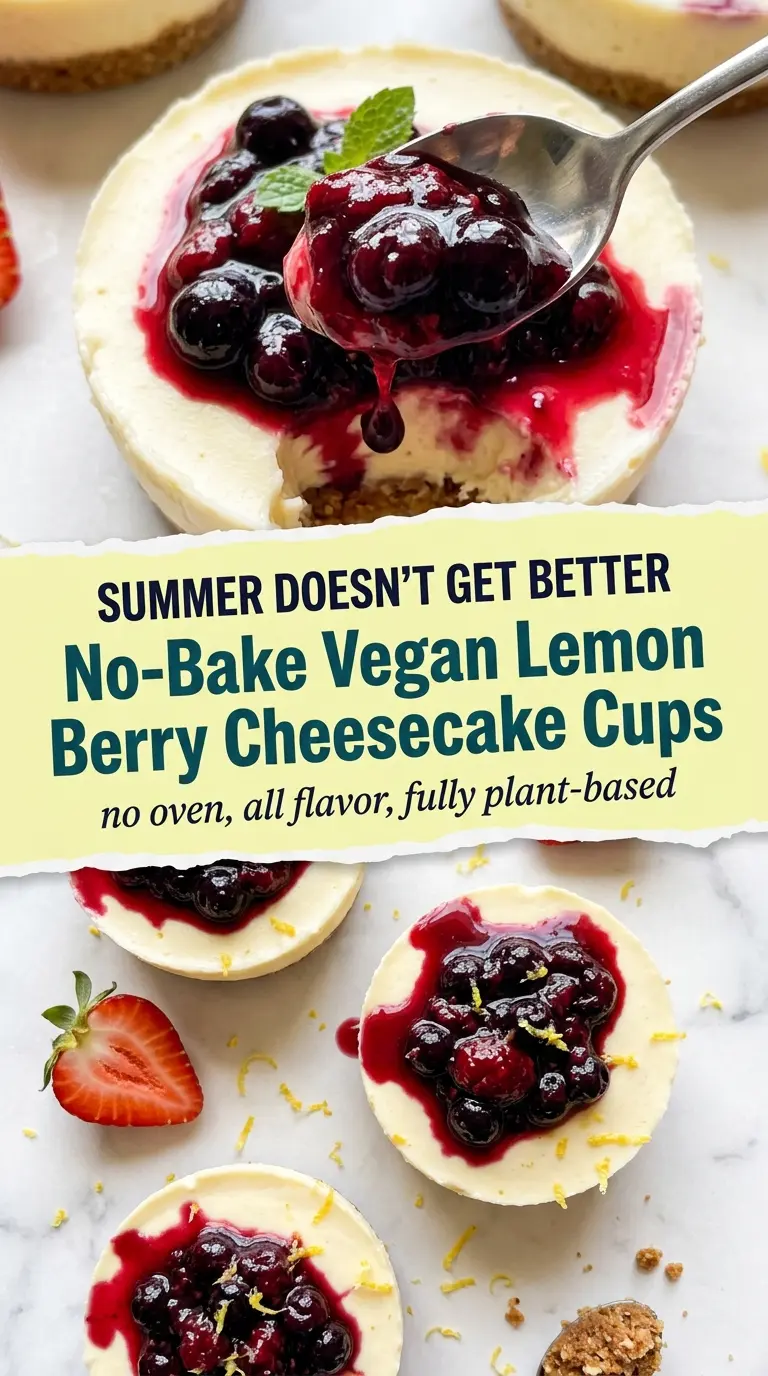
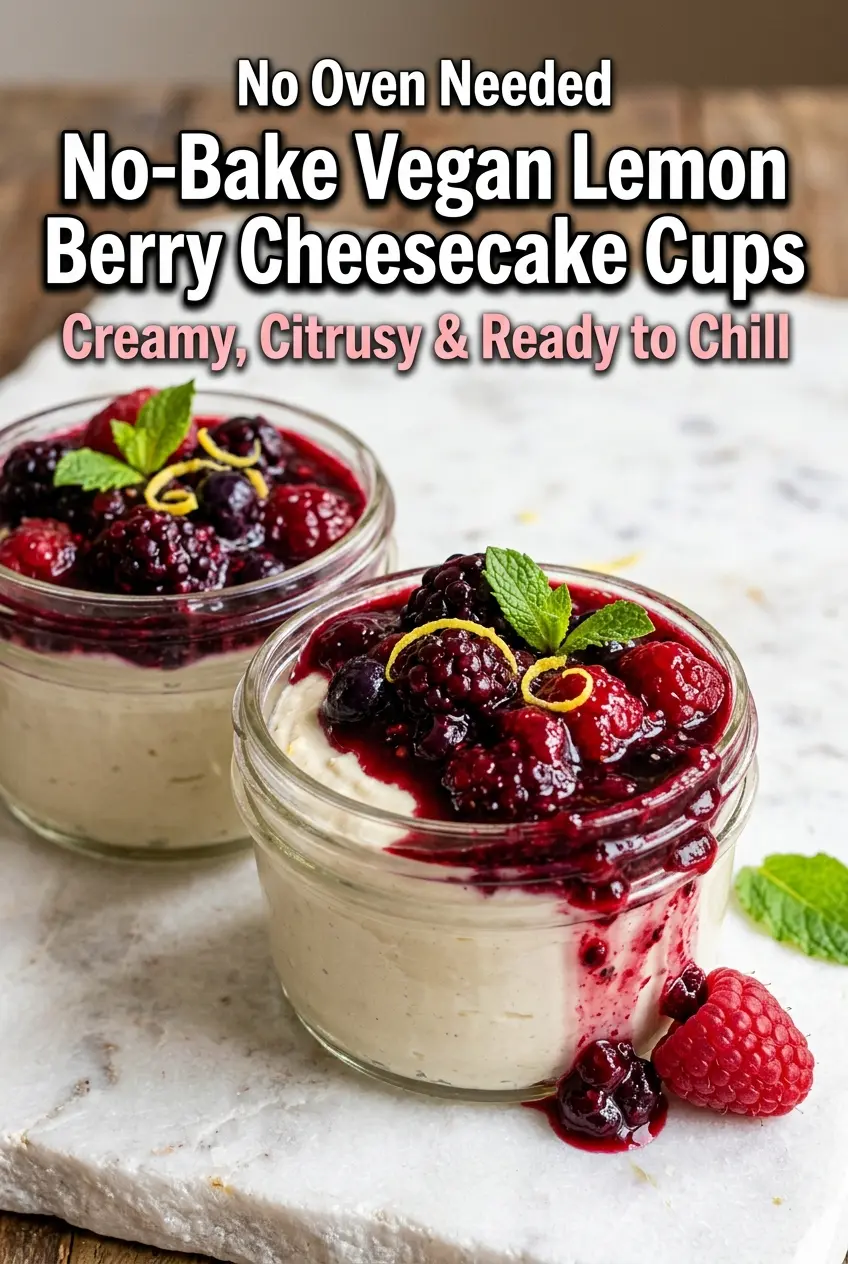
No-Bake Vegan Lemon Berry Cheesecake Cups
Silky lemon cashew cream, a buttery date-nut crust, and a glossy berry topping make these no-bake vegan lemon berry cheesecake cups feel a lot fancier than the effort they take.…
By Ava
•
•
Reading time: 10 min
Tip: save now, make later.
Silky lemon cashew cream, a buttery date-nut crust, and a glossy berry topping make these no-bake vegan lemon berry cheesecake cups feel a lot fancier than the effort they take. The filling sets up light but sliceable, with enough tang to keep every spoonful from tasting flat or overly sweet. When the berry compote hits the chilled cream, you get that sharp-sweet contrast that makes people go back for “just one more” cup.
What makes this version work is balance. The cashews give the filling body without dairy, while coconut cream adds richness so the texture stays lush instead of grainy or thin. Lemon juice and zest do different jobs here: the juice brightens, and the zest carries the stronger lemon aroma that makes the whole dessert taste fresh instead of merely sweet. The crust also matters more than people think — dates bind it naturally, and the almonds keep it from turning pasty.
Below, I’ve included the one step that matters most for getting a smooth filling, plus a few swaps that actually work if you need to adapt the recipe. Once you’ve made these once, they become the kind of dessert you keep in your back pocket for easy entertaining.
The lemon filling turned out super smooth, and the berry topping thickened just enough without running all over the crust. I made them the night before and they held their shape perfectly in the fridge.
Creamy no-bake vegan lemon berry cheesecake cups with a bright berry compote are the kind of dessert that disappears fast.
The Secret to a Cheesecake Filling That Sets Without Dairy
The biggest mistake with vegan cheesecake fillings is rushing the blending stage. Cashews need to be fully broken down, not just mixed, or the filling turns slightly gritty and misses that smooth cheesecake texture. A high-speed blender does the heavy lifting here, but the real trick is letting the soaked cashews drain well so the cream doesn’t get watered down.
Temperature matters too. Coconut oil helps the cups set, but if the filling is too warm when it goes into the crusts, it can soften the base before it has time to chill. Pour it in once the blender jar feels just barely warm, then give the cups time in the fridge so the texture firms up cleanly.
- Soaked cashews — These are the backbone of the filling. Raw cashews blend into a neutral, creamy base that tastes rich without tasting like nuts. If you skip the soak, the texture stays grainy and the filling won’t smooth out properly.
- Full-fat coconut cream — This adds the plush, cheesecake-like body. Use the thick part from a chilled can if you can, not the thin liquid underneath. Coconut milk won’t give the same set or richness.
- Maple syrup — Maple keeps the sweetness soft and clean, which matters because lemon and berries already bring plenty of brightness. Honey can work if you don’t need the recipe to stay vegan, but it will read a little heavier.
- Lemon juice and zest — Both matter, but in different ways. Juice gives the tang; zest gives the scent that makes the filling taste sharply lemony. If you only use juice, the flavor falls flat.
- Medjool dates and almonds — Dates glue the crust together while almonds keep it from turning dense. Almond flour can replace the whole almonds in a pinch, but the crust will be softer and less rustic.
Building the Layers So They Hold Their Shape
Make the crust first
Pulse the almonds until they look like coarse sand, then add the dates, coconut oil, and salt and keep going until the mixture clumps when pressed between your fingers. If the dates are dry, the crust will stay crumbly, so pit them carefully and add a tablespoon of warm water only if the mixture refuses to stick. Press it firmly into the cups so it compacts into a solid base instead of a loose layer.
Blend the lemon cream until it looks glossy
Combine the soaked cashews, coconut cream, maple syrup, lemon juice, lemon zest, vanilla, and melted coconut oil in the blender and keep blending until the mixture looks completely smooth and glossy. Stop and scrape the sides if you see tiny specks of cashew, because those little bits show up in the finished texture. Taste it before you pour it; once it chills, the sweetness and lemon level are harder to adjust.
Cook the berry topping just until it thickens
Heat the berries with maple syrup and lemon juice until they soften and start releasing juice, then stir in the cornstarch slurry. The compote should turn glossy and lightly thickened, not jammy. If you cook it too long after adding the starch, it can go dull and overly tight once chilled.
Chill before topping
Pour the filling over the crusts and refrigerate until set, at least 3 hours. That resting time lets the coconut oil firm up and gives the cups their clean layers. Spoon on the cooled compote only after the filling feels firm to a gentle touch; warm topping will slide right through the surface and muddy the layers.
Three Ways to Adjust These Cups Without Ruining the Texture
Make them gluten-free, as written
This recipe already skips gluten naturally, so there’s nothing special to change. Just check that your cornstarch and vanilla are certified if you’re cooking for someone with a strict sensitivity. The crust stays crisp and the filling stays exactly the same.
Swap the nuts for a different crust
Walnuts work well in place of almonds if you want a slightly deeper, earthier base. Pecans make the crust softer and sweeter, while sunflower seeds can stand in for a nut-free version, though the flavor will be more savory and less classic.
Use frozen berries when fresh berries aren’t at their best
Frozen berries work well for the compote because they break down quickly and release plenty of juice. Keep the cooking time to the point where the sauce thickens and turns glossy, since frozen fruit usually brings more liquid than fresh. The topping ends up just as bright, and sometimes even more concentrated in flavor.
Storage and Reheating
- Refrigerator: Store the assembled cups for up to 4 days. The crust stays firm, though the topping will soften the surface a little after day two.
- Freezer: These freeze well before adding the berry compote. Wrap tightly and freeze for up to 1 month, then thaw in the fridge overnight before topping.
- Reheating: No reheating needed. Serve straight from the fridge; warming them will loosen the filling and make the crust soggy.
Answers to the Questions Worth Asking
No-Bake Vegan Lemon Berry Cheesecake Cups
Ingredients
Equipment
Method
- Pulse the raw almonds in a food processor until roughly crumbled, then add pitted Medjool dates, coconut oil, and sea salt. Blitz until the mixture clumps together and holds its shape when pressed.
- Divide the crust mixture evenly into the bottoms of 6 serving cups or jars, pressing firmly with the back of a spoon. Place in the fridge while you prepare the filling.
- Blend the soaked cashews, full-fat coconut cream, maple syrup, fresh lemon juice, lemon zest, vanilla extract, and melted coconut oil in a high-speed blender until completely smooth and silky, about 2 minutes. Taste and adjust lemon or sweetness.
- Pour the lemon cashew cream over the chilled crusts, filling each cup about ¾ full. Tap gently on the counter to settle, then refrigerate for at least 3 hours (or overnight) until set.
- Combine mixed berries, maple syrup, and lemon juice in a small saucepan over medium heat. Stir and cook for 5–6 minutes until the berries soften and release their juices.
- Stir in the cornstarch slurry and cook for 1 more minute until the compote thickens slightly. Remove from heat and let cool completely.
- Once the cheesecake cups are set, spoon the cooled berry compote over each one. Garnish with fresh mint, lemon zest curls, and a few whole fresh berries, then serve chilled.