
Maple Glazed Carrots
The liquid in the skillet looks like it could never turn into a glaze. Then, after the carrots soften, that watery mixture cooks down and clings to every round in…

By Ava
•
•
Reading time: 8 min
Tip: save now, make later.
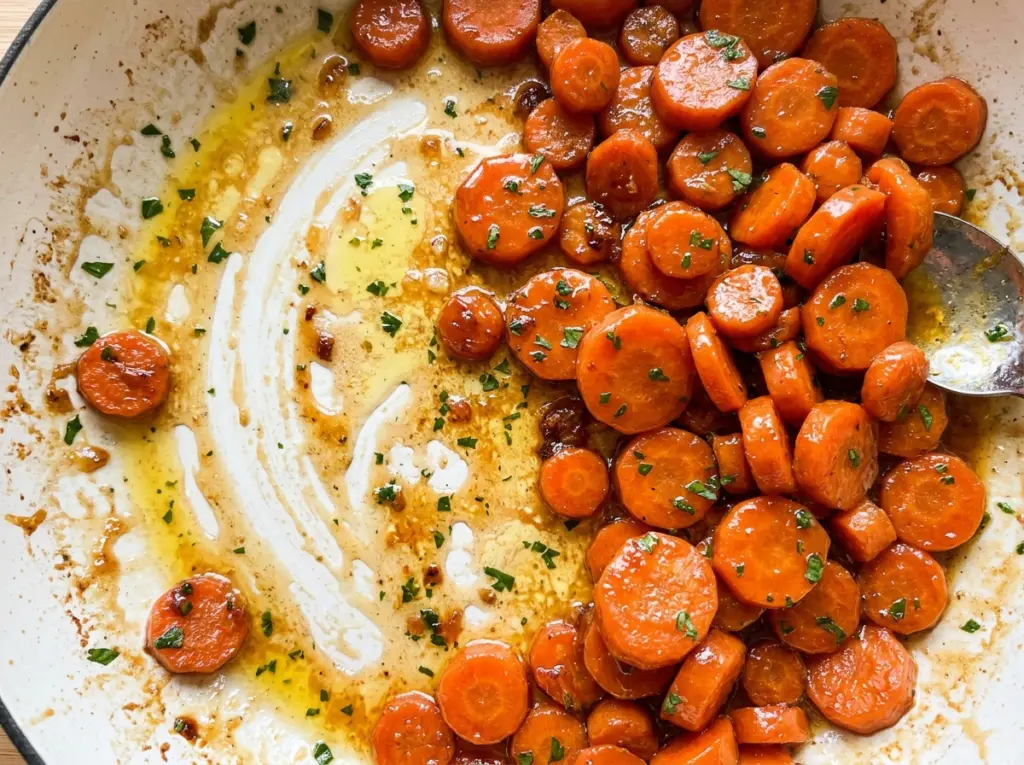
The liquid in the skillet looks like it could never turn into a glaze. Then, after the carrots soften, that watery mixture cooks down and clings to every round in a shiny coat. That change is what makes these Maple Glazed Carrots more than carrots with syrup poured over them: the glaze forms right in the pan, and the carrots take on its buttery maple flavor as they cook.
I keep the carrot rounds close to the same thickness so they become tender together, and I don’t rush the two stages. First, the covered simmer gives the carrots time to soften without the glaze reducing too soon. Then the uncovered finish lets excess liquid evaporate. The result is tender carrots with a glossy coating, not a puddle of thin syrup at the bottom of the skillet.
Kitchen Note
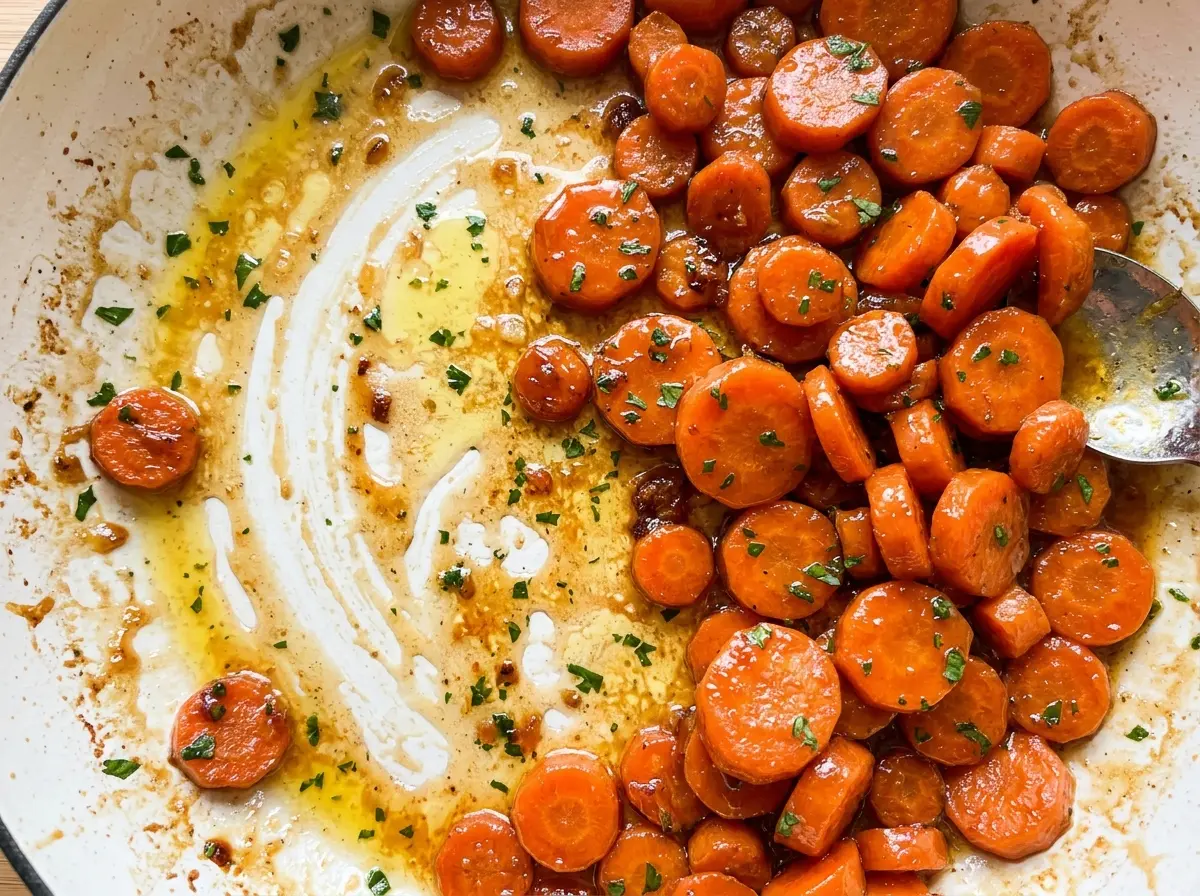
Keep the lid on during the covered simmer and stir just once. Lifting it repeatedly lets steam escape, and that steam is doing the work of softening the carrots evenly.
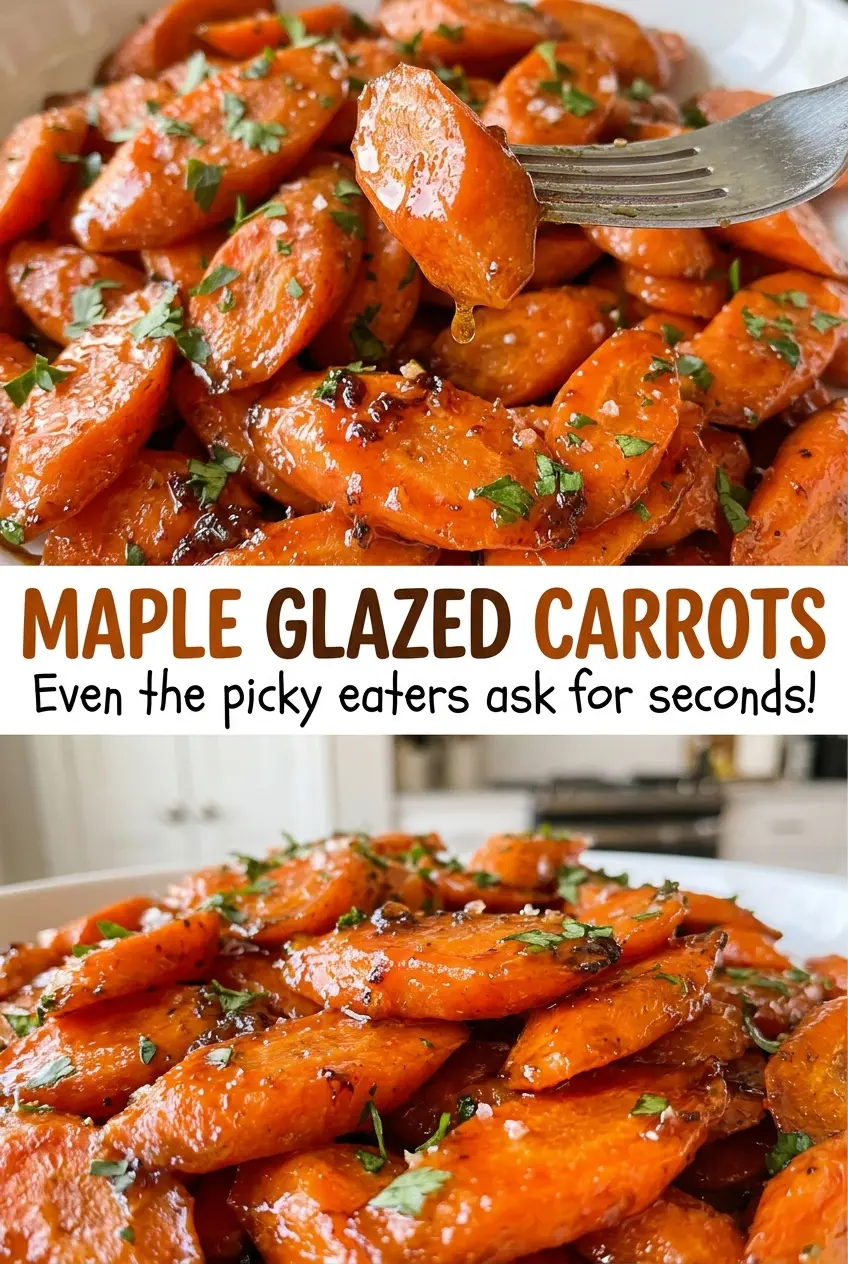
Save these Maple Glazed Carrots for a cozy dinner side: tender rounds finished with a buttery, glossy maple glaze.
Why Maple Glazed Carrots Need a Covered Simmer Before the Glaze Thickens
Carrots don’t soften at the same pace that a sugary coating reduces. If you cook the liquid uncovered from the start, it can evaporate before the centers are tender, leaving you with firm carrots and syrup that’s already sticky around the edges. Keeping the skillet covered first gives the carrots a moist, steady environment to cook in while the butter and maple syrup are already there to season them.
After that, the lid comes off and the goal changes. The liquid needs room to evaporate, and stirring often helps the maple mixture coat the carrots instead of settling and catching on the skillet. Watch the surface rather than waiting for every drop of liquid to disappear: a glossy glaze should cling to the rounds, while a little moisture can remain in the pan. That two-part approach gives you carrots that are tender inside and glazed outside, without turning the maple syrup into a hard candy coating.
Pure Maple Syrup Does More Than Sweeten the Carrots
- Carrots — Fresh carrots give you firm rounds that hold their shape as they simmer. Choose carrots that feel solid rather than bendy, and peel them before cutting so the surfaces are clean and smooth. Keeping the rounds about the same thickness matters more than choosing a particular color or variety.
- Pure maple syrup — This brings a woodsy, caramel-like sweetness that pancake syrup doesn’t replicate. Grade A dark maple syrup gives the glaze a deeper maple note; a lighter pure maple syrup makes a gentler-tasting finish. Avoid maple-flavored pancake syrup here, since its sweetness and texture won’t give the same result.
- Unsalted butter — Butter rounds out the maple and helps the reduced liquid coat the carrots. Unsalted butter also lets you control the seasoning. For a dairy-free version, plant-based butter sticks are the closest direct swap; the glaze will taste a little less rich, but the carrots will still cook in the same way.
- Black pepper — Stirring it in at the end gives the sweet glaze a small savory lift without cooking away its aroma. Freshly ground pepper has a brighter bite, though pre-ground black pepper works just fine.
Build Tender Carrots First, Then Reduce the Maple Glaze
Bring the skillet to a steady simmer
Combine the carrots, water, butter, maple syrup, and kosher salt in a 12-inch skillet. Set it over medium-high heat and bring the mixture to a simmer. You’ll see liquid bubbling around the carrots as the butter melts into it. If the pan is crowded, spread the rounds into an even layer before the simmer begins.
Soften the rounds under the lid
Cover the skillet and reduce the heat to medium-low. Simmer for 12 to 16 minutes, stirring once, until a fork pierces the carrots easily. Check a thicker round, since the thinnest pieces can become tender first. If the carrots still feel firm at the center, give them more time within that simmering window rather than moving on to the glaze reduction.
Uncover and watch for a glossy coating
Take off the lid and cook for 4 to 7 minutes, stirring often. As the liquid reduces, it will look less watery and begin to cling to the carrots with a shine. Stir in the black pepper once the glaze is glossy, then serve. Don’t wait for the skillet to look completely dry; the coating thickens a little more as it sits.
Easy Ways to Change the Maple Glaze Without Losing the Carrot Texture
Make the carrots dairy-free
Swap the unsalted butter for the same amount of plant-based butter sticks. Choose a neutral-tasting option rather than one with a strong coconut flavor, which can compete with the maple. The glaze will be slightly less buttery, but the skillet method stays the same.
Use rainbow carrots for a colorful side
Replace the regular carrots with the same weight of rainbow carrots and cut them into rounds of the same thickness. Their colors make the finished dish more vivid, while the maple and butter still work with every variety. Purple carrots can tint the glaze, so the color may look darker than the classic version.
Choose a deeper maple flavor
Use a dark, robust pure maple syrup in place of a lighter pure maple syrup. It gives the glaze a more pronounced maple taste and a deeper color without changing the ingredient balance. The syrup should still be pure maple syrup, not pancake syrup.
Storage and Reheating
- Refrigerator: Store leftovers in an airtight container for 3 to 4 days. The glaze will thicken as it chills.
- Freezer: Freeze in a sealed container for up to 2 months. The carrots will be softer after thawing, and the glaze may look less smooth.
- Reheating: Warm them in a skillet over medium-low heat with a small splash of water, stirring gently until hot. Avoid high heat, which can make the maple glaze scorch before the carrots warm through.
Questions That Come Up When Making Maple Glazed Carrots
Maple Glazed Carrots
Ingredients
Equipment
Method
- Combine the carrots, water, butter, maple syrup, and salt in a 12-inch skillet; bring to a simmer over medium-high heat.
- Cover, reduce the heat to medium-low, and simmer for 12 to 16 minutes, stirring once, until the carrots are tender when pierced with a fork.
- Uncover and cook for 4 to 7 minutes, stirring often, until the liquid reduces to a glossy glaze; stir in the black pepper and serve.