
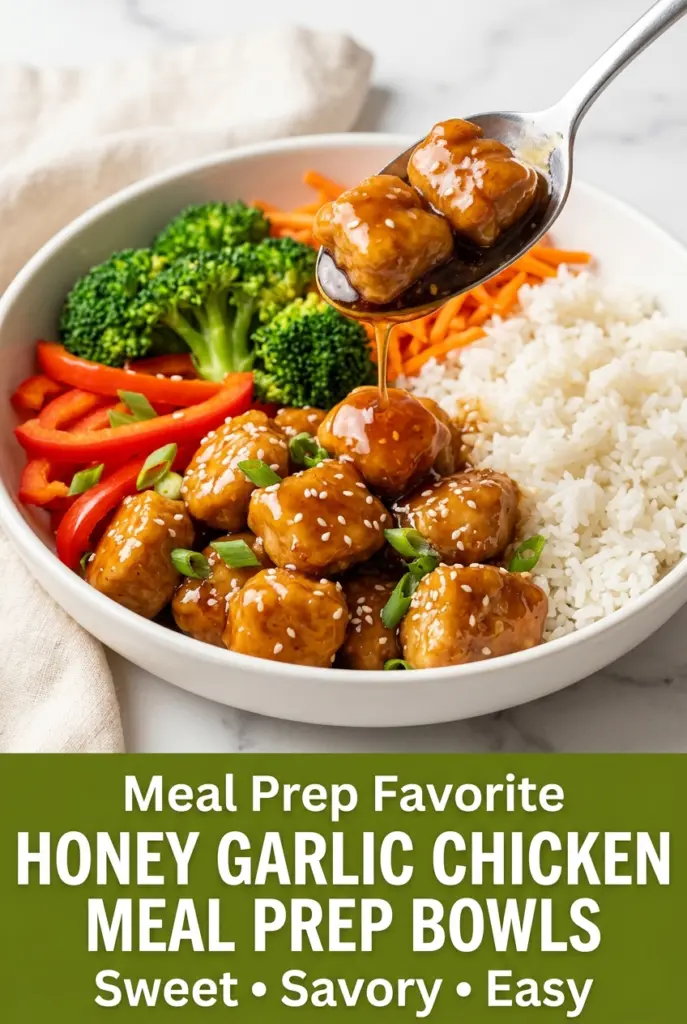
Honey Garlic Chicken Meal Prep Bowls
Honey garlic chicken meal prep bowls hit that sweet spot between comforting and practical: juicy chicken, glossy sauce, fluffy rice, and vegetables that still have a little bite after a…

By Ava
•
•
Reading time: 9 min
Tip: save now, make later.
Honey garlic chicken meal prep bowls hit that sweet spot between comforting and practical: juicy chicken, glossy sauce, fluffy rice, and vegetables that still have a little bite after a few days in the fridge. The sauce clings to the chicken instead of puddling at the bottom of the container, which is what makes these bowls feel worth opening for lunch on day three.
The trick is in the sauce and the timing. A quick simmer with cornstarch gives you that sticky, spoon-coating finish without overcooking the chicken, and keeping the carrots and bell pepper fresh preserves some crunch when everything gets reheated. Jasmine rice works well here because it stays light and separate instead of turning heavy under the sauce.
Below, I’ve included the small details that matter most for meal prep: how to keep the sauce glossy, which vegetables hold up best, and the easiest swaps if you want to stretch the batch or change the flavor a little.
The sauce thickened up perfectly and stayed glossy even after reheating. I packed these for work three days in a row and the chicken never dried out.
Love the sticky honey garlic glaze and colorful meal prep bowls? Save this one for easy lunches that reheat without getting soggy.
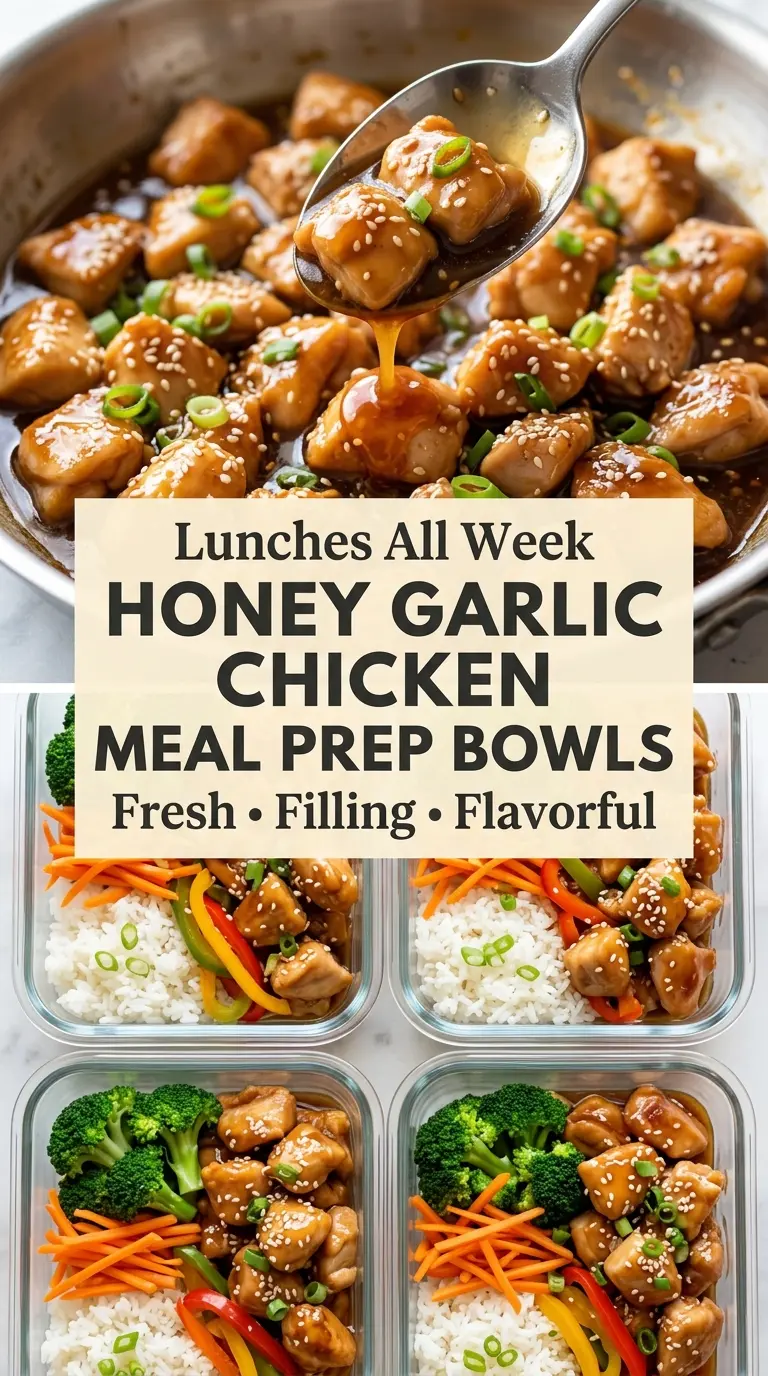
The Secret to Keeping Honey Garlic Sauce Glossy Instead of Grainy
Honey garlic sauce can go from shiny to sticky and dull fast if the heat is too high or the cornstarch goes in before the sauce has a chance to simmer. That gummy texture usually happens when the starch clumps before it can disperse. The fix is simple: let the sauce come to a gentle simmer first, then whisk in the cornstarch slurry and give it a full minute or two to turn glossy.
The other thing that matters is the pan. If you crowd the chicken, it steams instead of browning, and that means less flavor in the finished bowl. Give the pieces enough space to get those golden edges before the sauce goes in, because that first sear is what keeps the chicken tasting like chicken instead of just sauce delivery.
- Chicken breasts — Bite-sized pieces cook quickly and pick up more sauce on the surface. Chicken thighs work too if you want a little more richness and less risk of dryness.
- Honey — This is what gives the sauce its sticky finish and balances the soy sauce. Maple syrup will work in a pinch, but it tastes rounder and a little less bright.
- Low-sodium soy sauce — It brings salt and depth without pushing the sauce into overly salty territory. If you use regular soy sauce, cut back on the added salt and taste before seasoning again.
- Cornstarch — It thickens the sauce fast and keeps it smooth. Arrowroot can replace it, but the sauce won’t hold quite the same way after reheating.
- Jasmine rice — The light texture helps the bowls feel balanced under the sauce. Brown rice works if you want more chew and a bit more fiber, though it won’t feel as soft straight from the fridge.
- Broccoli, carrots, and bell pepper — This mix gives you color, crunch, and enough variety that the bowls don’t taste flat by day three. The broccoli benefits from steaming, but the carrots and pepper are better left raw so they keep some snap.
Building the Bowls Without Soggy Rice or Overcooked Chicken
Season and Sear the Chicken First
Toss the chicken with salt, pepper, and garlic powder before it hits the skillet. That seasoning sticks to the surface and starts building flavor immediately. Cook it over medium-high heat until the pieces are golden on the outside and just cooked through to 165°F. If the pan is overcrowded, the chicken will turn pale and watery, so work in batches if needed.
Whisk the Sauce Before It Goes Into the Pan
Mix the honey, soy sauce, garlic, rice vinegar, and ginger in a bowl before you turn back to the stove. That keeps the garlic and ginger distributed evenly and prevents a burnt patch of garlic at the bottom of the skillet. Bring the sauce to a gentle simmer, not a hard boil, or the honey can tighten too fast and taste harsh.
Thicken Only After the Sauce Is Hot
Stir the cornstarch and water together until completely smooth, then whisk it into the simmering sauce. You’ll see the color deepen and the sauce turn shiny within a minute. If it still looks thin, let it bubble gently for another 30 to 60 seconds instead of adding more starch right away, since it thickens more as it heats.
Assemble for Reheating, Not for the Camera
Divide the rice into containers first, then add the chicken and vegetables in sections so the bowls reheat evenly. Keep the carrots and bell pepper on top or alongside the hot ingredients rather than buried under the sauce. Let everything cool before sealing the lids, or steam will collect and soften the vegetables.
Three Ways to Adjust These Honey Garlic Chicken Meal Prep Bowls
Make It Gluten-Free
Use a certified gluten-free soy sauce or tamari and keep the rest of the recipe the same. The sauce still thickens and tastes balanced, but tamari gives a slightly deeper, less sharp saltiness.
Swap in Chicken Thighs for a Richer Bowl
Boneless, skinless thighs stay juicier through reheating and give the bowls a little more richness. They need a few extra minutes in the pan, but they’re forgiving if you tend to overcook chicken breast.
Add More Vegetables Without Diluting the Sauce
Roasted snap peas, baby bok choy, or sautéed mushrooms all fit here, but cook watery vegetables first so they don’t thin out the sauce in the containers. Keep the sauce concentrated and use the vegetables as a layer, not a bed that soaks everything underneath.
Storage and Reheating
- Refrigerator: Store in airtight containers for up to 4 days. The sauce stays glossy, but the vegetables soften a little each day.
- Freezer: The chicken and rice freeze well for up to 2 months, though the fresh vegetables are better added after thawing if you want better texture.
- Reheating: Microwave in 60-second bursts with the lid slightly vented, or warm in a skillet with a splash of water. Don’t blast it on high heat from the start or the chicken edges will dry out before the center is hot.
Questions I Get Asked About This Recipe
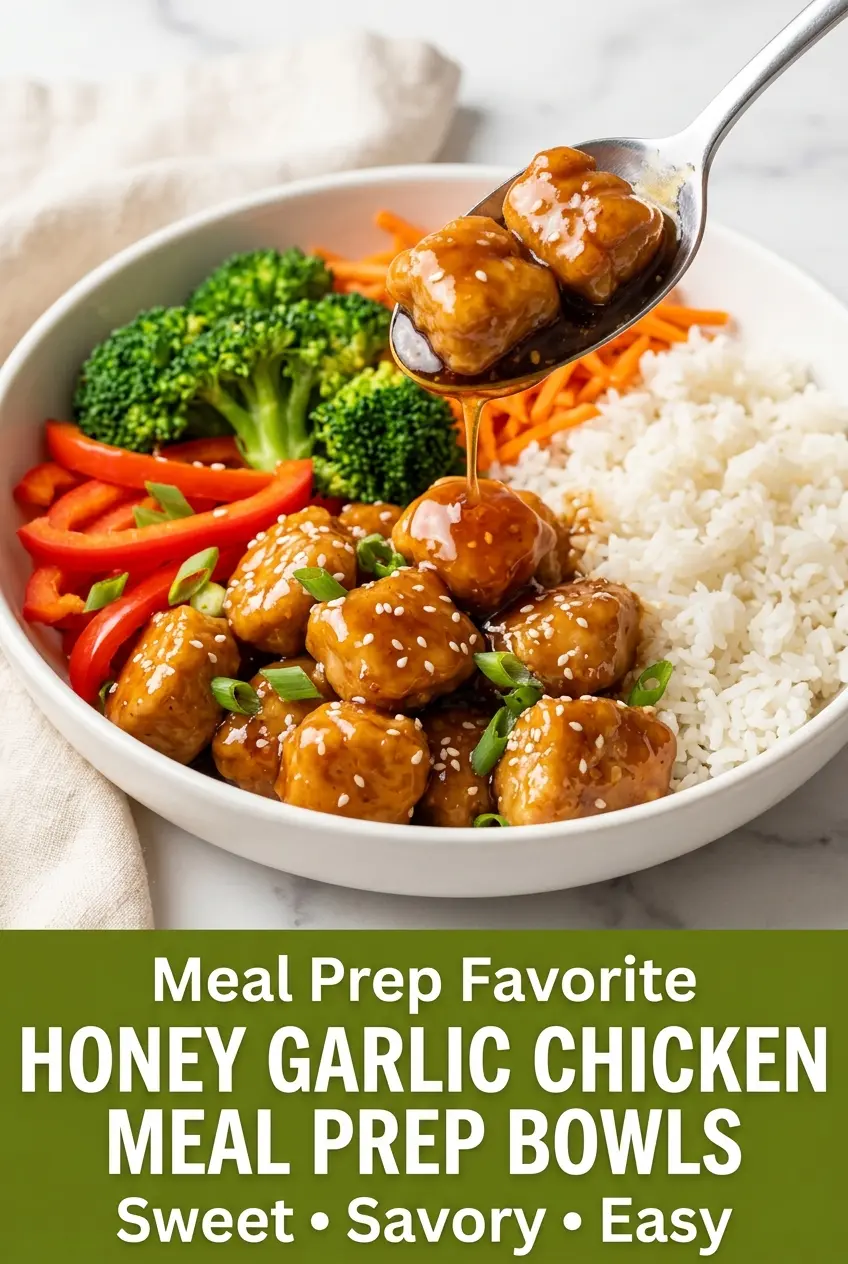
Honey Garlic Chicken Meal Prep Bowls
Ingredients
Equipment
Method
- Season the chicken with salt, black pepper, and garlic powder.
- Heat the olive oil in a large skillet over medium-high heat, then cook the chicken for 6–8 minutes, stirring occasionally, until golden and cooked through to 165°F. Transfer the chicken to a plate.
- In a small bowl, whisk together honey, low-sodium soy sauce, garlic, rice vinegar, and grated fresh ginger.
- Pour the sauce into the skillet and bring it to a gentle simmer, stirring as needed.
- Whisk the cornstarch and water together, then whisk into the simmering sauce.
- Cook for 1–2 minutes until thickened and glossy.
- Return the chicken to the skillet and toss until evenly coated in the honey garlic sauce.
- Steam the broccoli for 4–5 minutes until crisp-tender.
- Keep the shredded carrots and sliced red bell pepper fresh for added texture.
- Divide the cooked jasmine rice evenly among four meal prep containers.
- Top each container with honey garlic chicken, broccoli, carrots, and bell pepper.
- Garnish with sliced green onions and sesame seeds.
- Allow the bowls to cool completely before sealing and refrigerating for up to 4 days, until set to reheat-friendly portions.