
Garlic Chicken And Green Bean Stir Fry Recipe
When chicken strips go into a crowded skillet, they release moisture and turn pale instead of picking up those browned edges that make a stir-fry taste satisfying. Cooking this garlic…

By Ava
•
•
Reading time: 9 min
Tip: save now, make later.
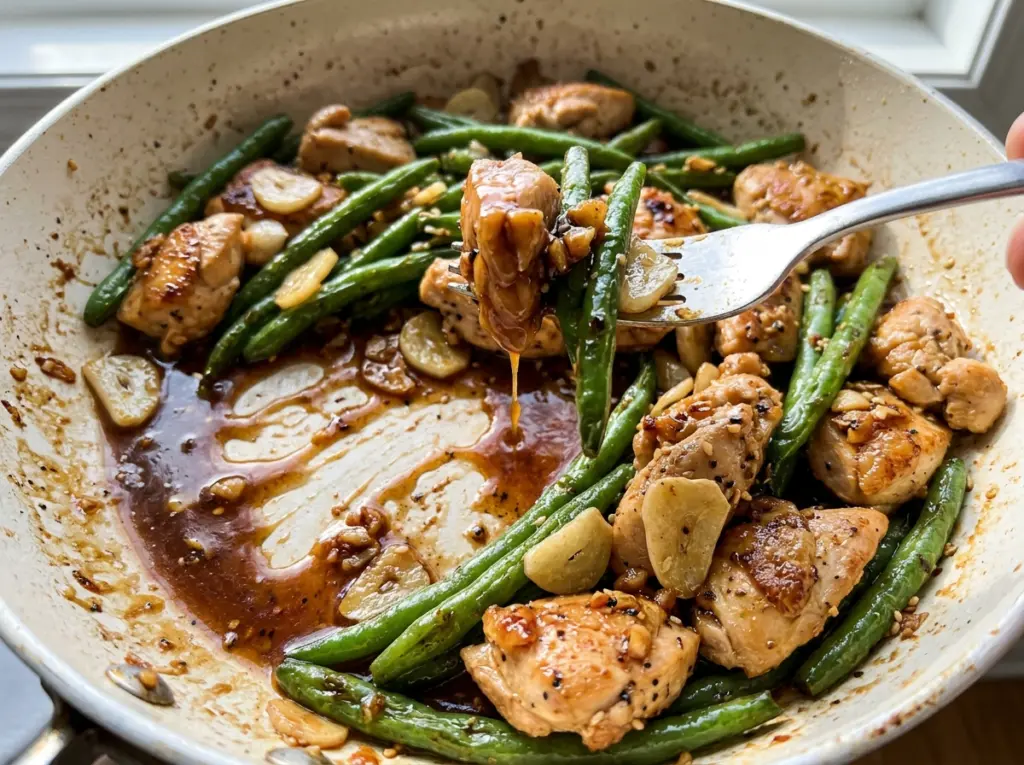
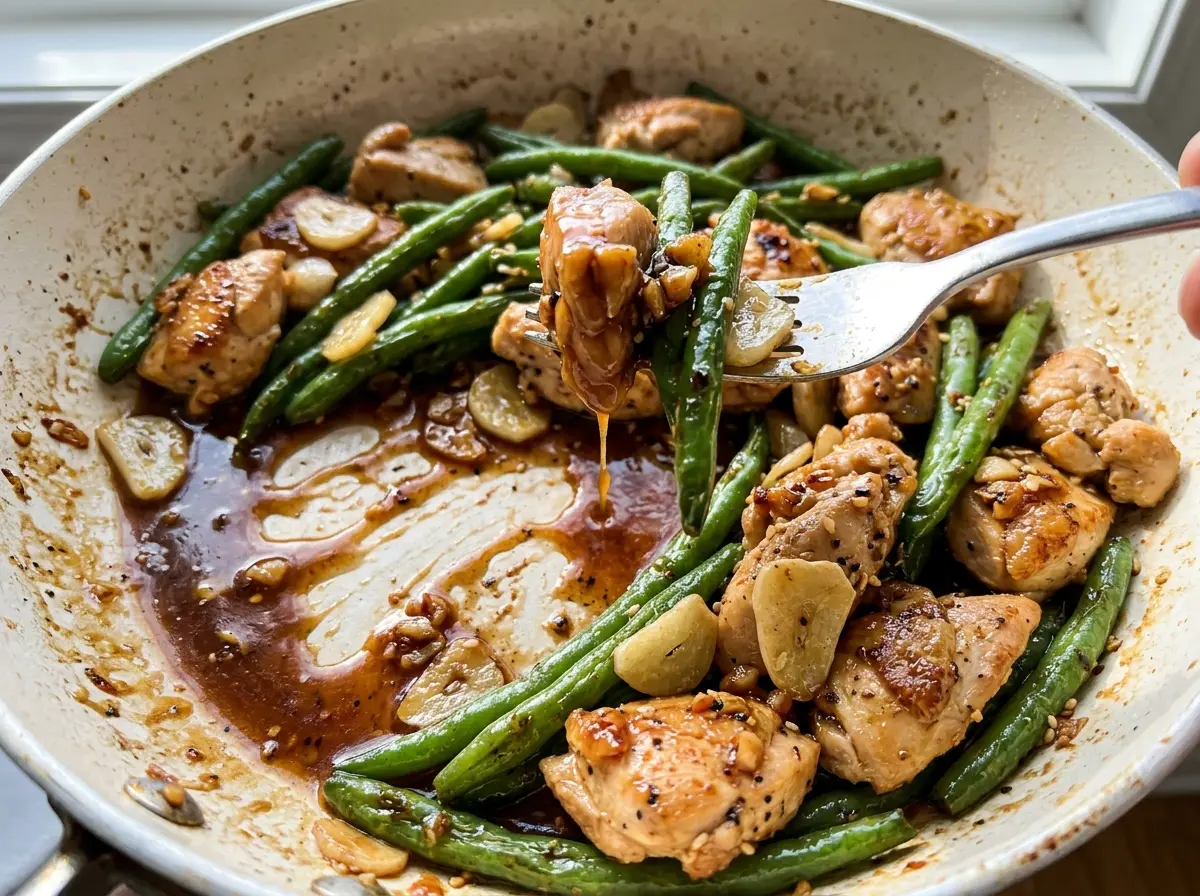
When chicken strips go into a crowded skillet, they release moisture and turn pale instead of picking up those browned edges that make a stir-fry taste satisfying. Cooking this garlic chicken and green bean stir fry in two batches gives the chicken room to brown, then the same skillet builds a quick sauce around the green beans and garlic.
I like how the sauce brings savory soy, a little honey, and toasted sesame oil together without masking the fresh beans. The chicken stays in tender strips, while the beans keep a little bite instead of disappearing into the sauce. It’s a straightforward dinner, but the order matters: brown the chicken first, cook the beans, then bring everything together at the end.
The sauce thickens quickly once it hits the hot skillet, so dinner comes together in a short finish after the prep is done. Each bite has a glossy coating, fragrant garlic, and enough green bean crunch to balance the chicken.
Kitchen Note
Keep the chicken strips close to the same thickness. When a few pieces are much thicker than the rest, the thin ones can dry out while you wait for the thickest strips to cook through.
Save this garlic chicken and green bean stir fry for a weeknight when you want browned chicken, crisp-tender beans, and a quick glossy sauce.
Why Browning the Chicken in Two Batches Changes the Whole Stir-Fry
Chicken needs contact with the hot skillet to brown. If too many strips cover the pan at once, they crowd each other and give off moisture; instead of browning, they start to steam. That leaves you with pale chicken and less of the savory browned flavor you want in the finished dish.
A 12-inch skillet gives half the chicken room to sit in a single layer. Let that first batch brown before moving it, then stir once and cook until the thickest strips reach the right temperature. The second batch gets the same treatment in the oil left for it. You’ll spend a few extra minutes cooking in turns, but the chicken has better color and the skillet stays ready for the beans.
Those browned bits left behind aren’t a problem to scrub away; they become part of the stir-fry as the green beans cook and the sauce goes in. The pan does the flavor-building in stages, so each ingredient gets the heat and space it needs.
What Each Ingredient Brings to the Chicken-and-Bean Stir-Fry
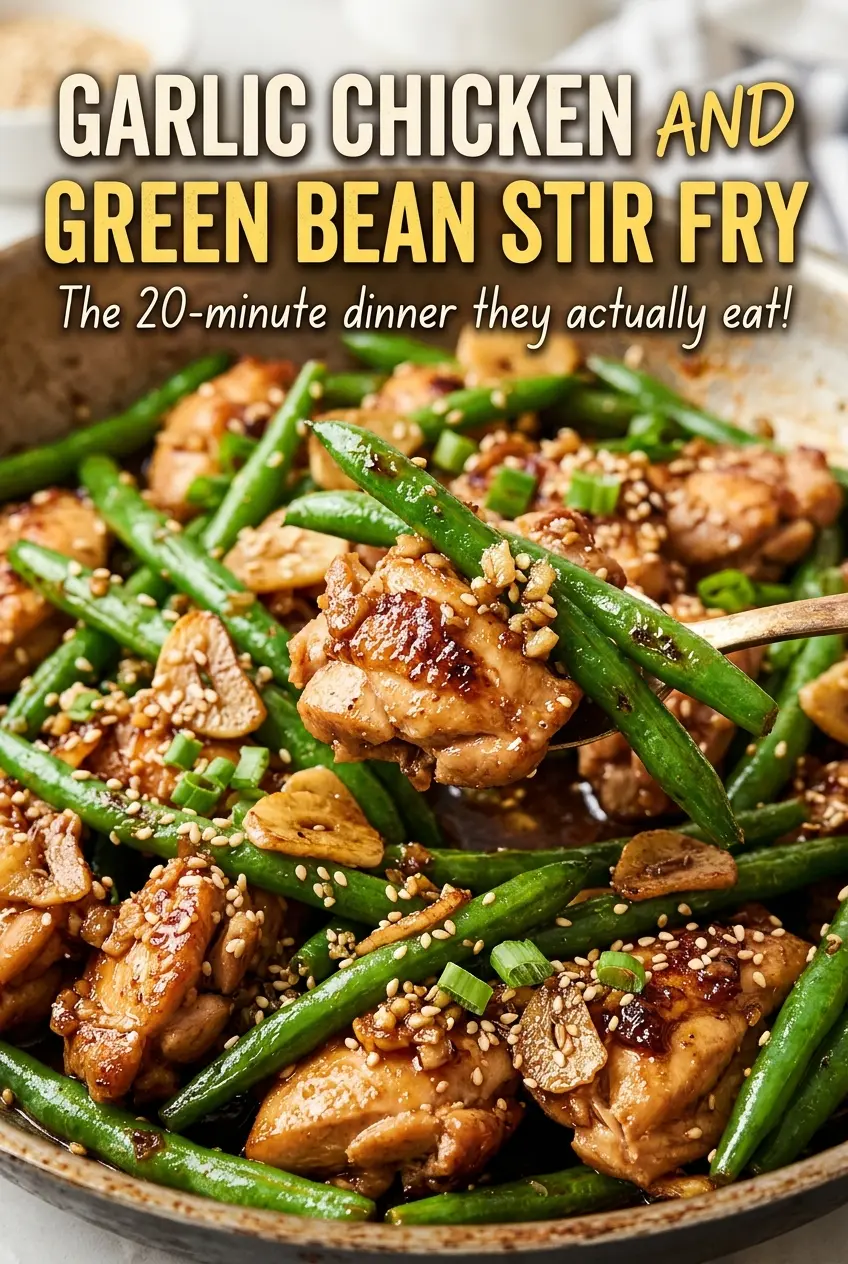
- Chicken breasts — Boneless, skinless breasts give you lean strips that cook quickly and take on the sauce without making it heavy. The cut matters more than buying a premium brand; aim for even strips so they cook at a similar pace.
- Fresh green beans — Fresh beans hold their shape through the covered cooking stage and stay pleasantly crisp-tender. Trim the ends and cut them into evenly sized pieces so they soften together; very thin or older beans may turn tender faster.
- Garlic — Fresh minced garlic gives the sauce its fragrant, savory finish. Pre-minced garlic tends to taste less bright, and garlic powder won’t give you the same aroma when it hits the skillet.
- Low-sodium soy sauce and chicken broth — Together, they make a savory sauce base without overwhelming the other ingredients. Low-sodium soy sauce leaves room for the chicken’s seasoning; regular soy sauce will make the finished dish saltier.
- Honey and cornstarch — Honey rounds out the salty soy sauce, while cornstarch gives the sauce its glossy body. Cornstarch needs to be fully dissolved before cooking so it can thicken evenly rather than leaving little starchy lumps.
- Toasted sesame oil — A small amount adds a nutty aroma that distinguishes the sauce from a plain soy-and-broth mixture. Keep it toasted sesame oil, not a neutral cooking oil; canola oil is already used for browning the chicken.
The Order That Keeps the Chicken Juicy and the Garlic Fragrant
Whisk the Sauce Before the Skillet Gets Hot
Whisk the broth, soy sauce, honey, cornstarch, and toasted sesame oil in a small bowl until the cornstarch disappears into the liquid. A few dry white specks at the bottom mean it needs more whisking. Set the bowl aside while you season and cook the chicken; the sauce will be ready when the skillet is.
Brown the Chicken in Two Turns
Season the chicken with kosher salt and black pepper. Heat a 12-inch skillet over medium-high heat, add 1 tablespoon of canola oil, and arrange half the chicken in a single layer. Cook for 2 to 3 minutes, stirring once, until browned and the thickest strips reach 165°F, then transfer them to a plate. Repeat with the remaining oil and chicken.
Steam the Green Beans, Then Let the Water Cook Off
Add the green beans and water to the skillet, cover, and cook for 4 to 5 minutes, until the beans are crisp-tender. They should bend but still offer a little resistance when you bite one. Uncover the skillet and keep cooking until the remaining water evaporates; adding garlic while water is still pooling in the pan can dull its fragrance.
Let the Garlic Fragrance Lead Into the Sauce
Add the minced garlic and stir for 30 seconds, just until fragrant. Garlic can turn bitter if it sits over the heat too long, so have the chicken and sauce close by. Return the chicken and any juices to the skillet, whisk the sauce again, and pour it in. Stir for 1 to 2 minutes, until the sauce thickens and the chicken is hot.
Easy Ways to Adapt This Garlic Chicken Stir-Fry
Use Tamari for a Gluten-Free Version
Replace the soy sauce with the same amount of gluten-free tamari, and use gluten-free chicken broth. The sauce keeps its savory character, though tamari can taste a little fuller and less sharp than soy sauce.
Swap in Boneless, Skinless Chicken Thighs
Cut boneless, skinless thighs into the same thin strips and cook them in batches, checking the thickest pieces for doneness rather than relying on the breast timing. Thigh meat brings a richer taste and stays moist, but it may need a little longer in the skillet.
Make a Half Batch for Two
Halve every ingredient for a smaller meal. Keep the chicken in a single layer as you cook it, and use the visual cues for the beans and sauce instead of automatically cutting every cooking time in half.
Storage and Reheating
- Refrigerator: Store leftovers in a covered container for 3 to 4 days. The green beans soften as they sit in the sauce.
- Freezer: Freeze in an airtight container for up to 2 to 3 months for best quality. The chicken freezes well, though the beans will be softer after thawing.
- Reheating: Warm gently in a skillet with a small splash of water, stirring until hot. Avoid high heat or a long reheat, which can dry out the chicken and soften the beans further.
Questions That Come Up When Making This Stir-Fry
Garlic Chicken And Green Bean Stir Fry Recipe
Ingredients
Equipment
Method
- Whisk the chicken broth, soy sauce, honey, cornstarch, and sesame oil in a small bowl until the cornstarch is dissolved.
- Season the chicken with the salt and pepper.
- Heat a 12-inch skillet over medium-high heat, add 1 tablespoon of the oil, and cook half the chicken in a single layer for 2 to 3 minutes, stirring once, until browned and the thickest strips reach 165°F.
- Transfer the chicken to a plate.
- Add the remaining 1 tablespoon oil and chicken, and cook for 2 to 3 minutes, stirring once, until browned and the thickest strips reach 165°F.
- Transfer the chicken to the plate.
- Add the green beans and water to the skillet, cover, and cook for 4 to 5 minutes until the beans are crisp-tender.
- Uncover and cook until any remaining water evaporates.
- Add the garlic and cook for 30 seconds, stirring, until fragrant.
- Return the chicken and any juices to the skillet.
- Whisk the sauce again and pour it into the skillet.
- Cook for 1 to 2 minutes, stirring, until the sauce thickens and the chicken is hot.