
Easy Pumpkin Crunch Cake with Buttery Pecan Topping
Pumpkin crunch cake lands somewhere between pumpkin pie and a buttery cobbler, with a creamy spiced pumpkin base under a crisp, golden topping that shatters a little when you cut…

By Ava
•
•
Reading time: 10 min
Tip: save now, make later.
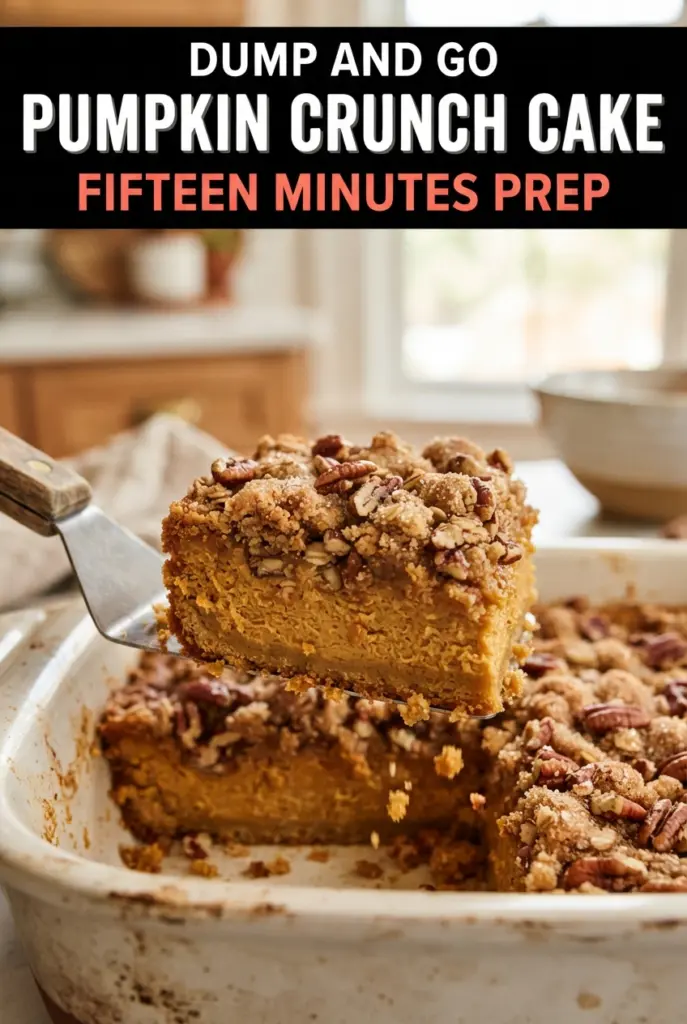
Pumpkin crunch cake lands somewhere between pumpkin pie and a buttery cobbler, with a creamy spiced pumpkin base under a crisp, golden topping that shatters a little when you cut into it. The contrast is the whole reason it gets devoured so fast: soft and custardy underneath, toasted and nutty on top, with just enough sweetness to keep each bite balanced.
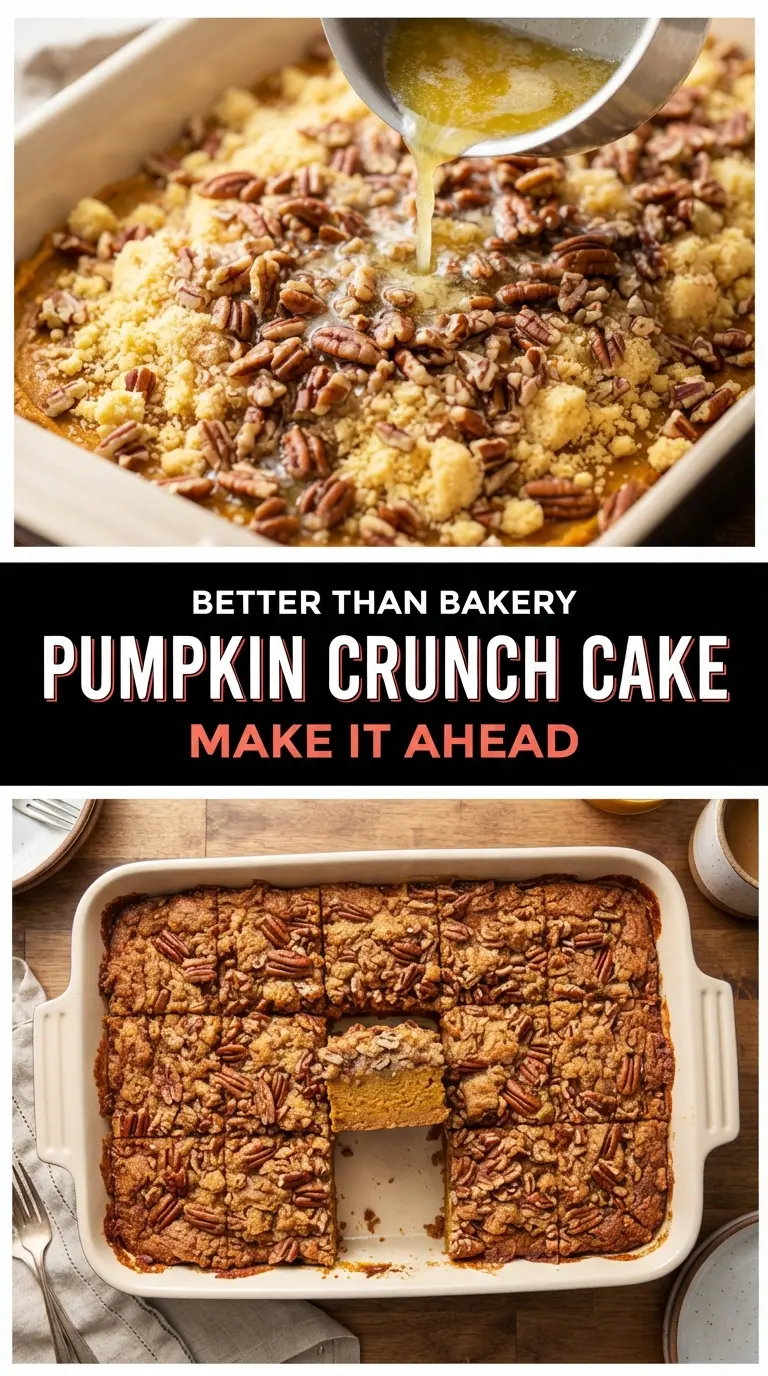
What makes this version work is the way the layers stay separate. The pumpkin mixture is loose on purpose, almost like a pie filling, so it bakes into a smooth custard as the cake mix and melted butter form the crusty top. Pouring the butter slowly over the dry cake mix matters here; if too much dry mix stays uncovered, you get sandy patches instead of that even, browned crunch.
You’ll find the small details below that keep this dessert from turning heavy or greasy, plus a few smart swaps if you need to work around what’s in your pantry.
The pumpkin layer set up beautifully and the top got that crisp, buttery crunch instead of staying dry. I served it warm with whipped cream and everyone went back for seconds.
Save this pumpkin crunch cake for the days when you want a pie-like dessert with a buttery pecan topping and no crust to roll out.
The Trick to Keeping the Pumpkin Layer Custardy, Not Watery
The pumpkin layer should look loose when it goes into the oven. That’s normal. The eggs and evaporated milk set it into a creamy filling as it bakes, and if you start with a mixture that feels thick, the finished slice can turn dense instead of silky. The real mistake here is overbaking until the center is completely firm in the pan; pull it when the top is deep golden and the middle still has the slightest jiggle.
The other thing that matters is not disturbing the layers. Once the pumpkin mixture is in the dish, the dry cake mix goes on straight from the box. Stirring turns the dessert into a batter rather than a crunch cake, and you lose the contrast that makes it work. The butter does the binding. It’s what hydrates the cake mix and helps the topping bake into those crisp, browned bits across the surface.
What Each Ingredient Is Actually Doing in This Dish
- Pumpkin puree — Use plain pumpkin puree, not pumpkin pie filling. Pie filling already has sugar and spice mixed in, which throws off the custard and makes the dessert sweeter than it should be. This recipe depends on starting with a neutral pumpkin base so the spice level stays balanced.
- Evaporated milk — This is what gives the pumpkin layer its smooth, pie-like texture. Regular milk works in a pinch, but the filling won’t be as rich or as set. If you swap it, expect a softer finish.
- Eggs — They thicken the pumpkin layer as it bakes. Three eggs is the sweet spot here; fewer and the center stays loose, more and the custard starts to taste eggy.
- Yellow cake mix — The dry mix becomes the topping, so don’t prepare it first. Any standard yellow cake mix works, but a butter golden cake mix gives a slightly richer finish. The box size matters more than the brand.
- Pecans — They bring the crunch and a toasted, buttery flavor that cuts through the sweetness. Chop them fairly fine so they spread evenly and don’t fall off the slice when you serve it. Walnuts will work if that’s what you have, but the flavor is a little sharper.
- Butter — Melted butter is what transforms the dry topping into a crisp crust. Drizzle it slowly and try to cover as much of the cake mix as possible. If dry patches remain, those spots bake up dusty instead of crisp.
How to Layer It So the Top Turns Crisp Instead of Sandy
Mixing the Pumpkin Base
Whisk the pumpkin puree, evaporated milk, eggs, sugar, pumpkin pie spice, vanilla, and salt until the mixture looks smooth and even. You’re not whipping air into it; you’re dissolving the sugar and breaking up the egg streaks. If you still see ribbons of egg white, keep whisking because those streaks can bake into uneven spots. Pour it into a greased 9×13-inch dish and level it with the back of a spoon if needed.
Building the Dry Topping
Sprinkle the cake mix evenly over the pumpkin layer without stirring. The goal is a complete, dry blanket from edge to edge, because gaps in coverage create soft pockets later. Scatter the pecans over the top next. If the nuts all sink into one area, the topping bakes unevenly and you lose that even crunch in every square.
Getting the Butter Across the Surface
Drizzle the melted butter slowly over the cake mix, moving across the pan so you hit as much surface area as possible. This is the step that decides whether the top turns crisp or stays powdery. If you pour the butter in one spot, the center gets greasy and the corners stay dry. By the end, you want most of the cake mix visibly moistened, with only a few light dry spots left.
Baking and Cooling the Right Way
Bake until the top is deep golden brown and a knife inserted near the center comes out clean. The center should have just enough wobble to tell you the custard is still tender. Let it cool for at least an hour before cutting, and chill it if you want the cleanest squares. Warm slices taste great, but they’re much harder to cut neatly because the filling hasn’t fully set.
Three Ways to Make This Pumpkin Crunch Cake Work for Your Table
Dairy-Free Pumpkin Crunch Cake
Use full-fat coconut milk in place of the evaporated milk and swap in a plant-based butter that melts cleanly. The filling will still set, though the flavor shifts slightly toward coconut and the topping won’t taste quite as rich as the original.
Nut-Free Version
Leave out the pecans and add an extra half cup of cake mix over the top so the buttery crust has a little more structure. You’ll lose the toasted nut crunch, but the topping still bakes into a crisp, sweet layer.
Gluten-Free Swap
Use a gluten-free yellow cake mix made for baking rather than a pancake or all-purpose blend. The texture stays close, though some gluten-free mixes brown a little faster, so start checking the top near the 45-minute mark.
Make-Ahead for a Crowd
Bake it the day before, chill it completely, then cut it cold and bring the pieces to room temperature before serving. The texture actually improves after resting overnight because the custard sets more firmly and the topping stays crisp around the edges.
Storage and Reheating
- Refrigerator: Store covered for up to 4 days. The topping softens a little, but the filling stays smooth and sliceable.
- Freezer: Freeze individual squares tightly wrapped for up to 2 months. Thaw in the refrigerator overnight; the topping won’t be as crisp after freezing, but the flavor holds up well.
- Reheating: Warm slices in a 300°F oven for 10 to 12 minutes. The microwave softens the topping too much, so use the oven if you want the pecan layer to keep any crunch.
Answers to the Questions Worth Asking
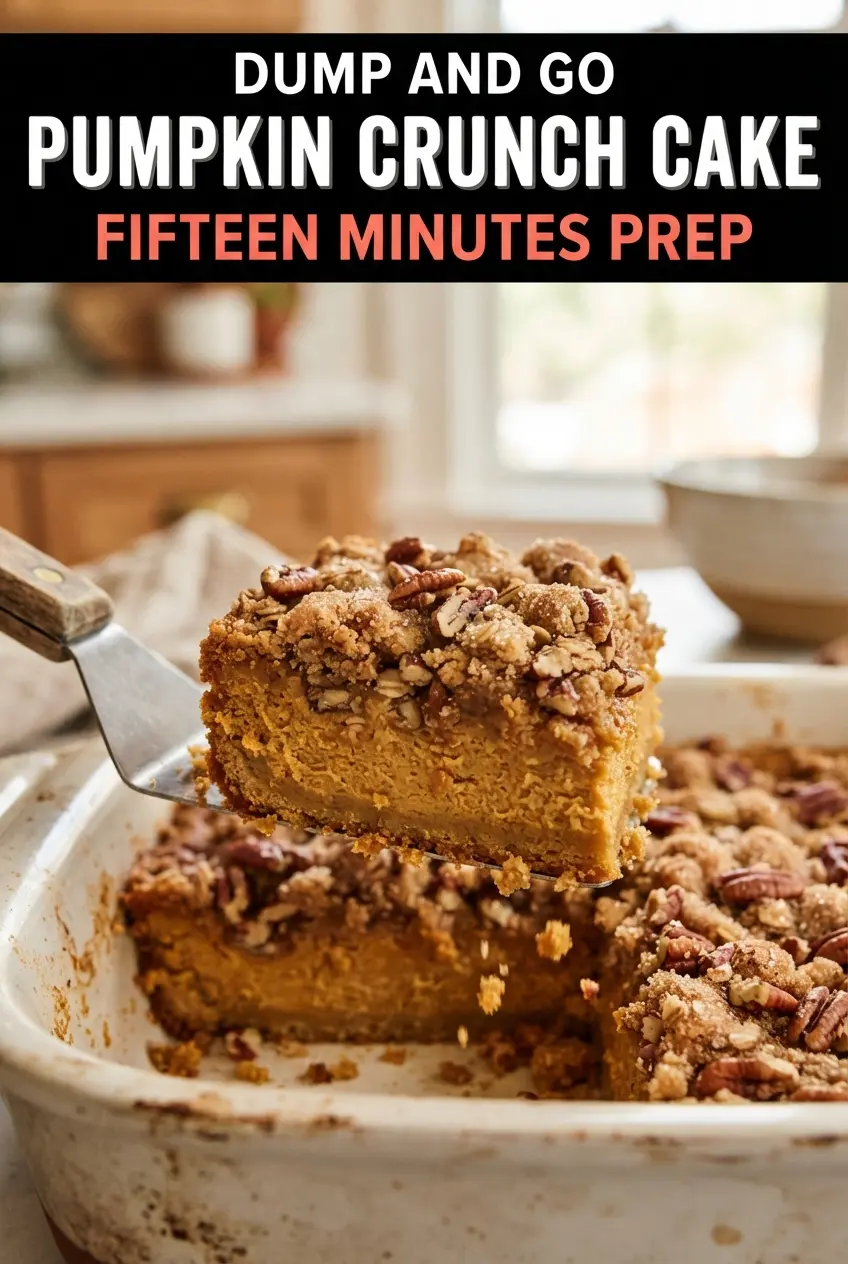
Easy Pumpkin Crunch Cake with Buttery Pecan Topping
Ingredients
Equipment
Method
- Preheat the oven to 350°F and grease a 9x13-inch baking dish.
- Whisk pumpkin puree, evaporated milk, eggs, granulated sugar, pumpkin pie spice, vanilla extract, and salt until smooth, then pour into the dish.
- Sprinkle the yellow cake mix evenly over the pumpkin layer without stirring.
- Scatter the chopped pecans on top of the dry cake mix.
- Drizzle the melted butter slowly and evenly over the top, covering as much of the dry cake mix as possible.
- Bake for 50–60 minutes at 350°F, until the topping is deep golden brown and a knife inserted near the center comes out clean.
- Cool for at least 1 hour for clean slicing, then refrigerate for 1 more hour for the cleanest squares.
- Cut into squares and serve topped with whipped cream and a drizzle of caramel sauce, if using.