
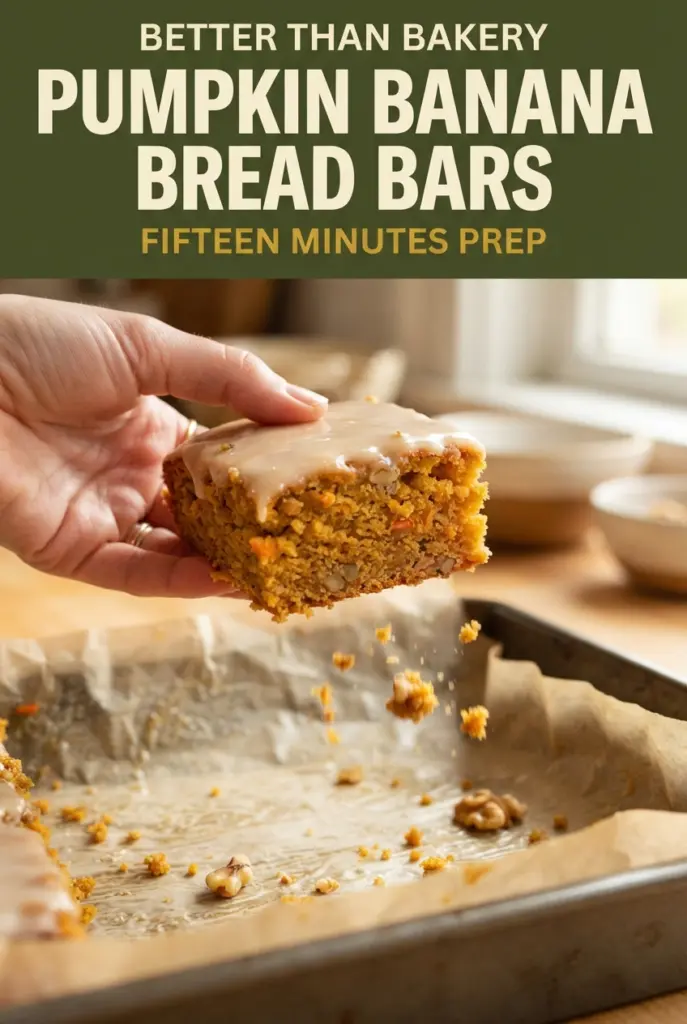
One Bowl Pumpkin Banana Bread Bars with Maple Glaze
These pumpkin banana bread bars bake up soft and tender with a moist crumb that sits somewhere between banana bread and a slice of pumpkin cake. The edges set just…

By Ava
•
•
Reading time: 10 min
Tip: save now, make later.
These pumpkin banana bread bars bake up soft and tender with a moist crumb that sits somewhere between banana bread and a slice of pumpkin cake. The edges set just enough to give you a little structure, while the center stays plush, and that maple glaze locks in a sweet finish that tastes a little richer than a plain icing.
The real trick is in the balance. Banana brings natural sweetness and keeps the bars soft, while pumpkin adds body without making the batter heavy. Melted butter keeps this one-bowl batter simple, and the spices are tuned to support both the banana and pumpkin instead of smothering them. The result is a pan that slices cleanly once cooled, which matters if you’re packing these for lunchboxes or lining them up for a bake sale.
Below, I’ve included the detail that matters most for getting the texture right, plus a few smart swaps and storage notes so the bars stay just as good on day two.
The bars came out super soft and the maple glaze set up perfectly after cooling. I used walnuts and they gave just the right crunch against the moist middle. My kids took the rest in their lunchboxes the next day.
Save these pumpkin banana bread bars for the days when you want a soft, one-bowl treat with maple glaze on top.
The Batter Stays Tender Because You Don’t Overwork It
The most common mistake with bars like these is treating them like cake batter and beating them smooth after the flour goes in. That pulls too much gluten into the batter and gives you a tighter, drier crumb. Here, you stir just until the flour disappears, then stop. A few streaks of flour in the bowl are fine for a second; they’ll finish hydrating as the bars bake.
The other thing that matters is moisture balance. Pumpkin puree and mashed banana both bring a lot of liquid, which is why the bake time is short and the pan is 9×13 instead of smaller. If you underbake them, the center stays gummy. If you overbake them, the edges dry out before the middle sets. You want the top springy to the touch and a toothpick that comes out clean or with a few moist crumbs, not wet batter.
What Each Ingredient Is Doing in This Pan
- Very ripe bananas — These should be heavily speckled or almost black on the peel. That ripeness gives you sweetness and a soft texture without needing extra liquid or flavorings. If your bananas aren’t there yet, the bars will taste flatter and less banana-forward.
- Pumpkin puree — Use plain pumpkin puree, not pumpkin pie filling. The puree adds body and that earthy pumpkin flavor, but it’s not sweetened or spiced, which lets you control the final result. If the can looks watery, stir it well before measuring so the bars don’t turn loose.
- Melted butter — This keeps the batter one-bowl and helps the bars stay rich without needing a mixer. Coconut oil can work in a pinch, but it changes the flavor and the bars set a little firmer once cool.
- Pumpkin pie spice and cinnamon — These are what make the bars taste warm instead of simply sweet. If your pumpkin pie spice is old, the bars can taste dull, so use a fresh jar if you have one. You can replace the blend with extra cinnamon plus a little ginger and nutmeg if that’s what’s in your cabinet.
- Walnuts — Optional, but they add a needed crunch against the soft crumb. Toasting them first deepens the flavor if you have an extra 5 minutes. If you skip them, the bars will still hold together just fine.
- Maple syrup in the glaze — This is what gives the topping its character. It tastes rounder and less one-note than a plain powdered sugar glaze. Use pure maple syrup here, not pancake syrup, or the glaze turns thin and overly sweet.
The Few Minutes That Set the Texture
Mashing and Mixing the Wet Base
Mash the bananas first so there aren’t any big chunks hiding in the bars. Whisk in the pumpkin, melted butter, sugars, eggs, and vanilla until the mixture looks smooth and glossy. If the butter is too hot, it can scramble the eggs at the edges, so let it cool for a minute before it goes into the bowl.
Adding the Dry Ingredients Without Toughening the Batter
Sprinkle the flour, baking soda, salt, spice, and cinnamon over the wet mixture, then stir with a spatula just until the flour disappears. The batter should look thick and spoonable, not whipped. This is where overmixing sneaks in and makes the bars chewy in the wrong way, so stop as soon as you don’t see dry streaks.
Baking Until the Center Springs Back
Spread the batter evenly into the parchment-lined pan so it bakes at the same rate from edge to middle. The bars are done when the top looks set, the center no longer looks shiny, and a toothpick inserted in the middle comes out clean. If the toothpick has wet batter on it, give the pan a few more minutes; if you wait until the bars look deeply browned, they’ll dry out after cooling.
Cooling and Glazing
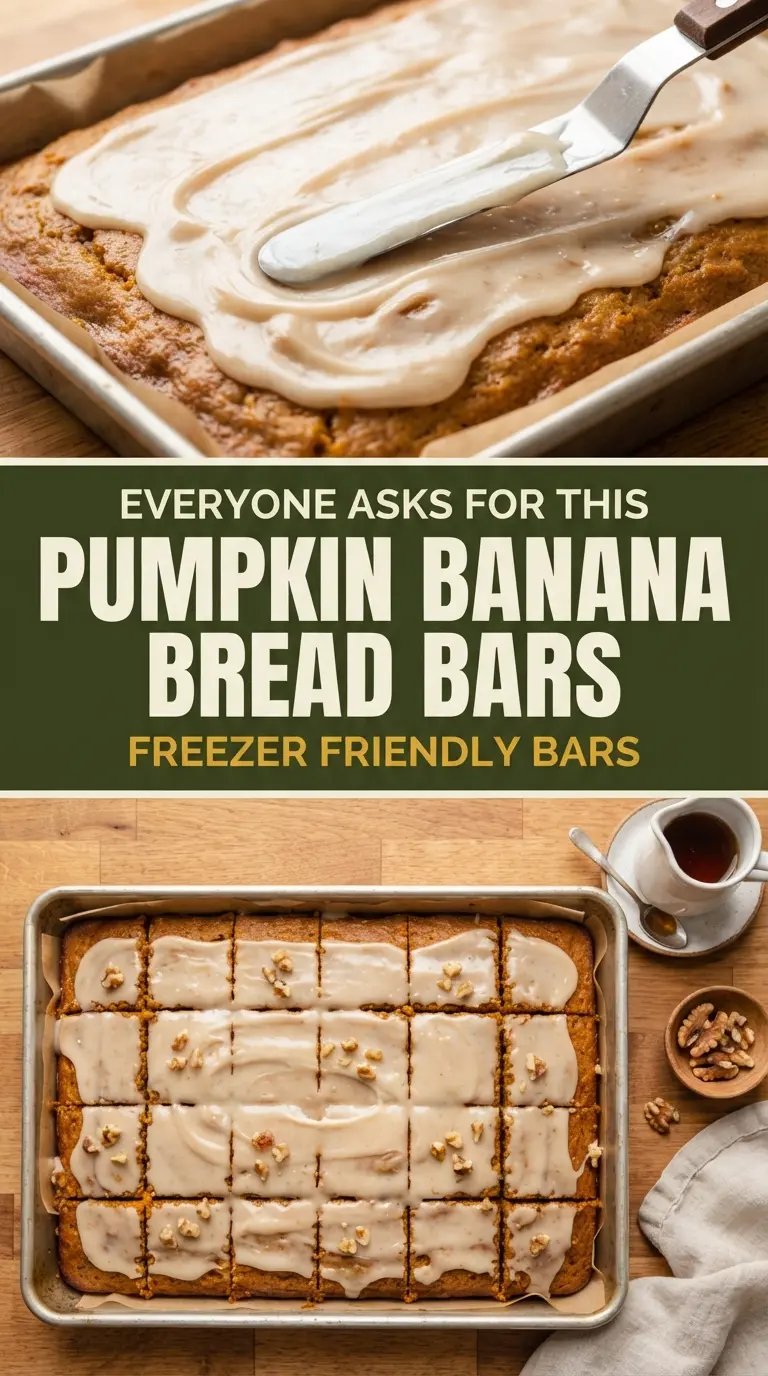
Let the bars cool completely in the pan before glazing or slicing. Warm bars will melt the glaze and make the tops slippery instead of set. Whisk the glaze until it’s smooth and pourable, then spread it all the way to the edges. If it seems too thick, add milk a teaspoon at a time; if it gets too thin, a little more powdered sugar brings it back.
Three Good Ways to Adapt These Bars
Make Them Nut-Free
Leave out the walnuts and bake as written. The bars stay soft and slice cleanly without them, though you lose the little bit of crunch that helps break up the tender crumb. If you still want texture, sprinkle a few pumpkin seeds over the top before baking.
How to Make Them Dairy-Free
Swap the butter in both the bars and the glaze for a good plant-based butter. Choose one that melts and bakes like dairy butter, not a tub spread, or the bars can turn greasy. The texture stays close, and the maple glaze still sets nicely.
Add Chocolate Instead of Nuts
Fold in 3/4 cup chocolate chips in place of the walnuts for a sweeter, more dessert-like bar. The chocolate softens the spice profile and makes these feel closer to a bakery square. Use semi-sweet chips if you want the glaze to stay the star.
Storage and Reheating
- Refrigerator: Store in an airtight container for up to 5 days. The bars stay moist, and the glaze holds up well, though the crumb firms slightly as it chills.
- Freezer: Freeze the unglazed bars for up to 2 months, wrapped tightly and layered with parchment. Thaw at room temperature, then glaze after they’re fully thawed for the best texture.
- Reheating: Warm a bar in the microwave for 10 to 15 seconds if you want it soft again. Don’t overheat glazed bars or the topping will melt and slide off.
Answers to the Questions Worth Asking
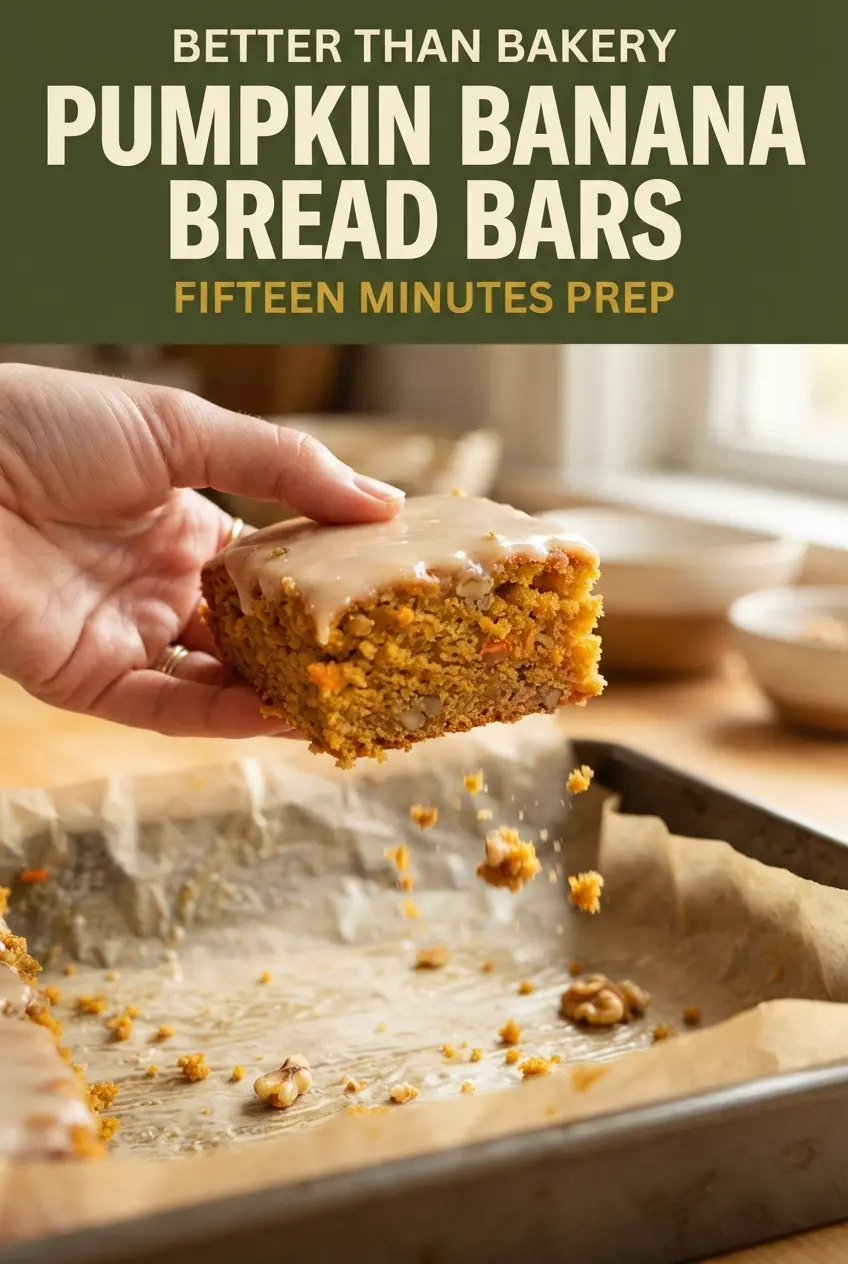
One Bowl Pumpkin Banana Bread Bars with Maple Glaze
Ingredients
Equipment
Method
- Preheat the oven to 350°F and line a 9x13-inch pan with parchment paper, leaving an overhang on the long sides.
- Mash the bananas in a large bowl, then whisk in the pumpkin, melted butter, both sugars, eggs, and vanilla until smooth.
- Sprinkle the flour, baking soda, salt, pumpkin pie spice, and cinnamon over the wet ingredients and stir just until no dry streaks remain.
- Fold in the walnuts, if using, until evenly distributed.
- Spread the batter evenly in the pan and bake for 25–30 minutes, until the top springs back and a toothpick comes out clean.
- Cool completely in the pan for about 1 hour.
- Whisk the melted butter, maple syrup, powdered sugar, salt, and 1 tbsp milk until smooth and pourable, adding more milk if needed.
- Pour the glaze over the cooled bars, spread it to the edges, and let it set for 15 minutes.
- Lift out using the parchment, then cut into 24 bars.