
Classic Boston Cream Pie
As the pastry cream starts to bubble, it changes from loose and pale to thick enough to hold the whisk’s tracks. That quick transformation is what gives Classic Boston Cream…

By Ava
•
•
Reading time: 10 min
Tip: save now, make later.
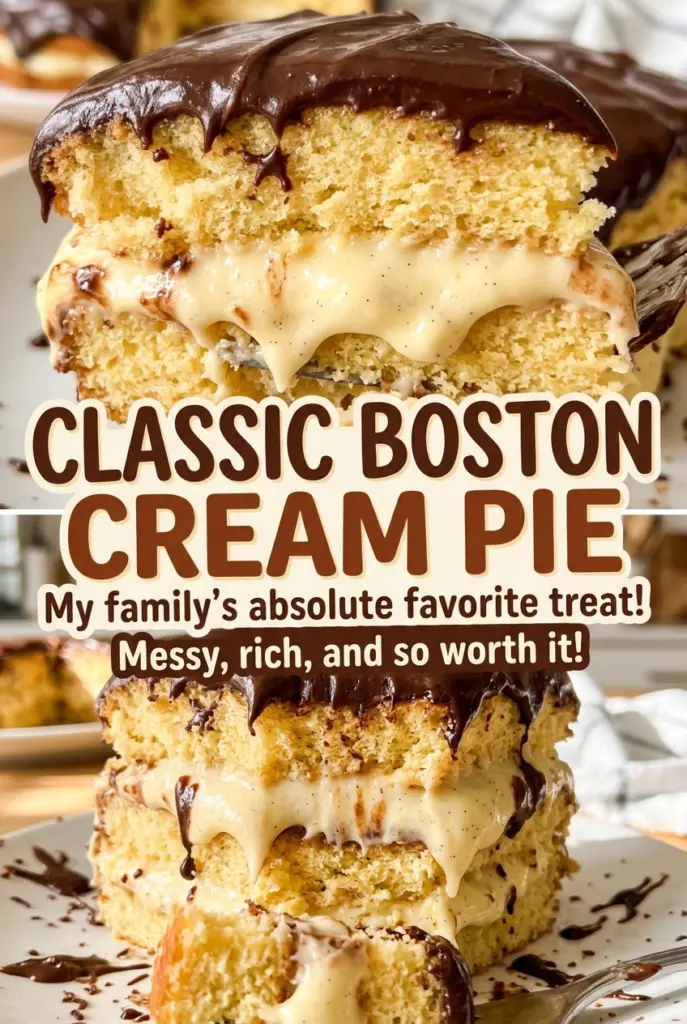
As the pastry cream starts to bubble, it changes from loose and pale to thick enough to hold the whisk’s tracks. That quick transformation is what gives Classic Boston Cream Pie its steady custard center instead of a filling that runs when you slice it. The cake layers are tender and lightly vanilla-scented, so they let the smooth filling and chocolate glaze take the lead.
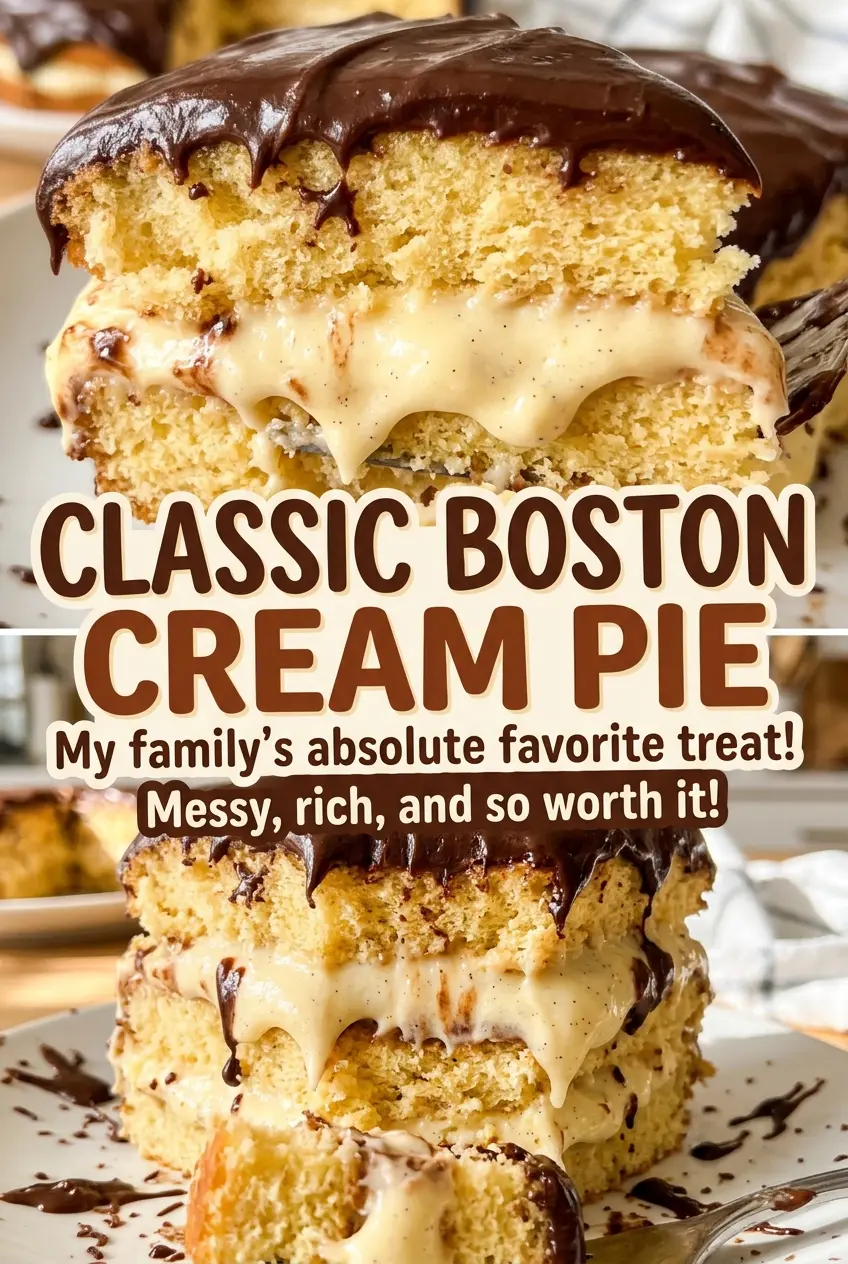
I like the balance here: soft cake, cool pastry cream, and a glossy semisweet chocolate finish. The name says pie, but what you’re building is a beautiful layer cake with a creamy middle. Give each part time to cool before putting it together, and the layers stay distinct instead of melting into one another. A slice should show all three clearly, with enough chocolate to finish each bite without burying the custard.
Kitchen Note
Room-temperature eggs blend into creamed butter more smoothly than cold ones. If the mixture looks a little curdled after you add an egg, keep mixing until it comes together before adding the next.
Save Classic Boston Cream Pie for a special bake: tender cake, a cool custard center, and a glossy chocolate top.
Why Boston Cream Pie Needs a Light Chocolate Cap
This dessert depends on contrast, not a thick layer of frosting. The cake is soft and mild, the pastry cream is cool and smooth, and the chocolate brings a deeper, slightly bittersweet finish. A heavy frosting would take over that balance and make the middle feel less like the star.
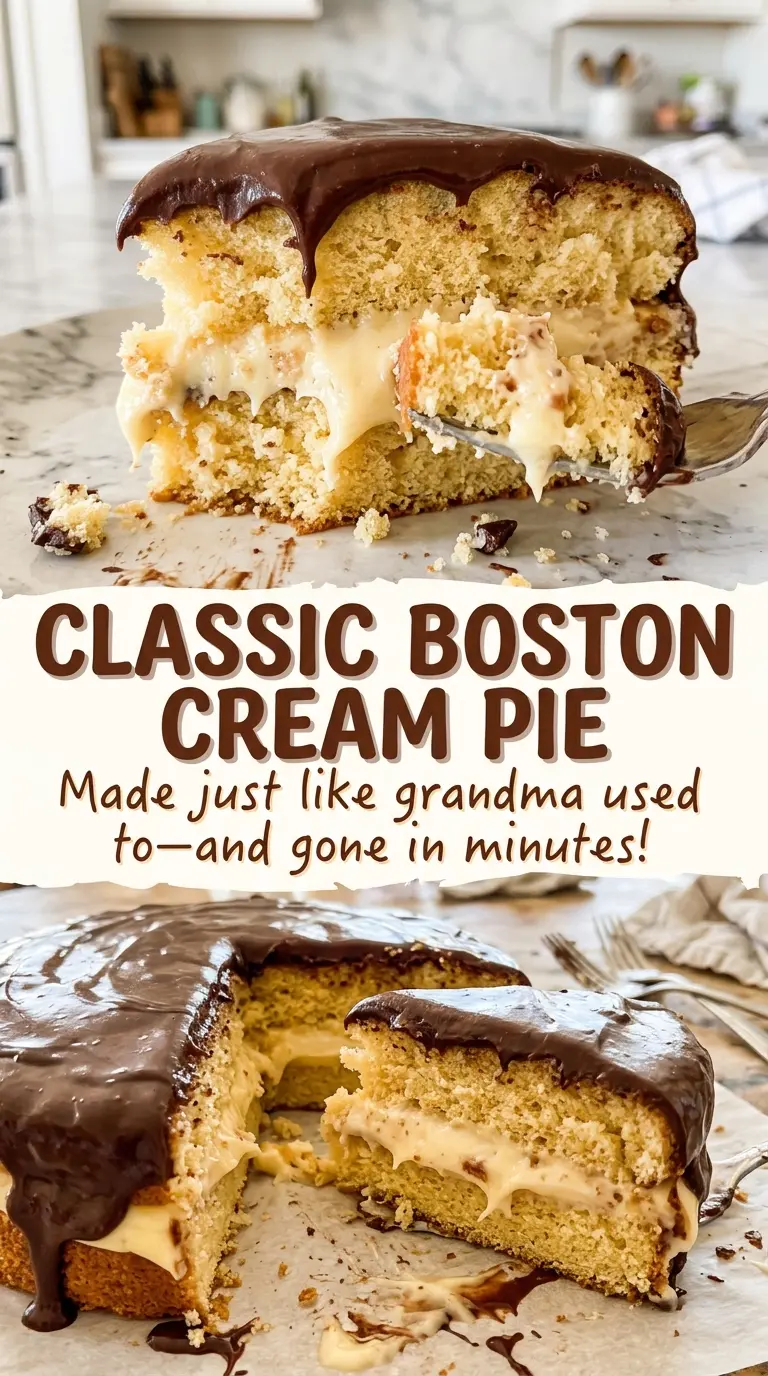
The glaze here is meant to sit over the cake as a thin cap. It gives each slice a clear chocolate finish while still letting the custard show at the cut edge. That distinction also makes serving easier: a soft glaze yields more readily than a thick, firm frosting, so the top layer is less likely to drag against the filling when you cut through it.
Think of the chocolate as the last note, not the main event. When the cake, pastry cream, and glaze each keep their own texture, you get the familiar Boston cream combination in every forkful instead of a dessert that tastes mostly of chocolate.
What Gives the Cake, Custard, and Glaze Their Texture
- Whole milk — It brings richness to the pastry cream and tenderness to the cake, and one carton works for both parts. If you only have 2% milk, use it measure-for-measure in both; the filling will be a little less rich, but the yolks and cornstarch still thicken it. A regular grocery-store brand is fine.
- Egg yolks and cornstarch — Yolks give the custard its creamy body, while cornstarch helps it hold between the cake layers. There isn’t a reliable one-ingredient swap for both; keep the pair together for a smooth filling that sets properly. Fresh, standard eggs work well here.
- All-purpose flour and baking powder — All-purpose flour gives the cake enough structure to carry the filling without making the layers heavy. A basic store-brand flour is suitable; accurate measuring matters more than buying a premium brand. For a gluten-free adaptation, use a baking blend designed as a one-to-one replacement, as described below.
- Unsalted butter and eggs — Butter provides the cake’s rich, tender crumb, and the whole eggs help bind it. Standard unsalted butter is a good choice because the salt in the batter stays controlled. The eggs don’t need to be an expensive specialty product.
- Semisweet chocolate and heavy cream — Finely chopped chocolate melts more evenly when the hot cream is poured over it. A good-quality chocolate bar is nice, but a standard semisweet bar works; the cream’s fat helps the glaze turn smooth and pourable. Bittersweet chocolate is a useful swap if you prefer a darker, less-sweet finish.
Three Stages for Keeping the Layers Neat
Thicken and Chill the Pastry Cream
Warm the milk with part of the sugar until it’s steaming, and whisk the yolks with the remaining pastry-cream sugar and cornstarch until smooth. Slowly whisk about a cup of the hot milk into the yolks, then return everything to the saucepan. Whisk constantly over medium heat until the cream is thick and bubbling, continue whisking for one minute, then stir in the vanilla. Transfer it to a bowl, press plastic wrap directly onto the surface, and refrigerate for at least two hours, until cold.
Mix and Bake the Cake Layers
Heat the oven to 350°F, coat two 8-inch round pans with nonstick spray, and line their bottoms with parchment rounds. Whisk the flour, baking powder, and salt together; in a separate large bowl, beat the butter and sugar until light and fluffy, about two minutes. Add the eggs one at a time, mix in the vanilla, then add the flour mixture in three additions, alternating with the milk in two additions and beginning and ending with flour. Divide the batter between the pans and bake for 22 to 26 minutes; the tops should spring back when lightly pressed, and a toothpick in the center should come out clean. Cool the cakes in their pans for 10 minutes, turn them onto wire racks, remove the parchment, and let them cool completely.
Stack, Glaze, and Let the Top Set
Set one cake layer on a serving plate and spread the cold pastry cream evenly over it, then place the second layer on top and refrigerate the stack for 20 minutes. Put the chopped chocolate in a heatproof bowl, heat the cream until steaming with small bubbles at the edges, and pour it over the chocolate. Let it stand for three minutes before stirring until smooth, then cool the glaze for five to 10 minutes, until thickened but still pourable. Pour it over the center of the cake, spread it to the edges, and refrigerate for 30 minutes, until set.
Two Easy Ways to Adapt the Chocolate and Cake
Use a Gluten-Free Baking Blend
Replace the all-purpose flour with a one-to-one gluten-free flour blend made for baking. The cake layers may be a little more delicate, so handle them gently when turning them out and stacking them.
Make the Glaze More Bittersweet
Swap the semisweet chocolate for bittersweet chocolate, keeping the same amount. The glaze will taste darker and less sweet, which puts a little more emphasis on the vanilla cake and custard.
Make-Ahead and Storage
- Make ahead: Prepare the pastry cream in advance and keep it refrigerated. Bake the cake layers ahead too, then assemble once they’re completely cool and the pastry cream is cold.
- Refrigerator: Cover the assembled cake and refrigerate it for up to 3 days. The cake will gradually soften as it sits against the pastry cream.
- Freezer: I don’t recommend freezing the assembled cake; the pastry cream can become watery or grainy after thawing.
Questions That Come Up Before Slicing Boston Cream Pie
Classic Boston Cream Pie
Ingredients
Equipment
Method
- In a medium saucepan, heat 2 cups of the milk with 1/4 cup of the sugar over medium heat until steaming, stirring occasionally.
- In a medium bowl, whisk the egg yolks, 1/4 cup of the sugar, and the cornstarch until smooth.
- Slowly whisk about 1 cup of the hot milk mixture into the yolk mixture.
- Pour the yolk mixture back into the saucepan and cook over medium heat, whisking constantly, until thick and bubbling.
- Keep whisking for 1 minute, then remove from the heat.
- Whisk in 1 teaspoon of the vanilla.
- Transfer the pastry cream to a bowl, press plastic wrap directly onto its surface, and refrigerate for at least 2 hours, until cold.
- Heat the oven to 350°F, spray two 8-inch round cake pans with nonstick cooking spray, and line their bottoms with parchment rounds.
- In a medium bowl, whisk together the flour, baking powder, and salt.
- In a large bowl, beat the butter and 1 cup of the sugar until light and fluffy, about 2 minutes.
- Beat in the eggs one at a time.
- Mix in the remaining 1 teaspoon of vanilla.
- With the mixer on low, add the flour mixture in three additions, alternating with the remaining 2/3 cup of milk in two additions, beginning and ending with the flour mixture; mix just until combined.
- Divide the batter evenly between the pans and bake for 22 to 26 minutes, until the tops spring back when lightly pressed and a toothpick inserted in the centers comes out clean.
- Cool the cakes in their pans for 10 minutes.
- Turn the cakes out onto wire racks, remove the parchment, and cool completely.
- Place one cake layer on a serving plate and spread the cold pastry cream evenly over it.
- Set the second layer on top and refrigerate for 20 minutes.
- Put the chopped chocolate in a heatproof bowl.
- Heat the heavy cream in a small saucepan until steaming with small bubbles at the edges.
- Pour the cream over the chocolate and let stand for 3 minutes.
- Stir the chocolate mixture until smooth and let it cool for 5 to 10 minutes, until thickened but still pourable.
- Pour the chocolate over the center of the cake and spread it to the edges.
- Refrigerate the cake for 30 minutes, until the glaze is set, before serving.