
Chocolate Peppermint Thumbprint Cookies
When the cookies come out of the oven, the thumb dents may look shallower than they did on the baking sheet. That’s normal for these Chocolate Peppermint Thumbprint Cookies: the…

By Ava
•
•
Reading time: 9 min
Tip: save now, make later.
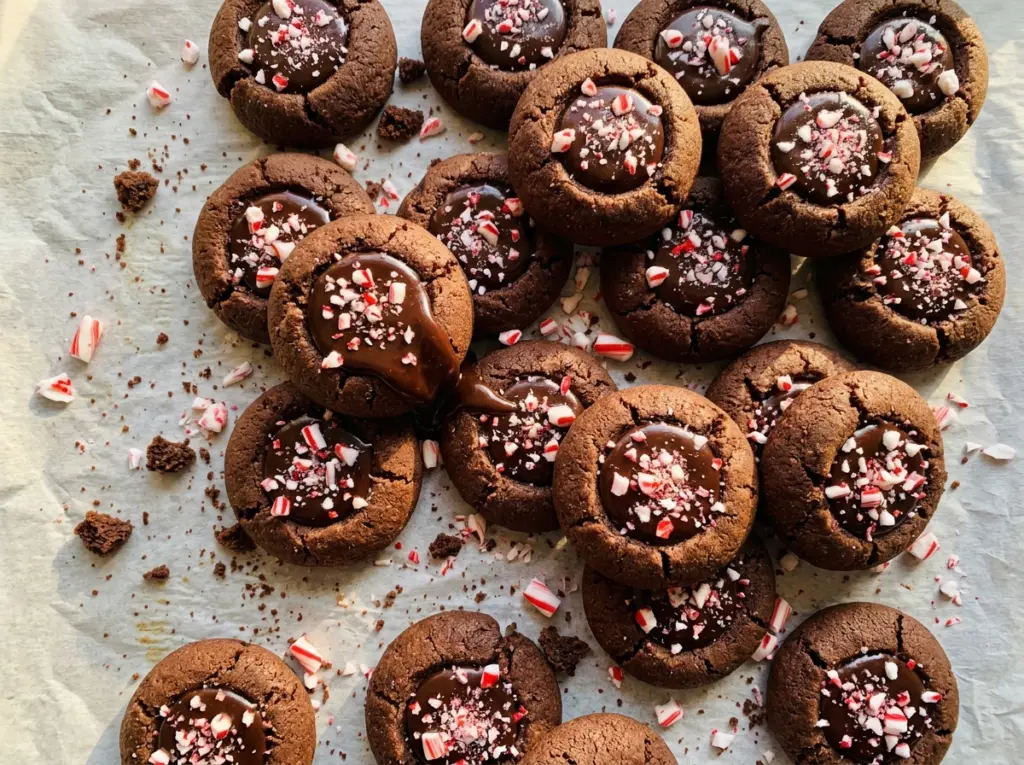
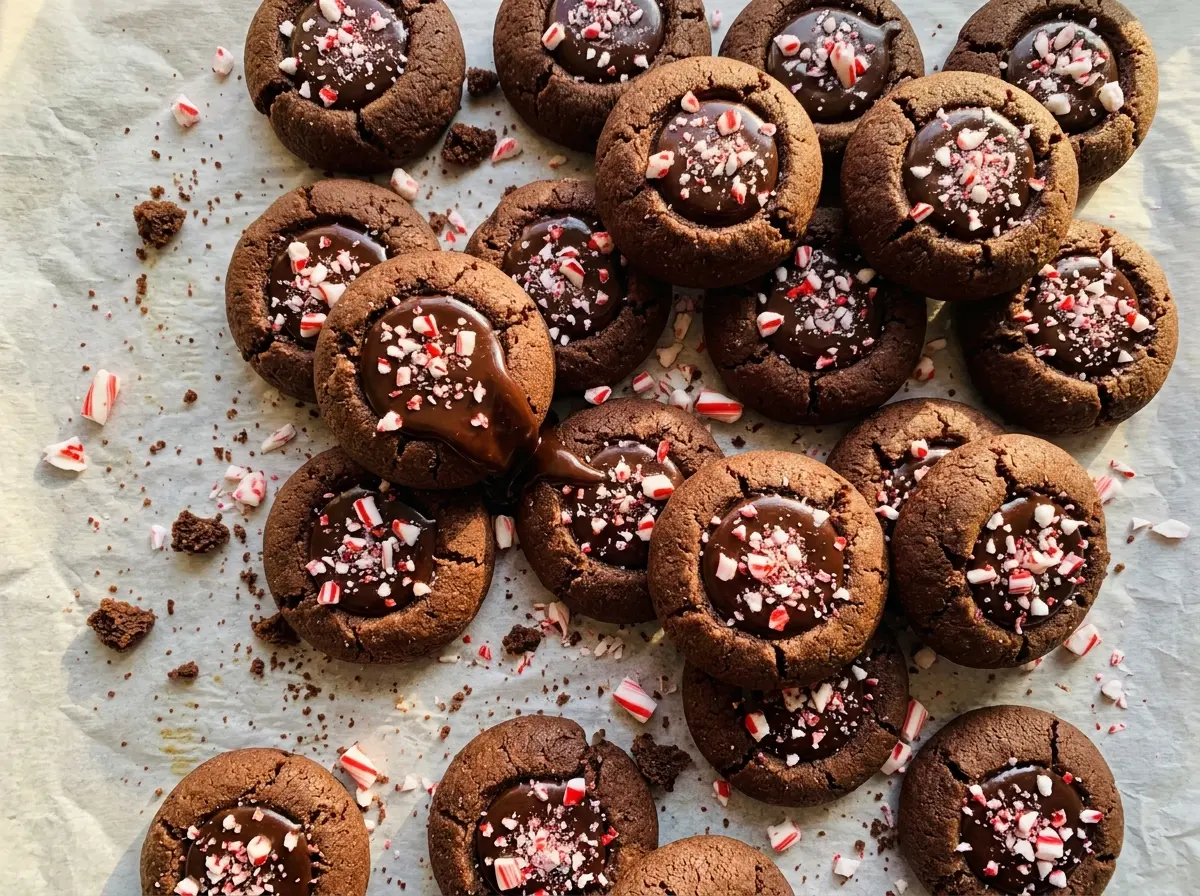
When the cookies come out of the oven, the thumb dents may look shallower than they did on the baking sheet. That’s normal for these Chocolate Peppermint Thumbprint Cookies: the soft cocoa dough puffs a little as it bakes, and a gentle second press brings the centers back. Once they’re cool, each well holds a smooth pool of peppermint chocolate with a little crushed candy on top.
I chill the shaped cookies before baking so the dough has time to firm up and the wells hold their shape better in the oven. The filling gets its smooth texture from finely chopped semisweet chocolate and cream that’s steaming but not at a rolling boil. Let the cookies cool completely before filling them, then add the peppermint candy while the chocolate is still soft. The result is a tender cocoa cookie with a creamy center and a crisp peppermint finish.
Kitchen Note
Sprinkle the crushed peppermint candy on while the ganache is still soft. Once the chocolate sets, the pieces won’t stick as neatly, and you’ll lose that clean, candy-dotted top.
Save these Chocolate Peppermint Thumbprint Cookies for a bake when you want tender cocoa cookies, smooth peppermint centers, and a crisp candy finish.
Why These Thumbprints Get Pressed Twice
A thumbprint cookie has to do two jobs in the oven: bake into a tender cookie and keep a center deep enough to hold filling. Cocoa dough is soft before it chills, and the indentations can puff as the cookies bake. That doesn’t mean the batch is ruined. A light second press while the cookies are still warm restores the wells without cracking the edges.
The shape matters as much as the filling here. A shallow dent leaves too little room for ganache, while pressing hard enough to split the dough can leave fragile edges. Make a deep, even indentation before chilling, then check the cookies after baking and gently press again only where the centers have risen. The cookies finish cooling on the sheet before they move to a rack, which gives the warm dough a little time to firm up. That extra care leaves sturdy edges around a generous chocolate center, rather than a thin cookie with filling spilling over the top.
The Cocoa and Chocolate Have Two Different Jobs

- Unsweetened cocoa powder gives the cookie its deep chocolate taste without adding extra sugar. Use a cocoa powder you enjoy, since its flavor carries through the dough; cocoa drink mix isn’t a direct replacement because it contains sugar and other ingredients.
- Softened unsalted butter and the egg yolk create a rich, tender dough that’s easy to shape. The butter should be soft enough to beat smoothly, not melted. The yolk adds richness without the extra moisture of a whole egg, so keep it to the yolk for the intended texture.
- Semisweet chocolate makes the filling taste chocolatey without overwhelming the peppermint. Finely chopped pieces melt more evenly than large chunks; semisweet chocolate chips can work in the filling, though a chopped bar usually gives you a smoother result.
- Heavy cream turns the chopped chocolate into a spoonable ganache that sets in the cookie wells. Milk is thinner and won’t give the filling the same consistency, so it isn’t a straight swap here.
- Peppermint extract and crushed peppermint candy bring different things: the extract flavors the filling, while the candy adds crunch and a bright finish. Peppermint extract is concentrated, so measure it carefully; the candy should be finely crushed so it sits neatly on each cookie.
Shape, Bake, and Fill Without Losing the Wells
Cream the Butter, Then Stop at a Soft Dough
Beat the softened butter and granulated sugar with an electric mixer on medium speed until creamy, about 2 minutes. Beat in the egg yolk and vanilla until they’re combined. Add the flour, cocoa powder, and salt, mixing just until a soft dough forms. Stop when the dry ingredients disappear; mixing beyond that point can make the cookies tougher.
Make Deep Wells Before the Chill
Line two large baking sheets with parchment paper and roll the dough into 24 balls about 1 inch wide. Set them 2 inches apart, then press a deep indentation into each one with your thumb or the back of a teaspoon. Refrigerate the shaped cookies on the sheets for 30 minutes, and heat the oven to 350°F while they chill. The dough will feel firmer after its rest, which makes the shaped cookies easier to handle.
Bake Until Set, Then Restore Any Shallow Centers
Bake both sheets for 10–12 minutes, switching their rack positions and rotating them front to back halfway through. The cookies should look set when they come out; the dark cocoa dough won’t give you a useful golden-brown color cue. If any wells have puffed up, gently press them again while the cookies are warm. Let the cookies cool on the baking sheets for 10 minutes, then transfer them to a rack to cool completely.
Stir the Ganache Smooth Before Filling
Put the finely chopped chocolate in a heatproof bowl. Heat the heavy cream in a small saucepan over medium heat until steaming and just beginning to simmer, then pour it over the chocolate and leave it undisturbed for 3 minutes. Stir until smooth, then stir in the peppermint extract. Spoon the filling into the completely cooled cookie wells and top with crushed peppermint candy while the ganache is soft; let it set at room temperature for about 1 hour before serving.
Easy Ways to Change the Peppermint-Chocolate Balance
A smooth-topped peppermint version
Leave off the crushed peppermint candy and keep the peppermint extract in the ganache. You’ll still get mint in every bite, but the tops will be smooth and the filling won’t have the candy crunch.
A softer mint note
Leave out the peppermint extract but keep the crushed peppermint candy on top. The candy gives each cookie a little peppermint flavor and crunch, while the ganache itself stays focused on semisweet chocolate.
A gluten-free batch
Replace the all-purpose flour with the same measure of a 1-to-1 gluten-free baking flour blend that includes xanthan gum. The cookies may have a slightly more delicate, tender crumb, so handle them gently when transferring them from the baking sheets.
Storage and Reheating
- Refrigerator: Store the filled cookies in an airtight container for up to 4 days. The ganache will firm up when chilled.
- Freezer: Freeze the cookies in a single layer until firm, then transfer them to an airtight container with parchment between layers for up to 2 months. Thaw them in the refrigerator.
- Reheating: These cookies don’t need reheating. Let chilled cookies sit out until the filling softens; microwaving can make the ganache runny.
Questions That Come Up With Chocolate Peppermint Thumbprints
Chocolate Peppermint Thumbprint Cookies
Ingredients
Equipment
Method
- Beat the butter and sugar in a large bowl with an electric mixer on medium speed until creamy, about 2 minutes.
- Beat in the egg yolk and vanilla until combined, then mix in the flour, cocoa powder, and salt just until a soft dough forms.
- Line two large baking sheets with parchment paper.
- Roll the dough into 24 balls about 1 inch wide, and place them 2 inches apart.
- Press a deep indentation into each ball with your thumb or the back of a teaspoon.
- Refrigerate the shaped cookies on the baking sheets for 30 minutes.
- Heat the oven to 350°F.
- Bake both sheets for 10–12 minutes, switching their rack positions and rotating them front to back halfway through, until the cookies look set.
- Gently press the indentations again if they have puffed up.
- Cool the cookies on the sheets for 10 minutes.
- Transfer the cookies to a rack to cool completely.
- Put the chopped chocolate in a heatproof bowl.
- Heat the cream in a small saucepan over medium heat until steaming and just beginning to simmer.
- Pour the cream over the chocolate and let stand for 3 minutes.
- Stir the chocolate mixture until smooth.
- Stir in the peppermint extract.
- Spoon the filling into the cooled cookie indentations.
- Sprinkle with crushed peppermint candy while the filling is still soft.
- Let the filling set at room temperature for about 1 hour before serving.