
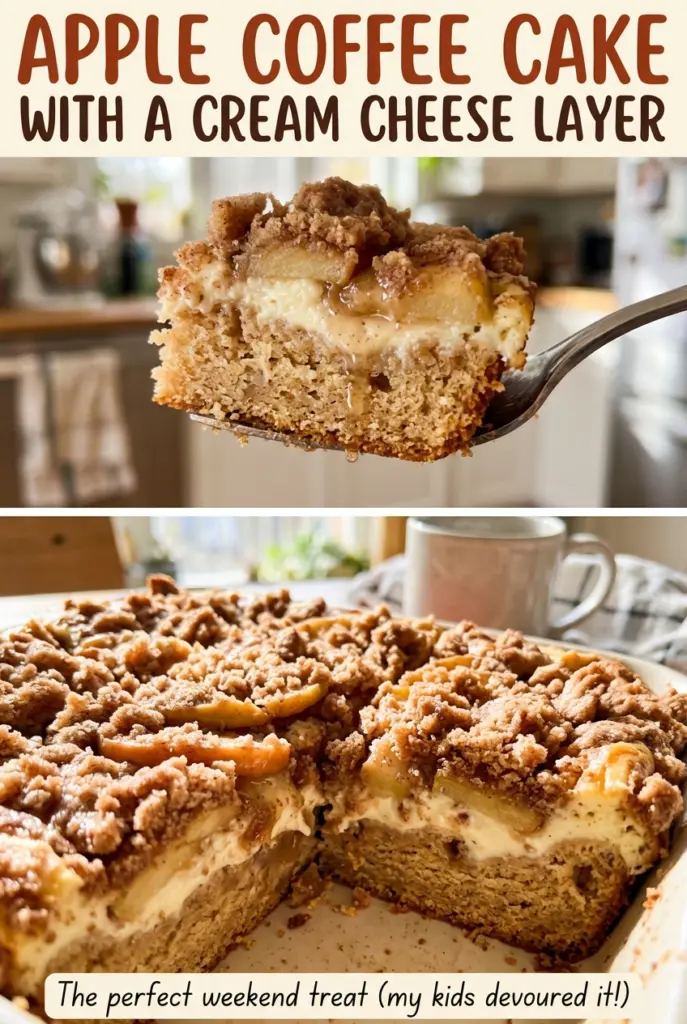
Apple Coffee Cake with a Cream Cheese Layer
The oat topping is golden before the apple layer loses its glossy look, and that contrast is exactly what I want in a pan of coffee cake. The first slice…

By Ava
•
•
Reading time: 9 min
Tip: save now, make later.
The oat topping is golden before the apple layer loses its glossy look, and that contrast is exactly what I want in a pan of coffee cake. The first slice has a tender cake base, a smooth cream cheese middle, and cinnamon apples tucked under buttery oats. It feels special enough for a brunch table but still familiar when you cut yourself a piece with coffee.
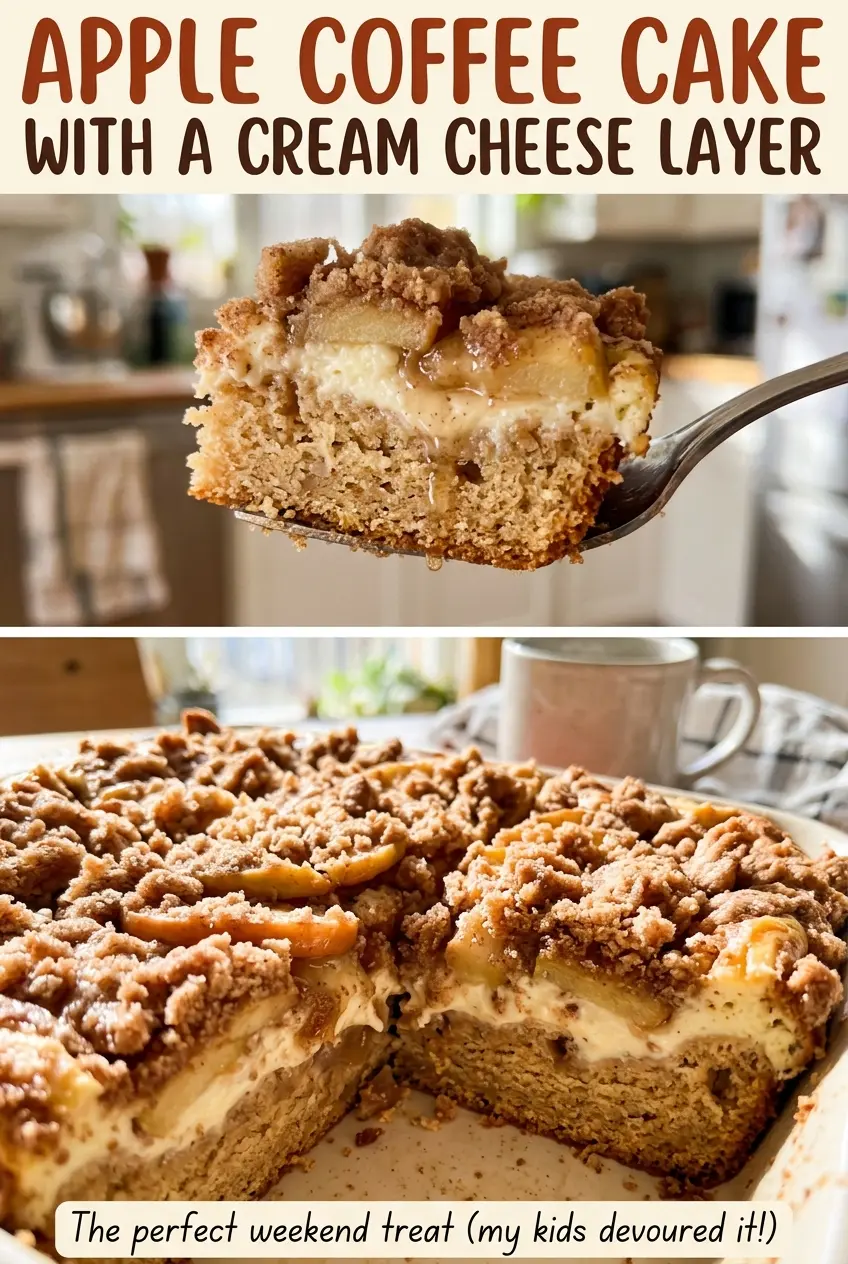
I keep the cream cheese layer separate instead of swirling it through the batter. That gives each slice a distinct, tangy center without making the whole cake feel dense. Firm diced apples hold their shape under the crumbly topping, and the result is a generous 9×13-inch cake with plenty of texture in every bite.
Kitchen Note
Give the cake at least an hour to cool in the pan before slicing. The cream cheese layer is soft while warm, and a little patience keeps the layers neat under your knife.
Save this apple coffee cake with its cream cheese layer and cinnamon oat topping for your next brunch or weekend bake.
Why a Clean Edge Test Doesn’t Tell You About the Cream Cheese Center
This cake has two different textures baking in the same pan, so one quick check can give you the wrong impression. The cake near the edge may be fully baked while the cream cheese layer in the middle still needs time to set. A tester inserted at the edge tells you about the cake crumb there; it doesn’t tell you what is happening in the center.
I use the golden topping and a clean test near the edge as useful visual cues, then check the center of the cream cheese layer with an instant-read thermometer. That combination matters more than relying on the top alone. The oats can look ready while the center is still soft, and baking only until the edge looks done can leave the middle unset. Keep the pan in the oven until both zones meet their doneness cues, then let the cake cool before cutting so the center has time to settle.
What the Sour Cream, Cream Cheese, and Apples Each Bring
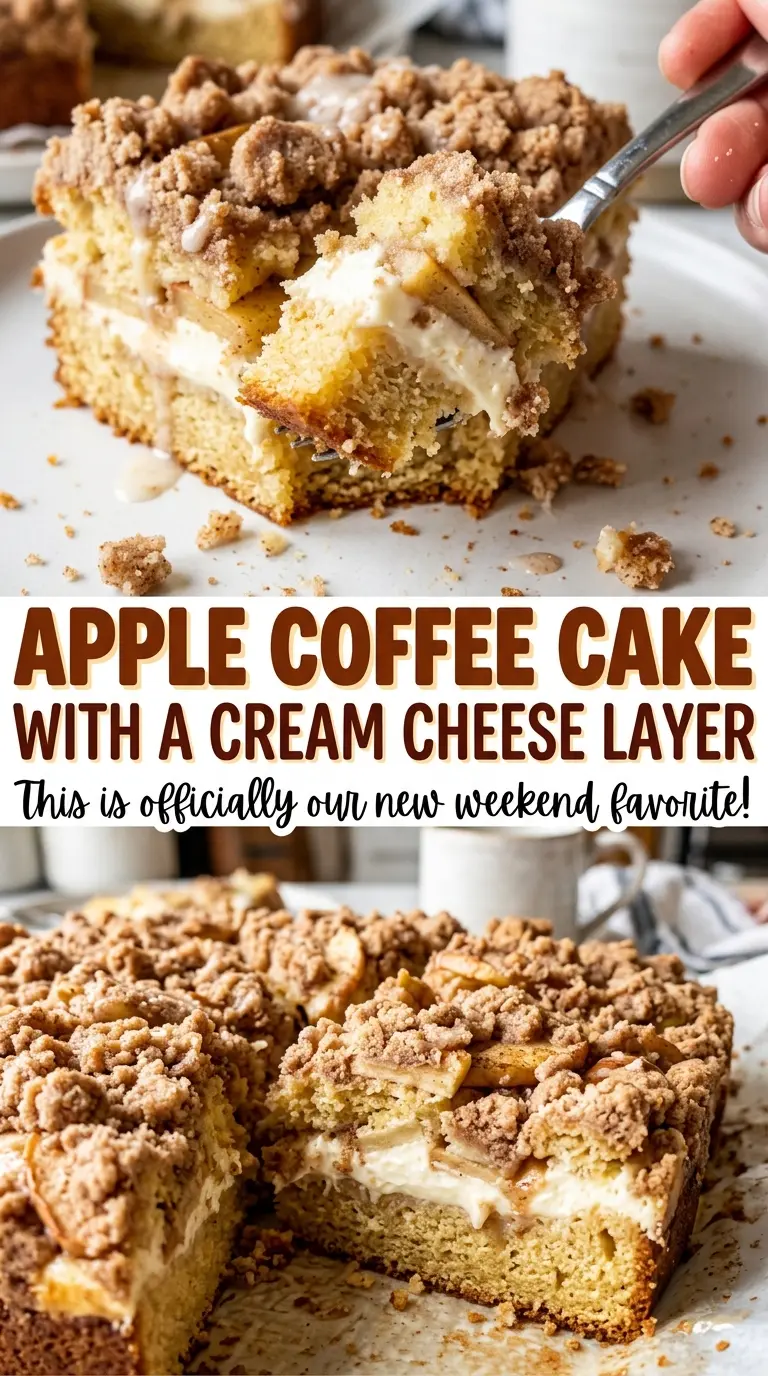
- All-purpose flour — It gives the cake a soft but sturdy base for the layers above it. A fresh bag is fine; there’s no need for specialty flour here. For a gluten-free version, use a cup-for-cup baking blend designed to replace all-purpose flour.
- Sour cream and vegetable oil — Sour cream adds tang and moisture, while neutral oil keeps the crumb tender after cooling. Plain full-fat Greek yogurt works in place of sour cream in an equal measure, though it gives the cake a slightly tangier finish. Canola oil is a straightforward swap for vegetable oil.
- Cream cheese — Use softened cream cheese so it beats smoothly with the confectioners’ sugar. A block-style package is easier to spread into a distinct layer than soft tub-style cream cheese. Neufchâtel can stand in at an equal measure, but the layer may bake up a little softer.
- Apples, cornstarch, and cinnamon — Choose firm apples that hold their shape after baking; a tart variety gives a brighter contrast to the sweet topping. Peeling and dicing them helps the pieces soften evenly. Cornstarch coats the fruit and helps thicken the juices; arrowroot powder works in its place at an equal measure.
- Old-fashioned oats, brown sugar, and butter — Rolled oats make a topping with distinct, chewy-crisp pieces, and brown sugar brings a warm caramel note. Old-fashioned oats are worth using here; quick oats make a finer, more compact topping. Unsalted butter lets the cake’s salt stay balanced without making the topping taste salty.
Layering the Batter So the Cream Cheese Stays Distinct
Mix a thick, tender cake base
Heat the oven to 350°F and grease a 9×13-inch baking pan with 1 teaspoon of the vegetable oil. Whisk the flour, baking powder, baking soda, and salt together in a large bowl. In a second bowl, whisk the granulated sugar, eggs, remaining vegetable oil, sour cream, and vanilla until smooth. Fold the wet mixture into the dry just until no dry streaks remain; the batter will be thick, not pourable, so spread it evenly across the pan.
Beat and spread the cream cheese layer
Beat the softened cream cheese with the confectioners’ sugar until the mixture looks smooth. Beat in the egg until fully combined, scraping the bowl as needed so no cream cheese lumps remain. Dollop the mixture over the batter, then gently spread it into an even layer. Use a light touch so you don’t pull the cake batter up into the cream cheese.
Coat the apples and make the oat topping
Toss the peeled, cored, diced apples with the cornstarch and cinnamon until the pieces are evenly coated. Scatter them across the cream cheese layer rather than piling them in one spot. Stir the oats, brown sugar, and melted butter until the oats are evenly moistened. Sprinkle that mixture over the apples in an even layer, including near the edges.
Bake until the center is set
Bake at 350°F for 50 to 60 minutes. Look for a golden topping, and test the cake near the edge; it should come out clean. The center of the cream cheese layer should register 160°F on an instant-read thermometer. Set the pan on a rack to cool for at least an hour before slicing.
Two Easy Ways to Adapt the Cake
Make it gluten-free with a cup-for-cup blend
Replace the all-purpose flour with a gluten-free baking blend labeled as a cup-for-cup substitute, preferably one that includes xanthan gum. Keep the other ingredients and method the same. The cake may have a slightly less springy crumb, but the cream cheese and apple layers stay intact.
Trade the apples for firm pears
Use peeled, cored, diced firm pears in place of the apples, keeping the cornstarch and cinnamon with the fruit. Pears bake softer and taste sweeter, so the finished middle will feel more delicate and less tart.
Storage and Reheating
- Refrigerator: Refrigerate leftovers within 2 hours and keep them covered for up to 4 days. The oat topping softens as it sits.
- Freezer: Freeze individual slices, tightly wrapped, for up to 2 months. Thaw overnight in the refrigerator; the topping will be softer than when freshly baked.
- Reheating: Microwave a slice in short 10-second bursts until just warm, or enjoy it chilled. Long heating softens the cream cheese layer and can make the cake gummy.
Questions That Come Up Before Slicing
Apple Coffee Cake with a Cream Cheese Layer
Ingredients
Equipment
Method
- Heat the oven to 350°F.
- Grease a 9x13-inch baking pan with 1 teaspoon of the vegetable oil.
- Whisk the flour, baking powder, baking soda, and salt together in a large bowl.
- In a second bowl, whisk the granulated sugar, eggs, remaining 1/2 cup vegetable oil, sour cream, and vanilla until smooth.
- Add the wet mixture to the flour mixture and fold just until no dry streaks remain.
- Spread the thick batter evenly in the prepared pan.
- Beat the cream cheese and confectioners' sugar in a medium bowl until smooth.
- Beat in the egg until fully combined.
- Dollop the cream cheese mixture over the cake batter.
- Gently spread the cream cheese mixture into an even layer.
- Toss the diced apples with the cornstarch and cinnamon.
- Scatter the apples evenly over the cream cheese layer.
- Stir the oats, brown sugar, and melted butter together until evenly moistened.
- Sprinkle the mixture over the apples.
- Bake at 350°F for 50-60 minutes, until the topping is golden, the cake near the edge tests clean, and the center of the cream cheese layer registers 160°F on an instant-read thermometer.
- Cool in the pan on a rack for at least 1 hour before slicing.
- Refrigerate leftovers within 2 hours.