
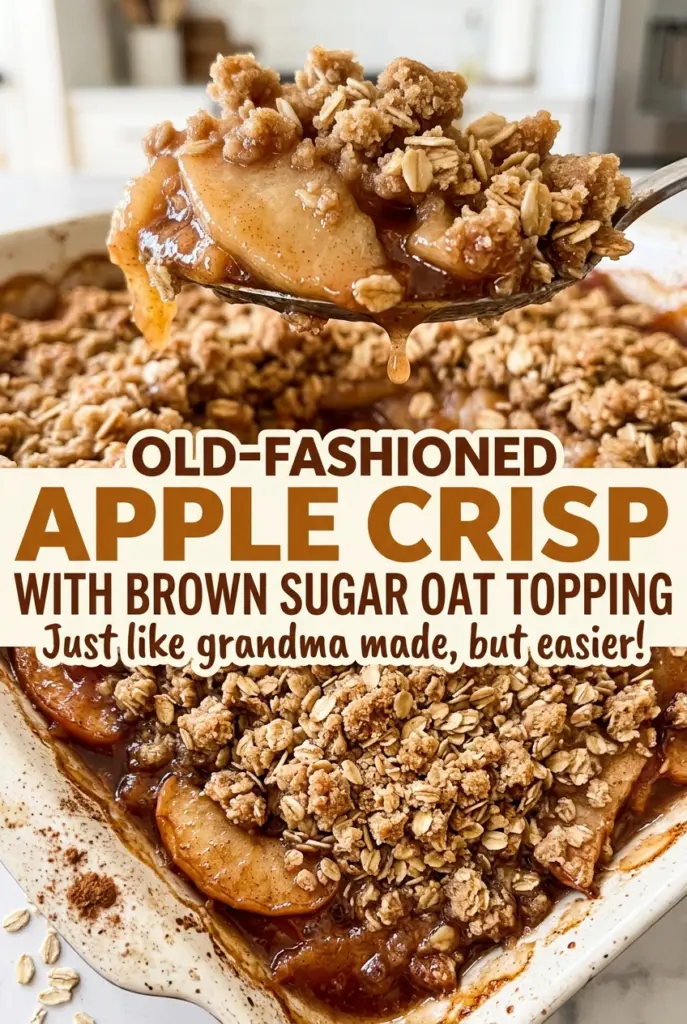
Old-Fashioned Apple Crisp with Brown Sugar Oat Topping
When a spoon goes into an apple crisp too early, the fruit can slide out in thin, sweet juice while the topping breaks apart. Letting the filling bubble fully and…

By Ava
•
•
Reading time: 9 min
Tip: save now, make later.
When a spoon goes into an apple crisp too early, the fruit can slide out in thin, sweet juice while the topping breaks apart. Letting the filling bubble fully and giving it a short rest makes a big difference. This old-fashioned apple crisp with brown sugar oat topping bakes in a 9×13-inch dish, with cinnamon apples underneath a buttery layer of oats and brown sugar.
I keep the apple slices even and the topping loose, so the fruit softens without disappearing and the crumbs brown instead of baking into a solid lid. The cornstarch thickens the juices as the apples cook, while lemon juice keeps the filling bright against the sweet topping. You’ll know it’s ready when the top is golden and the filling bubbles at the edges; after its rest, each scoop has tender apples and crisp, nubbly crumbs.
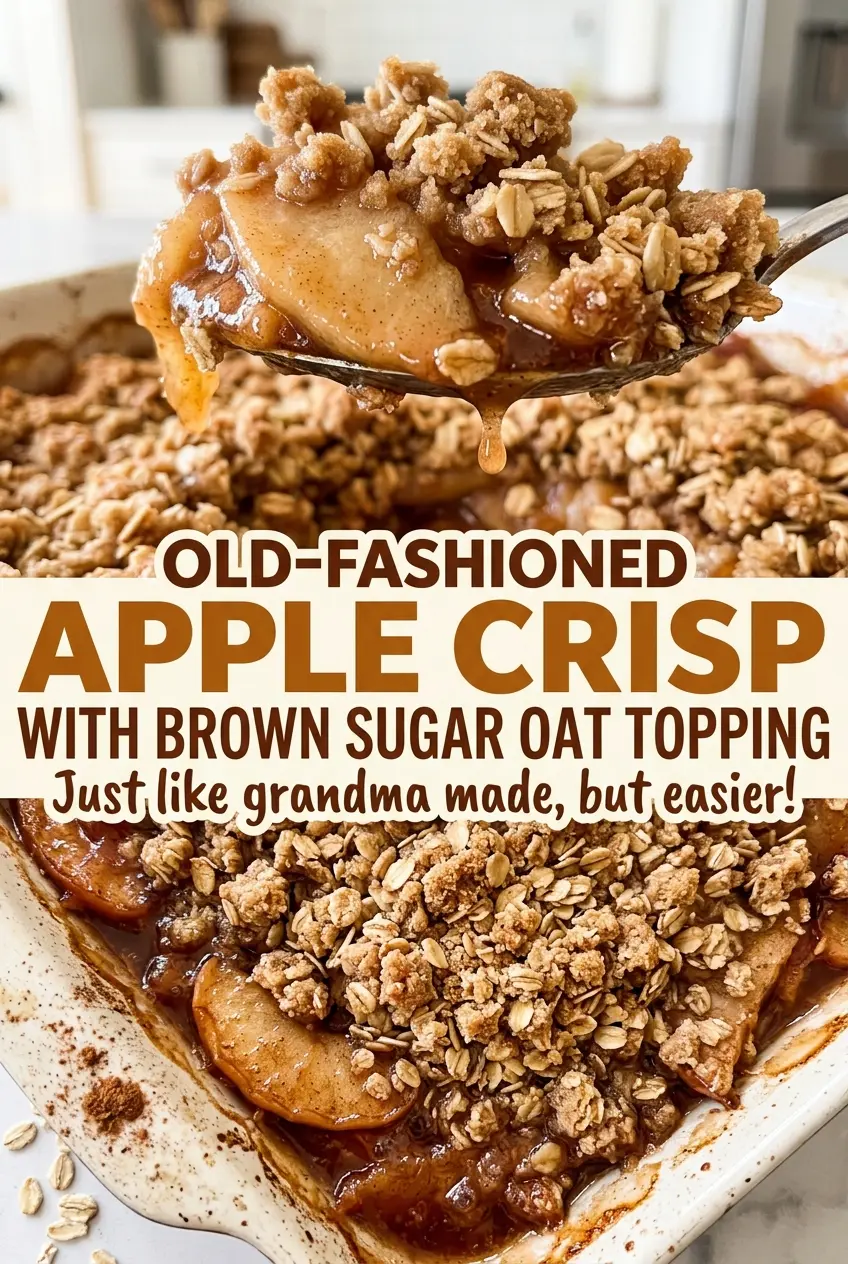
Kitchen Note
Scatter the topping lightly over the apples instead of pressing it into a flat layer. Loose crumbs leave plenty of edges exposed to turn golden and crisp.
Save this Old-Fashioned Apple Crisp with its bubbling cinnamon apples and golden brown-sugar oat topping for the next time a 9×13-inch dessert is on the menu.
Why Quarter-Inch Apple Slices Matter More Than You’d Think
Apples don’t all soften at the same speed, and a thick slice can still be firm when the topping is already golden. Cut them much thinner and they’re more likely to slump into a soft, uniform layer. Slices about 1/4 inch thick give the fruit time to turn tender while keeping enough shape to lift onto a spoon.
That even cut also helps the filling cook consistently across the 9×13-inch dish. A few especially thick pieces can stay crunchy in the center, while thinner pieces release their juices sooner. Take a moment to keep the slices close in thickness, especially when your apples vary in size. The cornstarch gets tossed through the fruit before baking, so the released juices thicken as the filling bubbles rather than pooling as a thin layer under the topping. That balance is what gives each serving soft fruit and a spoonable, not watery, filling.
How the Apples and Oats Shape the Crisp
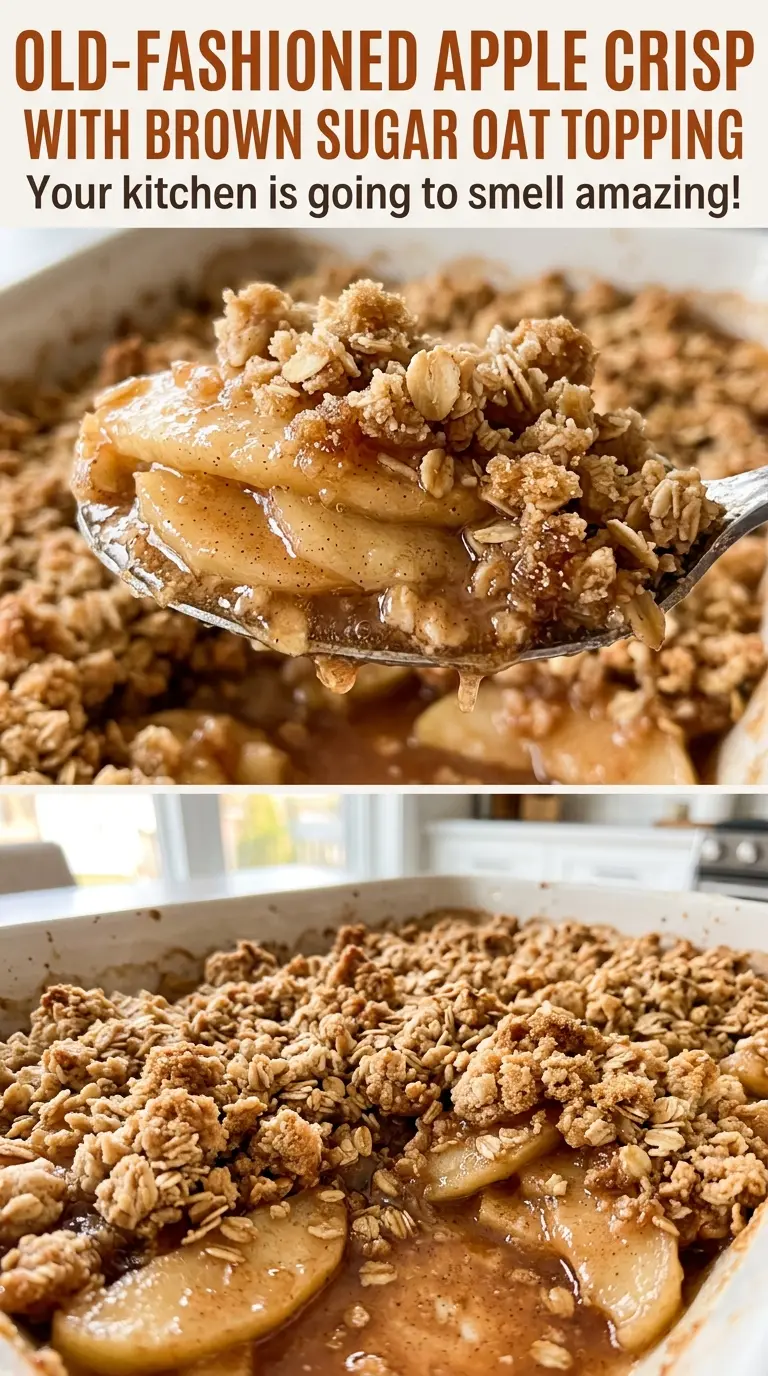
- Apples — Firm apples hold their shape better than mealy ones. Granny Smith gives a sharper, tart filling; Braeburn or Pink Lady makes it milder, and a mix gives you both. Choose fruit that feels firm and has no bruised or soft spots. Peel, core, and slice evenly before tossing so the pieces soften at a similar pace.
- Granulated sugar and lemon juice — The sugar sweetens the fruit without adding the deeper molasses note of the topping. Lemon juice lifts the apple flavor and balances that sweetness. Keep both in the filling; changing either shifts the sweet-tart balance.
- Cornstarch — This is what thickens the apple juices as they bake. Toss it well with the fruit rather than leaving a pocket of powder in the bowl. The all-purpose flour in the topping isn’t a direct stand-in for the cornstarch in the filling.
- Ground cinnamon — Cinnamon gives the apples their familiar warm note without covering their flavor. A fresh, fragrant jar makes a clearer difference here than a premium brand.
- Old-fashioned rolled oats — These make the topping’s texture distinct, with visible flakes and crisp edges. Old-fashioned oats are worth using if you want that coarse, nubbly finish.
- All-purpose flour and light brown sugar — Flour helps the topping hold together in crumbs, while packed light brown sugar brings moisture and a gentle molasses flavor. Use fresh brown sugar that breaks apart easily; hard lumps are difficult to work evenly into the topping.
- Cold unsalted butter and kosher salt — Cold butter creates small pockets in the crumb mixture that bake into a richer, more textured topping. Unsalted butter lets the salt stay measured, and the small amount of kosher salt keeps the sweet topping from tasting flat.
Building the Filling and Crumb Topping for an Even Bake
Get the Dish and Oven Ready
Heat the oven to 375°F and grease a 9×13-inch baking dish before you start mixing. Having the pan ready means the apples can go straight into an even layer once they’re coated. Use a large bowl for the fruit so there’s room to toss without crushing the slices. Spread the apples across the bottom rather than leaving a mound in the middle.
Coat the Apples Before They Go in the Pan
Toss the sliced apples with the granulated sugar, cornstarch, lemon juice, and cinnamon until the coating is distributed over the fruit. Check the bottom of the bowl for any dry cornstarch before transferring the apples. Spread them in the prepared dish so the filling is level. If a few slices stick together, separate them as you arrange the fruit.
Work the Butter Into Coarse Crumbs
Stir the oats, flour, brown sugar, and kosher salt together in a medium bowl first. Add the cold, cubed butter and work it in with your fingertips or a pastry cutter. Stop when you have coarse crumbs rather than a smooth dough; a few larger bits are fine. Scatter the mixture evenly over the apples, keeping it loose.
Bake Until the Edges Bubble
Bake for 45 to 55 minutes, until the topping is golden brown and the filling bubbles around the edges. A brown top without bubbling fruit isn’t the cue to pull it out; the filling should be visibly active at the sides of the dish. Let the crisp rest for 15 minutes before serving so the hot juices settle and thicken a little. The topping will still have texture, and the apples will be easier to scoop.
Apple Choices That Give This Crisp a Different Balance
A sharper, tart filling with Granny Smith
Use firm Granny Smith apples for the filling when you want a more pronounced tart edge against the sweet brown sugar topping. The fruit keeps its shape well, so the finished crisp has clearly defined apple slices.
A softer sweet-tart balance with mixed apples
Combine a tart variety such as Granny Smith with a firm, milder apple such as Braeburn or Pink Lady. The blend makes the filling less sharply tangy while keeping the apples’ flavor varied from bite to bite.
A milder filling with Pink Lady or Braeburn
Choose one of these firm, milder apples if you prefer the cinnamon and brown sugar to stand out more than the fruit’s tartness. The crisp stays recognizably apple-forward, just with a gentler contrast under the topping.
Storage and Reheating
- Refrigerator: Cool leftovers and refrigerate within 2 hours. Store covered for 3 to 4 days; the topping softens as it sits against the fruit.
- Freezer: Freeze cooled portions in an airtight container for up to 3 months. Thaw overnight in the refrigerator; the topping won’t be quite as crisp as freshly baked.
- Reheating: Warm individual portions in the microwave in short bursts until heated through. For a drier, crisper surface, reheat uncovered in the oven; avoid covering the topping, which traps steam.
Questions That Come Up While Making Apple Crisp
Old-Fashioned Apple Crisp with Brown Sugar Oat Topping
Ingredients
Equipment
Method
- Heat the oven to 375°F.
- Grease a 9x13-inch baking dish.
- In a large bowl, toss the apples with the granulated sugar, cornstarch, lemon juice, and cinnamon until evenly coated.
- Spread the apple mixture in the baking dish.
- In a medium bowl, stir together the oats, flour, brown sugar, and salt.
- Add the cold butter and work it into the oat mixture with your fingertips or a pastry cutter until coarse crumbs form.
- Scatter the topping evenly over the apples.
- Bake for 45 to 55 minutes, until the topping is golden brown and the apple filling bubbles around the edges.
- Rest for 15 minutes before serving.