
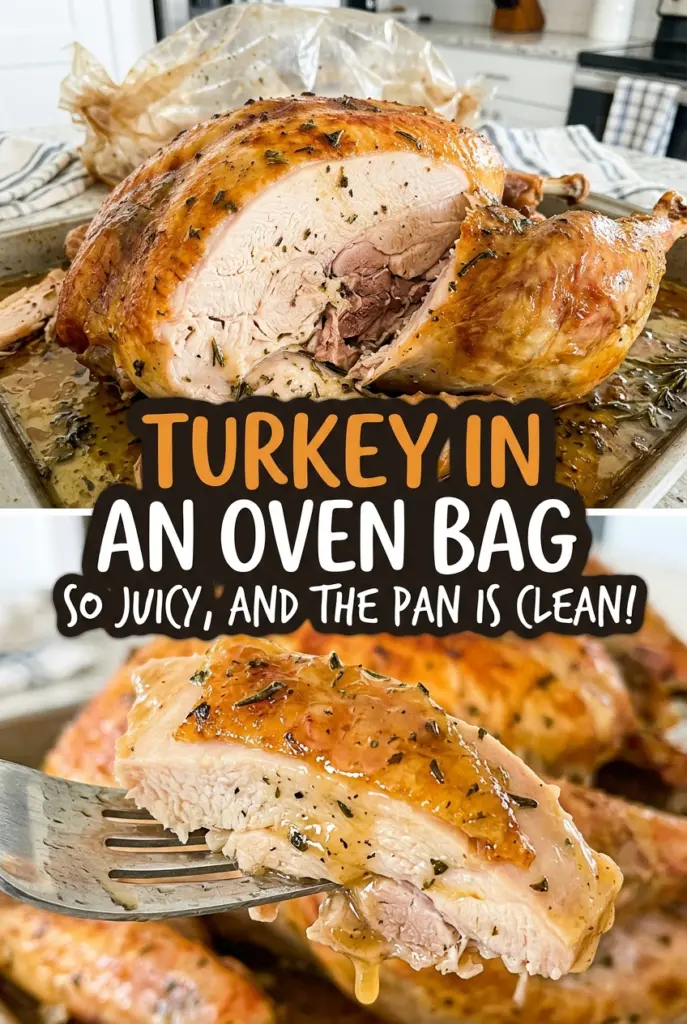
Turkey in an Oven Bag
As the oven bag puffs up in the heat, it holds the turkey’s moisture close instead of letting the surface dry out in the open air. That makes this a…

By Ava
•
•
Reading time: 9 min
Tip: save now, make later.
As the oven bag puffs up in the heat, it holds the turkey’s moisture close instead of letting the surface dry out in the open air. That makes this a practical way to roast a whole bird without stopping to baste it. The turkey comes out tender, and the onion and celery tucked inside lend a gentle savory aroma without turning the cavity into a complicated stuffing project.
I use an unbrined turkey here so the salt in the seasoning stays in my control. A thin coating of softened butter helps the seasonings cling to the skin, while flour shaken inside the bag helps it cook safely. Get the bag into a deep roasting pan before you add the turkey; once it’s full, you won’t want to wrestle it into place. The result is a straightforward roast with savory skin and tender slices ready for the carving board.
Kitchen Note
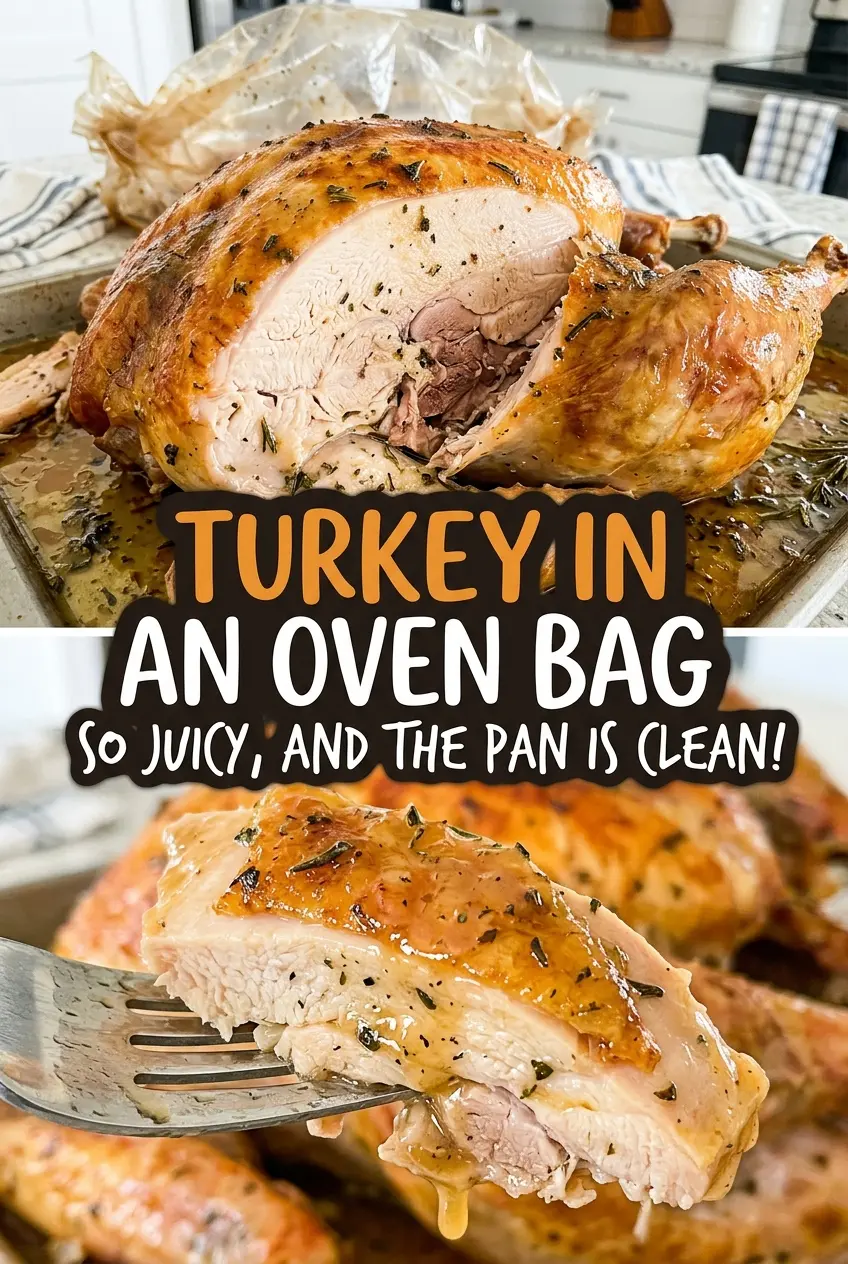
When the turkey is done, open the bag slowly and keep your face back. The trapped steam rushes out fast, so point the opening away from you before you reach for the bird.
Save this oven-bag turkey for a tender whole bird with simple butter-and-herb seasoning and no basting routine.
Why an Oven Bag Gives You Tender Turkey, Not Crackling Skin
An oven bag changes the kind of roast you’re making. The enclosed space holds moisture around the bird as it cooks, which helps keep the meat tender, but it doesn’t give the skin the dry, open heat that creates a crisp, crackly finish. Expect skin that’s seasoned and softened rather than shatteringly crisp. That’s the tradeoff for a hands-off roast that doesn’t need repeated basting.
It also explains why the time on the clock is only a guide. A 12- to 14-pound turkey can take between 2 and 2½ hours, and its shape and starting temperature affect how quickly the thickest parts heat through. I check both the thickest part of the breast and the innermost part of the thigh instead of relying on the bag’s appearance or the timer alone. The meat is ready when both readings reach 165°F. If you’re hoping for classic crisp skin, this isn’t the right method to choose; this one is built around a tender bird with less tending.
What the Unbrined Turkey and Oven Bag Contribute
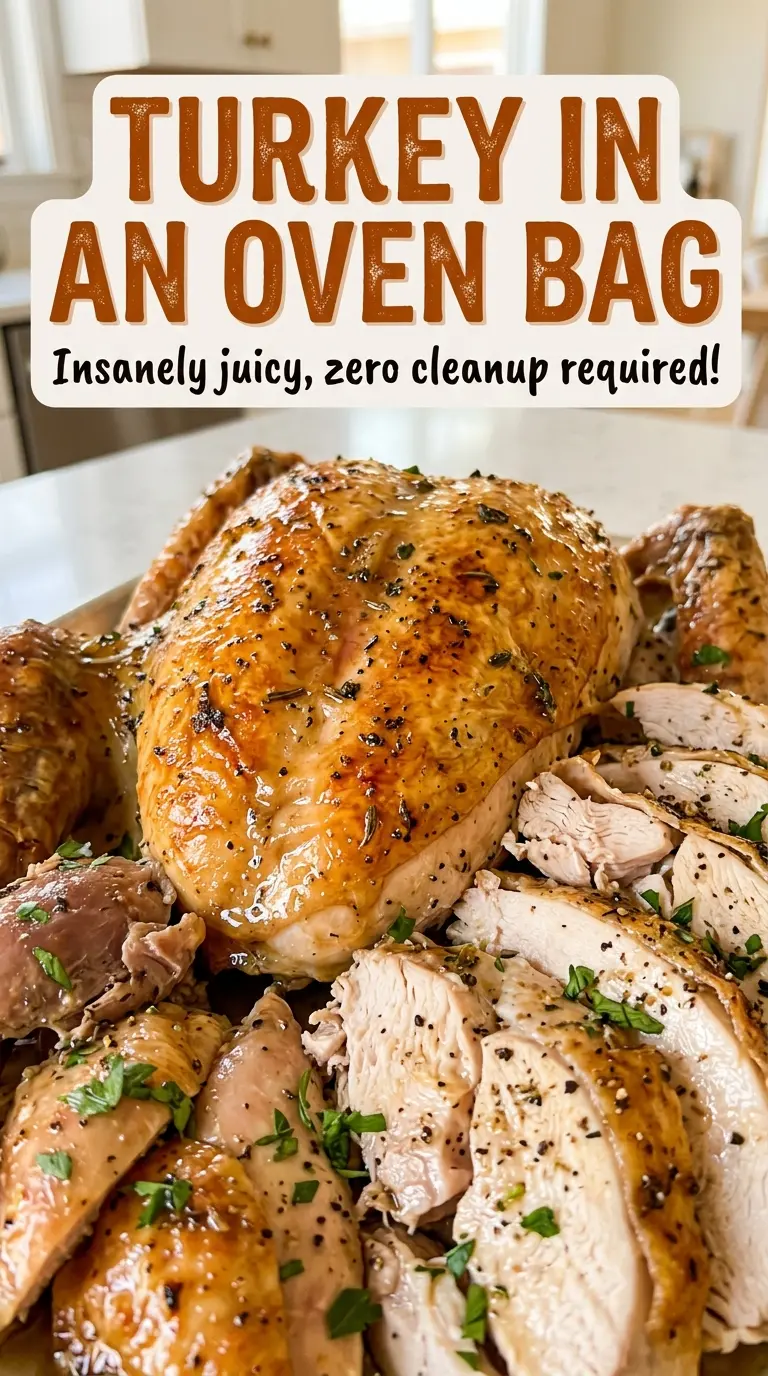
- Whole turkey — Start with a 12- to 14-pound bird that’s completely thawed, with the neck and giblets removed. An unbrined turkey is important here because a bird that has already been salted can turn out too salty once you add the recipe’s seasoning.
- Oven roasting bag and flour — Use a large turkey-size bag, not a smaller roasting bag meant for a chicken. The flour coats the bottom of the bag and helps keep it from bursting as steam builds; it isn’t a seasoning you’ll taste on the finished turkey.
- Unsalted butter — Softened butter spreads easily over the skin and gives the salt, pepper, and poultry seasoning something to cling to. Unsalted butter keeps the seasoning level predictable; very cold butter is harder to rub evenly over the bird.
- Kosher salt, black pepper, and poultry seasoning — These make a simple, savory rub without masking the turkey. Use poultry seasoning you like the smell of when you open the jar; a stale blend won’t bring the same warm herbal aroma.
- Yellow onion and celery — Quartered onion and celery pieces flavor the cavity as the bird roasts. They’re aromatics, not stuffing, so keep them in large pieces rather than chopping them finely.
Getting the Bag Ready Before the Turkey Goes In
Set Up the Pan and Coat the Bag
Heat the oven to 350°F. Set the large oven bag inside a 16×13-inch roasting pan that’s at least 2 inches deep, then add the flour and shake the bag so its bottom gets coated. Starting with the bag supported by the pan makes it easier to handle once the turkey is inside. Pat the fully thawed turkey dry with paper towels and tuck the wing tips under the bird.
Season the Bird Evenly
Rub the softened butter over the entire turkey, working over the breast, legs, and sides so you don’t leave large bare patches. Mix the salt, pepper, and poultry seasoning over the surface in an even layer. If seasoning falls onto the pan, pause and redistribute what you can onto the turkey before moving on. A thorough coating gives each carved portion a more balanced seasoning.
Fill and Close the Bag
Put the quartered onion and celery pieces inside the cavity, then place the turkey breast-side up in the oven bag. Close the bag with its included tie and cut six ½-inch slits in the top. Check that the bag won’t touch the oven walls or heating elements; it needs clear space around it as it expands. Keep the roasting pan level as you transfer it to the oven.
Roast, Check, and Rest
Roast for 2 to 2½ hours, checking after 2 hours. Use an instant-read thermometer to check the thickest part of the breast and the innermost part of the thigh; both need to reach 165°F. Once the turkey is cooked, take the pan out and open the bag carefully, then transfer the bird to a carving board. Let it rest for 20 minutes before carving so the juices settle rather than running across the board.
Simple Changes That Keep the Roast Flexible
A Dairy-Free Roast Without the Butter
For a dairy-free version, leave out the butter and season the turkey directly with the salt, pepper, and poultry seasoning. The seasoning won’t cling as evenly, and you’ll lose the buttery richness, but the oven bag still encloses the turkey as it roasts.
A Plainer, Peppery Seasoning
Leave out the poultry seasoning if you prefer the simpler taste of butter, salt, and black pepper. The result is less herbal and lets the turkey’s own flavor come forward; keep the rest of the roasting method the same.
Roast Without the Cavity Aromatics
You can leave out the onion and celery for a more straightforward roast. The turkey will miss their gentle savory aroma, but the butter and seasoning still give the skin plenty of flavor.
Storage and Reheating
- Refrigerator: Refrigerate leftover turkey within 2 hours and use it within 3 to 4 days. The meat may firm up as it chills.
- Freezer: Freeze carved turkey in airtight freezer-safe packaging for 2 to 6 months for best quality. Thaw it in the refrigerator before reheating.
- Reheating: Warm slices covered in the microwave or oven until hot throughout. Keep them covered so the meat doesn’t dry out; avoid reheating a large pile uncovered.
Questions That Come Up Before Roasting a Whole Turkey
Turkey in an Oven Bag
Ingredients
Equipment
Method
- Preheat the oven to 350°F.
- Pat the turkey dry with paper towels.
- Tuck the turkey's wing tips under the bird.
- Set the oven bag in a 16x13-inch roasting pan that is at least 2 inches deep.
- Add the flour to the bag and shake it to coat the bottom.
- Rub the turkey all over with the butter.
- Season the turkey evenly with the salt, pepper, and poultry seasoning.
- Put the onion and celery in the turkey cavity.
- Place the turkey breast-side up in the bag.
- Close the bag with its included tie and cut six 1/2-inch slits in the top.
- Make sure the bag does not touch the oven walls or heating elements.
- Roast for 2 to 2 1/2 hours, checking after 2 hours; the thickest part of the breast and the innermost part of the thigh should each reach 165°F on an instant-read thermometer.
- Remove the pan from the oven and carefully open the bag away from your face to release the steam.
- Transfer the turkey to a carving board and let it rest for 20 minutes before carving.