
Textured Christmas Tree Macarons
When the green batter reaches the bottom of each tree, the raised zigzags make the shape look almost knitted. They’re more than decoration: those ridges give these Textured Christmas Tree…

By Ava
•
•
Reading time: 10 min
Tip: save now, make later.
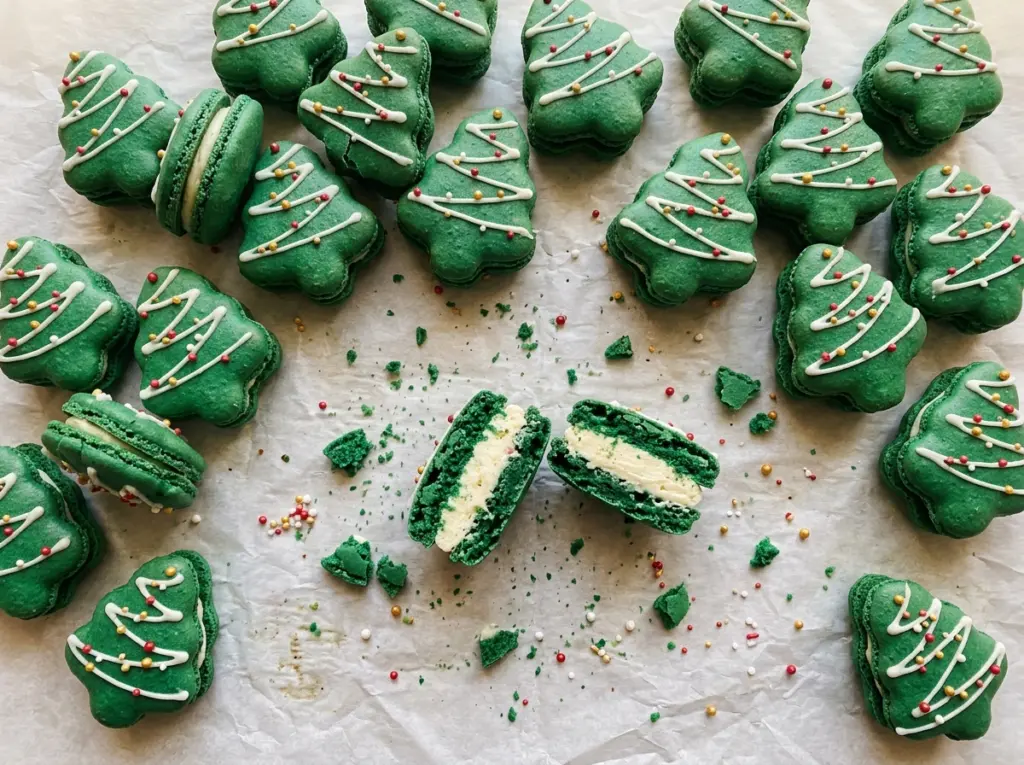
When the green batter reaches the bottom of each tree, the raised zigzags make the shape look almost knitted. They’re more than decoration: those ridges give these Textured Christmas Tree Macarons their distinctive finish, and the outline keeps each shell a little more forgiving to pipe than a perfectly smooth design.
Macarons reward patience, but the cues are clear once you know what to watch. I fold until the batter falls in a thick ribbon and settles back in 10 to 15 seconds, then let the piped shells dry until a fingertip comes away clean. That pause gives the tops time to form a skin before they go into the oven. Sandwiched with a soft vanilla buttercream, the finished trees have crisp edges, tender centers, and a delicate ridged surface.
Kitchen Note
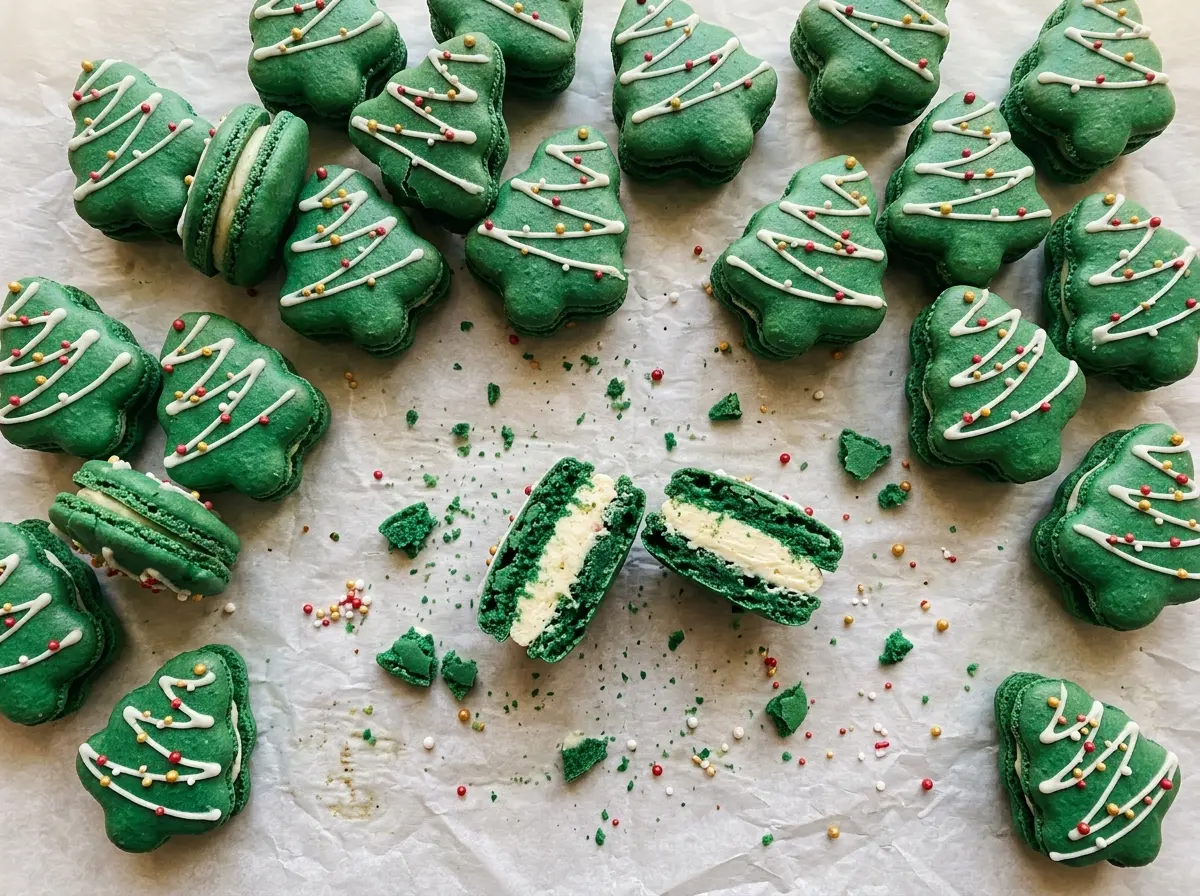
About a teaspoon of buttercream is enough for each sandwich. Press the top shell down gently rather than squeezing; the filling should meet the edges without being pushed out of the ridges.
Save these textured Christmas tree macarons for a holiday bake: ridged green shells and a soft vanilla buttercream center.
Why the Tree Zigzag Needs to Reach the Outline
A tree-shaped macaron is not piped like a smooth round shell. The continuous zigzag creates the raised texture, but it also has to fill the whole marked silhouette. If the ridges stop short of the edges, the finished tree can look narrow or uneven; if they spill past the outline, neighboring shells are more likely to run together. The marked shape is a guide, not a decoration to ignore.
Use the pointed top as your starting point and work steadily toward the broad base, letting each ridged line touch the next. Keeping the lines connected gives the shell a consistent outline while preserving the texture that makes this design special. A plain round tip helps make the zigzag controlled, and a continuous pass is easier to manage than trying to patch gaps afterward. The goal isn’t a perfectly identical pattern on every tree. It’s a connected outline with enough room between trees on the parchment for the shells to bake separately.
What the Almond Flour, Sugar, and Gel Color Each Contribute
- Almond flour — Finely ground almond flour gives the shells their tender, delicate crumb. A coarse almond meal won’t blend as smoothly with the powdered sugar, so use finely milled flour; all-purpose flour isn’t a reliable one-for-one swap in macarons.
- Powdered sugar — Sifting it with the almond flour helps distribute the dry ingredients evenly and keeps lumps from interrupting the batter. It also makes the buttercream smooth. Don’t replace it with granulated sugar, which won’t give either part the same texture.
- Egg whites and cream of tartar — Room-temperature whites whip into the meringue, while cream of tartar helps stabilize them. Separate the eggs carefully; even a trace of yolk can make it harder for the whites to whip properly. There isn’t a dependable whole-egg substitute for this shell.
- Granulated sugar — Adding it gradually as the whites turn foamy gives the meringue time to incorporate the sugar. Pouring it in all at once can leave the mixture less even.
- Green gel food coloring — Gel gives the shells their tree-green color without adding as much liquid as ordinary liquid coloring. Use a small amount and add it once soft peaks form, before beating the meringue to stiff peaks. You can leave it out for pale almond-colored shells.
- Butter, cream, vanilla, and salt — Softened unsalted butter makes the filling easy to beat fluffy, and heavy cream loosens it for piping or spreading. Vanilla gives the filling its familiar flavor; salt keeps it from tasting flat. A plant-based butter or a different cream changes the texture, so I stick with these ingredients for this filling.
From Stable Meringue to Filled Tree Shells
Set Up the Sheets and Sift the Dry Ingredients
Heat the oven to 300°F with a rack in the center. Line two 12×17-inch rimmed baking sheets with parchment marked on the underside with 20 tree outlines each, about 1 3/4 inches tall and 1 1/2 inches wide. Keep the marks underneath so they guide your piping without touching the batter. Sift the almond flour and the shell portion of powdered sugar together into a bowl, then set it aside.
Beat the Whites to Glossy, Stiff Peaks
In a clean bowl, beat the room-temperature egg whites with the cream of tartar on medium speed until foamy. Gradually add the granulated sugar as you continue beating. When soft peaks form, add the green gel coloring and raise the speed to medium-high. Stop when the meringue looks glossy and holds stiff peaks; loose peaks won’t support the tree shape as well.
Fold, Pipe, and Let the Tops Dry
Fold the sifted dry mixture into the meringue in three additions. Stop when the batter falls from the spatula in a thick ribbon and settles back in about 10 to 15 seconds; batter that runs off too quickly has been folded too far. Transfer it to a piping bag fitted with a 1/4-inch plain round tip and pipe a continuous zigzag from each pointed top down to its base. Tap each sheet firmly on the counter, then leave the shells for 30 to 60 minutes, until the tops feel dry and don’t stick to a fingertip.
Bake One Sheet at a Time and Cool
Bake one sheet at a time for 14 to 17 minutes. The tops should be set, feet should have formed around the bottoms, and a shell shouldn’t slide when lightly nudged. If it moves, give the sheet more time rather than pulling it out early. Let the shells cool on the baking sheet for 15 minutes, then carefully peel them from the parchment.
Beat the Filling and Sandwich the Shells
Beat the softened butter until creamy, then gradually beat in the remaining powdered sugar, heavy cream, vanilla, and salt until the filling is fluffy. Pair shells of similar size, then pipe or spread filling on the flat side of half of them. Set the remaining shells on top and press gently to make sandwiches. Arrange the macarons in an airtight container for their refrigerator rest before serving.
Three Small Changes to the Trees’ Color, Flavor, or Shape
Pale almond trees
Leave out the green gel coloring and keep the rest of the shell method the same. The trees will be pale rather than green, with the ridged piping still visible against the buttercream.
A simpler butter filling
For a less vanilla-forward center, omit the vanilla extract from the filling. You’ll still have a sweet, fluffy buttercream, but its flavor will be more purely buttery.
Round macarons instead of trees
For a different shape, mark circles on the underside of the parchment and pipe the batter into those outlines. The same batter and filling make round macarons, though you’ll lose the tree silhouette and its zigzag texture.
Storage and Reheating
- Refrigerator: Store the assembled macarons in an airtight container for at least 12 hours and up to 2 days. The shells soften as they rest with the filling.
- Freezer: I don’t recommend freezing these; the delicate ridges and shell texture can suffer as they thaw.
- Reheating: Don’t reheat macarons. Bring them to room temperature for 20 minutes before serving so the buttercream isn’t cold and firm.
Questions That Come Up When Piping Christmas Tree Macarons
Textured Christmas Tree Macarons
Ingredients
Equipment
Method
- Heat the oven to 300°F with a rack in the center.
- Line two 12x17-inch rimmed baking sheets with parchment marked on the underside with 20 tree outlines each, about 1 3/4 inches tall and 1 1/2 inches wide.
- Sift the almond flour and 4 1/2 ounces powdered sugar into a bowl, then set aside.
- Beat the egg whites and cream of tartar in a clean bowl on medium speed until foamy, then gradually beat in the granulated sugar.
- When soft peaks form, add the green gel food coloring and beat on medium-high until the meringue is glossy and holds stiff peaks.
- Fold the dry mixture into the meringue in three additions, stopping when the batter falls from the spatula in a thick ribbon that settles back in about 10 to 15 seconds.
- Transfer the batter to a piping bag fitted with a 1/4-inch plain round tip and pipe a continuous zigzag from the pointed top to the broad base of each tree outline, letting the ridged lines touch.
- Tap each sheet firmly on the counter and let the shells stand for 30 to 60 minutes, until the tops feel dry and do not stick to a fingertip.
- Bake one sheet at a time for 14 to 17 minutes, until the tops are set, feet have formed, and a shell does not slide when lightly nudged.
- Cool on the sheet for 15 minutes, then carefully peel the shells from the parchment.
- Beat the softened butter until creamy, then gradually beat in the remaining 3 ounces powdered sugar, heavy cream, vanilla extract, and salt until fluffy.
- Pipe or spread about 1 teaspoon of filling onto the flat side of half the shells, then top with the remaining shells and press gently to sandwich.
- Arrange the macarons in an airtight container and refrigerate for at least 12 hours and up to 2 days.
- Bring to room temperature for 20 minutes before serving.