
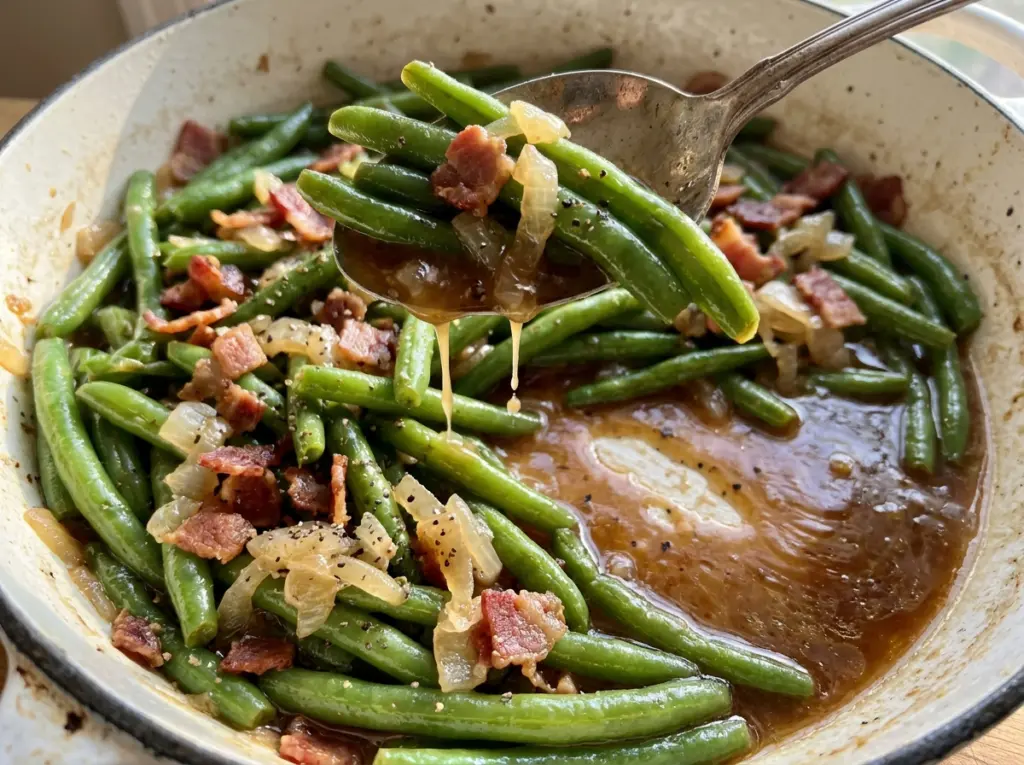
Texas Roadhouse Green Beans
The bacon starts to crisp in the saucepan, and its rendered fat gives the onion a savory place to soften. That simple beginning is what makes Texas Roadhouse Green Beans…

By Ava
•
•
Reading time: 8 min
Tip: save now, make later.
The bacon starts to crisp in the saucepan, and its rendered fat gives the onion a savory place to soften. That simple beginning is what makes Texas Roadhouse Green Beans taste like more than canned beans warmed on the stove. The chicken broth joins the pan with a little sugar and black pepper, and the beans simmer until they’re hot and have taken on that seasoned broth.
I like this method because it keeps the work in one saucepan and builds the flavor in stages. The bacon gets crisp first, then comes out while the onion cooks; it goes back in with the beans so it brings its smoky flavor to the broth without spending the whole simmer in the liquid. The result is tender green beans with bacon in every serving and a savory broth that clings to them.
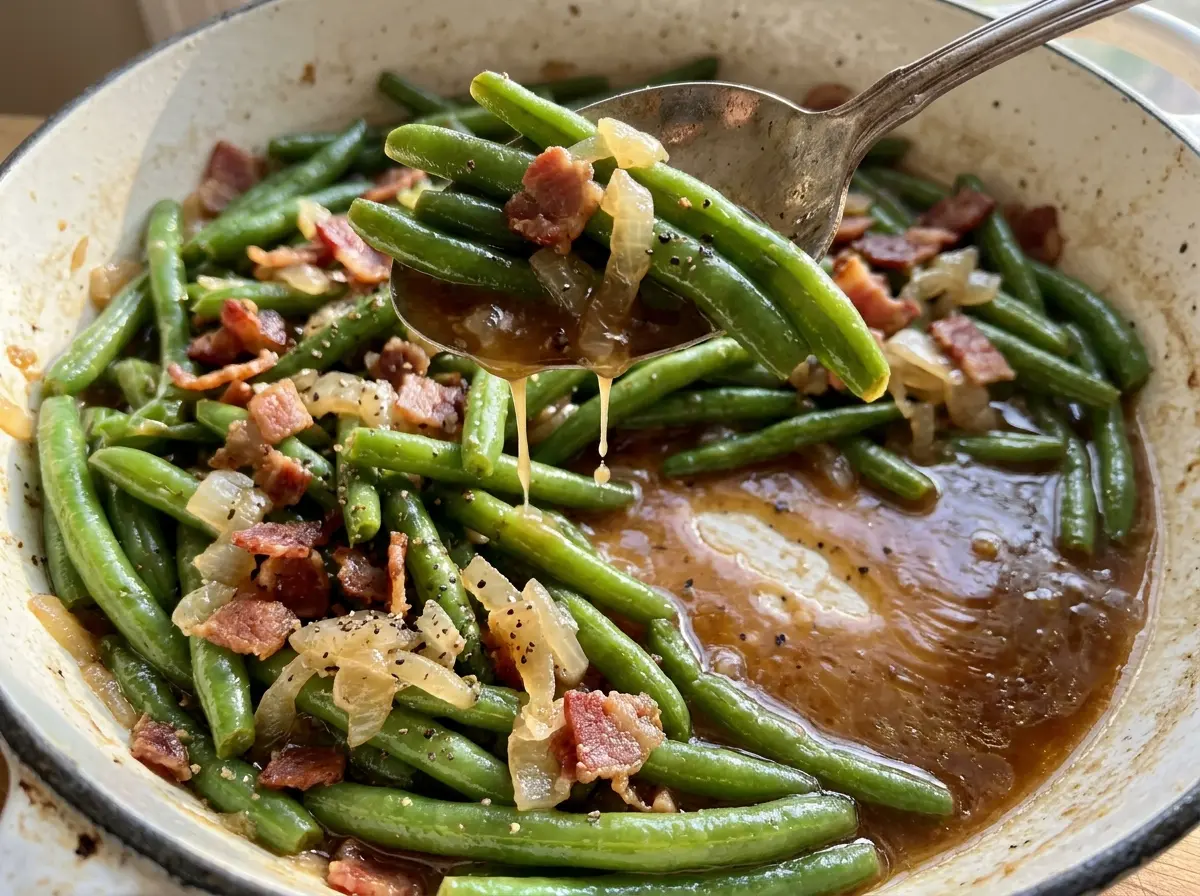
Kitchen Note
Give the pot one gentle stir halfway through the covered simmer, then put the lid back on. More frequent stirring can break up the tender canned beans before they reach the table.
Save these Texas Roadhouse Green Beans for a savory side with crisp bacon and broth-seasoned beans.
Why These Canned Green Beans Get a Covered Simmer
Canned green beans are already tender, so a long, hard boil isn’t what they need. The covered simmer gives the beans time to warm through and take on the chicken broth, bacon, onion, sugar, and pepper. That’s different from simply heating the beans and draining them again: the broth is part of the seasoning, not something to discard at the end.
Keep the heat at medium-low once everything is in the saucepan. A vigorous boil can make the beans break apart and turn soft before the broth has had time to season them. The lid also helps keep the liquid in the pan while the beans warm. When the simmer is gentle, the beans stay recognizable and the finished dish tastes savory all the way through rather than seasoned only on the surface.
Draining the cans before the broth goes in matters for the same reason. The liquid in the can isn’t the chicken broth that gives this dish its savory base. If it goes into the saucepan too, it can dilute that flavor and make the final liquid taste less focused. The beans should be drained, then added to the broth mixture so they absorb the flavors you’ve built in the pan.
What the Bacon, Broth, and Canned Beans Each Bring

- Bacon — It provides both the crisp pieces and the rendered fat that the onion cooks in. Standard grocery-store bacon works well here; you don’t need a specialty cut. Leaving it out removes the smoky flavor and the cooking fat, so I don’t treat it as a simple swap.
- Yellow onion — Finely chopped pieces soften into the base instead of staying as large, sharp bites. The onion’s mild sweetness works with the bacon and broth. If you leave it out, the beans will still cook, but the base will taste less rounded.
- Canned cut green beans — They’re the reason this is a quick simmer rather than a longer vegetable-cooking project. A standard can works; drain the beans before they go into the pan. Fresh beans aren’t a like-for-like replacement here because they need a different cooking time.
- Chicken broth — It seasons the beans as they heat, so a basic boxed chicken broth is perfectly suitable. Low-sodium chicken broth is the closest useful swap if you want a less salty finish; the bacon still contributes plenty of savory character.
- Granulated sugar and black pepper — The sugar rounds the savory broth rather than making the beans taste sweet, while black pepper adds a mild, warm bite. Use ordinary granulated sugar and standard ground black pepper; there’s no need to seek out specialty versions.
Building the Beans in One Saucepan
Render the Bacon Until Crisp
Set a 3-quart saucepan over medium heat and cook the chopped bacon, stirring occasionally, for 6 to 8 minutes. Look for crisp pieces rather than bacon that is only warmed and limp. Transfer the bacon to a paper towel-lined plate when it’s ready. Leave about 1 tablespoon of bacon fat in the pan; that’s the cooking base for the onion.
Soften the Finely Chopped Onion
Add the onion to the bacon fat and cook it over medium heat for 4 to 5 minutes, stirring occasionally. It should soften and smell sweet and savory, without needing to brown. If the onion begins coloring quickly, the pan is running hotter than medium; lower the heat so it softens without scorching. This gives the broth a mellow onion base rather than a bitter, browned note.
Bring the Beans and Broth Together
Stir the drained green beans into the softened onion, then add the chicken broth, granulated sugar, and black pepper. Return the bacon to the saucepan so its flavor joins the liquid and vegetables. Stir gently to distribute everything without crushing the beans. At this stage, the beans should be coated in the broth mixture, with the bacon spread through the pan.
Simmer Gently Until the Beans Are Hot
Cover the saucepan and simmer over medium-low heat for 15 minutes. The liquid should bubble gently, not boil hard against the lid. The beans are ready when they’re hot and have absorbed the savory broth. A little broth can remain in the pan; what matters is that it tastes seasoned and the beans are no longer cold or bland in the center.
Two Simple Ways to Adjust the Seasoning
A Less-Sweet, More Savory Finish
Leave out the granulated sugar if you prefer your green beans without that slight rounded sweetness. The bacon and chicken broth still provide the savory backbone, but the finish will taste a little sharper and less balanced.
A Milder, Pepper-Free Batch
Skip the black pepper for a gentler-tasting side. The broth, bacon, and onion still carry the dish, though you’ll miss the pepper’s warm finish. This is an easy adjustment when you’re cooking for someone who prefers less peppery food.
Storage and Reheating
- Refrigerator: Refrigerate leftovers in a covered container and use them within 3 to 4 days. The bacon will soften as it sits in the broth.
- Freezer: Freeze in an airtight container for up to 2 months for best quality. Thawed beans will be softer than freshly made ones.
- Reheating: Warm gently in a covered saucepan, stirring carefully, until the leftovers reach 165°F. Avoid a hard boil, which can make the beans mushier.
Questions That Come Up With Texas Roadhouse Green Beans
Texas Roadhouse Green Beans
Ingredients
Equipment
Method
- In a 3-quart saucepan over medium heat, cook the bacon for 6 to 8 minutes, stirring occasionally, until crisp.
- Transfer the bacon to a paper towel-lined plate, leaving about 1 tablespoon of bacon fat in the pan.
- Add the onion and cook for 4 to 5 minutes, stirring occasionally, until softened.
- Stir in the green beans, chicken broth, sugar, and black pepper.
- Return the bacon to the pan.
- Cover and simmer over medium-low heat for 15 minutes, stirring once halfway through, until the beans are hot and have absorbed the savory broth.