
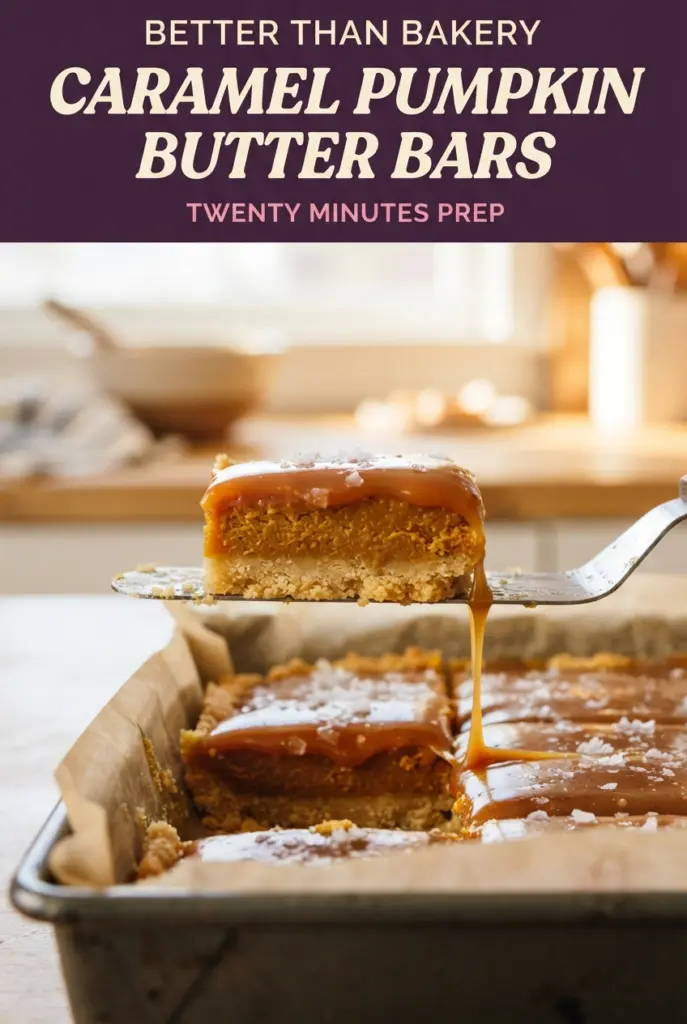
Salted Caramel Pumpkin Butter Bars with Brown Sugar Crust
Salted caramel pumpkin butter bars earn their place on the dessert table fast: a sturdy brown sugar crust, a silky pumpkin-cream cheese filling, and that final hit of caramel and…

By Ava
•
•
Reading time: 10 min
Tip: save now, make later.
Salted caramel pumpkin butter bars earn their place on the dessert table fast: a sturdy brown sugar crust, a silky pumpkin-cream cheese filling, and that final hit of caramel and flaky salt that keeps every bite from feeling flat. The texture is the part people remember. You get a clean slice, a soft center, and just enough chew at the base to keep the bars from collapsing the second they hit the plate.
The crust starts with melted butter, which means you can press it straight into the pan without waiting on a mixer or softening anything else. That also gives you a denser, shortbread-like base that stands up to the filling. The pumpkin layer uses both cream cheese and a small amount of flour, so it bakes up set and creamy instead of loose or custardy. The caramel goes in two places: a little swirled through the top so it bakes into the bars, and the rest drizzled after chilling for a glossy finish.
If you’ve ever had pumpkin bars that tasted good but sliced poorly, the details below will help. The cooling and chilling time matters just as much as the baking, and the knife trick for clean cuts is worth using.
The crust stayed crisp under the pumpkin layer, and the caramel swirl set up beautifully instead of sinking to the bottom. I chilled them overnight and got the cleanest slices I’ve ever had with a pumpkin dessert.
Save these salted caramel pumpkin butter bars for the kind of dessert that slices neatly, chills beautifully, and brings the caramel right through the pumpkin layer.
The Pan Bakes Evenly Because the Crust Gets a Head Start
The most common problem with bars like this is a crust that stays pale and soft under a filling that needs time in the oven. Baking the crust first changes that. It gives the butter and brown sugar a chance to set into a firm layer before the pumpkin mixture goes on, so the base doesn’t turn doughy after the filling hits it.
The other trap is overbaking the center. Pumpkin bars should still have a slight wobble in the middle when you pull them from the oven. If the whole pan looks completely firm, the eggs are already overcooked and the filling will go grainy as it cools. The bars finish setting in the fridge, not in the oven.
- Melted butter in the crust — This keeps the base easy to press and gives it a tight, short texture. Softened butter won’t give the same even crumb here.
- Cream cheese — Full-fat cream cheese is worth using because it gives the filling its smooth, tangy structure. Low-fat versions tend to loosen the filling and can bake up a little watery.
- Pumpkin puree — Use plain pumpkin puree, not pumpkin pie filling. Pie filling already has sugar and spices added, which throws off the balance and can make the bars too sweet.
- Thick caramel sauce — A thin caramel disappears into the filling instead of staying as a swirl. Store-bought works if it pours in a slow ribbon; homemade is great if it is cool enough to hold its shape for a few seconds.
What Happens in the Bowl Before the Bars Ever Hit the Oven
Building the Crust
Stir the melted butter, flour, brown sugar, and salt until the mixture looks like damp sand with a few small clumps. Press it firmly and evenly into the parchment-lined pan, especially into the corners, or the crust will bake unevenly and crumble when sliced. A flat-bottomed measuring cup makes this easier than your hands alone. Bake it until the edges look lightly golden and the surface no longer appears raw.
Making the Filling Smooth
Beat the cream cheese and sugars until the mixture turns completely smooth before the pumpkin goes in. If the cream cheese still has lumps at this stage, they won’t disappear later. Once the pumpkin is added, beat just until incorporated, then add the eggs one at a time so the mixture stays glossy instead of split. The melted butter goes in after the eggs; if it goes in too early, it can make the filling look greasy.
Swirling and Baking
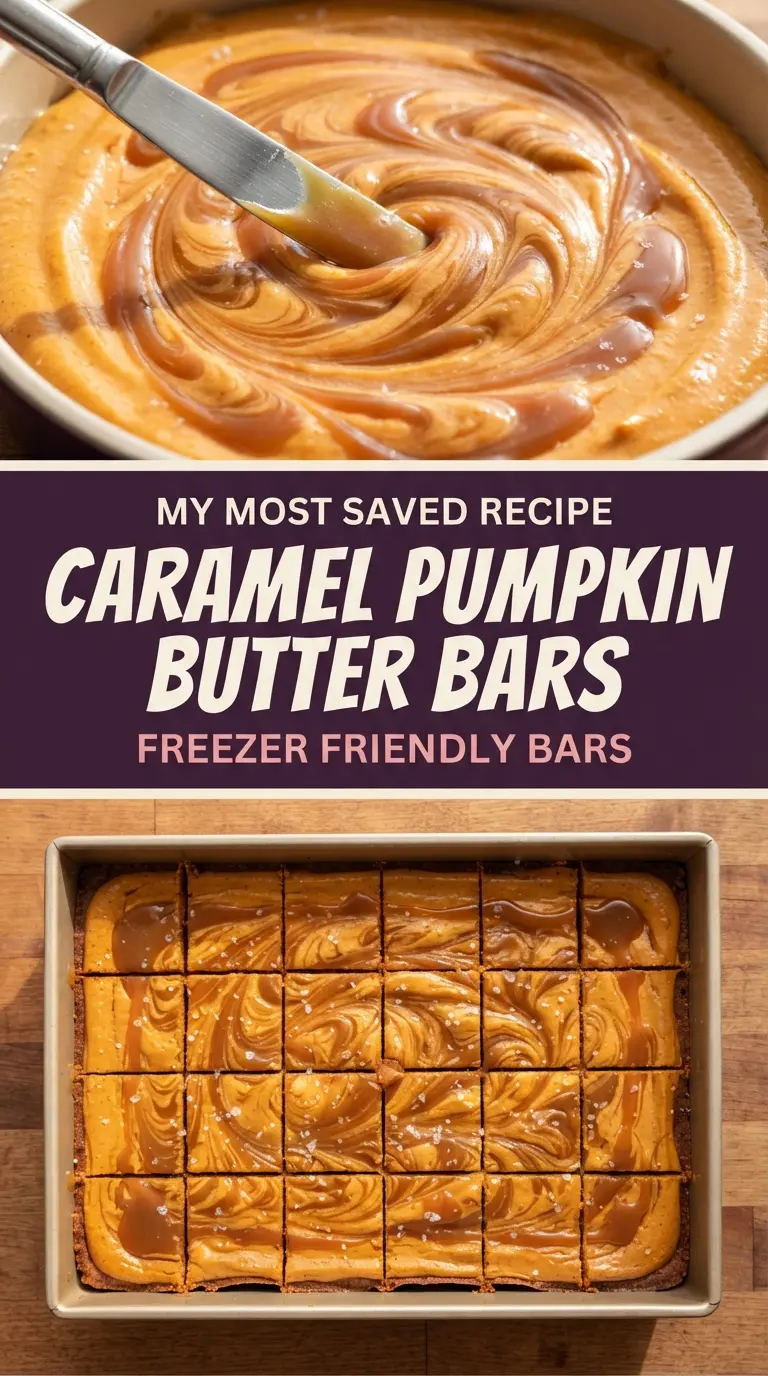
Pour the filling over the warm crust and smooth it gently with a spatula. Drop the caramel in small spoonfuls over the top, then drag a knife through just a few times to create ribbons. If you over-swirl, the caramel disappears into the batter and you lose the contrast. Bake until the edges are set and the center still has a slight wobble when the pan is nudged.
Cooling for Clean Slices
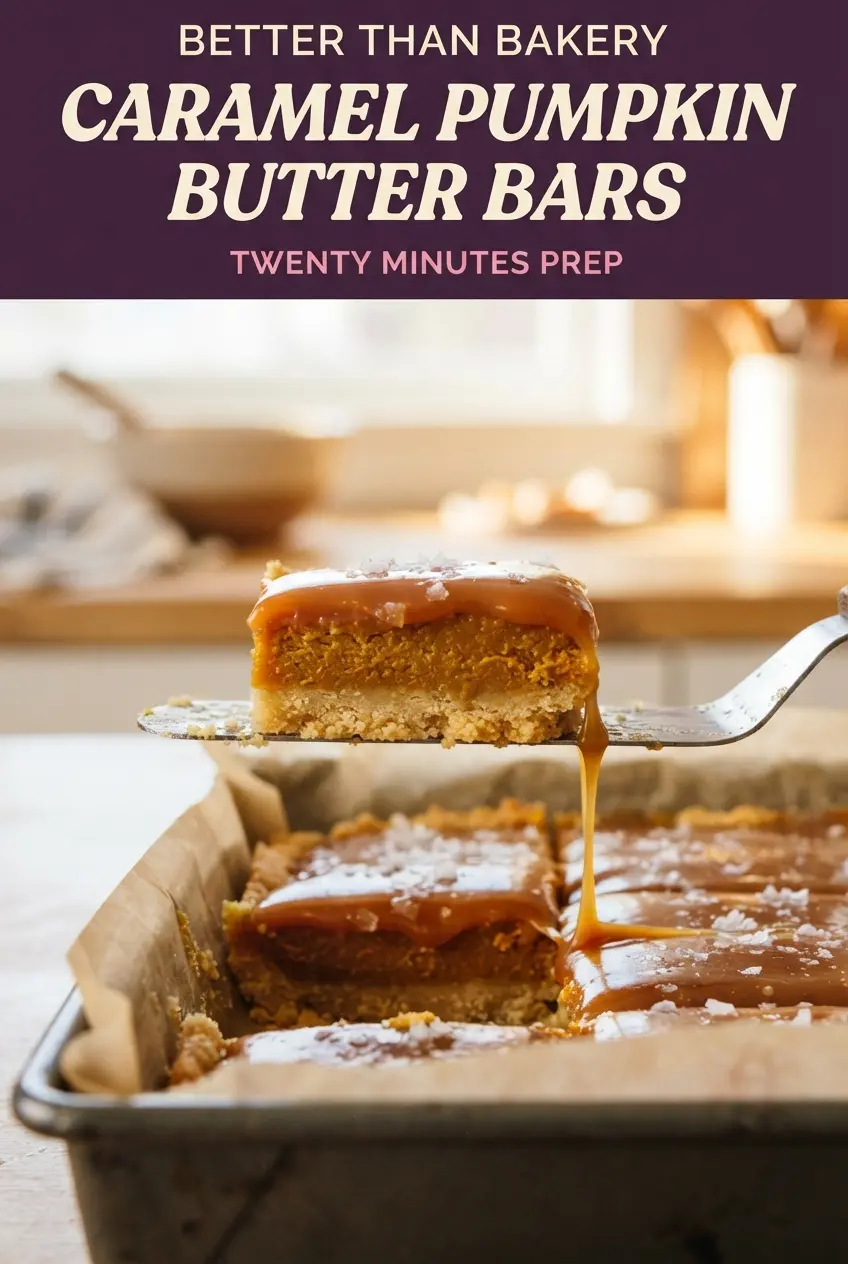
Let the bars cool at room temperature first so the top doesn’t sweat when it hits the fridge. After that, chill them until they’re firm enough to lift cleanly from the pan. Drizzle on the remaining caramel after chilling, then cut with a hot knife wiped clean between each slice. That last step keeps the caramel from dragging through the bars and gives you sharp edges.
Three Ways to Make These Bars Work for Your Table
Dairy-Free Version
Use a dairy-free butter in the crust and a dairy-free cream cheese alternative in the filling. The texture will be a little softer and the tang a little lighter, but the bars still set well if you chill them fully before cutting. Choose a caramel sauce that is also dairy-free, since the topping carries a lot of the final flavor.
Gluten-Free Swap
Replace the flour in the crust and filling with a 1:1 gluten-free baking blend that includes xanthan gum. The crust will still press and bake up well, though it may be a touch more delicate when warm. Let the bars chill completely before lifting them from the pan so the base holds together.
Extra Salted Caramel Finish
If you want the caramel to stand out more, add a second light sprinkle of flaky sea salt right before serving. That sharp salt edge cuts through the sweet filling and keeps the bars from tasting heavy. It works best if the caramel sauce is thick and the bars are well chilled.
Storage and Reheating
- Refrigerator: Store covered for up to 5 days. The filling stays creamy, and the crust holds its best texture when chilled.
- Freezer: Freeze sliced bars without the final caramel drizzle for up to 2 months. Wrap them well and thaw in the refrigerator overnight, then add fresh caramel and salt after thawing.
- Reheating: These bars are best served chilled or just slightly cool, not warmed. Heat softens the filling and makes the caramel slide, which is the fastest way to lose those neat layers.
Answers to the Questions Worth Asking
Salted Caramel Pumpkin Butter Bars with Brown Sugar Crust
Ingredients
Equipment
Method
- Preheat the oven to 350°F and line a 9x13-inch pan with parchment paper, leaving an overhang on the long sides.
- Stir the melted butter, flour, brown sugar, and salt until a crumbly dough forms, then press it firmly into the pan.
- Bake for 15 minutes, until the edges are lightly golden, then set aside.
- Beat the cream cheese with both sugars until completely smooth.
- Beat in the pumpkin puree, then add the eggs one at a time.
- Mix in the melted butter, flour, pumpkin pie spice, vanilla extract, and salt until silky.
- Pour the filling over the warm crust and smooth the top.
- Drop 1/4 cup caramel in small spoonfuls across the surface and swirl gently with a knife.
- Bake for 30–35 minutes, until the edges are set and the center has only a slight wobble.
- Cool at room temperature for 1 hour.
- Refrigerate for at least 2 hours, until firm.
- Lift the bars out using the parchment, then drizzle with the remaining 1/2 cup caramel and sprinkle with flaky sea salt.
- Slice into 16 bars using a hot knife, wiping it clean between cuts.