
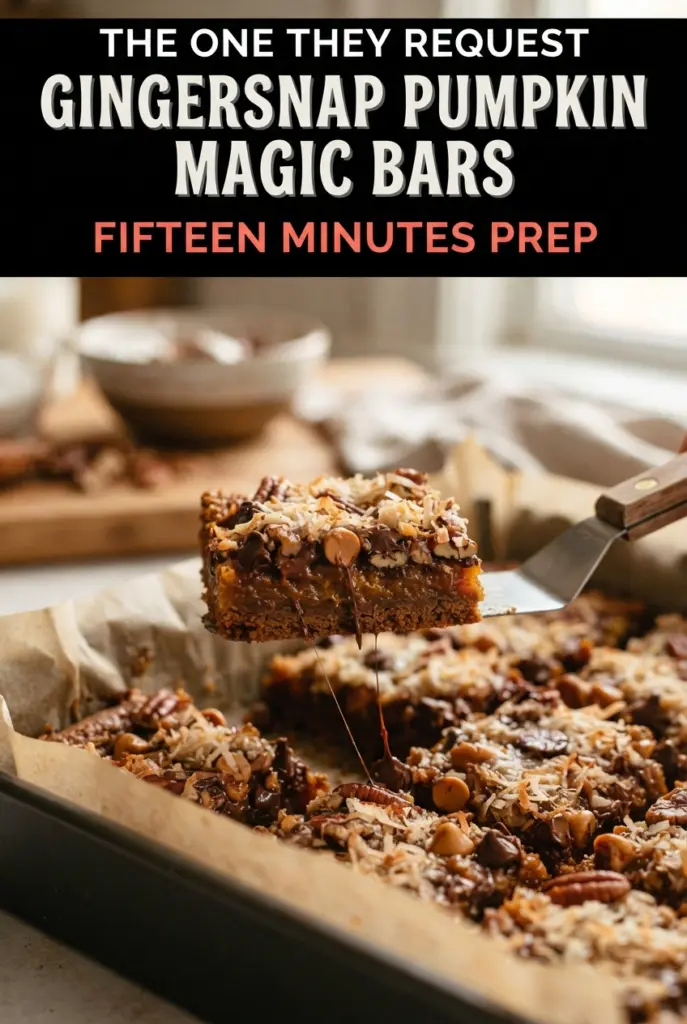
Pumpkin Magic Bars with Gingersnap Crust (No Mixer)
Pumpkin magic bars have a way of disappearing faster than any other pan dessert on the table, and this version earns that kind of attention. The gingersnap crust brings a…

By Ava
•
•
Reading time: 10 min
Tip: save now, make later.
Pumpkin magic bars have a way of disappearing faster than any other pan dessert on the table, and this version earns that kind of attention. The gingersnap crust brings a deep, spiced crunch, the pumpkin layer bakes up silky instead of dense, and the chocolate, butterscotch, pecans, and coconut turn into one chewy, caramelized top that slices cleanly after a chill. Each bite lands somewhere between a pumpkin pie square and a classic seven-layer bar, which is exactly why they keep coming back for potlucks and holiday trays.
The trick is keeping the pumpkin layer balanced. Too much pumpkin and the bars turn soft and custardy in a way that never quite sets; too little and you lose the flavor that makes these different from standard magic bars. Sweetened condensed milk does the heavy lifting here, giving the filling body and a gentle sweetness that plays well with the gingersnap base. Baking the crust briefly before adding the filling keeps the bottom from going sandy, and chilling the finished pan is what gives you those sharp, clean squares instead of a gooey mess.
Below, I’ve laid out the part that matters most: how to keep the crust crisp, how to tell when the center is set, and which swaps work without wrecking the texture. If you’ve ever had magic bars slump apart at the cutting board, this version solves that problem.
The pumpkin layer set up beautifully and the bars cut into neat squares after chilling. I loved that the gingersnap crust stayed crisp under all those chips instead of getting soggy.
These Pumpkin Magic Bars with Gingersnap Crust set up so neatly, and the toasted coconut on top gives them that caramelized finish you can actually taste.
The One Thing That Keeps the Pumpkin Layer from Turning Soft and Heavy
The filling in these bars is not a pumpkin pie filling in disguise. It’s a condensed milk base with just enough pumpkin to bring flavor and color without overwhelming the structure. That matters because pumpkin puree adds moisture, and once you push it too far, the bars stop slicing cleanly and start leaning toward pudding.
There’s also a timing detail that helps more than people expect: the crust gets a short bake before the filling goes on. That quick head start keeps the bottom from dissolving into the pumpkin layer and gives the bars a sturdier base. The finished bars still stay chewy, but they hold their shape instead of collapsing when you lift them out of the pan.
- Let the crust get fragrant before you pull it. That’s the signal the butter has soaked into the crumbs and the base is ready for the filling.
- Use pumpkin puree, not pumpkin pie filling. Pie filling already has sugar and spices mixed in, which throws off the balance and can make the bars too sweet and loose.
- Chill before cutting. Warm bars from this style of recipe always look underdone, even when they’re baked through.
What Each Ingredient Is Doing in These Magic Bars
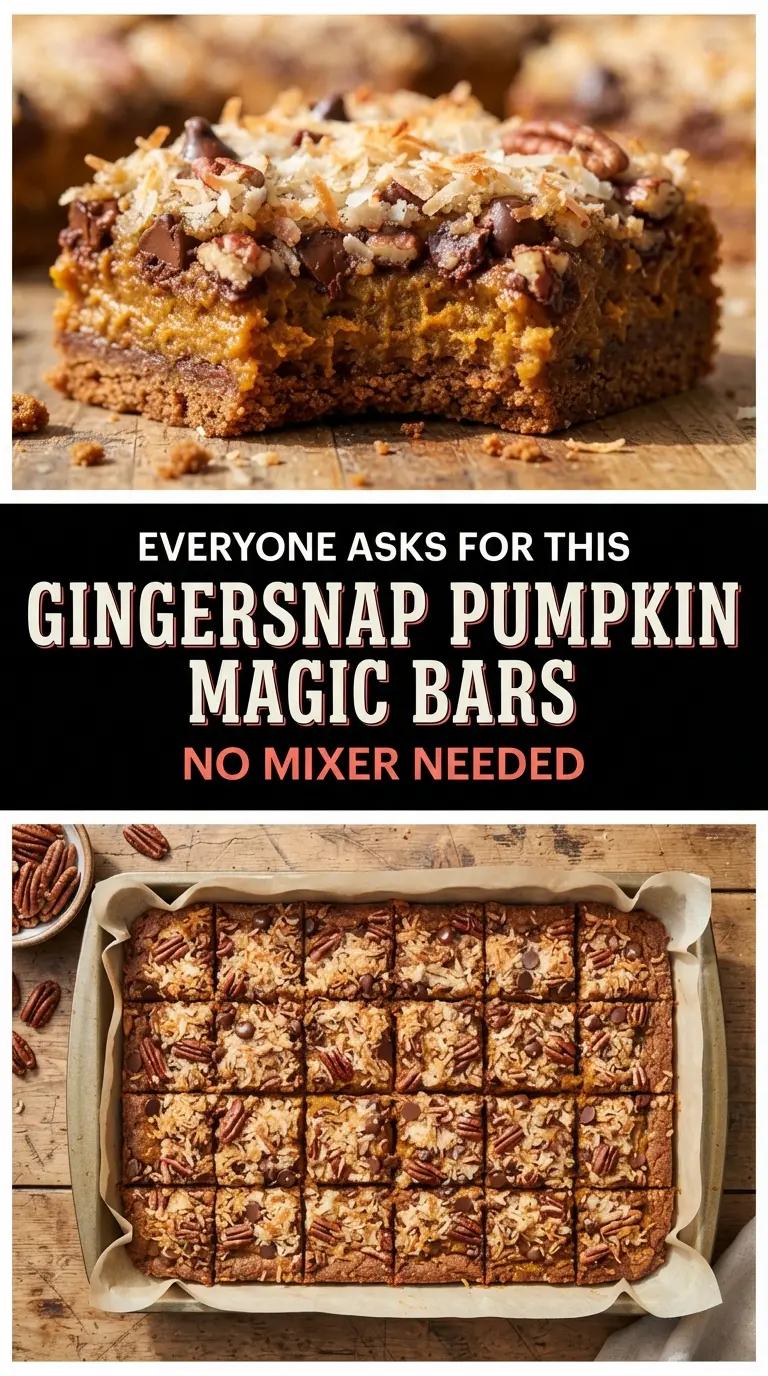
- Gingersnap cookies — These replace the usual graham cracker crust and give the bars a deeper spice that stands up to the pumpkin. Crush them finely so the crust presses into an even layer; bigger crumbs make the base crumbly instead of compact.
- Light brown sugar — This adds a little extra chew and helps the crust taste more caramelized. You can skip it if your gingersnaps are very sweet, but the bars lose some depth.
- Sweetened condensed milk — This is the binder and the sweetener all at once. There isn’t a true substitute that gives the same silky set, so if you swap it, the texture changes fast.
- Pumpkin puree — Use canned pumpkin puree, not pie filling. If the can looks watery, stir it well before measuring so the bars don’t bake up loose.
- Egg yolk — The yolk adds richness and helps the pumpkin layer set without becoming cakey. The white is unnecessary here and can make the filling firmer than it should be.
- Chocolate chips, butterscotch chips, pecans, and coconut — These are the classic magic bar toppings, and together they give you melty, crunchy, chewy contrast. If you want the best texture, use sweetened coconut and press the topping lightly into the filling so it doesn’t slide off after baking.
Building the Layers So the Bars Slice Cleanly
Pressing the Crust
Mix the gingersnap crumbs, brown sugar, and melted butter until the mixture looks like damp sand, then press it firmly into the parchment-lined pan. Thin spots burn and thick spots stay loose, so use the bottom of a measuring cup to pack the crust into an even layer. Bake it until it smells toasty and the edges look set; if it still looks pale and dry, it hasn’t had enough heat to hold the filling.
Mixing the Pumpkin Layer
Whisk the condensed milk, pumpkin puree, egg yolk, spice, vanilla, and salt until the mixture turns smooth and glossy. Don’t rush this by using high heat later to fix it; the filling needs to be fully blended before it goes in the oven. If you see streaks of pumpkin or yolk, keep whisking until they disappear, because those streaks can bake unevenly.
Layering the Toppings
Pour the pumpkin mixture over the warm crust and spread it all the way to the corners. Scatter the chocolate chips, butterscotch chips, pecans, and coconut in an even layer, then press them down gently with your palm so they settle into the filling. That light pressure matters — too much and the toppings sink; too little and they fall off when you cut the bars.
Baking to the Right Finish
Bake until the coconut is golden, the edges are bubbling, and the center no longer looks wet. The middle may still seem soft when you jiggle the pan, but it should look set rather than sloshy. Pull the bars when they reach that point; if you wait until the center looks firm in the oven, they usually end up overbaked and dry once cooled.
How to Adapt These Bars for Different Pans, Diets, and Pantry Gaps
Gluten-Free Version with the Same Chewy Crust
Use certified gluten-free gingersnaps and crush them finely. The rest of the recipe stays the same, and the bars still bake up with that spiced, snappy base as long as the crumbs are packed down firmly.
Nut-Free Swap for School or Office Trays
Leave out the pecans and replace them with extra chocolate chips or more coconut. You’ll lose the toasty crunch, but the bars still hold together and keep the same layered, gooey texture.
Dairy-Free Version
This one is harder to convert cleanly because condensed milk is the structure of the filling. A dairy-free condensed milk substitute can work, but the bars usually bake up a little softer and need extra chilling before slicing.
How to Bake Them in a Smaller Pan
An 8×8 or 9×9 pan will give you much thicker bars, but you’ll need a longer bake time and a slower chill. Line the pan well and watch the center closely; thick bars can look unset in the middle long after the edges are done.
Storage and Reheating
- Refrigerator: Store in an airtight container for up to 5 days. The crust stays best when the bars are kept chilled.
- Freezer: These freeze well. Layer parchment between bars and freeze in a sealed container for up to 2 months, then thaw in the fridge.
- Reheating: Eat them cold or let them sit at room temperature for 15 to 20 minutes. Warming them too much softens the topping and makes the squares harder to cut cleanly.
Answers to the Questions Worth Asking
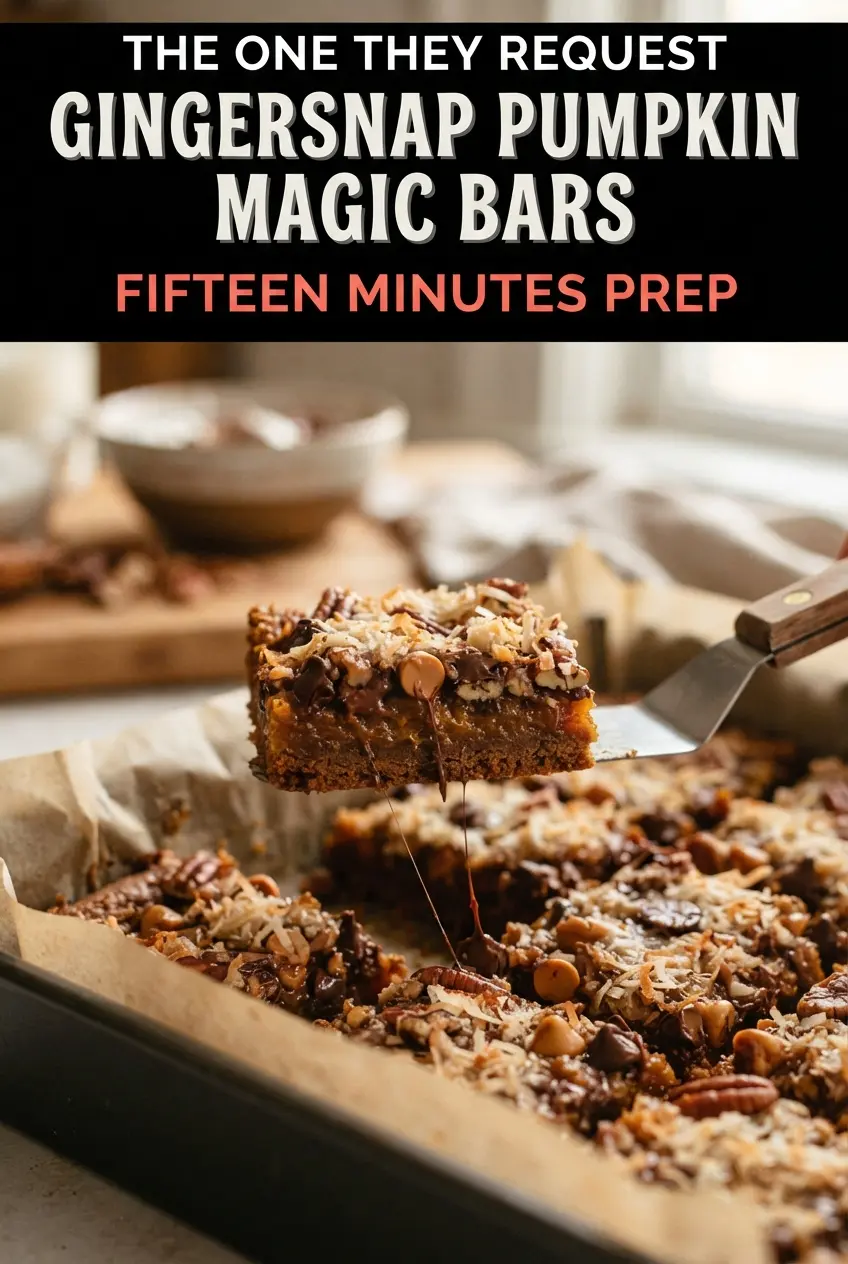
Pumpkin Magic Bars with Gingersnap Crust (No Mixer)
Ingredients
Equipment
Method
- Preheat the oven to 350°F. Line a 9x13-inch pan with parchment paper, leaving an overhang on the long sides for lifting.
- Stir gingersnap crumbs, brown sugar, and melted butter until the mixture looks like wet sand. Press it firmly and evenly into the pan.
- Bake the crust for 8 minutes at 350°F, until fragrant.
- Whisk condensed milk, pumpkin puree, egg yolk, pumpkin pie spice, vanilla, and fine salt until smooth and glossy.
- Pour the pumpkin mixture over the warm crust and spread it to the edges.
- Scatter chocolate chips, butterscotch chips, and chopped pecans evenly over the top. Finish with the shredded coconut.
- Press everything down gently with your palm so the toppings settle into the pumpkin layer.
- Bake for 25–30 minutes at 350°F, until the coconut is golden, the edges are bubbling, and the center no longer looks wet.
- Cool the bars at room temperature for 1 hour. They should feel set before chilling.
- Refrigerate for 1 hour so the bars firm up. Lift out by the parchment and cut into 24 bars with a sharp knife.