
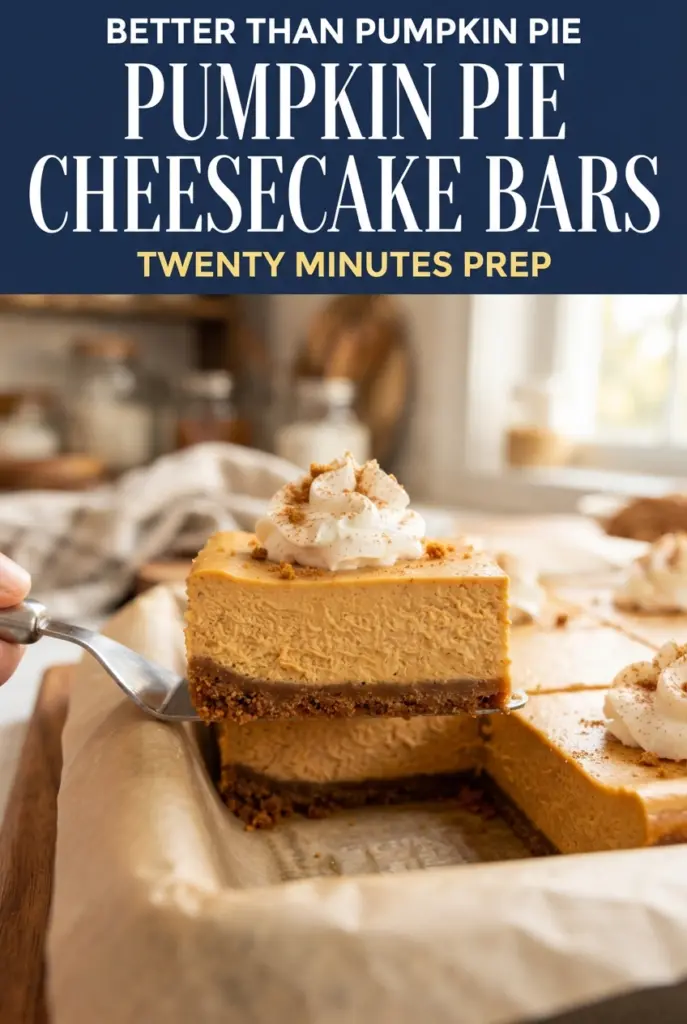
Pumpkin Pie Cheesecake Bars with Gingersnap Crust
Pumpkin pie cheesecake bars hit that sweet spot between creamy and sliceable: a silky pumpkin filling, a spiced gingersnap crust, and clean edges that hold up on a dessert tray.…

By Ava
•
•
Reading time: 10 min
Tip: save now, make later.
Pumpkin pie cheesecake bars hit that sweet spot between creamy and sliceable: a silky pumpkin filling, a spiced gingersnap crust, and clean edges that hold up on a dessert tray. The crust stays crisp under the filling instead of turning soggy, and the cheesecake layer bakes up smooth enough to cut into neat bars without losing that pumpkin pie softness.
The trick is in the layers. A pre-baked gingersnap crust gives you more flavor than a plain graham base, and the combination of cream cheese and pumpkin puree keeps the filling rich without making it heavy. A little flour helps the bars set firmly once chilled, which matters if you want pieces you can actually pick up with your fingers instead of scooping onto plates.
Below, I’ll walk through the small details that keep the filling from cracking, the crust from crumbling, and the bars from falling apart the moment you slice them. There’s also a make-ahead note that makes these especially useful when the oven is already booked for the rest of dinner.
The filling set up perfectly overnight and the gingersnap crust stayed crisp all the way through. I cut them into clean squares with a warm knife, and they looked bakery-level on the platter.
Save these pumpkin pie cheesecake bars for the make-ahead dessert that slices cleanly and disappears fast.
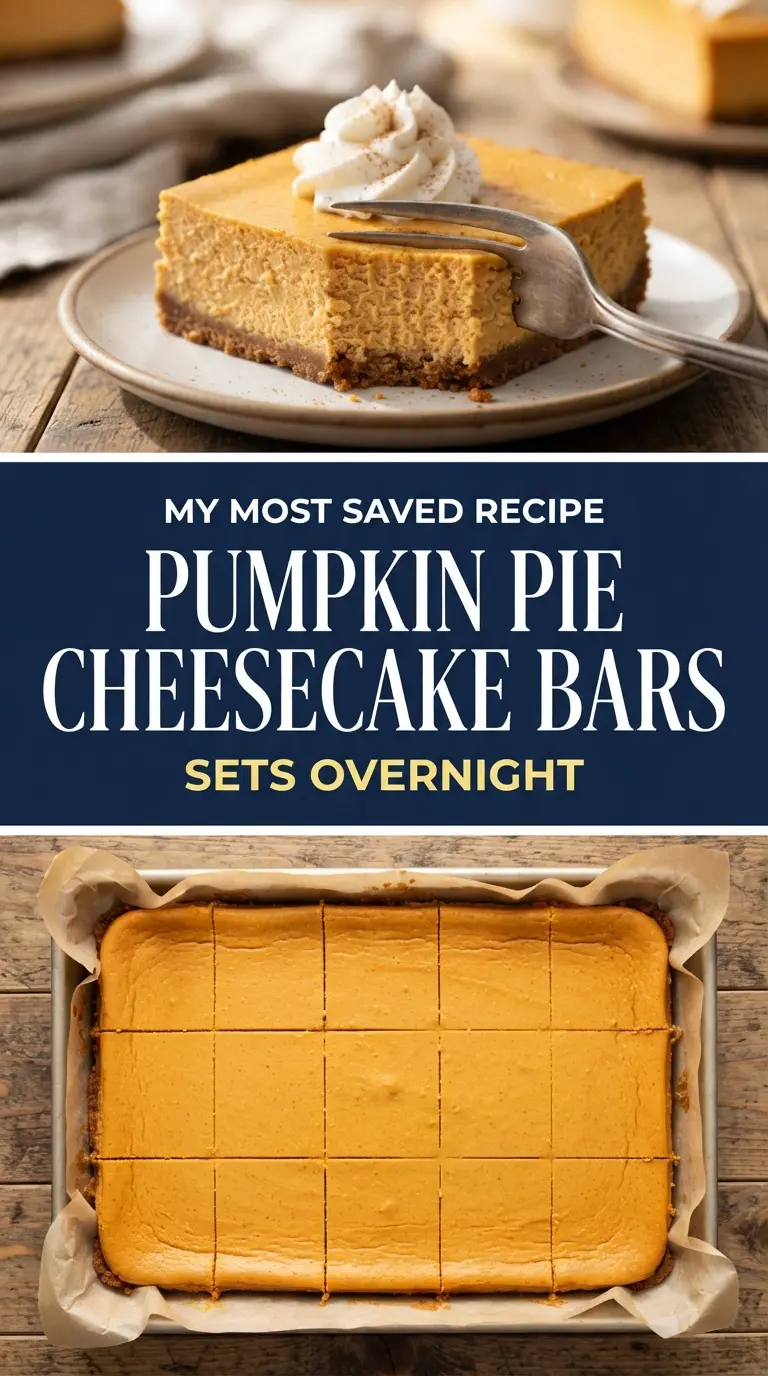
The Crust Needs a Head Start, Not a Softer Touch
With cheesecake bars, the crust is where people get into trouble. If it goes in raw, it often bakes up pale and a little pasty under the filling. If it’s pressed loosely, it can crumble when you lift the bars out of the pan. This version bakes the gingersnap base first, which dries it just enough to stay snappy while giving the cookies time to toast and deepen in flavor.
The other thing worth knowing is that the filling goes onto a warm crust, not a cold one. That helps the bars bake evenly from the bottom up and keeps the layers from separating. You’re aiming for a surface that still has a slight wobble in the center when it comes out of the oven; if it looks fully firm in the middle, it’s probably overbaked and will crack as it cools.
- Gingersnap cookies — These bring the spice and the structure. Finely crush them so the crust packs tightly; bigger chunks make it sandy and hard to slice. If you can’t find gingersnaps, use cinnamon graham crackers plus 1 extra teaspoon pumpkin pie spice, but the crust will be milder and less sharp.
- Cream cheese — Full-fat cream cheese gives the filling its body and tang. Low-fat versions tend to bake up looser and less creamy, so this is not the place to trim fat. Let it soften fully before mixing or you’ll spend too long beating out lumps and add extra air.
- Pumpkin puree — Use plain canned pumpkin puree, not pumpkin pie filling. Pie filling already contains sugar and spices, which throws off the balance and can make the bars too soft. If your puree looks watery, stir it well first; some cans separate a bit.
- Eggs — Eggs set the filling, but they also trap air if you beat them too aggressively. Add them one at a time on low speed and stop as soon as each one disappears. That keeps the texture dense and silky instead of puffy.
- Flour — Just a little flour helps the bars hold their shape after chilling. It doesn’t make them cakey; it gives the filling enough backbone to cut cleanly. If you need a gluten-free version, use a 1:1 gluten-free flour blend with the same amount of crust adapted to gluten-free cookies or crackers.
How to Mix, Bake, and Chill These Bars Without Cracks
Pressing and Prebaking the Crust
Stir the gingersnap crumbs with the brown sugar and melted butter until every crumb looks damp, then press it in firmly with the bottom of a measuring cup. You want an even layer that feels compact, not loose or dusty. Bake it just until fragrant and slightly darker at the edges; if it goes too far, it turns hard instead of crisp and can be tough to cut cleanly later.
Building the Pumpkin Cheesecake Layer
Beat the cream cheese and sugars first until the mixture is completely smooth and no little lumps remain on the sides of the bowl. Then mix in the pumpkin, flour, spice, vanilla, and salt until the color is uniform. Once the eggs go in, switch to low speed and stop as soon as they blend; the more air you whip in here, the more likely the top is to puff and crack in the oven.
Knowing When the Center Is Done
Pour the filling over the warm crust and smooth the top with a spatula. Bake until the edges look set but the center still has a slight jiggle when you nudge the pan. That wobble matters; cheesecake bars finish setting as they cool, and pulling them early keeps the texture creamy instead of dry and crumbly.
Cooling Before the First Slice
Let the pan cool at room temperature for an hour before it goes into the refrigerator. Cutting too soon is the fastest way to get a messy, soft middle that sticks to the knife. Chill the bars until they’re fully firm, then use the parchment overhang to lift the slab out in one piece and cut with a hot knife, wiping it clean between cuts for the sharpest edges.
Three Ways to Make These Bars Fit Your Table
Dairy-Free Version with a Softer Set
Use dairy-free cream cheese and a plant-based butter in the crust. The bars will still slice, but the filling usually sets a little softer and tastes a touch less tangy, so give them the full chill time and keep them cold until serving.
Gluten-Free Swaps That Still Hold Together
Swap in gluten-free gingersnap-style cookies for the crust and use a 1:1 gluten-free flour blend in the filling. The texture stays close to the original if the cookie crumbs are fine and the pan is chilled fully before cutting.
A Slightly More Spiced, Pie-Like Version
Add another 1/2 teaspoon pumpkin pie spice and a pinch of cinnamon to the filling if you want the bars to lean more toward classic pumpkin pie. The filling will taste warmer and more aromatic, but don’t push the spice too far or it will crowd out the cream cheese.
Storage and Reheating
- Refrigerator: Store covered for up to 5 days. The crust softens a little by day two, but the bars still slice well.
- Freezer: These freeze well. Wrap individual bars tightly and freeze for up to 2 months, then thaw overnight in the refrigerator.
- Reheating: No reheating needed. Serve straight from the fridge or let the bars sit at room temperature for 10 to 15 minutes so the filling loses its chill without getting soft.
Answers to the Questions Worth Asking
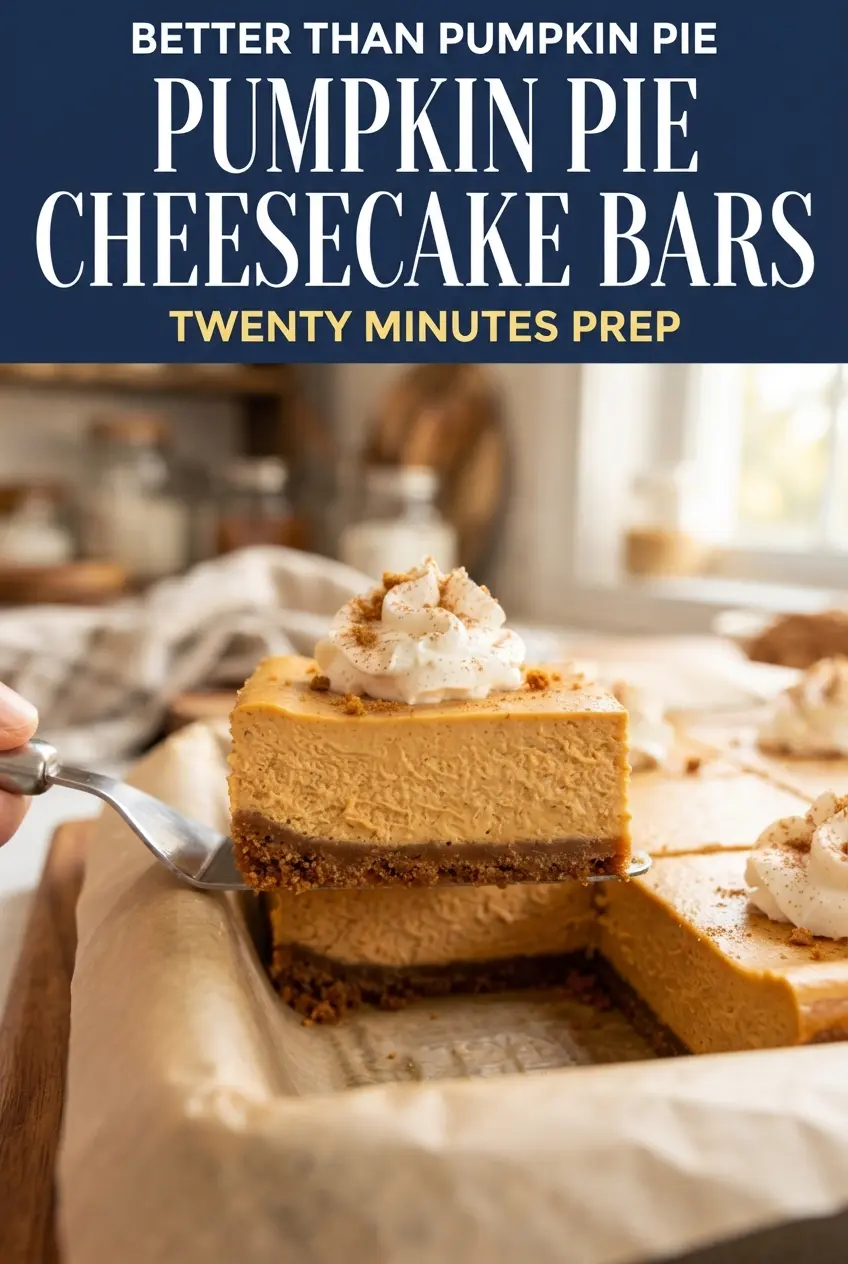
Pumpkin Pie Cheesecake Bars with Gingersnap Crust (Make-Ahead)
Ingredients
Equipment
Method
- Preheat the oven to 350°F. Line a 9x13-inch pan with parchment paper, leaving an overhang on the long sides for lifting.
- Stir the gingersnap cookies, light brown sugar, and melted unsalted butter until the mixture looks like wet sand. Press it firmly and evenly into the pan.
- Bake the crust for 10 minutes until fragrant. Lower the oven to 325°F.
- Beat the full-fat cream cheese, granulated sugar, and packed light brown sugar with a hand mixer on medium for 2 minutes until completely smooth and lump-free. Scrape down the bowl.
- Beat in the canned pumpkin puree, all-purpose flour, pumpkin pie spice, vanilla extract, and fine salt until smooth and evenly orange.
- Add the large eggs one at a time on low speed, mixing only until each disappears. Avoid overbeating to prevent cracks.
- Pour the filling over the warm gingersnap crust and smooth the top. Tap the pan on the counter to release bubbles.
- Bake at 325°F for 35 to 40 minutes until the edges are set and the center jiggles slightly when you nudge the pan. Keep the pan in place while it finishes baking.
- Cool at room temperature for 1 hour, then refrigerate for at least 4 hours or overnight until fully firm. Chill uncovered at first only if needed to set faster.
- Lift the slab out using the parchment overhang and cut into 24 bars with a hot knife. Wipe the knife clean between cuts for neat edges.
- Top each bar with a dollop of whipped cream and a sprinkle of crushed gingersnaps. Serve chilled or slightly chilled.