
Brown Butter Pumpkin Chocolate Chip Blondies (One Bowl)
Brown butter gives these blondies a deeper, toastier backbone than the usual pumpkin bars, and it keeps the squares tasting rich instead of flat. The pumpkin stays in the background,…

By Ava
•
•
Reading time: 10 min
Tip: save now, make later.
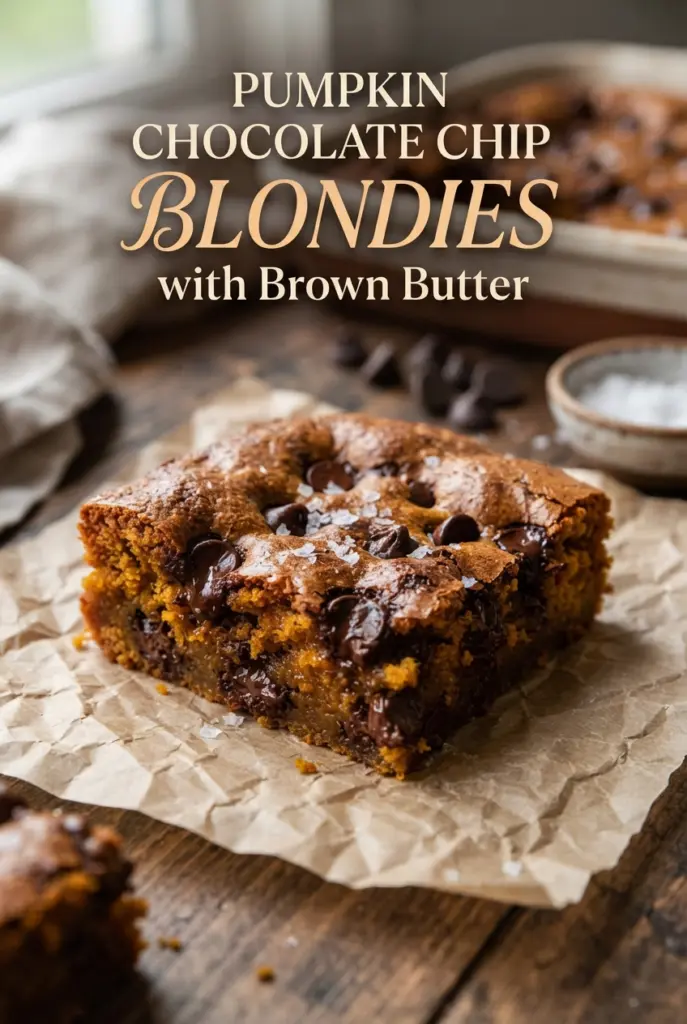
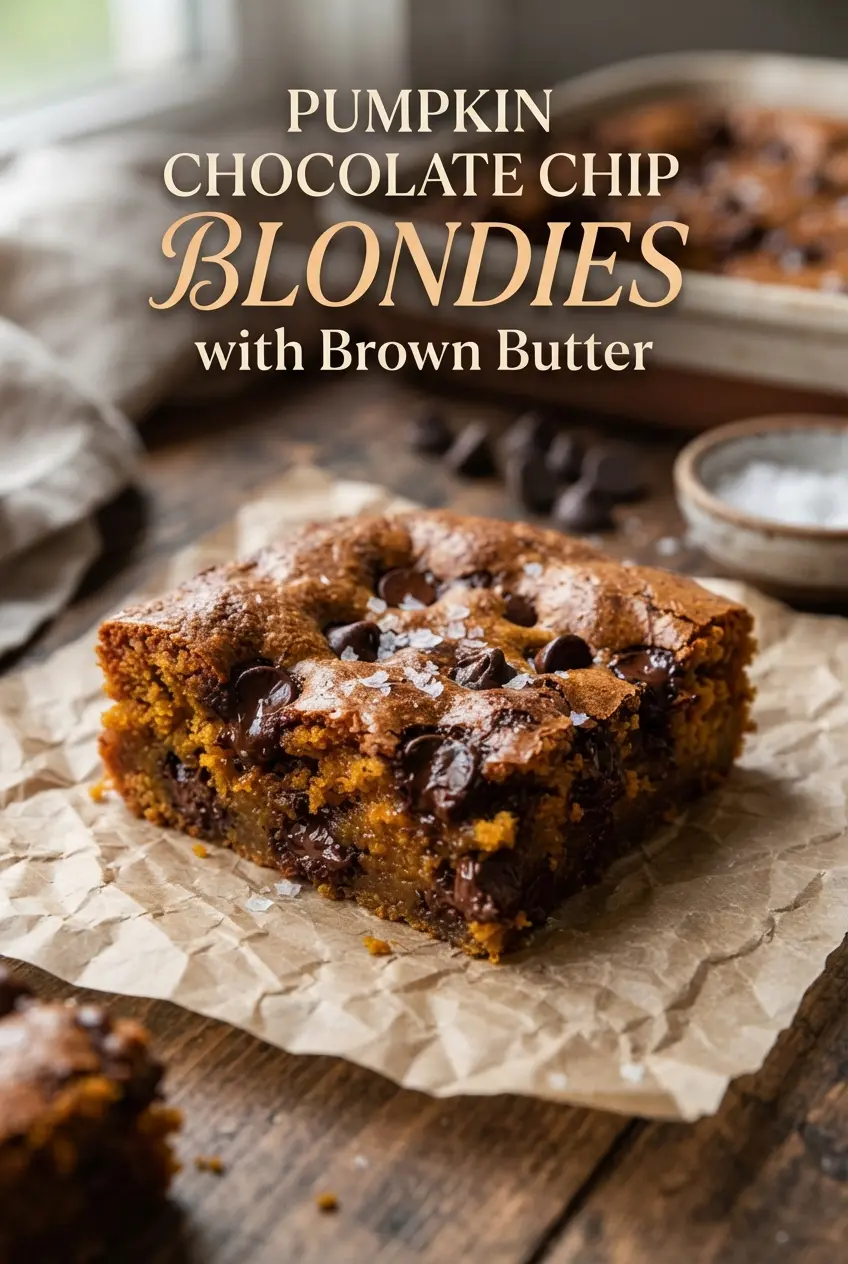
Brown butter gives these blondies a deeper, toastier backbone than the usual pumpkin bars, and it keeps the squares tasting rich instead of flat. The pumpkin stays in the background, bringing moisture and a soft, fudgy middle while the chocolate chips melt into little pockets that keep every bite interesting.
The trick is using just enough pumpkin to help the texture without turning the batter cakey. Blotting the puree takes off the excess water, which matters more than people think here. Brown sugar adds chew, the egg yolk adds richness without extra lift, and the pan bakes into a slab that slices cleanly once it cools.
Below, I’ve laid out the one bowl method, the signs that the butter has browned enough, and the few small details that keep these blondies dense, chewy, and sliceable instead of soft in the wrong way.
The brown butter made these taste like a bakery blondie, and blotting the pumpkin kept the center fudgy instead of wet. Mine sliced cleanly after an hour, and the chocolate stayed melty without making the bars greasy.
Save these brown butter pumpkin chocolate chip blondies for the days when you want a chewy pumpkin dessert with real depth and melty chocolate in every square.
The Secret to Chewy Blondies That Aren’t Cakey
Pumpkin bars and blondies can drift into cake territory fast. Too much pumpkin, too much flour, or too much air in the batter all push the texture upward instead of keeping it dense and fudgy. This version stays on the chewy side because the batter gets only one egg yolk, not a whole egg, and the pumpkin is measured after it’s blotted dry so it adds moisture without flooding the crumb.
Brown butter also changes the structure in a good way. Once the milk solids toast, they bring flavor without requiring a heavy hand with spices or sugar. The result is a pan of bars that set at the edges, stay soft in the middle, and cut into neat squares once they cool.
- Blotted pumpkin puree — Canned pumpkin can hold a surprising amount of water. Blotting it with a paper towel keeps the batter thick and helps the blondies bake up fudgy instead of spongy.
- Egg yolk only — The yolk adds richness and chew, while skipping the white avoids extra structure that would make these feel more cake-like.
- Brown butter — This is where the deep, nutty flavor comes from. Use a light-colored pan so you can see the milk solids turn amber and avoid taking it too far, because burnt butter tastes harsh, not toasty.
- Semisweet chocolate chips — Semi-sweet gives the best balance against the sweet, spiced base. If you swap to dark chocolate, the bars get less sweet and a little more grown-up; milk chocolate will make them softer and sweeter.
How to Keep the Batter Thick and the Center Fudgy
Brown the Butter First, Then Let It Cool
Start by browning the butter in a light-colored pan so you can track the color change. It should foam, then the foam will settle and the bottom of the pan will show tiny brown specks with a nutty smell. Pull it off the heat before those flecks turn black. If you whisk the sugars in while the butter is too hot, the batter loosens and the blondies bake up greasy instead of chewy.
Build the Base Without Whipping Air Into It
Once the butter cools for about 10 minutes, whisk in the sugars, egg yolk, pumpkin, and vanilla until glossy and smooth. You’re not trying to aerate the mixture here. You’re building a dense base. That glossy look matters because it tells you the sugar has dissolved enough to bake into a fudgy crumb.
Fold Just Until the Flour Disappears
Sprinkle in the dry ingredients and fold with a spatula until the last streak of flour is gone. Stop there. Overmixing after the flour goes in starts developing gluten, and that’s how you lose the tender bite. The batter should be thick enough to spread with a spatula, not pour like cake batter.
Bake Until the Edges Set and the Center Still Looks Soft
Spread the batter evenly into the pan, scatter the remaining chips on top, and bake until the edges are golden and pulling away from the pan. The center should still look a little underdone when you pull it out; a toothpick should come out with moist crumbs, not wet batter. Let the slab cool fully before cutting. Warm blondies always seem tempting, but the texture firms up as the chocolate sets and the crumb finishes setting.
How to Adapt These Blondies Without Losing the Texture
Gluten-Free Blondies With a Tender Crumb
Use a good 1:1 gluten-free baking flour in place of the all-purpose flour. The texture stays close to the original if the blend already includes xanthan gum. Expect a slightly softer center and give the bars the full cooling time so they set cleanly before slicing.
Dairy-Free Version With the Same Brown Butter Flavor
Use a plant-based butter that browns well, not a soft tub spread. Some work beautifully, while others never develop those toasted milk-solid notes, so read the package and choose one meant for baking. The bars will still be chewy, but the flavor will be a little less nutty if the substitute doesn’t brown as deeply.
Extra Chocolate, Less Pumpkin Spice
Swap the pumpkin pie spice for 1 teaspoon cinnamon plus 1/4 teaspoon each ginger and nutmeg if you want a gentler spice note. The bars will taste a little more chocolate-forward and a little less like a classic pumpkin dessert. That works well if you’re serving them alongside coffee or packing them for lunchboxes.
How to Make a Larger Batch
Double the recipe and bake it in a 9×13-inch pan. The batter will still be thick, but the center needs a little longer in the oven, so start checking around 32 minutes and keep going until the edges are set and the middle has just a slight give. Cooling matters even more in a larger pan because the bars hold heat longer and finish setting as they rest.
Storage and Reheating
- Refrigerator: Store in an airtight container for up to 5 days. The blondies stay chewy, though the chocolate chips will firm up once chilled.
- Freezer: These freeze well. Wrap individual squares tightly and freeze for up to 2 months, then thaw at room temperature.
- Reheating: Warm a square in the microwave for 10 to 15 seconds if you want the chips soft again. Don’t overheat them, or the center turns dry and the edges get tough.
Answers to the Questions Worth Asking
Brown Butter Pumpkin Chocolate Chip Blondies (One Bowl)
Ingredients
Equipment
Method
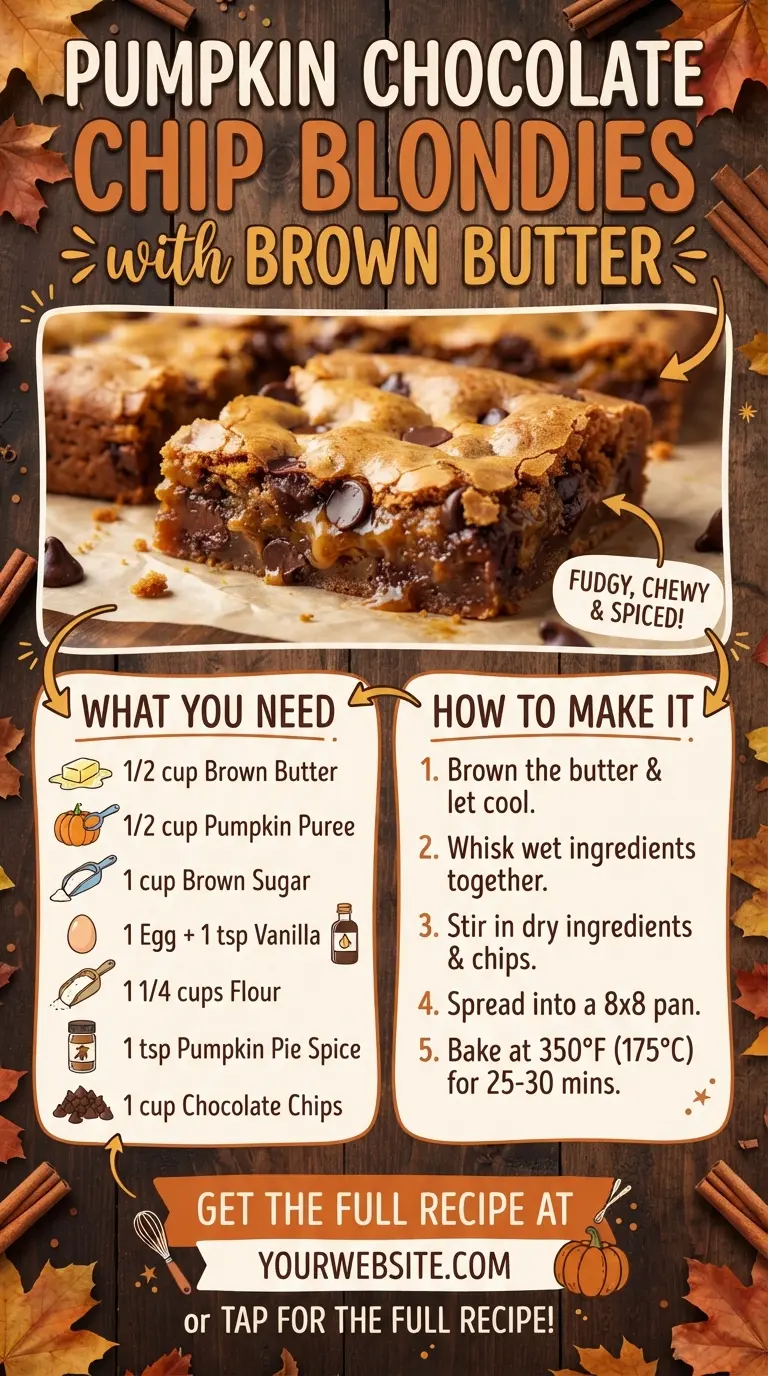
- Preheat the oven to 350°F. Line an 8x8-inch baking pan with parchment paper, leaving an overhang on two sides for lifting.
- Melt the butter in a light-colored saucepan over medium heat. Swirl it often for 5–7 minutes, until it foams, the foam subsides, brown flecks form on the bottom, and it smells nutty.
- Pour the browned butter into a large bowl with all the browned bits and cool for 10 minutes, until warm not hot.
- Whisk the brown sugar and granulated sugar into the browned butter until combined. Whisk until the mixture looks uniform and glossy.
- Add the egg yolk, pumpkin puree, and vanilla, then whisk until smooth. Stop and scrape the bowl to keep the texture consistent.
- Sprinkle the pumpkin pie spice, baking powder, and salt over the batter, then whisk them in. Whisk just until there are no visible dry pockets.
- Add the flour and fold with a spatula until no dry streaks remain. Do not overmix—stop as soon as the flour disappears.
- Fold in 1 cup of chocolate chips. Spread the thick batter evenly into the pan and press the remaining 2 tbsp of chips on top.
- Bake at 350°F for 28–32 minutes. They are done when the edges are golden and pulling away from the pan, and a toothpick in the center comes out with moist crumbs but no wet batter.
- Cool completely in the pan for at least 1 hour for clean slices. Keep them at room temperature so the center sets.
- Lift the slab out by the parchment, cut into 16 squares, and finish with a pinch of flaky sea salt if using.