
Peppermint Swirl Fudge
The chocolate turns glossy first, then the white chocolate follows in the same saucepan, which keeps this two-layer fudge from becoming a sink full of dishes. I like how the…

By Ava
•
•
Reading time: 9 min
Tip: save now, make later.
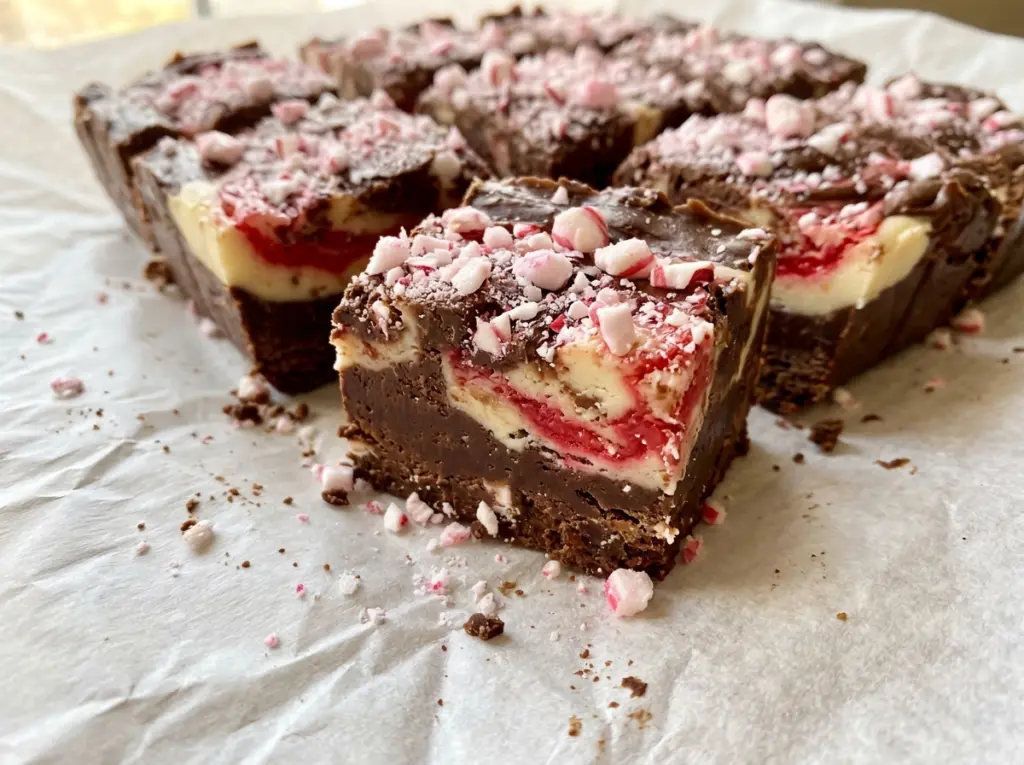
The chocolate turns glossy first, then the white chocolate follows in the same saucepan, which keeps this two-layer fudge from becoming a sink full of dishes. I like how the finished squares show off those red ribbons against the dark base, with crushed candy canes adding a little crunch on top. It’s festive-looking, but the method is straightforward: melt each layer gently, make the swirl, and let the refrigerator do the setting.
This isn’t the kind of fudge that needs a candy thermometer or a bubbling sugar syrup. Sweetened condensed milk and chocolate chips become a smooth, sliceable mixture over low heat, so steady stirring matters more than chasing a particular temperature. Keep each batch moving as it melts, and take it off the heat before stirring in its extract. The finished peppermint swirl fudge is creamy, cool, and easy to cut into neat little squares.
Kitchen Note
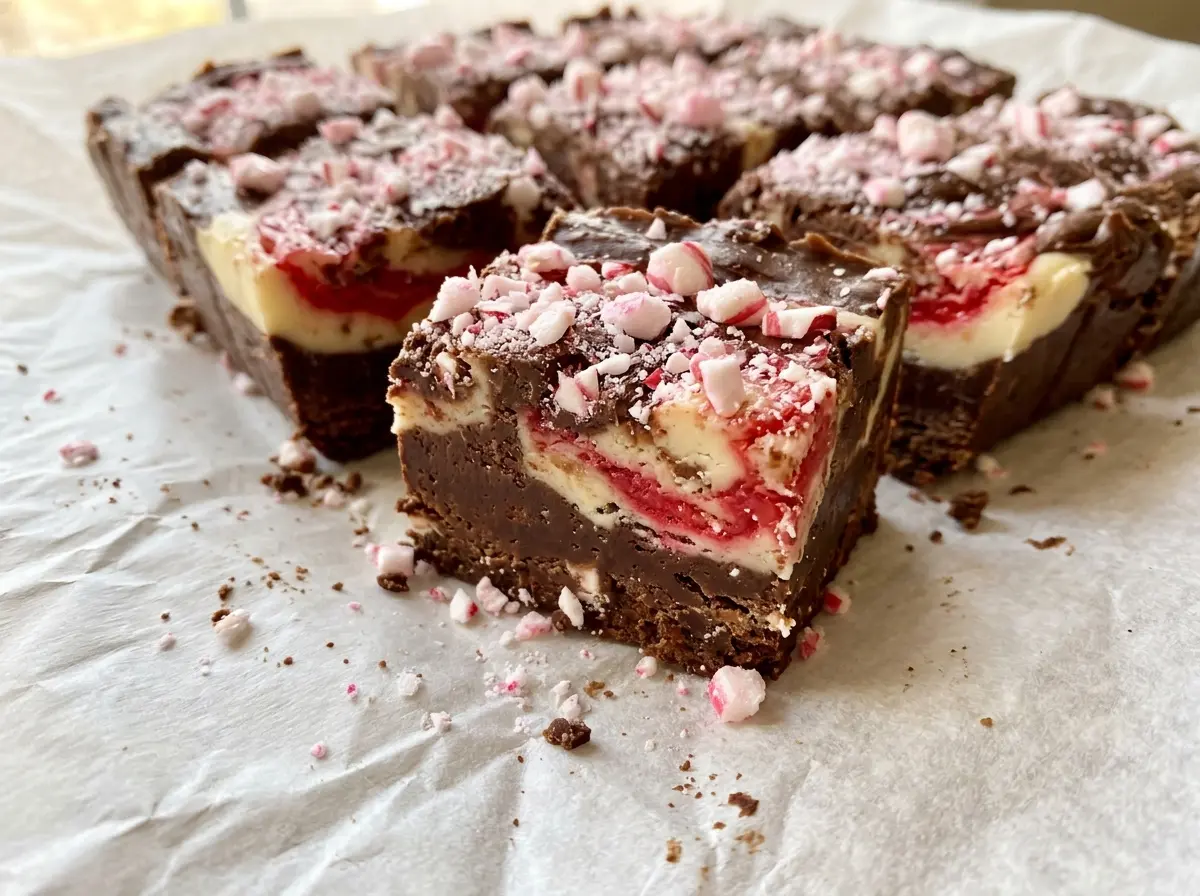
Press the crushed candy canes into the top with a light touch. A gentle press helps them stay put without burying the bright pieces in the soft fudge.
Save this peppermint swirl fudge for a holiday treat with creamy chocolate layers, bright red ribbons, and a candy-cane crunch.
Why This Fudge Doesn’t Need a Candy Thermometer
Traditional cooked fudge depends on boiling sugar to a precise stage, and a few degrees can change the texture. This version takes a different route. Sweetened condensed milk brings concentrated sugar and moisture to the chocolate, while chilling firms the mixture into pieces you can slice. You’re melting and combining, not cooking a syrup, so there’s no need to wait for bubbling or test a drop in cold water.
That difference is useful because it tells you what to watch. A smooth, glossy mixture is the goal; high heat won’t make it set faster, and it can make chocolate seize or turn grainy. Keep the burner low and stir continuously so the chips melt evenly into the condensed milk and butter. The two mixtures also need their own time in the pan: make the semisweet base first, then the white chocolate layer. Spoon the white and red portions over the base and swirl gently, rather than stirring them into one color. That gives you distinct ribbons and keeps the chocolate layer visible beneath them.
What the Chocolate, Condensed Milk, and Peppermint Each Bring
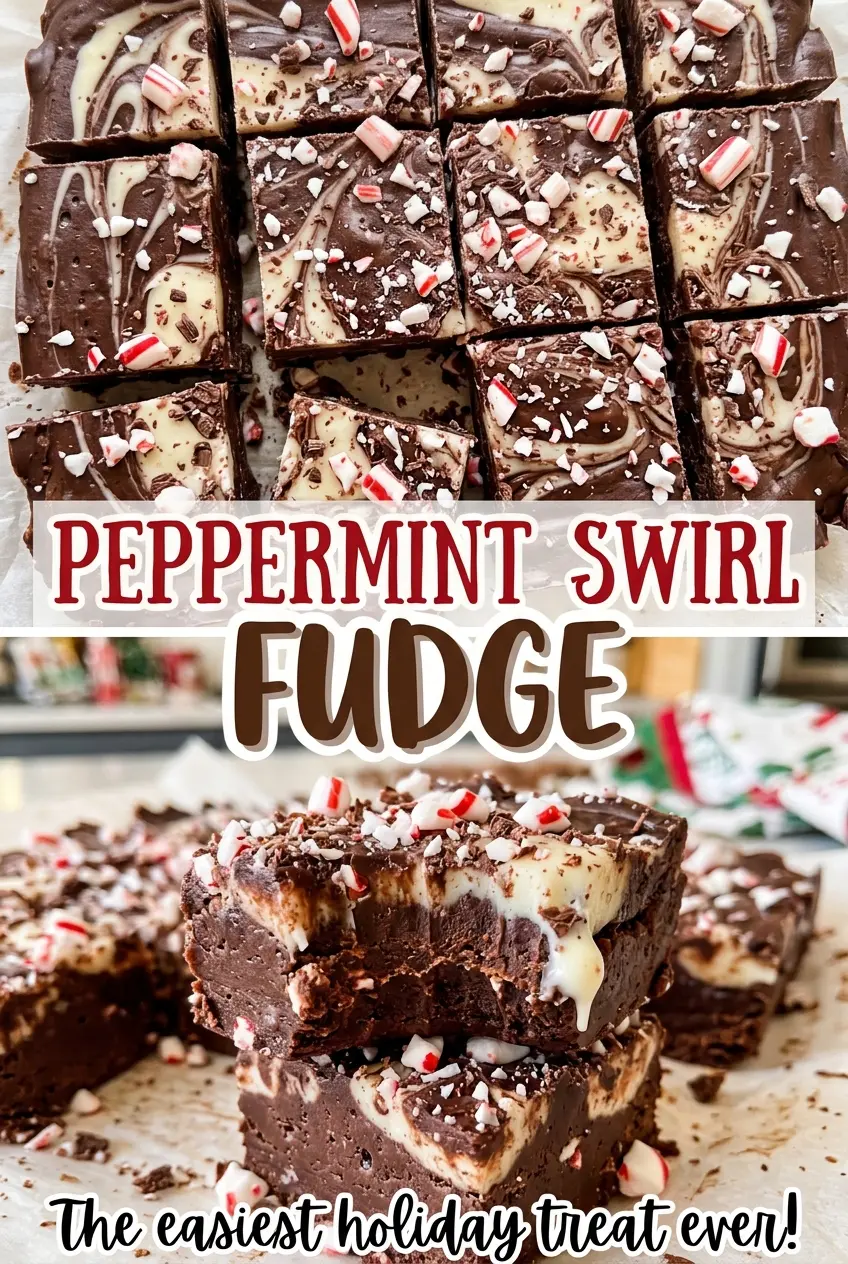
- Semisweet and white chocolate chips — The semisweet chips create a darker, less sugary base, while white chocolate gives the peppermint portion its pale color and creamy sweetness. Use chips you enjoy eating; their flavor carries through clearly. Chips are the right choice here because the recipe’s melting time and proportions are built around them.
- Sweetened condensed milk — This is the ingredient that makes the mixture creamy and helps it set after chilling. It isn’t interchangeable with evaporated milk, which is thinner and unsweetened; that swap would change both the sweetness and the texture. Keep the two cans separate so each chocolate layer gets its own full portion.
- Unsalted butter — Butter rounds out the chocolate and helps the mixtures melt smoothly. Unsalted butter keeps the flavor predictable, and there’s no need to soften it before it goes into the saucepan.
- Vanilla and peppermint extracts — Vanilla softens the semisweet chocolate’s edge, while peppermint extract makes the white layer unmistakably minty. Peppermint extract is potent, so measure it carefully rather than pouring by eye.
- Red gel food coloring — Gel gives the peppermint portion a clear red color without adding much liquid. If you don’t have gel coloring, leave that half white instead of using liquid coloring, which can loosen the mixture.
- Crushed candy canes — They add the crisp finish and familiar peppermint flavor on top. Crush them into small pieces so they’re easy to press into the fudge and don’t make the squares awkward to bite.
Making Two Smooth Layers Before the Swirl Sets
Line the Pan for Easy Lifting
Line a 9×9-inch square pan with parchment, leaving an overhang on two sides. Those edges become handles once the fudge is firm, so leave enough parchment to grip. Smooth the parchment into the corners and set the pan beside the stove before you start melting. The mixtures thicken as they cool, and having the pan ready keeps the transfer simple.
Melt the Semisweet Base Slowly
Combine the semisweet chocolate chips, sweetened condensed milk, and butter in a medium saucepan over low heat. Stir constantly for 5–8 minutes, scraping the bottom and sides so no chocolate sits in one hot spot. The mixture is ready when it looks smooth and glossy, with no visible chips. Take the pan off the heat, stir in the vanilla, then spread the chocolate evenly in the prepared pan.
Make the White and Red Peppermint Portions
Use the same saucepan for the white chocolate chips, condensed milk, and butter, again over low heat with constant stirring for 5–8 minutes. White chocolate can look thick while it melts, so keep the heat low rather than turning it up to rush the process. Once smooth, remove the pan from the heat and stir in the peppermint extract. Transfer half to a small bowl and stir the red gel coloring into that portion until the color is even.
Swirl, Top, and Chill Until Firm
Spoon dollops of the white and red mixtures over the chocolate base, spacing them across the surface. Draw a knife gently through the dollops to make swirls; repeated stirring will blur the colors instead of creating ribbons. Scatter the crushed candy canes evenly over the top and press them lightly into place. Refrigerate for 2–3 hours until firm, then lift the slab out by the parchment and cut it into 36 pieces.
Two Easy Changes to the Peppermint Swirl
Leave the Peppermint Swirl White
Skip the red gel coloring and use the peppermint mixture as one white layer. The peppermint flavor and candy-cane topping stay the same, but the finished squares have a simpler, clean contrast against the semisweet base.
Make the Top Smooth
Leave off the crushed candy canes for a smooth finish that puts the two chocolate layers front and center. The peppermint extract still gives the white portion its mint flavor, but you’ll lose the crisp candy crunch.
Storage and Serving
- Refrigerator: Keep the cut fudge in an airtight container for up to 2 weeks. The candy-cane topping may soften a little as it sits.
- Freezer: Freeze the pieces in an airtight container for up to 2 months. Separate layers with parchment, and expect the candy topping to lose some of its crunch after thawing.
- Serving: This fudge doesn’t need reheating. Serve it chilled for the firmest squares, or let a piece sit briefly at room temperature if you prefer a softer bite.
Questions That Come Up When Making Peppermint Fudge
Peppermint Swirl Fudge
Ingredients
Equipment
Method
- Line a 9x9-inch square pan with parchment paper, leaving overhang on two sides for lifting out the fudge.
- Combine the semisweet chocolate chips, sweetened condensed milk, and butter in a medium saucepan over low heat, stirring constantly for 5–8 minutes until smooth.
- Remove the pan from the heat and stir in the vanilla extract.
- Spread the chocolate mixture evenly in the prepared pan.
- Combine the white chocolate chips, sweetened condensed milk, and butter in the same saucepan over low heat, stirring constantly for 5–8 minutes until smooth.
- Remove the pan from the heat and stir in the peppermint extract.
- Transfer half of the mixture to a small bowl.
- Stir the red gel food coloring into that portion.
- Spoon dollops of the white and red mixtures over the chocolate layer.
- Gently swirl them together with a knife.
- Sprinkle the crushed candy canes evenly over the top.
- Press the candy canes gently into the fudge.
- Refrigerate for 2–3 hours until firm.
- Lift the fudge from the pan and cut it into 36 pieces.