
Peppermint Hot Cocoa Bombs
The first sign that a peppermint hot cocoa bomb is ready is the chocolate shell giving way under a stream of hot milk. Marshmallows rise to the surface, the cocoa…

By Ava
•
•
Reading time: 9 min
Tip: save now, make later.
The first sign that a peppermint hot cocoa bomb is ready is the chocolate shell giving way under a stream of hot milk. Marshmallows rise to the surface, the cocoa mix swirls into the mug, and crushed peppermint leaves a cool little crunch. These peppermint hot cocoa bombs turn a mug of cocoa into a small kitchen moment worth slowing down for.
I like that each one is portioned already: one bomb goes into one mug with a cup of hot milk. There’s no separate saucepan of cocoa to whisk smooth, and the chocolate shell melts right into the drink as you stir.
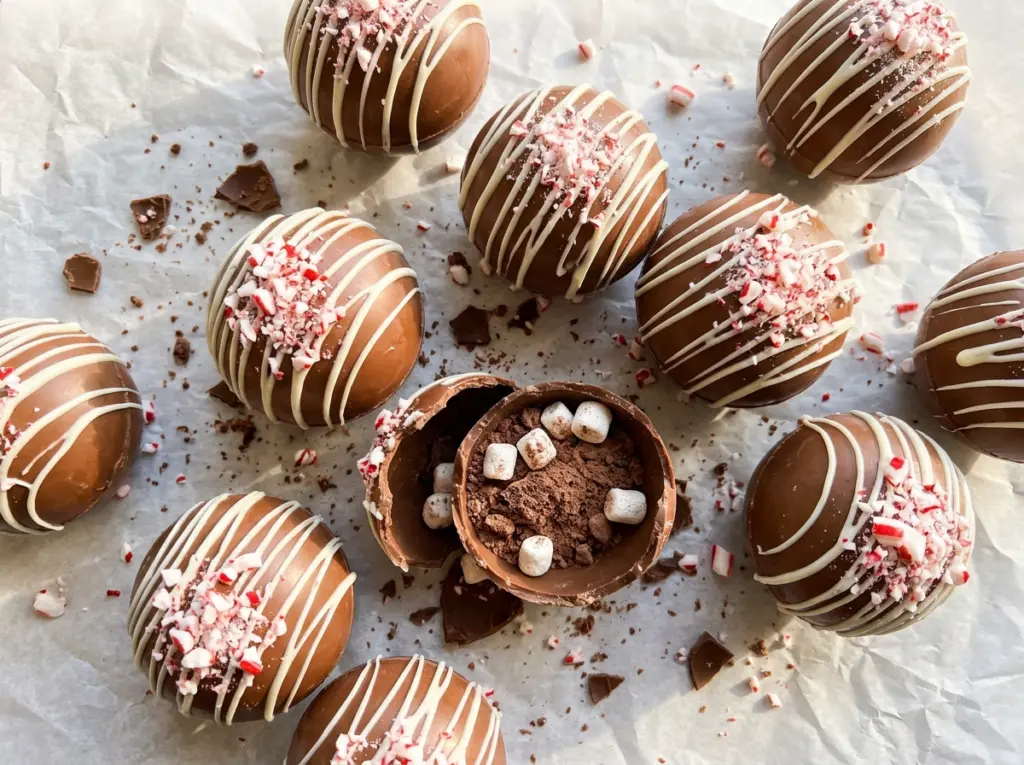
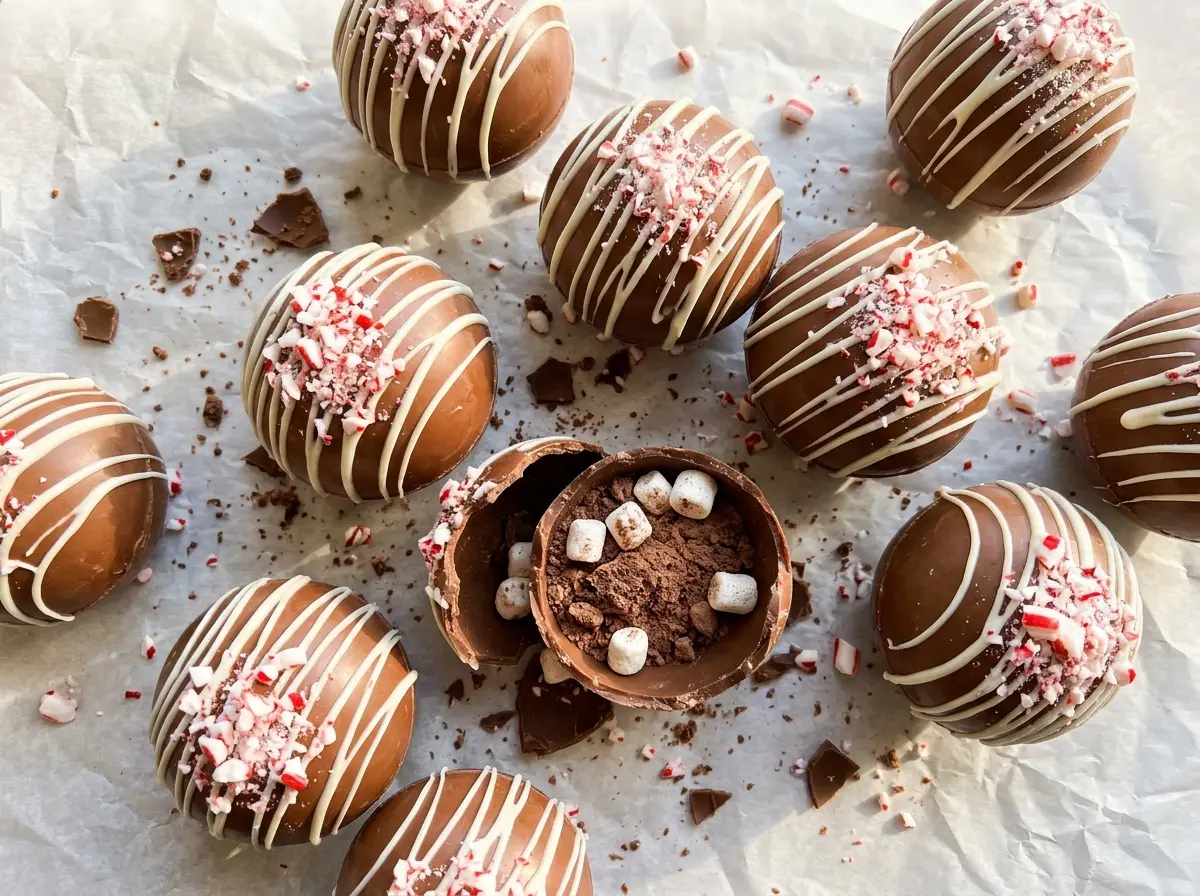
The finished bombs have a thin chocolate drizzle and peppermint on top, with cocoa mix and mini marshmallows tucked inside. Keep the shells neat, warm the milk until it’s steaming, and the first sip is rich, minty, and full of soft marshmallows.
Kitchen Note
Give the empty shell rim a quick touch to the warm plate, just long enough for the edge to soften. Then hold the two halves together gently for five seconds; pressing hard can crack the shell before the seam sets.
Save these peppermint hot cocoa bombs for a cozy mug of cocoa with a chocolate shell, fluffy marshmallows, and a peppermint finish.
Why a Second Chocolate Coat Keeps These Cocoa Bombs Intact
A half-sphere shell has to do two jobs: release cleanly from the mold and hold its filling without splitting. One thin coat can look smooth at first, but weak spots are easy to miss, especially around the rim. The second coat gives the shell more support where it needs it, so the finished bomb is less fragile when you fill and seal it.
Use chocolate melting wafers for this method. They’re made to melt smoothly and set into a coating without the tempering steps required by many regular chocolate bars. Spread the first coat all the way up to the rim, then let it set before adding the next layer. If you rush that first chill, the layers can blend instead of building a sturdy shell.
The goal isn’t a thick, heavy shell. Keep both coats even and let the chocolate firm up completely in the refrigerator. A smooth, solid shell is sturdy enough to handle and still melts readily when the hot milk hits it.
What the Chocolate, Cocoa Mix, and Peppermint Each Bring

- Semisweet chocolate melting wafers — These form the shell and melt into the drink, adding chocolate flavor beyond the cocoa mix. Choose wafers that melt smoothly; a standard chocolate bar isn’t a direct swap for this quick coating method. If you want a deeper, less-sweet shell, dark chocolate melting wafers work in the same role.
- Instant hot cocoa mix — The mix brings sweetness and cocoa flavor that dissolves into the milk. Use a mix you enjoy drinking on its own, since its sweetness is concentrated inside each shell. Plain cocoa powder won’t behave the same way; it lacks the sweeteners and other ingredients that make instant mix dissolve into a balanced mug.
- Mini marshmallows — Their small size fits neatly inside the shells and gives the finished drink soft marshmallows on top. Standard mini marshmallows are fine; there’s no need for a specialty brand. Larger marshmallows take up more room and are harder to tuck inside the half-spheres.
- Peppermint candies — Finely crushed pieces give both the filling and the topping a crisp peppermint note. Crush them small enough to sprinkle evenly rather than leaving large hard chunks at the seam. Any peppermint candy that crushes cleanly works, so the brand matters less than the texture.
- Whole milk — Whole milk makes the finished cocoa creamy and gives the melted chocolate a smooth base. Two-percent milk also works, though the drink will be a little less rich. Warm it gently; boiling milk can develop a cooked taste and spill over quickly.
Coating, Filling, and Serving Without Cracked Shells
Build an even shell in the silicone mold
Set a 12-cavity, 2 1/2-inch silicone half-sphere mold on a rimmed baking sheet. Melt the wafers in a microwave-safe bowl at 50% power in 30-second intervals, stirring between each, until smooth. Spoon chocolate into every cavity and turn the mold so the bottoms and sides are coated up to the rims; invert it over the bowl to drain the excess. Refrigerate for 10 minutes, apply a second coat using the chocolate in the bowl, reheating it at 50% power in 10-second intervals if it thickens, then chill for 10 to 15 minutes until firm.
Release and fill the half-spheres
Gently peel the silicone away from the set shells rather than pulling the chocolate out by its edge. Arrange six shells open-side up on the baking sheet, with the remaining six open-side down beside them. Add 1 tablespoon of hot cocoa mix, 1 tablespoon of mini marshmallows, and 1/2 teaspoon of crushed peppermint candies to each open shell. Keep the filling below the rim so the halves can meet without marshmallows or candy getting caught in the seam.
Seal the halves and finish the tops
Warm a small microwave-safe plate on high for 30 seconds. Working with one empty shell at a time, touch its rim to the warm plate for 1 to 2 seconds, set it over a filled shell, and hold gently for 5 seconds. Rewarm the remaining chocolate at 50% power in 10-second intervals, stirring until fluid, then drizzle it over the sealed bombs. Finish with the remaining 1 tablespoon of crushed peppermint candies while the drizzle is still soft enough to hold them.
Heat the milk and melt a bomb in each mug
Pour the milk into a 3-quart saucepan and warm it over medium heat, stirring occasionally, for 8 to 10 minutes. Stop when it’s steaming but not boiling; a rolling boil isn’t needed. Place one bomb in each of six mugs and pour 1 cup of hot milk over each one. Let each mug stand for 30 seconds, then stir until the chocolate and cocoa mix dissolve.
Two Easy Ways to Adapt the Chocolate and Milk
Use dark chocolate wafers for a bolder shell
Swap the semisweet wafers for dark chocolate melting wafers and keep the same coating and chilling method. The shell tastes more intense and less sweet beside the cocoa mix, while the peppermint still cuts through the chocolate.
Make a dairy-free batch
Choose dairy-free semisweet melting wafers, dairy-free instant cocoa mix, and dairy-free mini marshmallows, then use unsweetened oat milk in place of whole milk. Check that the peppermint candies are dairy-free, too. The oat milk makes a slightly lighter drink, but the cocoa bomb still melts and stirs into a warm mug.
Storage and Reheating
- Refrigerator: Store the finished bombs in an airtight container for up to 2 weeks. A cool, dry cupboard is preferable; condensation in the refrigerator can make the chocolate tacky.
- Freezer: Freezing isn’t recommended because moisture during thawing can dull or soften the shells.
- Reheating: Warm leftover prepared cocoa gently in a saucepan over low heat, stirring until hot. Don’t boil it, which can affect the milk’s texture.
Questions That Come Up When Making Cocoa Bombs
Peppermint Hot Cocoa Bombs
Ingredients
Equipment
Method
- Set a 12-cavity, 2 1/2-inch silicone half-sphere mold on a rimmed baking sheet.
- Melt the chocolate wafers in a microwave-safe bowl at 50% power in 30-second intervals, stirring between intervals, until smooth.
- Spoon chocolate into each cavity.
- Turn the mold to coat the bottoms and sides up to the rims.
- Invert the mold over the bowl to drain excess chocolate.
- Refrigerate for 10 minutes until set.
- Apply a second coat with chocolate from the bowl.
- Reheat the chocolate at 50% power in 10-second intervals if it thickens.
- Refrigerate for 10 to 15 minutes until firm.
- Gently peel the silicone mold away from the shells.
- Arrange six shells open-side up on the baking sheet and the remaining six open-side down beside them.
- Put 1 tablespoon hot cocoa mix, 1 tablespoon mini marshmallows, and 1/2 teaspoon crushed peppermint candies in each open shell.
- Warm a small microwave-safe plate in the microwave on high for 30 seconds.
- Working one at a time, touch the rim of an empty shell to the warm plate for 1 to 2 seconds.
- Set the warmed shell over a filled shell and hold gently for 5 seconds to seal.
- Rewarm the remaining chocolate at 50% power in 10-second intervals, stirring until fluid.
- Drizzle the chocolate over the bombs.
- Sprinkle the bombs with the remaining 1 tablespoon crushed peppermint candies.
- Heat the milk in a 3-quart saucepan over medium heat, stirring occasionally, for 8 to 10 minutes until steaming but not boiling.
- Place one bomb in each of six mugs.
- Pour 1 cup hot milk over each bomb.
- Let stand for 30 seconds.
- Stir until the chocolate and cocoa mix dissolve.