
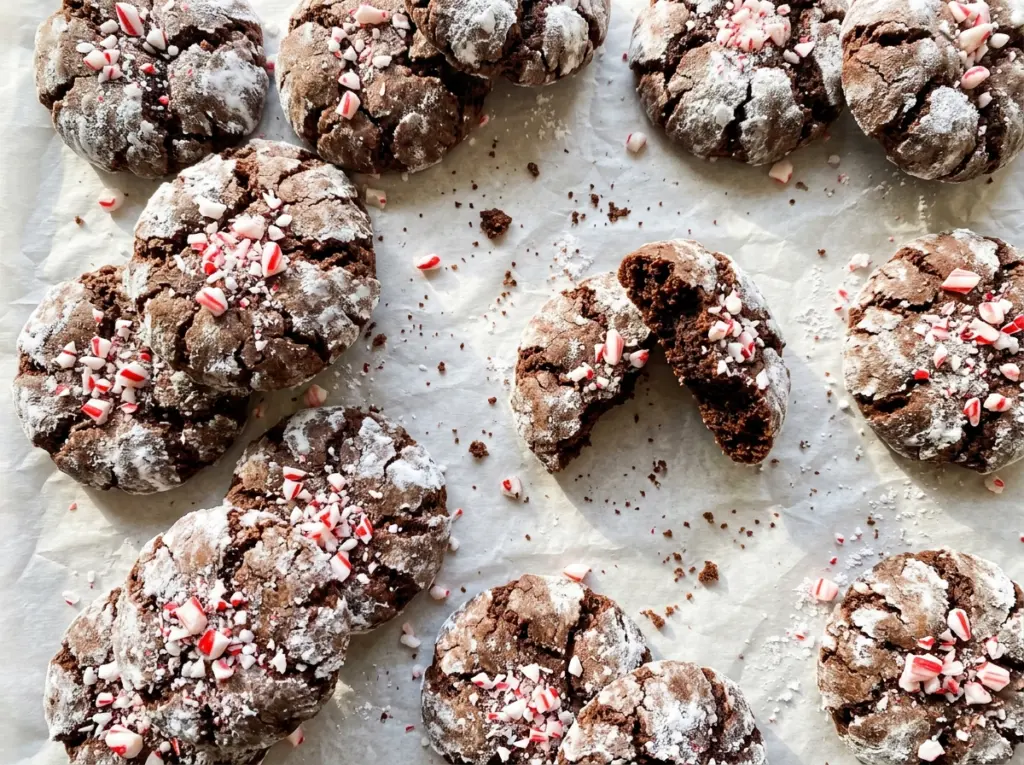
Peppermint Chocolate Crinkle Cookies
The cocoa, oil, and sugar turn into a dark, glossy paste before the eggs go in. Once the flour is folded through, the dough looks soft and sticky—not like something…

By Ava
•
•
Reading time: 9 min
Tip: save now, make later.
The cocoa, oil, and sugar turn into a dark, glossy paste before the eggs go in. Once the flour is folded through, the dough looks soft and sticky—not like something you’d want to roll into cookies yet. That’s normal for these peppermint chocolate crinkle cookies, and it’s why the refrigerator time matters as much as the baking.
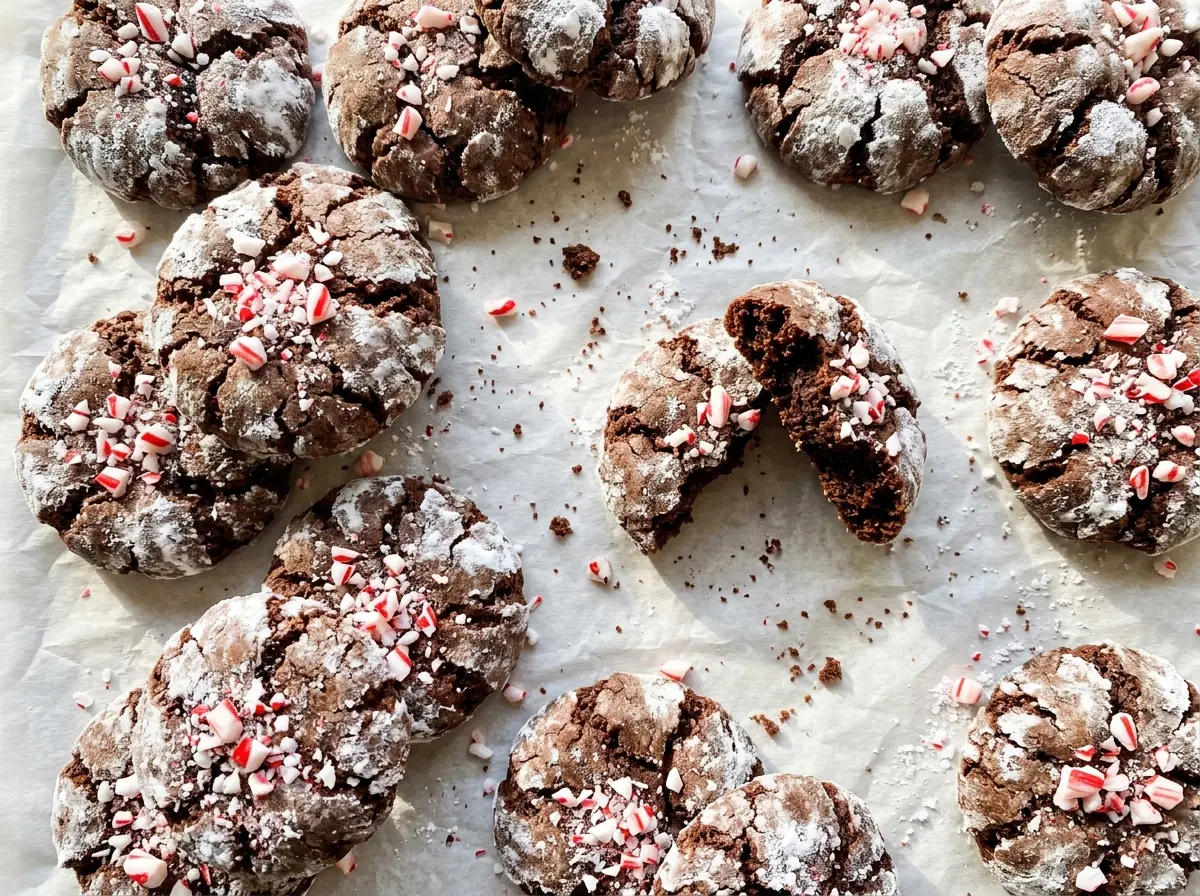
I like how the peppermint stays in the background, lifting the cocoa without turning each bite into a mint candy. The powdered sugar coating makes the cracked tops stand out against the dark dough, while the centers stay soft when you pull the sheets at the right moment. Give the dough time to firm up, then watch for set edges and a soft-looking middle. You’ll get cookies with crisp, snowy cracks and a tender chocolate center.
Kitchen Note
Coat each ball generously enough that you can’t see dark dough through the powdered sugar before it goes on the pan. A thin dusting tends to disappear into the moist dough, and you lose that bright contrast around the cracks.
Save these peppermint chocolate crinkle cookies for a bake with soft chocolate centers, snowy tops, and just enough peppermint.
Why Chilling Is What Gives These Crinkles Their Shape
Crinkle cookies need a dough that can hold a rounded shape long enough for the outside to set while the center expands in the oven. This dough starts out too soft for that. If you portion it right after mixing, it’s sticky to handle and spreads before the distinctive cracks have a chance to form.
After at least four hours in the refrigerator, the dough firms up and rolls cleanly into balls. That colder, sturdier starting point gives the cookies time to rise and split across the surface instead of flattening into smooth chocolate rounds. The chilling also makes portioning less messy, which helps you keep the cookies close to the same size.
Overnight chilling works just as well as the minimum rest, so you can mix the dough ahead and bake it the next day. Wait until it feels firm before shaping. If it still feels loose, it hasn’t reached the texture this dough needs for neat crinkles.
What Cocoa, Oil, and Peppermint Each Bring to the Dough
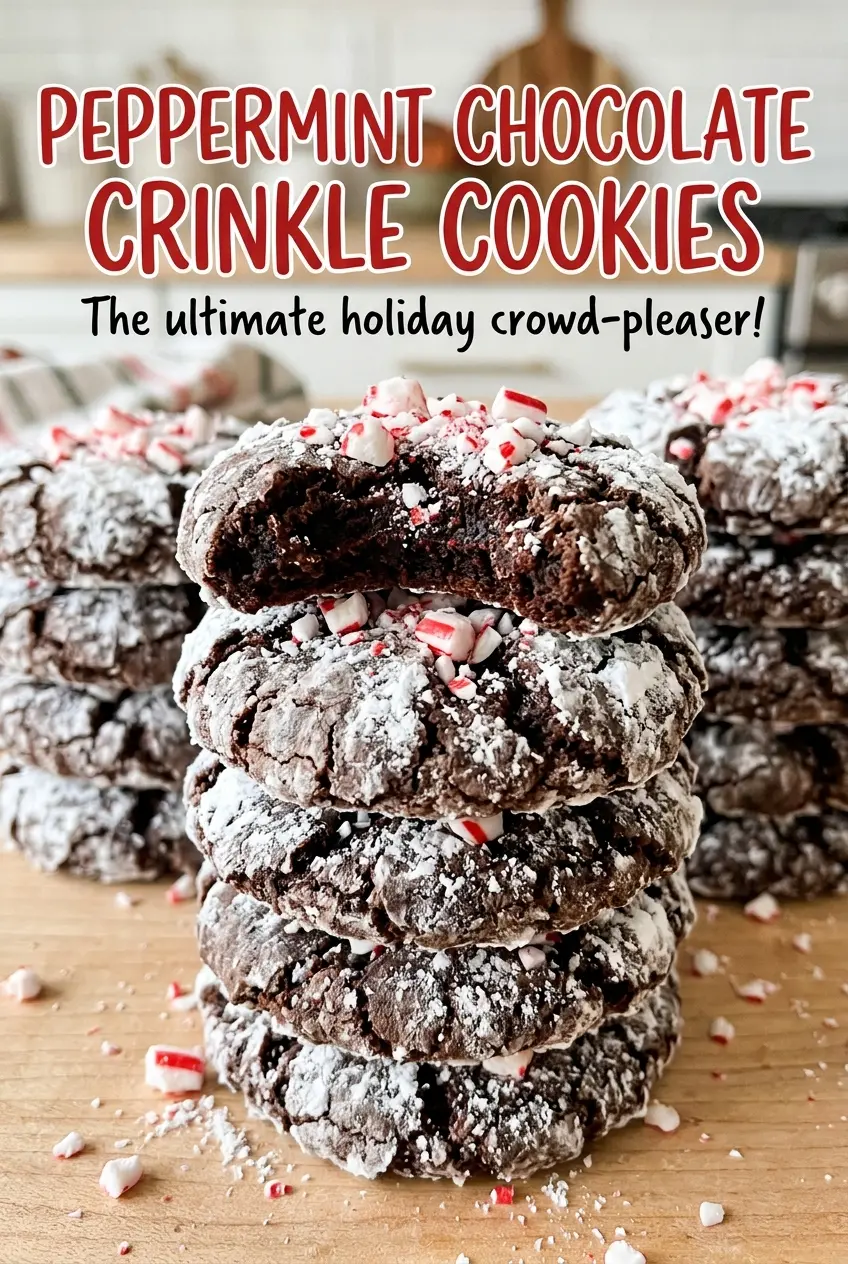
- Unsweetened cocoa powder — This supplies the deep chocolate taste and dark color that make the powdered sugar cracks pop. A standard unsweetened cocoa powder is the right choice; sweetened cocoa drink mix brings extra sugar and other ingredients that change the dough. An expensive cocoa isn’t necessary here.
- Neutral oil — Oil keeps the cookies moist and gives the dough its glossy, easy-to-whisk base. Vegetable oil works well, so there’s no need to reach for a specialty oil with a flavor of its own.
- Peppermint and vanilla extracts — Peppermint gives the chocolate its cool finish, while vanilla rounds it out. Measure peppermint carefully; it’s potent, and too much can take over the cocoa. Use extracts you enjoy smelling straight from the bottle, since their aroma carries into the baked cookies.
- All-purpose flour and baking powder — Flour gives the cookies enough structure to hold their shape, and baking powder helps them rise and crack. Whisk these with the salt before they meet the wet ingredients, so the leavener is distributed through the dough instead of concentrated in a few spots.
- Powdered sugar — Its fine texture makes a more even coating than granulated sugar and gives the finished cookies their snowy surface. Any standard powdered sugar works; keep it in a shallow bowl so rolling the dough balls is easy.
Mixing, Chilling, and Baking for Distinct Cracks
Whisk the cocoa base until glossy
In a large bowl, whisk the cocoa powder, oil, and granulated sugar until the mixture looks smooth, with no dry cocoa pockets around the sides. Add the eggs one at a time, whisking each in before adding the next. Then whisk in the vanilla and peppermint extracts. The mixture should look cohesive and glossy rather than streaked with oil.
Fold in the dry ingredients and let the dough firm
Whisk the flour, baking powder, and salt together in a medium bowl. Stir that dry mixture into the cocoa mixture just until no dry streaks remain; stop there rather than working the dough longer than needed. Cover the bowl and refrigerate the dough for at least four hours or overnight. It’s ready to portion when it feels firm instead of loose and sticky.
Shape the portions and coat them
Heat the oven to 350°F and line two large baking sheets with parchment paper. Put the powdered sugar in a shallow bowl, then scoop the dough into 1-tablespoon portions and roll each one into a ball. Coat each ball in the sugar and arrange the cookies 2 inches apart. Keeping that spacing gives the cookies room to spread without joining at the edges.
Bake until cracked, then let the cookies set
Bake one sheet on each oven rack for 10 to 12 minutes. Halfway through, switch the sheets’ rack positions and rotate them front to back so the cookies bake evenly. Look for cracked tops and set edges; the centers should still look soft when you take them out. Rest the cookies on the baking sheets for 5 minutes, then transfer them to a wire rack to cool completely.
Simple Ways to Change the Peppermint Crinkles
Make a peppermint-free chocolate batch
Leave out the peppermint extract and keep the vanilla. You’ll have classic chocolate crinkle cookies without the mint finish, while the dough and baking method stay the same.
Use a gluten-free flour blend
Replace the all-purpose flour with a cup-for-cup gluten-free baking blend that includes xanthan gum. The cookies may be a little more delicate and less chewy, so let them rest on the baking sheets for the full 5 minutes before moving them.
Bake a half batch
Halve every ingredient, including the powdered sugar coating, and use 2 eggs. Portion the dough the same way and you’ll get about 24 cookies, a handy amount when you want a smaller batch without changing the cookie size.
Storage and Reheating
- Refrigerator: Store the cooled cookies in an airtight container for up to 1 week. They’ll feel firmer when cold; let them come to room temperature for a softer bite.
- Freezer: Freeze fully cooled cookies in an airtight container for up to 2 months. Separate layers with parchment, then thaw at room temperature before serving.
- Reheating: These cookies don’t need reheating. Let frozen cookies thaw on the counter; microwaving can soften the powdered sugar coating and make the centers gummy.
Questions That Come Up While Baking These Crinkles
Peppermint Chocolate Crinkle Cookies
Ingredients
Equipment
Method
- In a large bowl, whisk together the cocoa powder, oil, and granulated sugar until smooth.
- Whisk in the eggs one at a time, then whisk in the vanilla and peppermint extracts.
- In a medium bowl, whisk together the flour, baking powder, and salt, then stir the dry mixture into the cocoa mixture just until no dry streaks remain.
- Cover the bowl and refrigerate the dough for at least 4 hours or overnight, until firm.
- Heat the oven to 350°F and line two large baking sheets with parchment paper.
- Put the powdered sugar in a shallow bowl.
- Scoop the dough into 1-tablespoon portions, roll each into a ball, coat generously in powdered sugar, and place 2 inches apart on the baking sheets.
- Bake one sheet on each oven rack for 10 to 12 minutes, switching the sheets’ rack positions and rotating them front to back halfway through, until the cookies are cracked and the edges are set but the centers still look soft.
- Let the cookies rest on the baking sheets for 5 minutes.
- Transfer them to a wire rack to cool completely.