
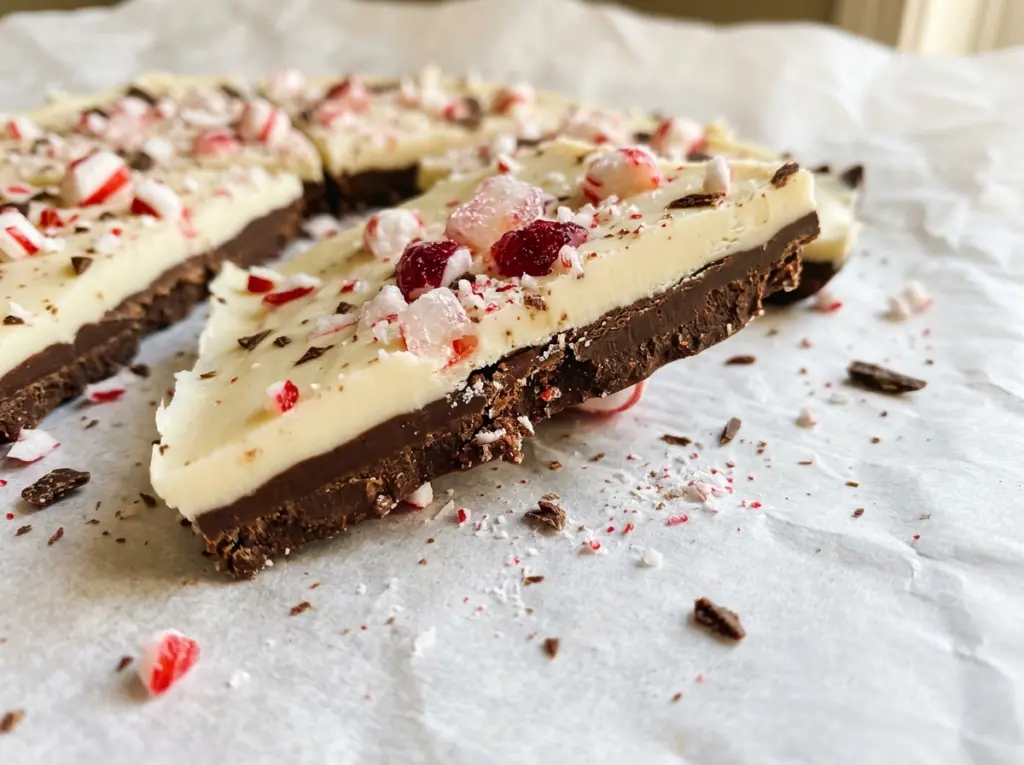
Peppermint Bark with Dark and White Chocolate
The dark chocolate goes into the pan glossy, then loses that wet shine as it rests. Catching it at that in-between point is what gives each piece of this peppermint…

By Ava
•
•
Reading time: 9 min
Tip: save now, make later.
The dark chocolate goes into the pan glossy, then loses that wet shine as it rests. Catching it at that in-between point is what gives each piece of this peppermint bark with dark and white chocolate two distinct layers instead of a topping that sinks into the base. The first time I made layered bark, I rushed that pause; now I wait until the surface is set enough to hold the next layer but still slightly tacky.
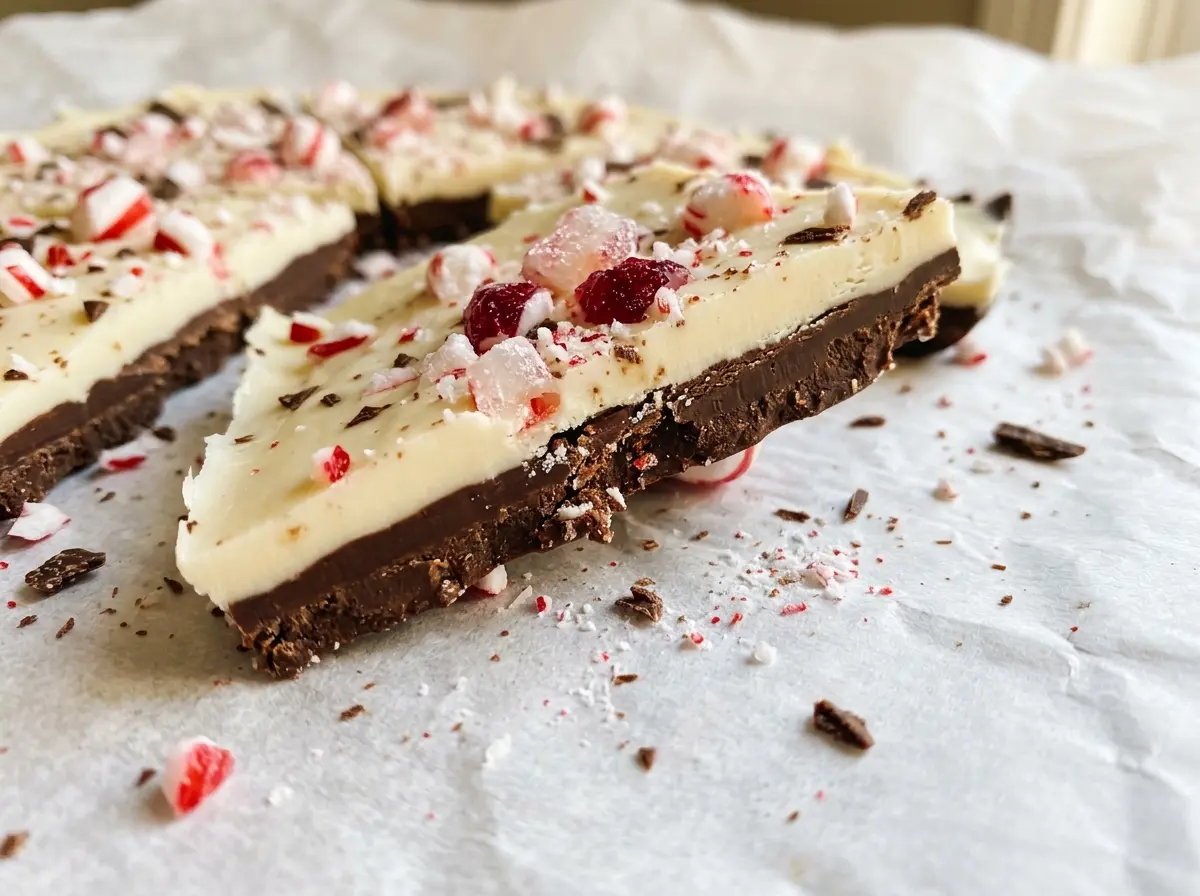
The contrast is what makes this version worth breaking into pieces: dark chocolate with 60% cacao underneath, a creamy white chocolate layer above, and crushed candy canes scattered over the top. The peppermint brings a cool crunch against the smooth chocolate, while the darker base keeps each bite from leaning too sweet. Once the bark is firm, the parchment lifts it right out of the pan, ready to break into pieces.
Kitchen Note
Keep the bowl for the white chocolate completely dry. Even a little water can make melted chocolate seize into a stiff, grainy mass instead of spreading smoothly.
Save this peppermint bark for a homemade chocolate treat with crisp candy cane pieces and a balanced dark chocolate base.
Why the 60% Dark Chocolate Keeps the White Layer in Balance
White chocolate is sweet and creamy, so the dark base has a job beyond giving the bark a second color. Chocolate with 60% cacao brings enough cocoa flavor and gentle bitterness to keep the white layer from dominating the bite. Go much sweeter on the bottom and the peppermint can make the whole piece taste sugary; choose a darker chocolate and the result shifts toward a more pronounced cocoa finish.
The layers also give you a useful contrast in texture and flavor without adding extra flavors to the chocolate itself. The white layer softens the intensity of the dark, while the candy canes add a crisp, minty finish. That’s why I keep the chocolate layers separate rather than stirring everything together: you get a little of each in every broken piece, and the colors stay clean and distinct.
Since the topping is scattered across the surface, each piece won’t have exactly the same amount of candy cane. Break the bark into a mix of sizes and you’ll get some pieces with more crunch and some with more chocolate. That unevenness suits bark; it’s part of what makes the pieces feel handmade rather than uniform.
What the Three Ingredients Bring to Each Layer

- Dark chocolate — The 60% cacao level gives the bottom layer a noticeable cocoa taste without making the bark harsh. A good-quality chocolate bar is worth choosing here because chocolate is the whole base; finely chopping it helps it melt evenly. If you need a swap, semisweet chocolate will melt into a usable layer, but the bark will taste sweeter and less cocoa-forward.
- White chocolate — White chocolate brings the creamy, sweet middle layer and makes the dark-and-white contrast possible. Choose a white chocolate bar or baking chocolate you enjoy eating; inexpensive chips can work, though stabilizers sometimes make them thicker once melted. If chips are what you have, melt them gently and stir well before spreading.
- Crushed candy canes — They provide the peppermint flavor and the crisp topping, so use candy canes that taste fresh and minty rather than stale or sticky. Crush them into a mix of small pieces and flakes for a topping that’s easy to bite through. Plain peppermint hard candies can stand in for candy canes; crush them in the same way and use them as the topping.
Building Two Clean Layers Without Rushing the Set
Line the pan and melt the dark chocolate gently
Line a 9×13-inch baking pan with parchment paper, leaving enough overhang to lift the bark out later. Put the finely chopped dark chocolate in a dry microwave-safe bowl and heat it at 50% power in 30-second bursts, stirring after each one. It should take 1-2 minutes to become mostly melted, but the exact point matters more than forcing every piece to melt in the microwave. Stir until the remaining bits disappear and the chocolate looks smooth.
Give the dark base its short resting window
Spread the melted chocolate evenly across the prepared pan. Let it stand at room temperature for 15-25 minutes, watching for the surface to lose its wet gloss and become set enough to support the next layer. It should still feel slightly tacky rather than completely hard. If the base is still glossy and fluid, give it more time before adding the white chocolate.
Melt, cool, and spread the white layer
Place the chopped white chocolate in a clean, dry microwave-safe bowl and microwave it at 50% power in 20-second bursts, stirring each time. It should be mostly melted after 1-2 minutes; stir until smooth, then let it cool for 3-5 minutes. Spread it gently over the dark base so you don’t drag the lower layer into it. Sprinkle the crushed candy canes over the top right away and press them in lightly.
Let the bark firm before breaking it
Leave the pan at room temperature for about 2 hours, until the bark is completely firm. If the center still feels soft, give it more time rather than lifting the parchment early. Once set, use the parchment overhang to lift the slab out of the pan. Break it into pieces by hand.
Three Ways to Change the Bark Without Losing Its Layers
Make the base more bittersweet
Use a higher-cacao dark chocolate in place of the 60% chocolate, keeping the same amount. The base will taste more intense and less sweet against the white layer, though a higher-cacao bar may melt to a thicker consistency, so stir it smooth before spreading.
Choose your candy cane crunch
Crush the candy canes more finely for a thin, even peppermint crunch, or leave some larger shards for bigger crisp bites. The larger pieces give the top more texture but can make the bark a little less tidy to break.
Make a dairy-free batch
Replace both chocolates with dairy-free dark and white baking chocolate, and use dairy-free peppermint candies instead of candy canes. The layers still work, though dairy-free white chocolate can set softer and may have a less creamy taste than standard white chocolate.
Storage and Serving
- Room temperature: Keep the bark in an airtight container in a cool, dry spot for up to 2 weeks. Separate layers of pieces with parchment to protect the candy cane topping.
- Freezer: It freezes well for up to 2 months in a sealed container with parchment between layers. Let the container come to room temperature while still closed before opening, which helps keep condensation off the chocolate.
- Serving: No reheating is needed. Serve the pieces at room temperature; warmth can soften the chocolate and make the candy cane topping sticky.
Questions That Come Up When Making Peppermint Bark
Peppermint Bark with Dark and White Chocolate
Ingredients
Equipment
Method
- Line a 9x13-inch baking pan with parchment paper, leaving enough overhang to lift the bark out later.
- Put the dark chocolate in a dry microwave-safe bowl and microwave at 50% power in 30-second bursts, stirring each time, for 1-2 minutes or until mostly melted; stir until smooth.
- Spread the chocolate evenly in the prepared pan and let stand at room temperature for 15-25 minutes, until the surface is set enough to support the next layer but still slightly tacky.
- Put the white chocolate in a clean, dry microwave-safe bowl and microwave at 50% power in 20-second bursts, stirring each time, for 1-2 minutes or until mostly melted; stir until smooth and let cool for 3-5 minutes.
- Gently spread the white chocolate over the dark layer, then immediately sprinkle the crushed candy canes evenly over the top and press them in lightly.
- Let the bark stand at room temperature for about 2 hours, until completely firm.
- Lift the bark out using the parchment and break it into pieces.