
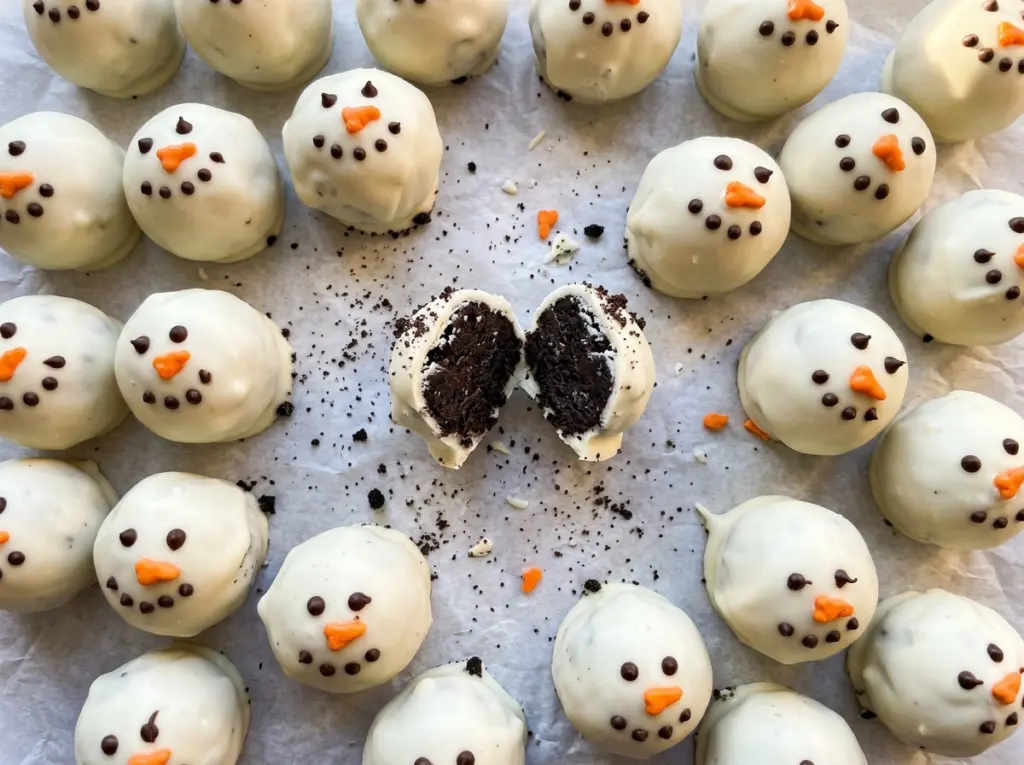
No Bake Snowman Truffles
The first truffle usually tells me whether the coating is ready: if it slides around in the bowl or comes out with a rough patch, the candy melts need another…

By Ava
•
•
Reading time: 9 min
Tip: save now, make later.
The first truffle usually tells me whether the coating is ready: if it slides around in the bowl or comes out with a rough patch, the candy melts need another gentle stir. These snowmen are easier to decorate when each little ball has a smooth shell and the coating is still fluid enough to dab on as glue.
I make the cookie-and-cream-cheese mixture in the food processor until it holds together, then shape it into two sizes so each snowman has a rounded body and a smaller head. Chilling the portions before dipping gives them a firmer surface to work with, and the finished No Bake Snowman Truffles stay playful without needing a complicated sculpting step.
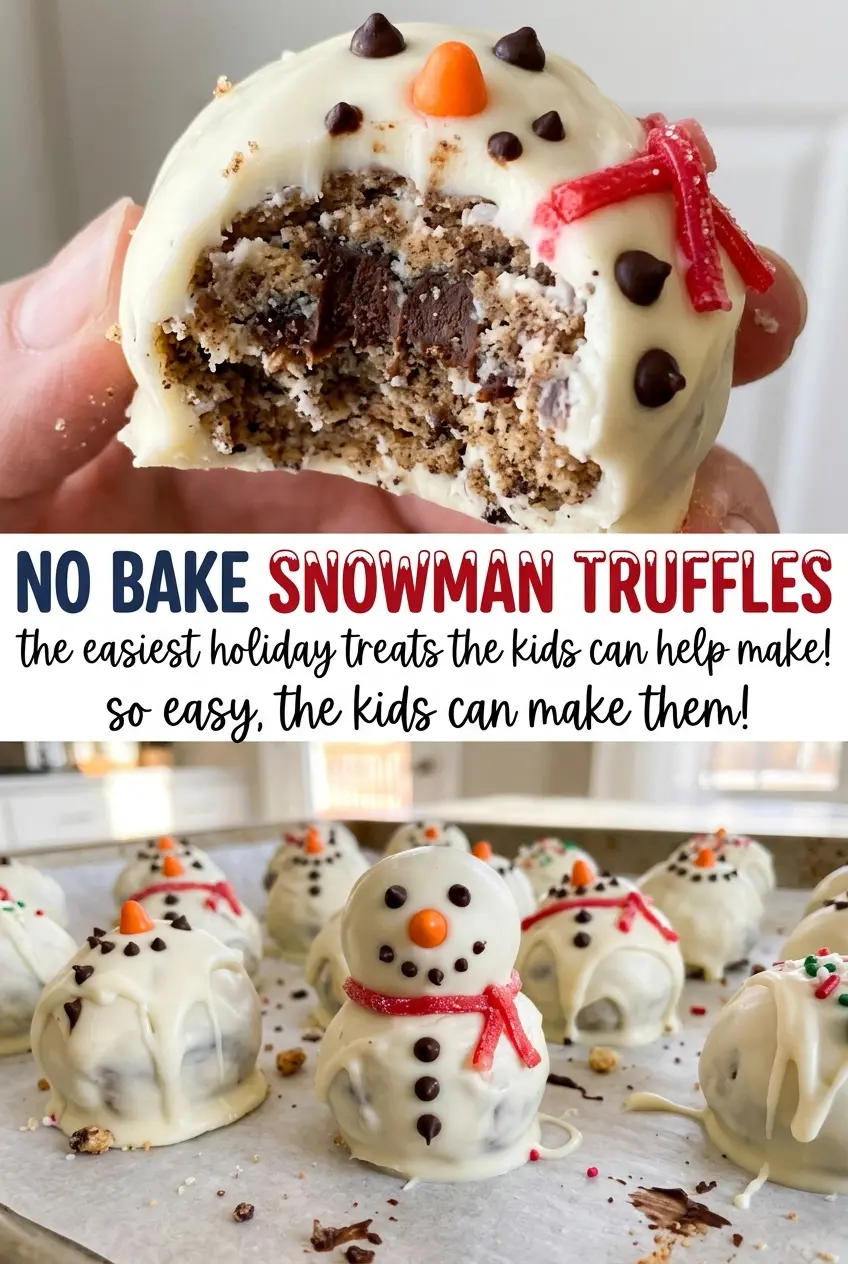
Once the faces and pretzel arms are in place, the snowmen have a smooth white coating, a soft chocolate-cookie center, and just enough detail to make each one look a little different.
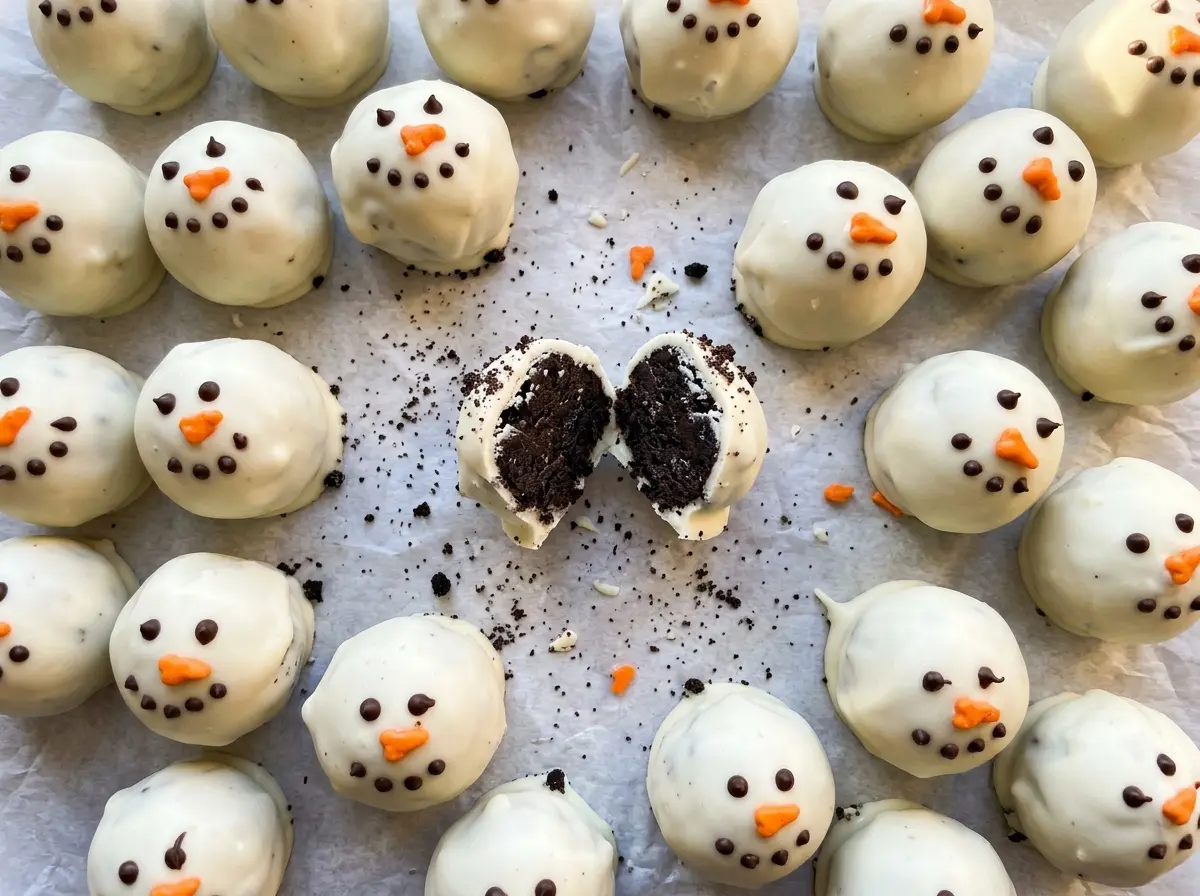
Kitchen Note
Keep the smaller head portions noticeably smaller than the bodies. Using the tablespoon and teaspoon portions consistently gives the snowmen a clear shape and makes the finished batch look like a set.
Save these No Bake Snowman Truffles for a holiday treat with a soft cookie center and sweet little snowman faces.
Why Two Separate Truffles Make a Better Snowman Than One Sculpted Ball
A snowman shape sounds simple, but shaping one large piece of truffle mixture into a head and body takes more handling than this mixture needs. Two separate balls give you the familiar silhouette without pinching or sculpting the soft cookie filling. Their joined edge is covered by the same white candy coating, so the finished figure looks connected rather than stacked.
The coating also does double duty. It forms the outer shell and, when dabbed on in small amounts, works as edible glue for the head, arms, eyes, and buttons. Reserving some before dipping means you have a clean batch of coating for assembly instead of trying to attach decorations with a bowl of coating that has cooled and thickened. Keep the dabs small; too much can run down the sides and blur the shape.
That approach keeps the decorating manageable: the round pieces provide the structure, and the little details do the work of turning them into snowmen. You don’t need to make perfectly identical faces for the batch to look charming.
What Each Ingredient Does in These Snowman Truffles
- Chocolate sandwich cookies — The whole cookie, including its filling, becomes the chocolate base and helps the mixture hold together. Ordinary store-brand cookies work well; the important part is crushing them finely. For a gluten-free batch, use gluten-free chocolate sandwich cookies and pair them with the other gluten-free replacements below.
- Cream cheese — Softened cream cheese binds the crumbs into a mixture you can roll, while adding a gentle tang beneath the sweet coating. Let it soften so it blends evenly instead of leaving little lumps. Neufchâtel can replace regular cream cheese one-for-one, though the mixture may feel a little softer and benefit from the full chilling time before dipping.
- White candy melts — These are made for coating and set into a smooth shell without the extra handling that tempered white chocolate requires. A generic brand is fine if it melts smoothly. White chocolate chips aren’t a direct swap; they can be thicker and won’t set the same way without a different melting technique.
- Mini chocolate chips — Their small size makes them useful for the eyes and buttons without overwhelming the snowman’s face. If mini chips aren’t available, finely chopped chocolate can work, but the pieces will look less uniform and take a steadier hand to place.
- Pretzel sticks and orange decorating icing — Straight pretzel pieces give the snowmen their arms, and the icing makes a neat, bright nose. Pretzel twists can stand in if you break off narrow pieces, though the arms will be less straight. Orange decorating gel with a fine tip can replace the icing; avoid liquid food coloring, which won’t pipe as a nose.
The Four Stages That Keep the Coating Smooth and the Details in Place
Process the Cookies Until the Mixture Holds Together
Line an 18×13-inch rimmed baking sheet with parchment paper before you begin. Process the chocolate sandwich cookies into fine crumbs, then add the softened cream cheese and pulse until the mixture is evenly combined and holds together when pressed. If you still see dry pockets of crumbs, keep pulsing rather than trying to roll the mixture early. A cohesive mixture is easier to portion cleanly.
Shape the Two Sizes and Chill Until Firm
Roll 24 portions using 1 tablespoon of mixture for each body, then roll 24 smaller portions using 2 teaspoons each for the heads. Place both sizes on the prepared baking sheet and refrigerate for 30 minutes, until firm. If the portions are still sticky or slump when picked up, give them more time in the refrigerator before dipping. Firm truffles are less likely to lose their round shape in the coating.
Melt the Candy Coating Gently
Put the candy melts in a microwave-safe 4-cup bowl and heat at 50% power in 30-second intervals, stirring after each interval until smooth. The coating should flow off a spoon in a steady ribbon rather than fall in a thick clump. Reserve 1/4 cup of the melted coating before you start dipping; that portion is for attaching the decorations. If the coating gets too hot, it can thicken or turn grainy, so use the half-power setting and stir between intervals.
Dip, Assemble, and Finish the Snowmen
Dip each truffle ball into the remaining coating, letting the excess drip back into the bowl, then return it to the lined sheet. Refrigerate for 15 minutes, until the coating is set. Rewarm the reserved coating in 10-second intervals until fluid, then use small dabs to attach one small ball to each large ball, two pretzel halves as arms, two mini chocolate chips as eyes, and three mini chocolate chips as buttons. Pipe an orange icing nose onto each snowman and refrigerate for at least 15 minutes before serving. One quantity doesn’t add up: 16 pretzel sticks broken in half make 32 pieces, but two arms for each of 24 snowmen take 48 pieces. Have extra sticks ready if every snowman should have two arms.
Easy Ways to Change the Cookie Flavor or Make a Gluten-Free Batch
Make the snowmen gluten-free
Replace the chocolate sandwich cookies with gluten-free chocolate sandwich cookies and the pretzel sticks with gluten-free pretzel sticks. Choose gluten-free-marked white candy melts and decorating icing as well, and keep the cream cheese and chocolate chips the same. Cookie brands vary in how finely they crumble, so pulse until the mixture holds together before portioning.
Give the centers a mint-chocolate note
Use mint chocolate sandwich cookies in place of the regular chocolate sandwich cookies. The cream cheese still binds the crumbs, while the filling brings a cool mint note through the center. Keep the white coating and orange icing unchanged for the classic snowman look.
Storage and Reheating
- Refrigerator: Keep the truffles in an airtight container in the refrigerator for up to 4 days. The coating may lose a little of its freshly dipped shine, but the centers stay soft.
- Freezer: I don’t recommend freezing decorated snowmen; condensation as they thaw can mark the white coating and soften the decorations.
- Reheating: No reheating is needed. Serve them chilled, and don’t microwave finished truffles because the coating can soften and the decorations may slide.
Questions That Come Up While Making Snowman Truffles
No Bake Snowman Truffles
Ingredients
Equipment
Method
- Line an 18x13-inch rimmed baking sheet with parchment paper.
- Process the cookies into fine crumbs.
- Add the cream cheese and pulse until the mixture is evenly combined and holds together.
- Roll the mixture into 24 portions of 1 tablespoon each and 24 portions of 2 teaspoons each, then place them on the baking sheet.
- Refrigerate for 30 minutes, until firm.
- Melt the candy melts in a microwave-safe 4-cup bowl at 50% power in 30-second intervals, stirring after each, until smooth.
- Reserve 1/4 cup of the melted coating.
- Dip each truffle ball in the remaining coating, letting excess drip back into the bowl, and return it to the baking sheet.
- Refrigerate for 15 minutes, until the coating is set.
- Rewarm the reserved coating in 10-second intervals until fluid.
- Use small dabs of coating to attach one small ball to each large ball.
- Use small dabs of coating to attach two pretzel halves as arms to each snowman.
- Use small dabs of coating to attach two mini chocolate chips as eyes and three mini chocolate chips as buttons to each snowman.
- Pipe an orange icing nose onto each snowman.
- Refrigerate for at least 15 minutes before serving and keep refrigerated.