
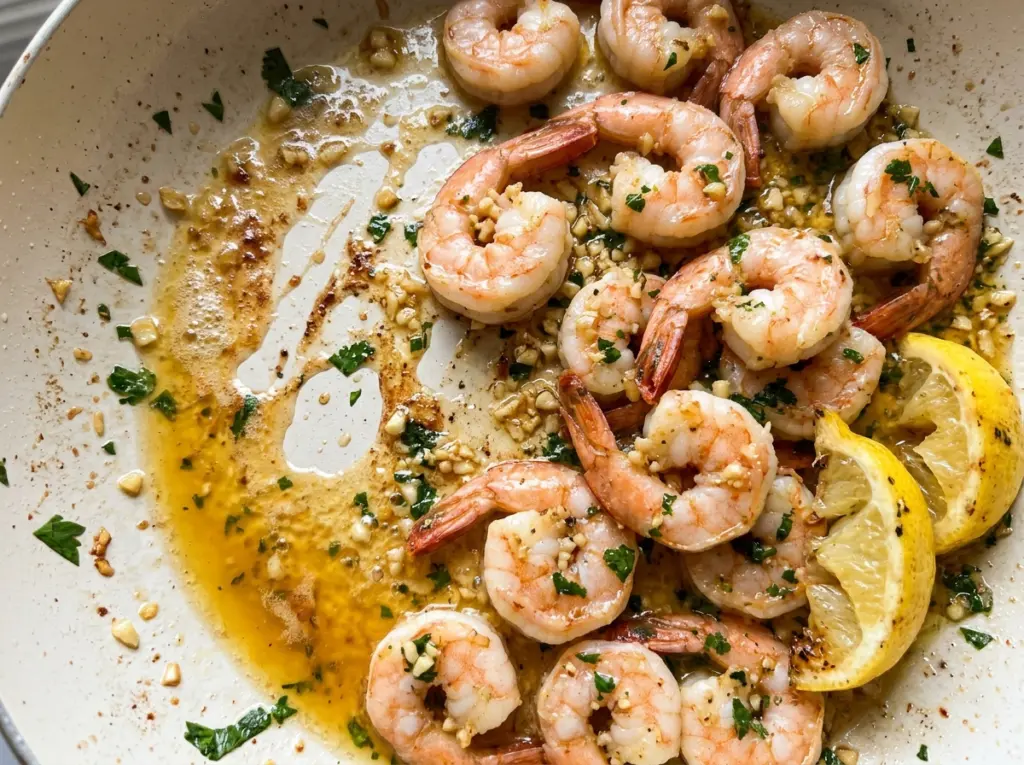
New Year’s Eve Garlic Butter Shrimp
The first shrimp go from translucent to opaque in a blink, which is why I keep the skillet close and cook them in batches. Garlic butter shrimp can turn rubbery…

By Ava
•
•
Reading time: 8 min
Tip: save now, make later.
The first shrimp go from translucent to opaque in a blink, which is why I keep the skillet close and cook them in batches. Garlic butter shrimp can turn rubbery if the pan gets crowded or the cook time stretches while you’re trying to finish everything at once. This New Year’s Eve Garlic Butter Shrimp keeps the cooking quick and the finish bright, with lemon juice and parsley tossed through the buttery garlic coating.
I use a 12-inch skillet and cook half the shrimp at a time in a single layer. That gives each piece room to cook evenly, and it leaves the pan ready for the butter, garlic, and red pepper flakes once the shrimp are done. The sauce comes together right in the same skillet, so there’s no second pan to wash.
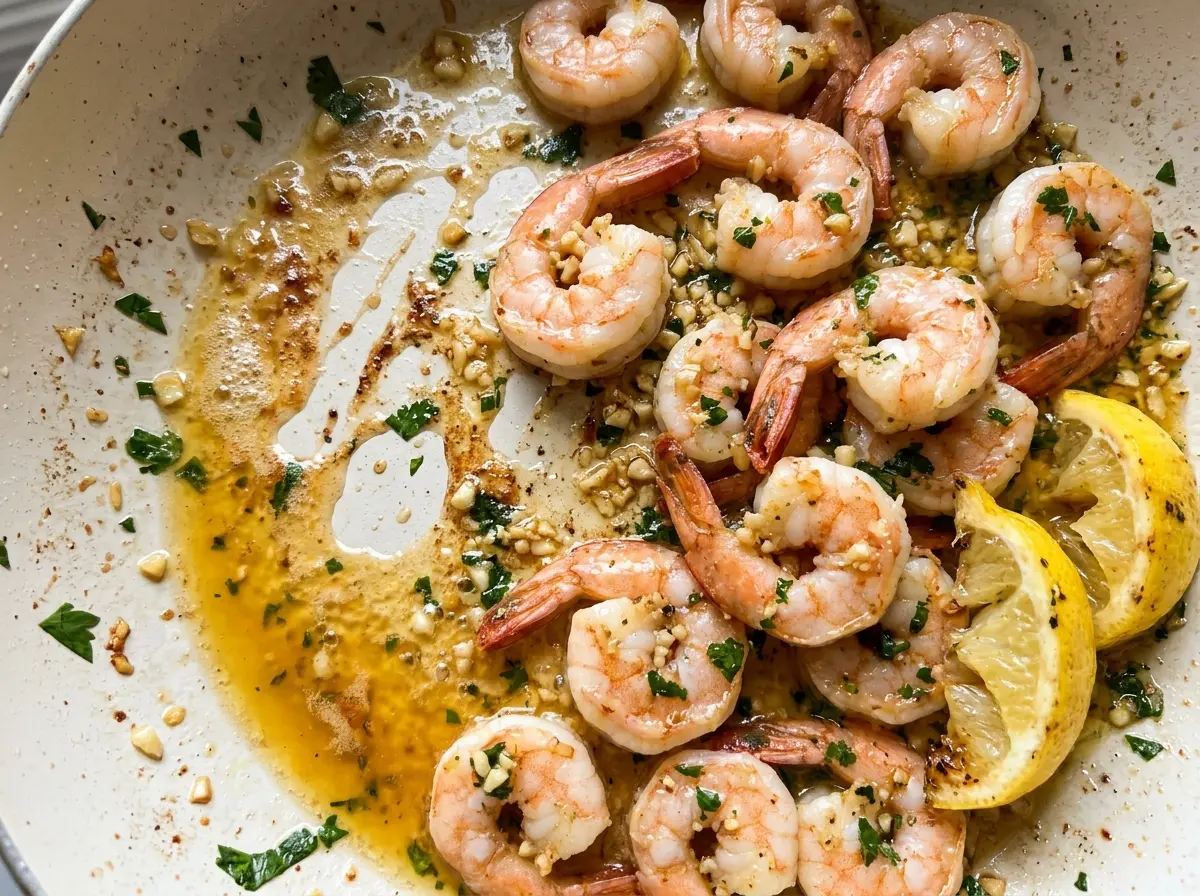
It’s a straightforward appetizer or main dish for four, and the ingredients stay familiar: large shrimp, butter, garlic, lemon, and parsley. The finished shrimp are tender beneath a glossy garlic-butter coating, with just enough lemon to keep each bite from feeling heavy.
Kitchen Note
A thermometer takes the guesswork out of the thickest shrimp: pull the batch when it reaches 145°F. The pieces are small, and a minute too long can change their texture.
Save these New Year’s Eve garlic butter shrimp for a quick, lemon-bright skillet dinner with tender shrimp and a buttery garlic finish.
Why the Shrimp Go Into the Skillet in Two Batches
Shrimp cook best when they have room to sit in a single layer, with the hot skillet touching each piece rather than a pile of shrimp trapping moisture between them. A crowded pan also makes it harder to turn the shrimp quickly and judge how far they’ve cooked. With a 12-inch skillet, dividing the shrimp into two batches keeps the cooking manageable and even.
There’s a second benefit: the shrimp come out before the butter and garlic go in. That keeps the short, delicate shrimp cook separate from the sauce-making, so you aren’t trying to watch two things at once. Once both batches are on the plate, the skillet is free for the butter, garlic, and pepper flakes. The cooked shrimp go back into the finished coating at the end, where a gentle toss brings everything together without another round of high-heat cooking.
What the Shrimp, Butter, and Lemon Each Bring to the Skillet

- Large shrimp — The 21-to-25-per-pound size gives you substantial bites that cook quickly without disappearing under the sauce. Peeled and deveined shrimp are easiest to season and toss. Frozen raw shrimp are a handy option; thaw them fully and pat them dry before cooking. Smaller shrimp cook faster, so they won’t follow the same timing as these large ones.
- Unsalted butter — Butter gives the garlic sauce its rich, silky coating, while unsalted butter lets you control the seasoning with the kosher salt. A store-brand unsalted butter works well here; the garlic and lemon carry plenty of character without needing a specialty butter.
- Fresh garlic — Minced garlic releases its aroma quickly in the warm butter, so fresh cloves give the sauce a sharper, fuller garlic taste than dried garlic. Mince it before you start cooking; the brief sauce step doesn’t leave time to stop and chop.
- Lemon juice — The lemon cuts through the butter and lifts the shrimp without adding another cooking step. Freshly squeezed juice tastes bright, but bottled lemon juice can stand in if that’s what you have.
- Fresh parsley — Chopped parsley brings a clean, herbal finish and keeps the butter coating from tasting one-note. Choose crisp, green leaves; if you don’t have fresh parsley, leave it out rather than using dried parsley, which won’t give the same fresh finish.
- Olive oil and red pepper flakes — The oil helps the shrimp cook in the skillet, while the flakes add a gentle bit of heat to the garlic butter. Regular olive oil is fine for this quick cook, and the flakes can be left out if you prefer no heat.
The Fast Skillet Sequence That Keeps the Shrimp Tender
Dry and Season Before the Pan Heats
Pat the peeled, deveined shrimp dry, then season them with kosher salt and black pepper. Dry surfaces help the shrimp cook in the skillet instead of adding extra water to the pan. Have the two batches ready before you start; once the first shrimp are cooking, the timing moves quickly. Keep the shrimp in a single layer when they go into the skillet.
Cook Each Batch Briefly
Heat half the olive oil in a 12-inch skillet over medium-high heat, then cook half the shrimp in a single layer for 1 to 2 minutes per side. Look for shrimp that have turned opaque rather than translucent, and transfer that batch to a plate. Add the remaining oil and cook the rest the same way. If the shrimp still look translucent in the thickest part, give them a little more time instead of rushing them off the heat.
Let the Garlic Turn Fragrant, Not Brown
Once the shrimp are out, reduce the heat to medium-low and add the butter. When it has melted, stir in the minced garlic and red pepper flakes. Cook for 30 seconds, just until the garlic smells fragrant. If it starts browning, the skillet is too hot; lower the heat so the garlic perfumes the butter without taking on a bitter, toasted taste.
Coat the Shrimp in the Finished Butter
Pour the garlic butter over the shrimp, then add the lemon juice and chopped parsley. Toss until the butter and lemon are distributed over the shrimp. The sauce should cling in a light coating, with a little buttery liquid left in the bowl or skillet. Serve soon after tossing so the shrimp don’t sit in the hot pan and continue cooking.
Two Simple Changes for a Milder or Lighter Finish
Leave Out the Red Pepper Flakes
Skip the flakes for a mild garlic-butter finish. The shrimp will still have the savory garlic and bright lemon, just without the peppery warmth.
Use Less Butter for a Lighter Coating
Reduce the butter while keeping the garlic, lemon juice, and parsley in the skillet. The shrimp will have a lighter coating and the lemon will come forward more; there will also be less sauce to spoon over each serving.
Storage and Reheating
- Refrigerator: Store leftovers in an airtight container for up to 3 days. The butter firms when cold, and the shrimp will be less tender after chilling.
- Freezer: Freeze in an airtight freezer-safe container for up to 2 months for best quality. Thaw overnight in the refrigerator; the shrimp may be a little softer after freezing.
- Reheating: Warm gently in a skillet over low heat just until steaming, turning the shrimp so they heat evenly. Avoid a hard sizzle or prolonged reheating, which can make them tough.
Questions That Come Up When Cooking Garlic Butter Shrimp
New Year's Eve Garlic Butter Shrimp
Ingredients
Equipment
Method
- Pat the shrimp dry.
- Season the shrimp with the salt and black pepper.
- Heat 1/2 tablespoon of the olive oil in a 12-inch skillet over medium-high heat.
- Cook half the shrimp in a single layer for 1 to 2 minutes per side, until opaque and the thickest shrimp reach 145°F.
- Transfer the shrimp to a plate.
- Add the remaining oil to the skillet.
- Cook the rest of the shrimp the same way.
- Reduce the heat to medium-low and add the butter to the skillet.
- Once the butter is melted, stir in the garlic and red pepper flakes.
- Cook for 30 seconds, until fragrant.
- Pour the garlic butter over the shrimp.
- Add the lemon juice and parsley.
- Toss to coat.