
Juicy BBQ Baked Chicken Thighs
Juicy BBQ baked chicken thighs hit that sweet spot between crisp skin, sticky sauce, and meat that stays tender all the way to the bone. The chicken roasts long enough…

By Ava
•
•
Reading time: 8 min
Tip: save now, make later.
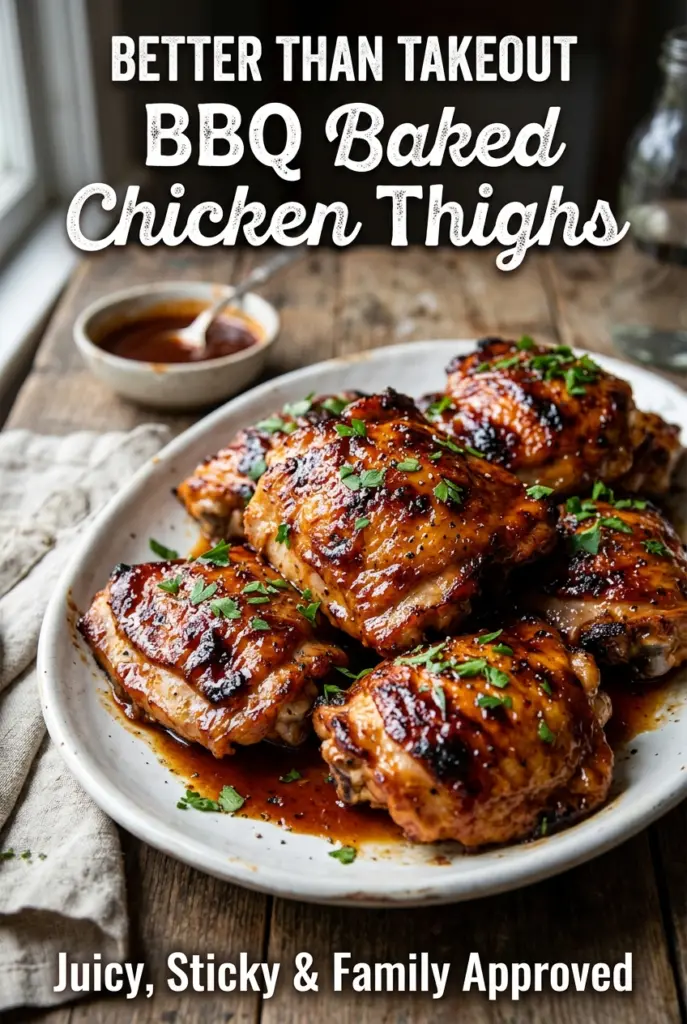
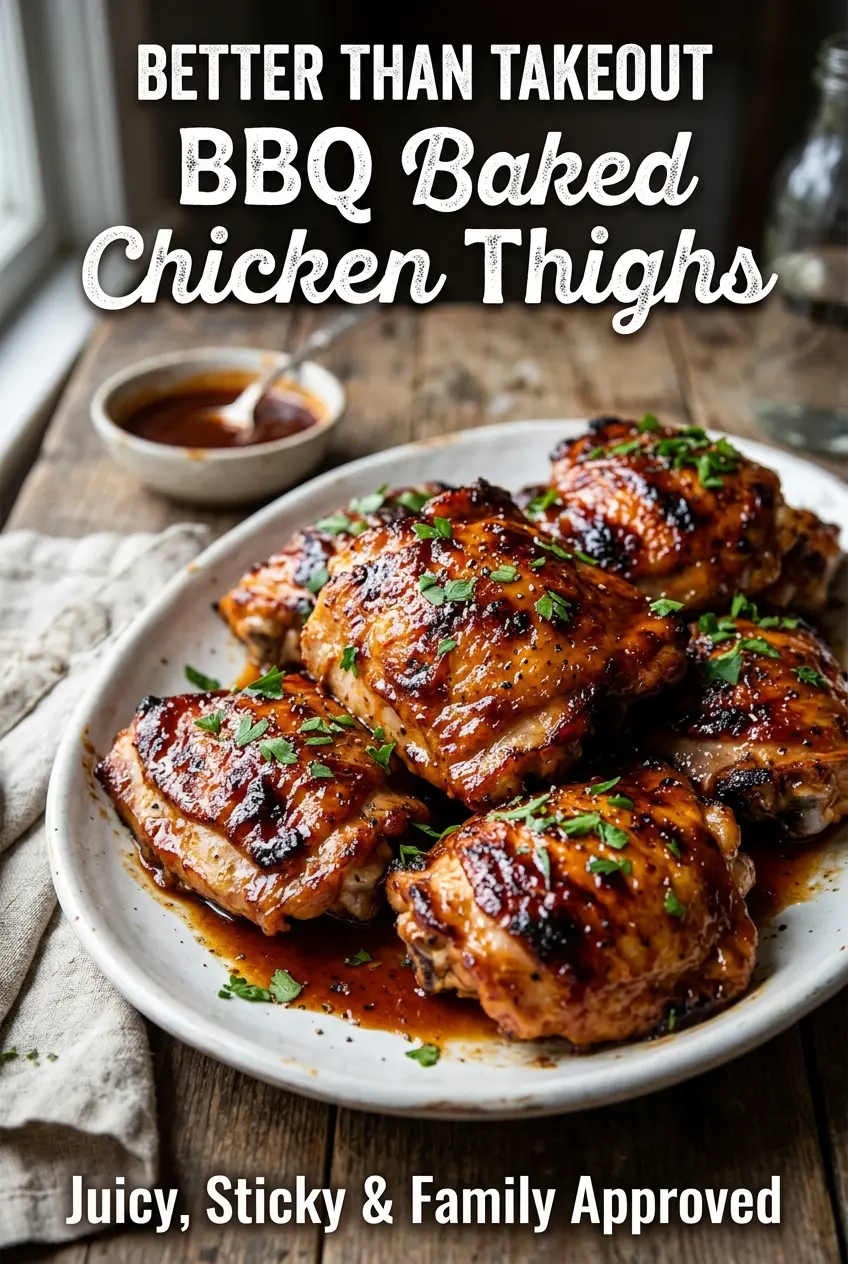
Juicy BBQ baked chicken thighs hit that sweet spot between crisp skin, sticky sauce, and meat that stays tender all the way to the bone. The chicken roasts long enough to render the fat under the skin, then gets brushed with BBQ glaze near the end so the sauce turns glossy instead of burning. That last broil gives you those caramelized edges people always go after first.
The key is drying the thighs well before they go into the oven. If the skin goes in damp, it steams instead of browning, and the whole dish loses the texture that makes baked thighs worth repeating. The spice rub builds a savory base under the sauce, while honey and a little vinegar keep the glaze from tasting flat or one-note.
Below, I’ve added the timing that keeps the chicken juicy, plus a few simple swaps if your BBQ sauce runs sweeter, smokier, or spicier than you want.
The skin got caramelized and sticky without turning bitter, and the chicken stayed juicy even after the second brush of sauce. I used what I had in the pantry and it still tasted like something I’d order again.
Save these juicy BBQ baked chicken thighs for the nights when you want sticky glaze, crisp skin, and almost no prep.

The Skin Stays Crisp When You Glaze Late
A lot of baked chicken thigh recipes go wrong because the sauce goes on too early. BBQ sauce is full of sugar, and sugar burns before the chicken is done. The result is dark, sticky patches that taste bitter while the meat underneath is still catching up.
Roasting the thighs first lets the skin render and brown on its own. When you brush on the glaze near the end, it has enough time to thicken and cling without scorching. The short broil at the finish is what gives you that lacquered surface, but only if the sauce layer is already set.
- Bone-in, skin-on chicken thighs — These stay juicy through the longer bake and the skin crisps in a way boneless thighs can’t match. Boneless thighs cook faster, but they also dry out more easily and won’t give you the same texture.
- Olive oil — A light coating helps the seasoning stick and encourages the skin to blister instead of drying out. Any neutral oil works here if that’s what you have.
- Smoked paprika — This adds a quiet smoky note that makes the BBQ sauce taste deeper. If your sauce is already heavily smoked, cut this back a little so the flavor doesn’t get muddy.
- BBQ sauce, honey, Worcestershire, and apple cider vinegar — This is the glaze that matters. The honey helps it cling, the Worcestershire adds savory depth, and the vinegar keeps it from tasting sticky-sweet. If you use a very sweet store-bought sauce, lean a little harder on the vinegar.
How to Keep the Chicken Juicy While the Glaze Catches
Dry the Skin Before Anything Else
Pat the chicken thighs dry with paper towels until the skin looks matte, not damp. Moisture on the surface blocks browning, and that’s the difference between crisp skin and pale, soft skin. Rub the thighs with oil right after drying so the seasoning has something to hold onto.
Let the Oven Do the First Round
Arrange the thighs skin-side up on a parchment-lined baking sheet and roast them at 400°F until they’ve started to brown and the fat under the skin has begun to render. You’re looking for skin that’s tightened and starting to look golden at the edges. If the chicken is still pale and floppy, it needs more time before the sauce goes on.
Brush, Bake, and Broil at the End
Mix the glaze while the chicken roasts, then brush it over the thighs once the first bake is done. Return them to the oven and brush once more halfway through so the sauce builds in layers instead of sliding off. Broil for just a few minutes at the end until the glaze bubbles and darkens in spots; if it goes from glossy to black too fast, the rack is too close to the element.
How to Adapt These BBQ Chicken Thighs Without Losing the Good Part
Dairy-Free and Naturally Gluten-Free
This recipe already fits both of those needs as written, which is one reason it lands in the dinner rotation so often. Just check your BBQ sauce and Worcestershire sauce label if you’re cooking for someone with gluten sensitivity, since some brands use thickeners or malt vinegar.
Using Boneless, Skinless Thighs
Boneless thighs work if that’s what you have, but they cook faster and won’t develop the same crisp finish. Start checking them earlier, and don’t expect the glaze to cling as thickly without the skin and rendered fat to anchor it.
Making the Sauce Less Sweet
If your BBQ sauce already leans sugary, cut the honey back to 1 tablespoon or skip it entirely. Add an extra splash of apple cider vinegar to keep the glaze bright enough to cut through the richness of the chicken skin.
Storing and Reheating Leftovers
- Refrigerator: Store in an airtight container for 3 to 4 days. The skin softens in the fridge, but the meat stays tender.
- Freezer: These freeze well for up to 2 months. Wrap tightly and freeze with a little extra sauce so the chicken doesn’t dry out.
- Reheating: Reheat covered at 325°F until warmed through, then uncover for a few minutes to bring back some texture. The biggest mistake is blasting them in the microwave, which turns the skin rubbery and pulls the glaze apart.
Questions I Get Asked About This Recipe
Juicy BBQ Baked Chicken Thighs
Ingredients
Equipment
Method
- Preheat the oven to 400°F (200°C).
- Pat the chicken thighs dry with paper towels to help the skin roast up evenly.
- Rub the chicken thighs with olive oil.
- In a small bowl, combine garlic powder, onion powder, smoked paprika, kosher salt, black pepper, and chili powder.
- Season the chicken evenly with the spice mixture.
- Arrange the thighs skin-side up on a parchment-lined sheet pan.
- Bake for 30 minutes at 400°F (200°C) until the chicken is partially cooked.
- Mix BBQ sauce, honey, Worcestershire sauce, and apple cider vinegar until smooth.
- Brush the chicken generously with the BBQ glaze.
- Return to the oven for 15–20 minutes at 400°F (200°C), brushing once more halfway through.
- Broil for 2–3 minutes until caramelized and glossy.
- Rest the chicken for 5 minutes before serving so the juices settle.
- Top with fresh parsley, chopped (optional) if using.