
How to Make Homemade Marshmallows
The syrup changes fast once it starts bubbling, and a few degrees can be the difference between marshmallows that hold their shape and a slab that stays soft and sticky.…

By Ava
•
•
Reading time: 9 min
Tip: save now, make later.
The syrup changes fast once it starts bubbling, and a few degrees can be the difference between marshmallows that hold their shape and a slab that stays soft and sticky. I keep the candy thermometer close and watch the temperature instead of guessing by the clock. That little bit of attention makes homemade marshmallows much less mysterious.
For these vanilla marshmallows, gelatin softens in cold water first, then the hot syrup gets whipped into it until the mixture is thick and airy. A light coating of confectioners’ sugar and cornstarch keeps the finished squares from clinging together without burying their soft texture. The result is a tender, springy marshmallow with a clean vanilla finish.
Kitchen Note
I use a 2- to 3-quart saucepan for the syrup, just as I would for a small batch of candy. A pan that size gives the syrup room to bubble while keeping it easy to watch as the temperature climbs.
Save these homemade marshmallows for a cozy mug of cocoa or a batch of treats with soft, vanilla-scented centers.
Why the syrup needs to reach 240°F without being stirred
Marshmallows depend on a cooked sugar syrup that sets into a fine, flexible structure after it’s whipped with gelatin. Reaching 240°F gives the syrup the concentration this batch needs. Stop short, and the finished slab can be too soft to cut cleanly; cook it hotter, and the texture can turn firmer than the pillowy squares you want.
Light corn syrup helps keep the sugar from crystallizing, but stirring can still encourage crystals to form along the sides of the pan or in the syrup. Let the mixture cook over medium-high heat without stirring, and use the thermometer reading as your cue rather than relying on the estimated 8 to 12 minutes. If sugar crystals do form, they can make the marshmallow mixture grainy instead of smooth. The controlled boil is what gives the whipped mixture its even, tender texture.
What the gelatin and coating are doing in homemade marshmallows
- Unflavored gelatin — This is what gives the whipped sugar its springy, sliceable structure. Use plain unflavored gelatin, not a sweetened flavored dessert mix; the latter changes both the flavor and the way the marshmallows set.
- Light corn syrup — It helps the syrup stay smooth by limiting crystallization. Light corn syrup keeps the vanilla flavor clean; darker syrups bring a stronger color and taste, so they won’t give you the same result.
- Granulated sugar — Regular granulated sugar dissolves into the syrup and provides its structure. There’s no useful shortcut with a liquid sweetener here; a different sweetener changes how the syrup cooks and sets.
- Confectioners’ sugar and cornstarch — Together, they make a dry coating that cuts down on tackiness. The cornstarch matters: confectioners’ sugar alone tends to dissolve into the damp cut surfaces, leaving the pieces stickier.
- Neutral oil — Use a mild-tasting oil, such as vegetable or canola oil, to grease the pan and spatula. A strongly flavored oil would be noticeable in the finished candy.
- Vanilla extract — Pure vanilla gives the marshmallows a fuller aroma, while imitation vanilla works when you want to keep costs down. Either fits the recipe; choose an extract you like the taste of on its own.
From gelatin bloom to clean-cut marshmallow squares
Dust the pan before the syrup is ready
Whisk the confectioners’ sugar and cornstarch together in a small bowl. Lightly grease a 9×13-inch baking pan with 1 teaspoon of oil, then dust the bottom and sides with about 2 tablespoons of the coating mixture. Set the pan close by so you can transfer the marshmallow mixture as soon as it’s whipped.
Let the gelatin soften in cold water
Pour 1/2 cup of cold water into the bowl of a stand mixer fitted with the whisk attachment. Sprinkle the gelatin evenly over the water and leave it to soften for 10 minutes. A careful, even sprinkle helps the gelatin hydrate rather than clump into dry pockets.
Cook the syrup to its target temperature
Combine the granulated sugar, light corn syrup, remaining 1/4 cup of cold water, and kosher salt in a 2- to 3-quart saucepan. Cook over medium-high heat without stirring until the syrup reaches 240°F, about 8 to 12 minutes. Watch the thermometer as the temperature rises; the time is an estimate, but the target temperature is the cue to follow.
Whip the hot syrup into the gelatin
With the mixer on low, carefully pour the hot syrup into the softened gelatin in a thin stream. Increase the speed to high and whip for 10 to 12 minutes, adding the vanilla during the last 30 seconds. The mixture should become thick and hold a soft ribbon; if syrup splashes onto the sides of the bowl, keep the stream controlled and let the whisk do the mixing.
Spread, set, and coat the squares
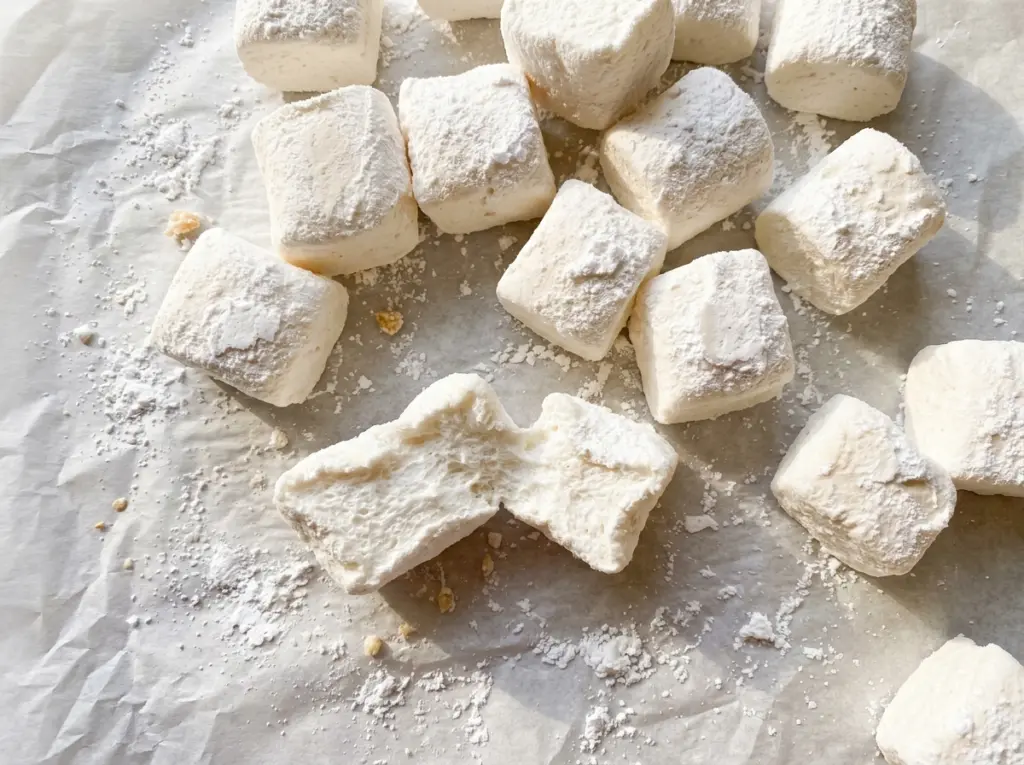
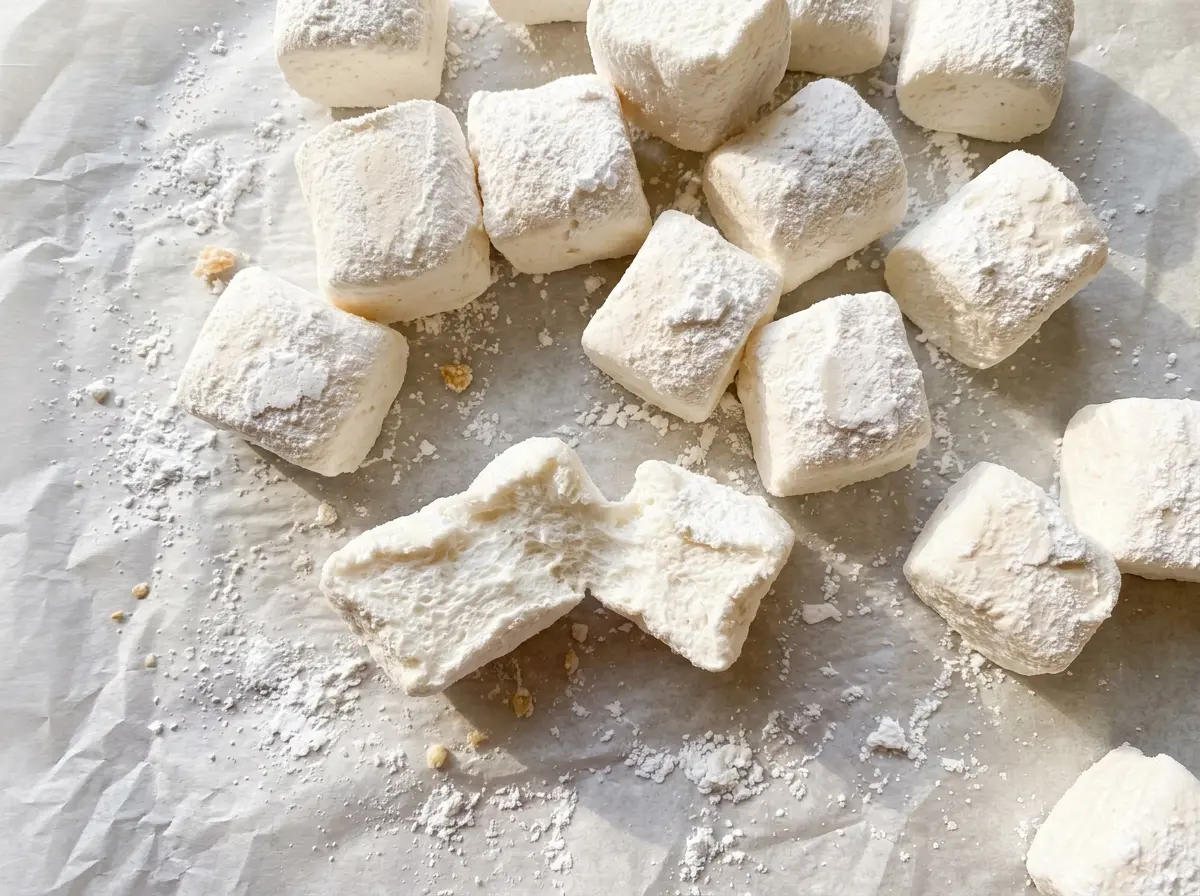
Grease a flexible spatula with the remaining teaspoon of oil, scrape the marshmallow mixture into the prepared pan, and spread it evenly. Leave the pan uncovered at room temperature for at least 6 hours, until the slab is set and no longer tacky. Dust the top with some of the remaining coating, loosen the edges, and turn the slab onto a cutting board; dust a knife with coating, cut 1 1/2-inch squares, then toss them in the rest of the coating until their cut sides aren’t sticky.
Two simple ways to change the finished marshmallows
Cut larger squares for a softer bite
Cut the set slab into larger squares instead of 1 1/2-inch pieces. Each piece has less cut surface relative to its size, so you get more soft marshmallow and a lighter coating in each bite.
Choose the vanilla that suits your budget
Use pure vanilla extract for a rounder, more noticeable aroma, or imitation vanilla extract for a less expensive option. The marshmallows still set the same way; the difference is in the vanilla note.
Storage and Reheating
- Refrigerator: These keep for up to 2 weeks in an airtight container, but refrigeration isn’t needed and condensation can dampen the coating as they warm up.
- Freezer: Freeze the coated marshmallows in an airtight container for up to 2 months. Thaw them in the closed container so moisture doesn’t settle on the surface.
- Reheating: Don’t reheat them; heat melts marshmallows and can make the coating sticky. Bring chilled pieces back to room temperature before serving.
Questions that come up when making marshmallows at home
How to Make Homemade Marshmallows
Ingredients
Equipment
Method
- Whisk the confectioners' sugar and cornstarch together in a small bowl.
- Lightly grease a 9x13-inch baking pan with 1 teaspoon oil.
- Dust the bottom and sides of the pan with about 2 tablespoons of the coating mixture.
- Pour 1/2 cup cold water into the bowl of a stand mixer fitted with the whisk attachment, sprinkle the gelatin evenly over the water, and let it soften for 10 minutes.
- Combine the granulated sugar, corn syrup, remaining 1/4 cup cold water, and salt in a 2- to 3-quart saucepan.
- Cook over medium-high heat without stirring until the syrup reaches 240°F, about 8 to 12 minutes.
- With the mixer on low, carefully pour the hot syrup in a thin stream into the gelatin.
- Increase the speed to high and whip for 10 to 12 minutes, until the mixture is thick and holds a soft ribbon.
- Add the vanilla during the last 30 seconds of whipping.
- Grease a flexible spatula with the remaining 1 teaspoon oil.
- Scrape the marshmallow mixture into the prepared pan and spread it evenly.
- Let the marshmallows stand uncovered at room temperature for at least 6 hours, until set and no longer tacky.
- Dust the top with some of the remaining coating mixture.
- Loosen the edges and turn the marshmallow slab onto a cutting board.
- Dust a knife with coating and cut the slab into 1 1/2-inch squares.
- Toss the squares in the remaining coating mixture until their cut sides are no longer sticky.