
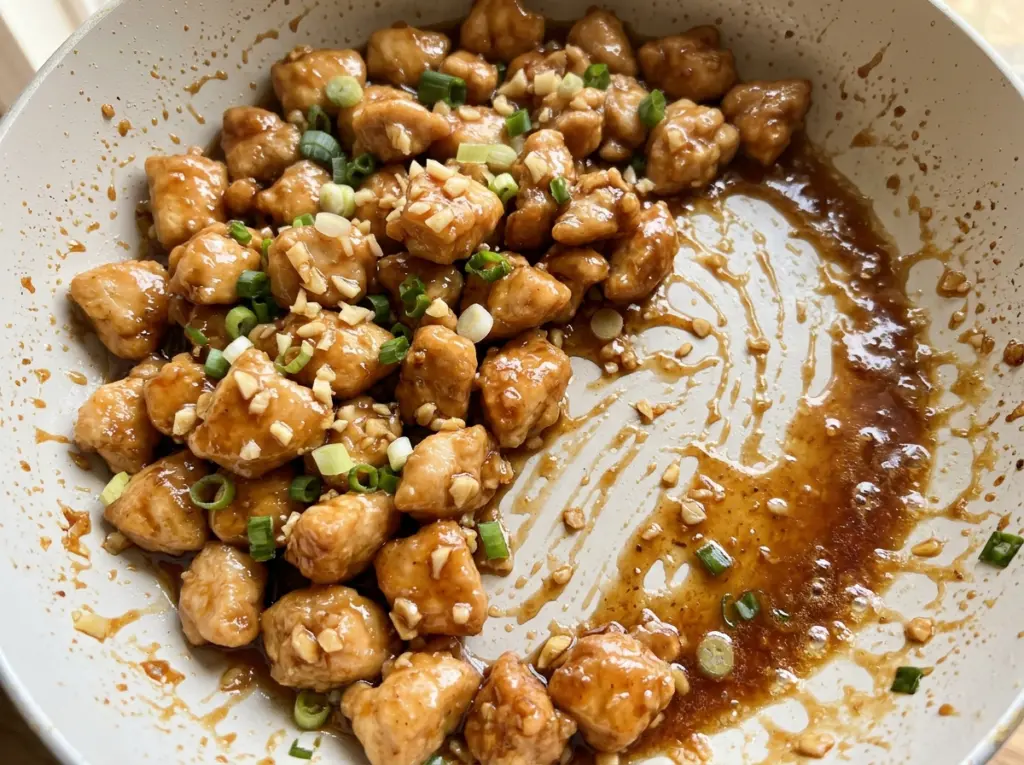
Honey Garlic Chicken Bites
The first chicken pieces should sizzle as soon as they hit the skillet, with enough room around them to turn golden instead of steaming. I cook these honey garlic chicken…

By Ava
•
•
Reading time: 9 min
Tip: save now, make later.
The first chicken pieces should sizzle as soon as they hit the skillet, with enough room around them to turn golden instead of steaming. I cook these honey garlic chicken bites in two batches, then use the same pan for a quick sauce that picks up all those browned bits. It’s a straightforward way to get a glossy, savory-sweet finish without breading or deep-frying.
The thin cornstarch coating helps the chicken brown while giving the sauce something to cling to. I keep the chicken pieces close to the same size so they cook evenly, and I don’t rush the sauce: a short simmer takes the raw edge off the garlic and lets the honey, soy sauce, and rice vinegar come together. The finished bites are tender under a light, sticky glaze.
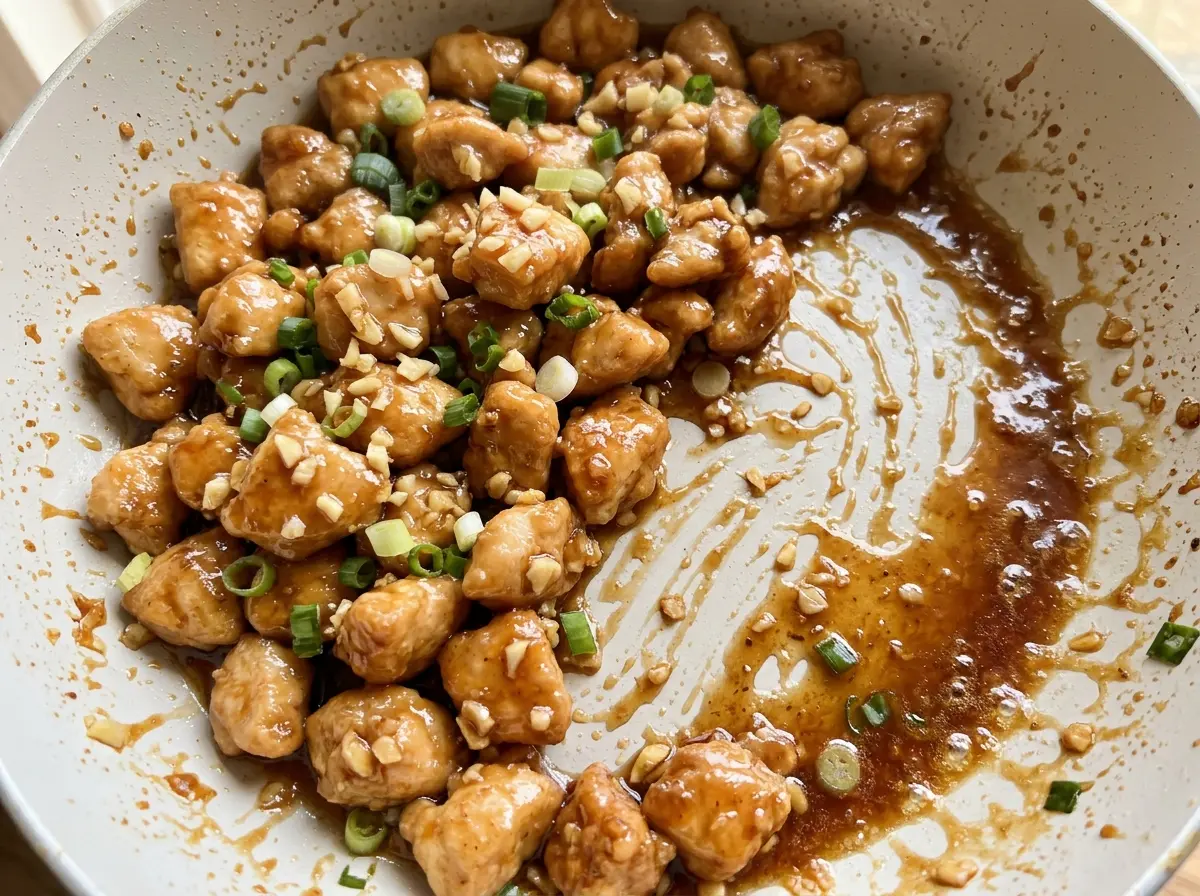
Kitchen Note
Garlic can go from fragrant to browned quickly, even over medium-low heat. Keep stirring and move on as soon as you smell it; the honey and soy sauce go in right after.
Save these Honey Garlic Chicken Bites for a quick skillet dinner with browned chicken and a glossy honey-soy glaze.
The Thin Cornstarch Coat Is What Lets These Bites Brown Before the Honey Goes In
Chicken breast doesn’t need a heavy crust to turn golden. A light coating of cornstarch dries the outside enough to help it brown in the skillet, while staying thin rather than turning into a thick, breaded shell. That distinction matters once the sauce is added: the chicken keeps its browned surface, and the glaze clings instead of disappearing into a coating.
There’s also a useful balance in the order of the cooking. The chicken gets its own time in the pan before the honey enters the picture, so it can brown without the sweet sauce scorching. The browned bits left behind add savory flavor to the sauce, and the brief simmer gives the garlic and honey time to soften into a cohesive glaze. The result is saucy, but the chicken still tastes like seared chicken rather than a piece of meat boiled in sauce.
Cutting the chicken into even 1-inch pieces helps this method work. Small pieces cook through quickly, but oversized ones can leave you waiting for the center while the outside gets too dark. Keeping the pieces consistent makes the batches easier to brown and the finished bites easier to coat evenly.
Why Chicken Breast, Cornstarch, and Rice Vinegar Each Matter

- Chicken breast — Boneless, skinless breast gives you lean pieces that brown quickly and take on the glaze without feeling heavy. A fresh, evenly cut piece is more useful than paying extra for a premium label. Boneless, skinless thighs are the closest swap; cut them to the same size and expect a slightly richer bite.
- Cornstarch — This makes the coating light and helps the honey-soy sauce cling. It’s inexpensive and there’s no need for a specialty brand. Arrowroot starch can stand in one-for-one, though the coating may feel a little less crisp once sauced.
- Honey — Honey brings sweetness and gives the sauce its sticky finish. A standard mild honey works well; a strongly flavored variety will be more noticeable in the finished glaze. Maple syrup can replace it in the same amount, but the sauce will taste different and may finish a little less sticky.
- Low-sodium soy sauce — It supplies the salty, savory base without making the glaze overwhelm the chicken. Use tamari in the same amount for a gluten-free version; its flavor is a little rounder, but it still gives the sauce the right savory depth.
- Rice vinegar — A small amount cuts through the honey and keeps the sauce from tasting one-note. Plain rice vinegar is usually mild and affordable. Apple cider vinegar works as a swap in the same amount, though it brings a sharper fruitiness.
- Fresh garlic — Minced cloves bring a bright, direct garlic flavor that powdered garlic can’t quite match. Choose firm cloves, but don’t worry about finding oversized ones. If fresh garlic isn’t available, garlic powder is a practical fallback; stir it into the sauce rather than frying it first, since it can scorch quickly in the pan.
Brown the Chicken First, Then Let the Glaze Catch Up
Coat the Pieces Without Clumps
Toss the chicken with the cornstarch, kosher salt, and black pepper until each piece has a fine, even coating. Break up any little cornstarch pockets before the chicken goes into the skillet; thick patches can turn pasty instead of browning. The coating should look light, not like a thick batter. Once it’s evenly covered, divide the chicken into two batches.
Give Each Batch Room to Brown
Heat one tablespoon of vegetable oil in a 12-inch skillet over medium-high heat. Add half the chicken in a single layer and turn the pieces occasionally as they cook for 5 to 7 minutes. Look for browned sides rather than a pale, wet surface, and check that the thickest pieces reach 165°F before transferring them to a plate. Add the remaining oil and cook the second batch the same way.
Build a Quick, Fragrant Sauce
Reduce the heat to medium-low and add the minced garlic to the same skillet. Stir for about 30 seconds, then add the honey, low-sodium soy sauce, and rice vinegar. Stir as the sauce simmers for 2 to 3 minutes; it should look slightly thickened and coat the spoon more readily than it did at the start. Keep the heat moderate so the honey has time to thicken without scorching.
Coat the Chicken in the Finished Glaze
Return the chicken and any juices on the plate to the skillet. Toss until the pieces are evenly coated, then cook for 1 to 2 minutes until hot. The sauce should cling in a thin, glossy layer rather than pool heavily at the bottom. If the pan looks crowded while you toss, turn the pieces carefully so the glaze reaches all their sides.
Two Easy Ways to Adapt Honey Garlic Chicken Bites
Make the Sauce Gluten-Free
Replace the low-sodium soy sauce with the same amount of gluten-free tamari. The glaze stays savory and coats the chicken just as well, with a slightly deeper, rounder taste. The cornstarch coating already works for this adaptation.
Use Boneless, Skinless Chicken Thighs
Swap in boneless, skinless thighs and cut them into 1-inch pieces. Their richer flavor pairs well with the sweet-savory sauce, and the bites stay tender. Brown them in batches just as you would the breast, checking the thickest pieces for doneness before moving on.
Storage and Reheating
- Refrigerator: Store leftovers in a covered container for 3 to 4 days. The chicken will soften as it sits in the glaze.
- Freezer: Freeze in an airtight container for up to 3 months. Thaw overnight in the refrigerator; the sauce may look less glossy after freezing but will still taste good.
- Reheating: Warm in a skillet over medium-low heat, stirring gently until steaming hot throughout. Avoid high heat, which can make the chicken tough and cause the honey glaze to scorch.
Questions That Come Up While Making Honey Garlic Chicken Bites
Honey Garlic Chicken Bites
Ingredients
Equipment
Method
- Toss the chicken with the cornstarch, salt, and pepper until evenly coated.
- Heat 1 tablespoon of the oil in a 12-inch skillet over medium-high heat.
- Cook half of the chicken in a single layer, turning occasionally, for 5 to 7 minutes, until browned and the thickest pieces reach 165°F.
- Transfer the chicken to a plate.
- Add the remaining 1 tablespoon oil to the skillet.
- Cook the remaining chicken in the same way for 5 to 7 minutes, until browned and the thickest pieces reach 165°F.
- Transfer the chicken to the plate.
- Reduce the heat to medium-low, add the garlic to the skillet, and cook for about 30 seconds, stirring, until fragrant.
- Stir in the honey, soy sauce, and rice vinegar.
- Simmer for 2 to 3 minutes, stirring, until slightly thickened.
- Return the chicken and any accumulated juices to the skillet and toss to coat.
- Cook for 1 to 2 minutes until hot.