
Homemade Apple Pie
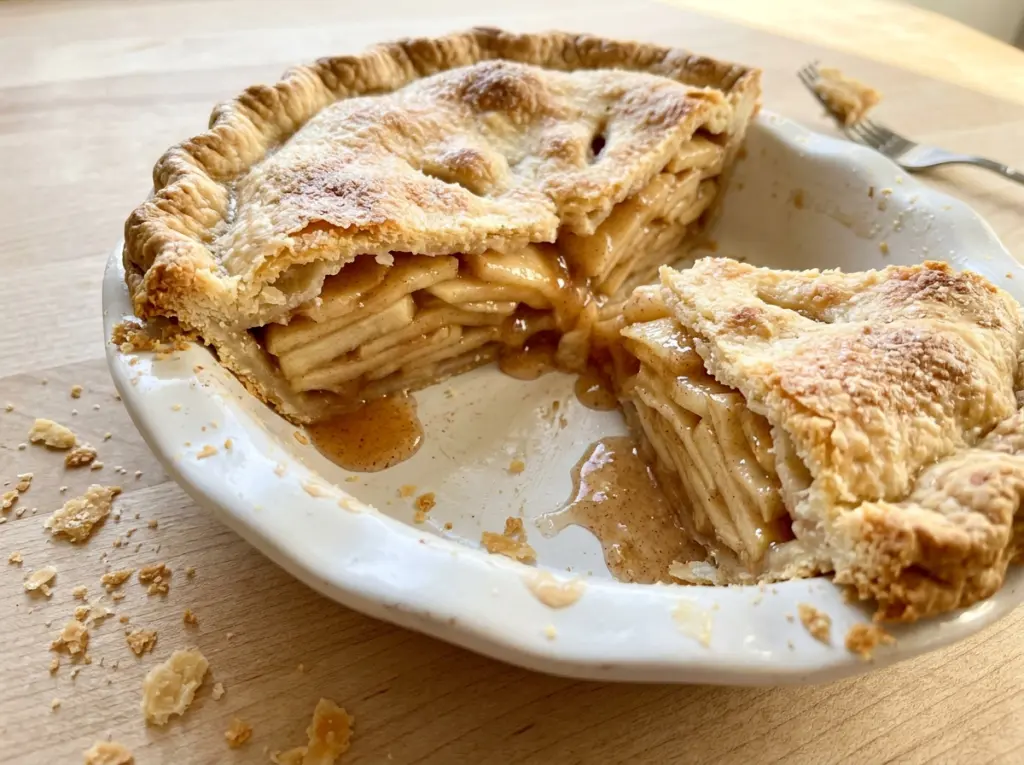
The first cut is always the moment that tells me whether I’ve waited long enough: the crust gives way, the apples stay stacked, and the slice lands without a puddle…

By Ava
•
•
Reading time: 10 min
Tip: save now, make later.
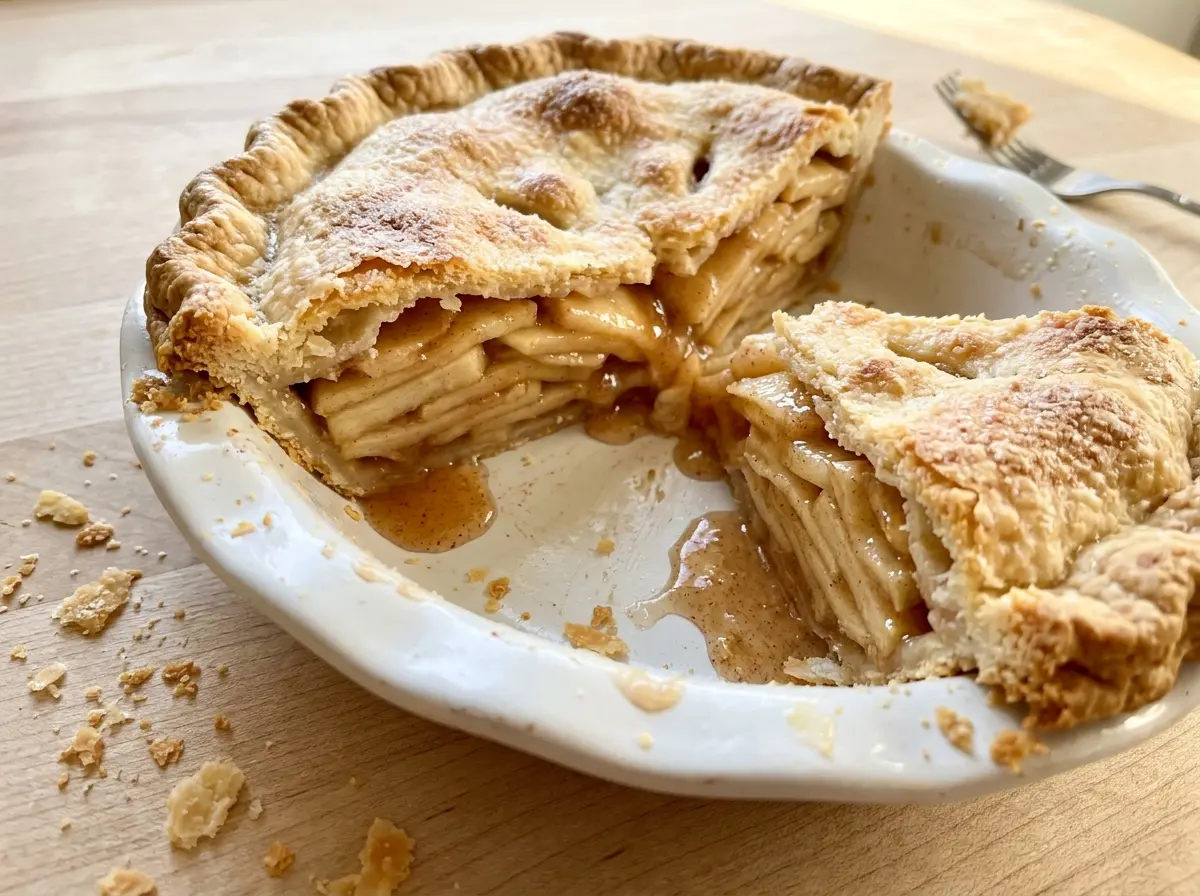
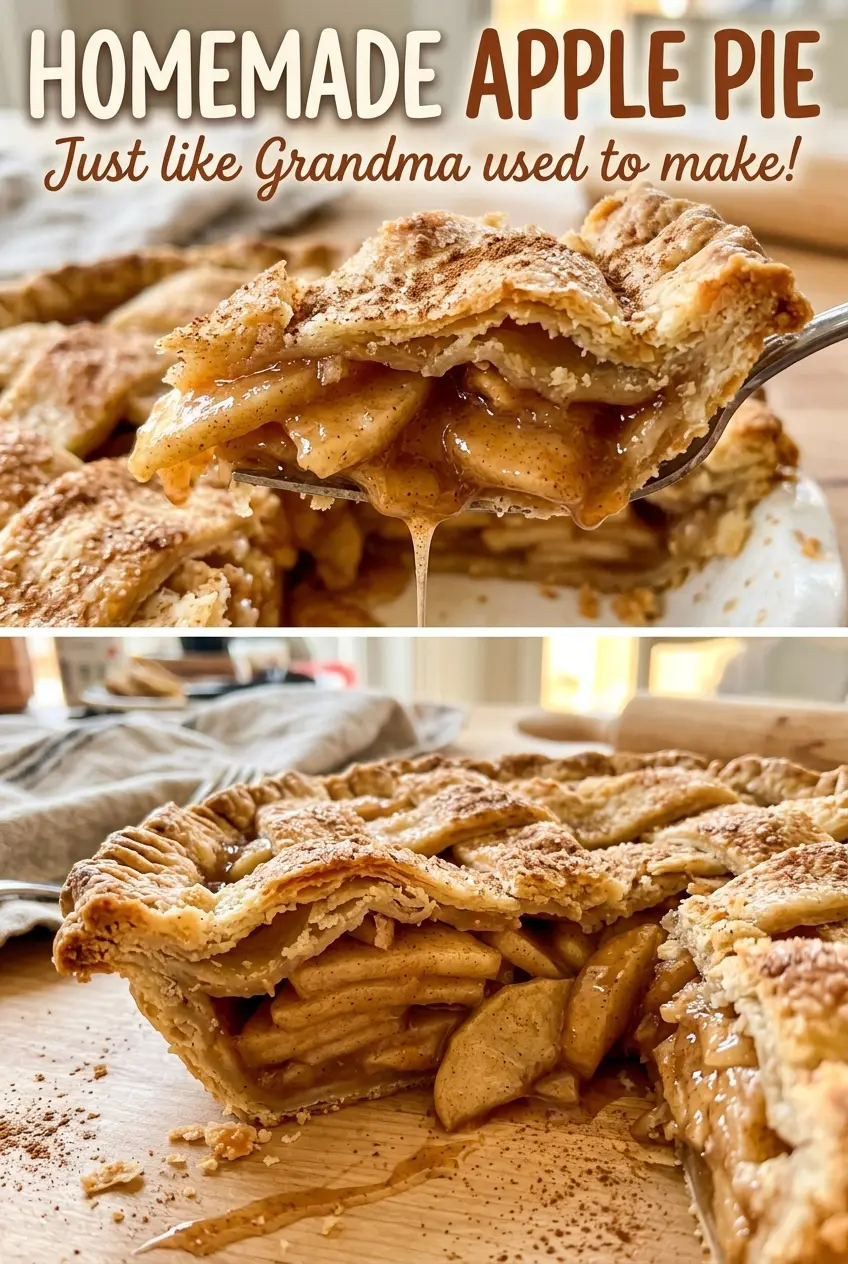
The first cut is always the moment that tells me whether I’ve waited long enough: the crust gives way, the apples stay stacked, and the slice lands without a puddle of juice. This homemade apple pie gets there with tart Granny Smith apples and a filling that thickens as it bakes. The top turns golden while the filling bubbles up through the vents, giving you a clear sign that the pie is ready to leave the oven.
I keep the crust simple: cold butter worked into flour until pea-size pieces remain, then just enough ice water to bring the dough together. That little bit of restraint matters. Too much water makes a tougher crust, while a proper chill gives the dough time to firm up before rolling. Underneath it all, cinnamon, nutmeg, and lemon juice let the apples taste like apples, not just sugar and spice. The result is a full double-crust pie with a tender, tart filling and a crisp-looking top.
Kitchen Note
Add the ice water gradually, and stop as soon as a handful of dough holds together when squeezed. It may still look a little shaggy in the bowl; that’s better than adding extra water to make it look smooth.
Save this homemade apple pie for the days you want a golden double crust, tart apples, and a warmly spiced filling that holds together when sliced.
Why the Filling Needs More Than a Golden Crust
A browned top can look finished before the apples underneath have softened and the juices have thickened. That’s why I look for two signals together: the crust should be golden, and the filling should bubble visibly through the vents. The bubbling shows that the center is hot enough for the cornstarch to do its thickening work. Color alone can’t tell you that.
There’s one more part of the set that happens after baking. The pie needs a long, undisturbed cool on a wire rack before you slice it. As it cools, the filling settles and firms instead of running straight into the plate. Cutting too early doesn’t mean the pie failed; it means the filling hasn’t had time to hold its shape yet. I plan the cooling into the bake rather than treating it as an optional pause.
Granny Smith apples give this pie a tart backbone, while the sugar and warm spices round it out. Cornstarch thickens the juices without asking the crust to absorb all that liquid. Those ingredients work together, but they can only do their part if the pie gets fully baked and then left alone to cool.
What the Granny Smiths and Cold Butter Bring to This Pie
- Granny Smith apples — Their tart taste balances the sugar, and they give the filling a distinct apple flavor. Peel, core, and slice them evenly so the pieces bake at a similar pace. Choose firm apples; there’s no need to pay extra for perfect-looking fruit once it’s peeled and sliced.
- Cold unsalted butter — Butter creates the rich, tender crust, and keeping it cold helps leave small pieces throughout the flour. Those pea-size pieces are a better cue than trying to make the mixture uniformly sandy. A standard grocery-store butter works well here.
- All-purpose flour — It gives the crust enough structure to roll and hold a top and bottom layer. Use regular all-purpose flour rather than swapping in another flour; different flours absorb water differently and can change how the dough comes together.
- Cornstarch — It thickens the apple juices as the filling bakes. Toss it thoroughly with the sugar and spices so it coats the apples instead of gathering into pockets. Don’t leave it out if you want slices that hold together.
- Cinnamon, nutmeg, and lemon juice — Cinnamon and nutmeg give the filling warmth, and lemon juice keeps that sweetness from tasting flat. The spices don’t need to be a specialty brand; use fresh-smelling jars for the clearest aroma. Coat the apples evenly so no one bite gets a clump of spice.
- Egg and water — Whisked together, they brush over the top crust before baking and give it a deeper, glossy finish. The egg wash is an appearance choice as well as a finish; the pie still has its filling and pastry if you leave it off.
Building the Crust and Baking Until the Vents Bubble
Cut the butter into pea-size pieces
Whisk the flour and salt in a large bowl, then cut in the cold butter with a pastry blender. Stop when you see pea-size pieces rather than working the butter completely into the flour. Keeping those bits visible gives the dough its tender texture. If the butter starts to soften while you work, pause and return the bowl to the refrigerator until it feels cold again.
Bring the dough together, then chill it
Sprinkle in the first portion of ice water and toss the mixture so the moisture spreads through the flour. Add more water a tablespoon at a time only if the dough won’t hold together when squeezed. Divide it in half, shape each piece into a disk, wrap, and refrigerate for at least an hour. A disk is easier to roll evenly than a thick ball, and the chill gives the butter time to firm back up.
Coat the apples and line the pie plate
Toss the sliced apples with the sugar, cornstarch, cinnamon, nutmeg, salt, and lemon juice until the coating looks even. Roll one disk between sheets of parchment into a 12-inch round, then fit it into a 9-inch pie plate. Leave the overhang in place for sealing the top crust later. If the dough sticks as you roll, the parchment gives you a clean way to lift and position it without pulling at the edges.
Seal the top and bake for a bubbling filling
Add the apple mixture to the lined plate and dot it with the small pieces of butter. Roll the second disk into a 12-inch round, lay it over the fruit, and trim both crusts to about an inch beyond the rim. Fold the edges under and crimp to seal, then brush the top with egg wash and cut several vents. Bake on a rimmed baking sheet at 425°F for 20 minutes, then lower the oven to 375°F and continue for 35 to 45 minutes, until the crust is golden and the filling bubbles through the vents.
Two Small Changes to the Pie’s Finish
A matte top instead of a glossy one
Leave off the egg wash for a less glossy, less deeply colored finish. The pastry still bakes as a top crust, but it won’t have the same sheen from the brushed egg and water.
A more pronounced crimp
Give the folded edge a deeper, more defined crimp as you seal the two crusts. It changes the look of the rim without changing the apple filling, and the sealed edge still helps keep the juices inside the pie.
Storage and Reheating
- Refrigerator: Cover leftover pie and refrigerate it for 3 to 4 days. The crust softens somewhat as it sits.
- Freezer: Freeze individual slices tightly wrapped and stored in a freezer-safe container for up to 2 months. Thaw in the refrigerator.
- Reheating: Warm slices in the oven until heated through. The microwave is quicker, but it softens the crust.
Questions That Come Up While Baking Apple Pie
Homemade Apple Pie
Ingredients
Equipment
Method
- In a large bowl, whisk together the flour and salt.
- Cut in the cold butter with a pastry blender until the mixture has pea-size pieces.
- Sprinkle in 6 tablespoons ice water and toss until the dough begins to come together.
- Add more water 1 tablespoon at a time, up to 2 tablespoons, until the dough holds together when squeezed.
- Divide the dough in half and shape each half into a disk.
- Wrap the disks and refrigerate for at least 1 hour.
- In a large bowl, toss the apples with the sugar, cornstarch, cinnamon, nutmeg, salt, and lemon juice until evenly coated.
- Heat the oven to 425°F and set a rack in the lower third of the oven.
- Roll one dough disk between sheets of parchment into a 12-inch round.
- Fit the dough into a 9-inch pie plate, leaving the overhang in place.
- Add the apple mixture to the crust and dot the filling with the butter.
- Roll the remaining dough disk between sheets of parchment into a 12-inch round and place it over the filling.
- Trim both crusts to about 1 inch beyond the rim, fold the edges under, and crimp to seal.
- Whisk the egg with the water and brush the top crust with the egg wash.
- Cut several vents in the top crust.
- Place the pie on a rimmed baking sheet and bake at 425°F for 20 minutes.
- Reduce the oven to 375°F and bake for 35 to 45 minutes, until the crust is golden and the filling bubbles through the vents.
- Cool the pie on a wire rack for at least 3 hours before slicing.