
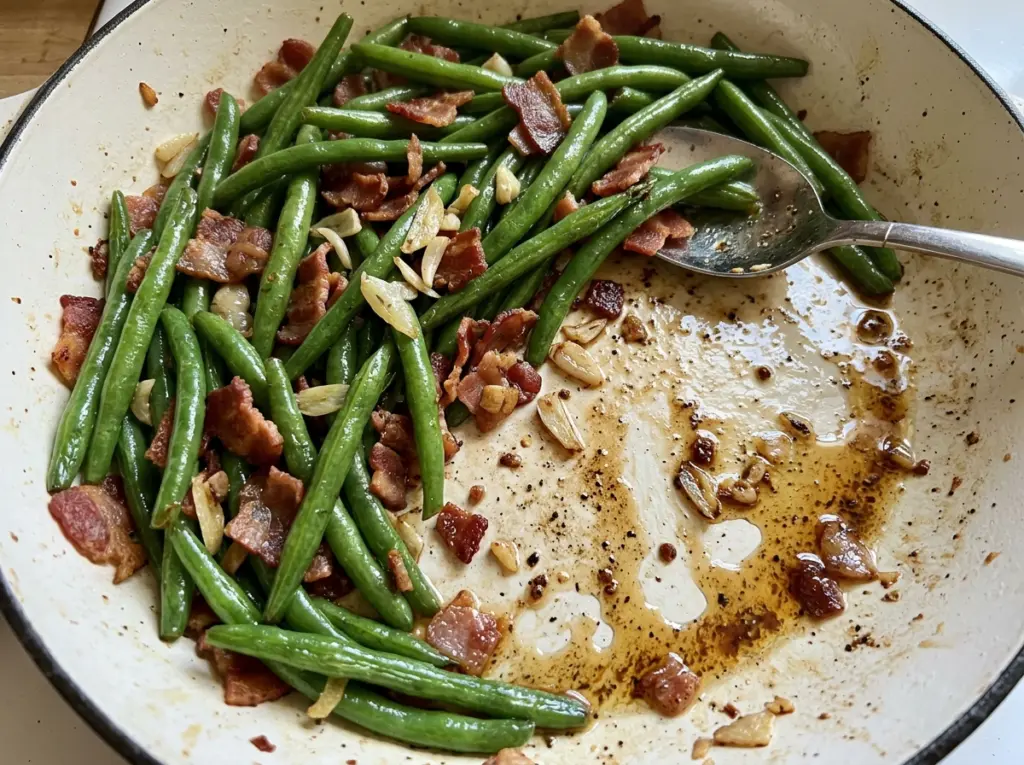
Green Beans with Bacon and Garlic
The bacon starts with a quiet sizzle, then turns crisp as its fat gathers in the skillet. That rendered fat gives these green beans with bacon and garlic their savory…

By Ava
•
•
Reading time: 8 min
Tip: save now, make later.
The bacon starts with a quiet sizzle, then turns crisp as its fat gathers in the skillet. That rendered fat gives these green beans with bacon and garlic their savory base, so I leave a tablespoon in the pan after transferring the bacon instead of wiping it clean.
Fresh green beans need a little water and a covered stretch in the skillet to soften while keeping some snap. I watch for beans that bend but still have a slight bite; cooking them until completely soft takes away the contrast that makes this side work.
Garlic goes in after the lid comes off, with the black pepper, and cooks just until fragrant. Then the bacon goes back in, ready to bring its crisp edges to the tender beans. Each forkful has a little smoky crunch and a bright hit of garlic.
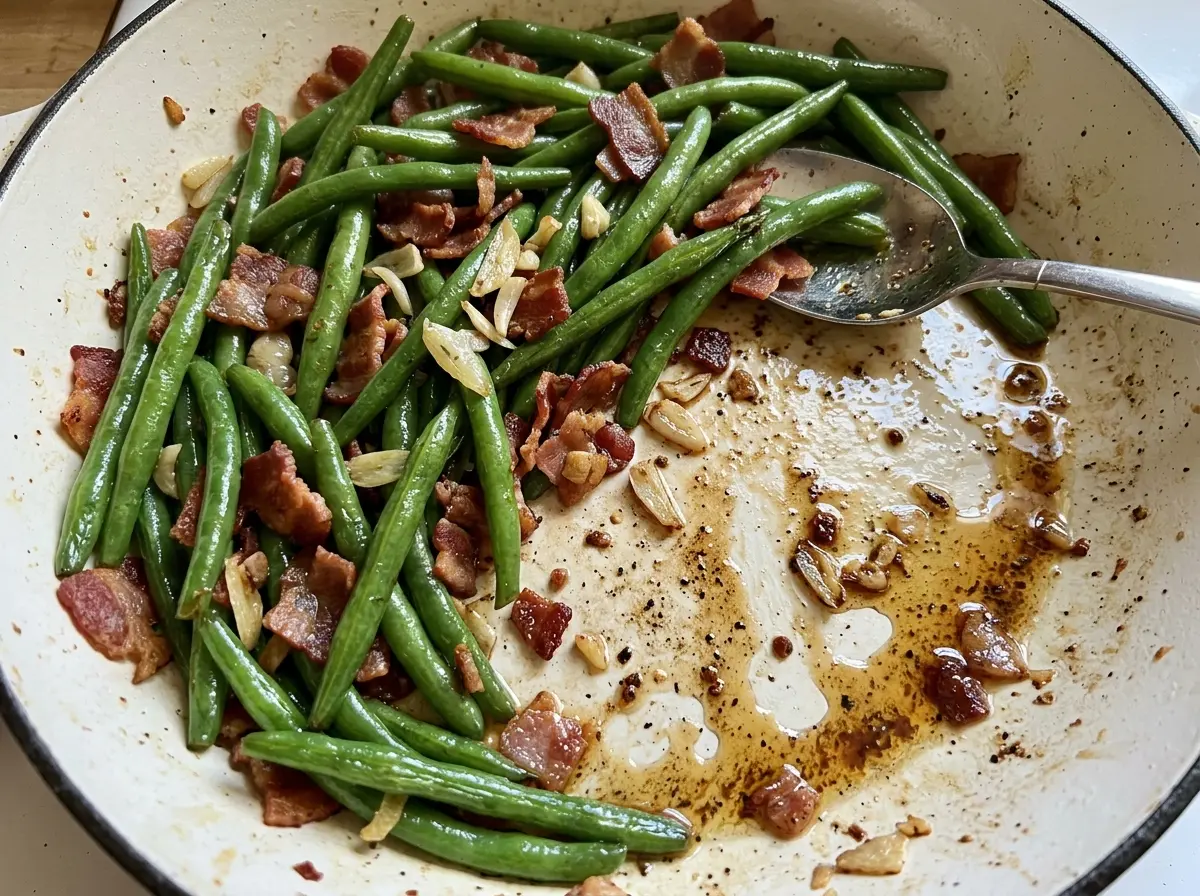
Kitchen Note
Keep the garlic moving for its full minute. Once it smells fragrant, stir in the bacon and take the skillet off the heat so the garlic doesn’t keep cooking in the hot pan.
Save these green beans with bacon and garlic for crisp bacon, tender beans, and a quick garlic finish.
Why a Little Water Keeps These Green Beans Tender Without Turning Them Soggy
The water in the covered skillet isn’t there to make a sauce. It creates steam, which cooks the beans through before the bacon fat has a chance to fry their surfaces dry. The lid matters: without it, the water escapes too quickly, and the beans can stay firm while the bottom of the pan gets dry.
Once the beans are crisp-tender, uncover the skillet so the remaining moisture can cook off before the garlic goes in. That change from covered to uncovered cooking is what keeps the beans from tasting waterlogged. You want them tender enough to bite through, with a little resistance left in the center, and no puddle of water under them. If the beans are still firm at the end of the covered cooking time, judge them by texture rather than forcing them to match the clock exactly; fresh beans vary in size.
The bacon fat also helps the beans pick up savory flavor, but it isn’t meant to be a deep pool. Leaving just a tablespoon in the skillet gives the beans a light coating without making the finished side greasy.
Why Fresh Beans and Rendered Bacon Fat Matter Here

- Fresh green beans — They hold their shape through the covered cooking and keep a firmer bite than canned beans. Choose beans that look taut rather than limp, then trim the ends. Frozen beans release more moisture and won’t give the same crisp-tender result in this timing, so fresh is the best fit here.
- Bacon — The bacon does two jobs: it becomes the crisp finish, and its rendered fat carries flavor into the beans. Regular sliced bacon works well; unusually thick slices may take longer to crisp than the stated cooking window. No bacon substitute will reproduce both the crisp pieces and the savory fat in quite the same way.
- Garlic — Fresh cloves minced just before cooking have a punchy aroma that stands up to the bacon. Pre-minced garlic can stand in, though its flavor is usually softer; add it at the same point in the cooking so it doesn’t sit in the hot fat too long.
- Black pepper — Pepper gives the rich bacon and garlic a little warmth. A coarse grind makes the pepper easier to notice in each bite, while a fine grind blends in more evenly; either works with the same amount called for.
The Three Skillet Stages That Keep the Beans Crisp-Tender
Render the Bacon Until Its Edges Crisp
Set a 12-inch skillet over medium heat and cook the chopped bacon for 8–10 minutes, stirring occasionally. Look for browned, crisp pieces and rendered fat in the bottom of the pan. Transfer the bacon to a plate, then leave 1 tablespoon of bacon fat in the skillet; too much left behind can make the beans greasy.
Steam the Beans, Then Let Excess Moisture Escape
Add the trimmed green beans, water, and kosher salt to the skillet. Cover and cook over medium heat for 5–7 minutes, until the beans are crisp-tender. Open the lid carefully, since steam will rise, and check the bite rather than relying only on appearance. The beans should be tender with a slight snap, not limp.
Finish with Garlic, Pepper, and Bacon
With the skillet uncovered, add the minced garlic and black pepper. Cook over medium heat for 1 minute, stirring so the garlic warms evenly and smells fragrant rather than browning. Stir the crisp bacon back through the beans and serve. Don’t leave the garlic sitting in one spot in the hot pan; it can darken quickly.
Two Small Changes That Shift the Finish
Keep the Bacon as a Crisp Topping
For a crunchier contrast, leave the cooked bacon on its plate while you finish the beans with garlic and pepper. Scatter the bacon over the skillet just before serving instead of stirring it through; the pieces stay crisp, though the bacon flavor won’t be as evenly distributed through the beans.
Make the Pepper More Noticeable
Use coarsely ground black pepper instead of a fine grind, keeping the amount the same. The larger flecks give you a clearer peppery bite against the bacon, while a fine grind stays more subtle and blends into the fat.
Storage and Reheating
- Refrigerator: Refrigerate leftovers within 2 hours and keep them covered for 3–4 days. The beans soften as they sit, and the bacon loses some of its crispness.
- Freezer: Freeze in an airtight container for up to 2–3 months for best quality. The beans will be softer after thawing, so freezing is best when texture matters less.
- Reheating: Warm only the portion you plan to eat in a skillet over medium heat or in the microwave, stirring as needed, until it reaches 165°F. Long reheating makes the beans limp, so stop as soon as they’re hot.
Questions That Come Up When Making These Green Beans
Green Beans with Bacon and Garlic
Ingredients
Equipment
Method
- Cook the bacon in a 12-inch skillet over medium heat for 8–10 minutes, stirring occasionally, until crisp.
- Transfer the bacon to a plate and leave 1 tablespoon of bacon fat in the skillet.
- Add the green beans, water, and salt to the skillet.
- Cover and cook over medium heat for 5–7 minutes, until the beans are crisp-tender.
- Uncover and add the garlic and black pepper.
- Cook over medium heat for 1 minute, stirring, until fragrant.
- Stir in the bacon and serve.