
Gingerbread Scones
The molasses mixture looks dark and loose when it first meets the flour, and the dough turns shaggy before it looks like anything you’d want to shape. That’s normal. These…

By Ava
•
•
Reading time: 8 min
Tip: save now, make later.
The molasses mixture looks dark and loose when it first meets the flour, and the dough turns shaggy before it looks like anything you’d want to shape. That’s normal. These gingerbread scones come together with a gentle stir and a quick pat into one round, so there’s no need to work the dough smooth or handle eight separate pieces.
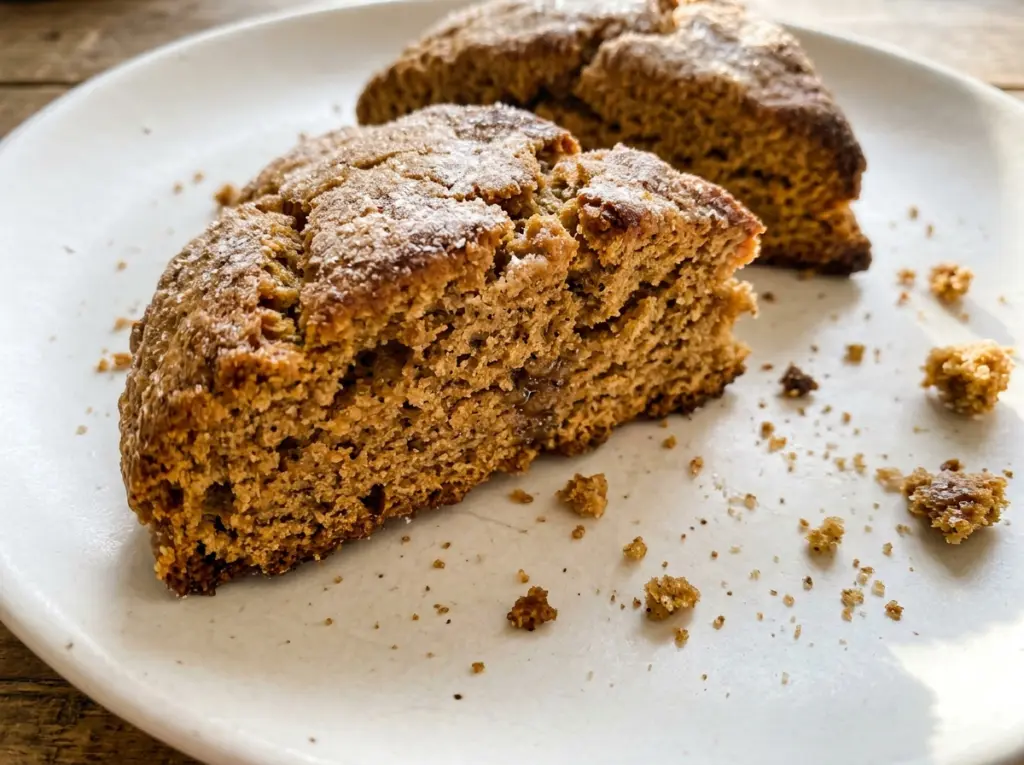
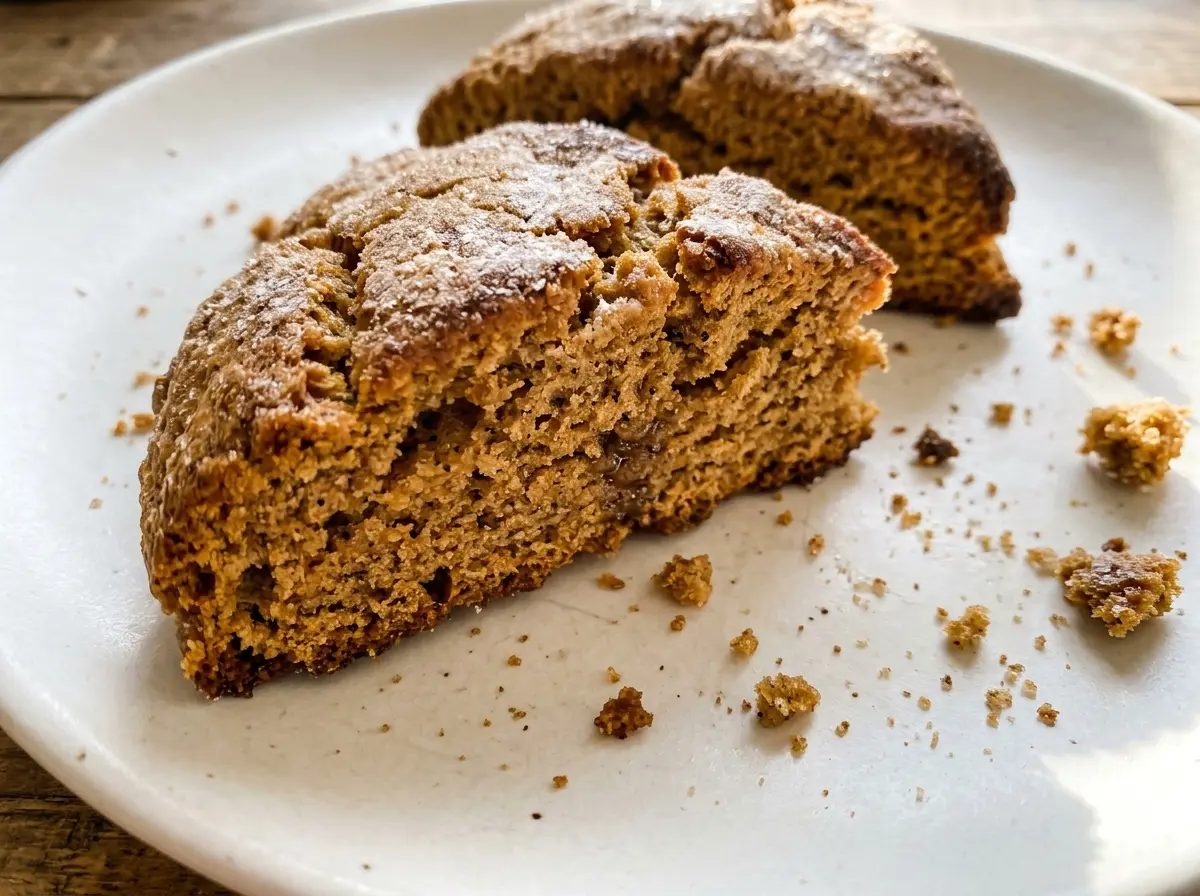
I keep the butter cold and stop mixing as soon as the dry patches are gone. That leaves the scones tender instead of dense, while the ginger, cinnamon, and cloves give each bite a warm, deep spice. A little molasses brings the familiar gingerbread flavor without making the dough sticky to handle. The edges bake lightly brown, and the centers stay soft beneath them.
Kitchen Note
Stop cutting in the butter when the largest pieces are no bigger than peas. If you keep working until the flour looks uniform, the butter warms up and the scones lose some of their tender texture.
Save these gingerbread scones for a bake with tender centers, lightly browned edges, and plenty of warm spice.
Why These Scones Bake Better as One Connected Round
Cutting the dough into wedges before baking gives you clean portions, but leaving those wedges together is what helps the round hold its shape in the oven. The center edges stay tucked against their neighbors instead of sitting fully exposed to the heat. That means you get a lightly browned outside without turning every side of every wedge into a crust.
The cut lines should go all the way through the dough, but don’t pull the pieces apart. As the round bakes, the wedges rise together and keep each other supported. Once they’ve cooled on the baking sheet, the cuts make it easy to separate them. If you pull the wedges apart before baking, they’ll still bake, but you’ll get more browned sides and a less soft edge where each piece is exposed.
This shape also makes the dough easier to handle. Patting one round takes less fuss than shaping individual scones, and the wedges stay an even thickness when you cut them before they go into the oven.
What Molasses, Butter, and Flour Each Bring to These Scones

- All-purpose flour — It gives the wedges enough structure to hold their shape while keeping the crumb tender. Spoon it into the measuring cup and level the top rather than packing it down; too much flour is the easiest way to end up with dry, stubborn dough.
- Cold unsalted butter — Small bits of butter stay distinct in the flour mixture and help keep the baked texture tender. A standard block of butter works well; there’s no need for a specialty brand, but use unsalted so the salt level stays controlled.
- Molasses — This brings the characteristic deep, earthy sweetness that brown sugar alone can’t provide. Regular molasses gives a balanced gingerbread flavor; blackstrap is much more intense and can make the finished scones taste bitter.
- Heavy cream and egg — Together, they bring richness and enough moisture to gather the flour into a shaggy dough. The cream’s fat contributes to a tender bite, while the egg helps bind the wedges; lower-fat liquid won’t give quite the same result.
- Ground ginger, cinnamon, and cloves — Fresh spices make a noticeable difference in a recipe where the spice is meant to stand out. If your jars have been open for years, replace them before baking; stale spices leave the scones flatter in flavor.
From Cold Butter to Cleanly Cut Wedges
Mix the Spices Through the Flour
Heat the oven to 400°F and line a large baking sheet with parchment paper. Whisk the flour, brown sugar, baking powder, baking soda, ginger, cinnamon, cloves, and kosher salt in a large bowl until the spices look evenly distributed. Break up any packed brown sugar clumps with the whisk so you don’t end up with concentrated sweet spots. Add the cold butter and cut it in with a pastry cutter or your fingertips until the largest pieces are no bigger than peas.
Bring the Molasses Dough Together
In a medium bowl, whisk the molasses, heavy cream, and egg until combined. Pour that mixture into the flour bowl and stir just until you have a shaggy dough. A few rough edges are fine; don’t keep mixing to make it smooth, because extra handling can make the scones firm instead of tender. If the dough looks uneven, gather it with a few gentle strokes rather than kneading it.
Pat and Score the Round
Turn the dough onto the parchment-lined baking sheet and pat it into an 8-inch round about 3/4 inch thick. Keep the thickness even from the center to the edges so the wedges bake at the same pace. Cut the round into 8 wedges, pressing the knife through the dough, but leave the pieces in place. If the dough sticks to the knife, wipe it clean between cuts for neater lines.
Bake Until the Edges Turn Lightly Brown
Bake for 16–20 minutes, until the scones feel firm and the edges are lightly browned. Check the outer edge and the center of the round rather than relying on color alone; the tops don’t need to become deeply browned. Let the scones cool on the baking sheet for 10 minutes, then separate the wedges along the cuts. They’re delicate while hot, so give the crumb that short rest before lifting a piece.
Three Practical Ways to Change These Gingerbread Scones
Make a gluten-free batch
Replace the all-purpose flour with the same amount of a cup-for-cup gluten-free baking flour blend that includes xanthan gum. The scones may have a slightly more delicate crumb, so handle the shaped round gently and let it cool before separating the wedges.
Lean into the ginger
For a sharper ginger note, use 1 1/2 teaspoons ground ginger and 1/2 teaspoon cinnamon instead of the original spice amounts. The cloves stay as written, and the result tastes more ginger-forward without losing the warm, rounded spice underneath.
Give every wedge more browned sides
For a crisper finish, separate the 8 cut wedges on the parchment-lined baking sheet before baking. The exposed sides brown more than they do when the wedges bake together, so watch for the firm texture and lightly browned edges as they approach the end of the baking range.
Storage and Reheating
- Refrigerator: Keep the cooled scones in an airtight container for up to 4 days; they’ll dry out faster in the fridge than at room temperature.
- Freezer: Freeze fully cooled scones in an airtight container or freezer bag for up to 2 months. Thaw at room temperature before warming.
- Reheating: Warm briefly in a toaster oven until just heated through. Avoid leaving them in too long, which dries the edges, or using a long microwave blast, which can make the crumb chewy.
Questions That Come Up While Baking Gingerbread Scones
Gingerbread Scones
Ingredients
Equipment
Method
- Preheat the oven to 400°F.
- Line a large baking sheet with parchment paper.
- Whisk the flour, brown sugar, baking powder, baking soda, ginger, cinnamon, cloves, and salt in a large bowl.
- Cut the cold butter into the flour mixture with a pastry cutter or your fingertips until the pieces are no larger than peas.
- Whisk the molasses, heavy cream, and egg in a medium bowl until combined.
- Pour the molasses mixture into the flour mixture.
- Stir just until a shaggy dough forms.
- Turn the dough onto the lined baking sheet.
- Pat it into an 8-inch round about 3/4 inch thick.
- Cut it into 8 wedges without separating them.
- Bake for 16–20 minutes, until the scones are firm and lightly browned at the edges.
- Separate the wedges.
- Let the scones cool on the baking sheet for 10 minutes before serving.