
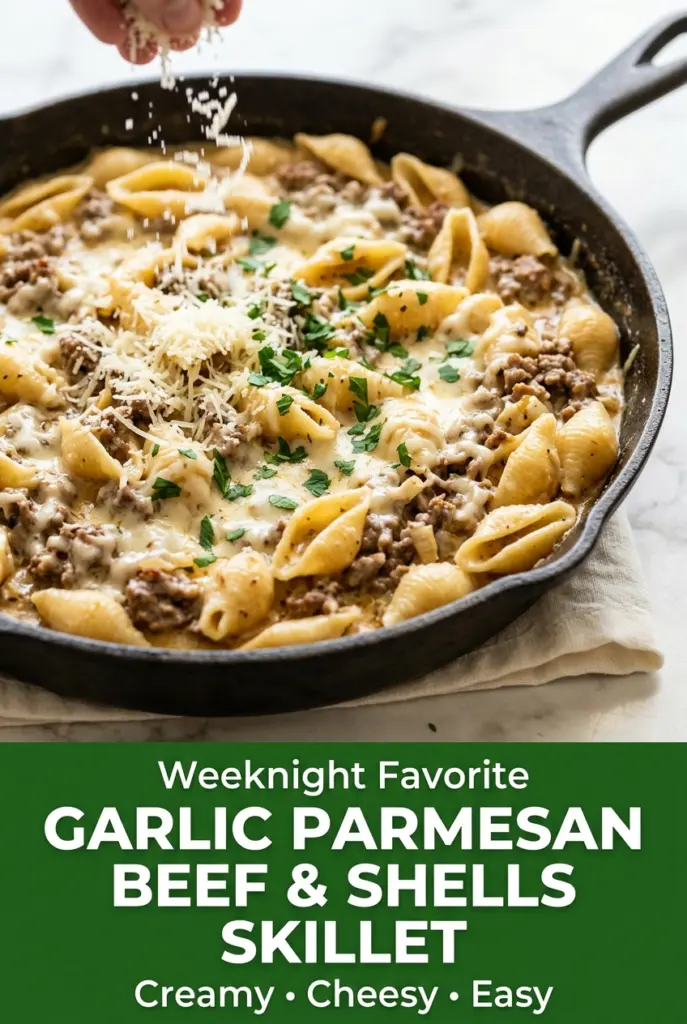
Garlic Parmesan Beef and Shells Skillet
Garlic Parmesan Beef and Shells Skillet turns a handful of pantry staples into a one-pan dinner that lands creamy, savory, and just rich enough to feel like comfort food without…

By Ava
•
•
Reading time: 10 min
Tip: save now, make later.
Garlic Parmesan Beef and Shells Skillet turns a handful of pantry staples into a one-pan dinner that lands creamy, savory, and just rich enough to feel like comfort food without dragging on forever. The pasta shells catch the sauce in every curve, the beef brings depth, and the Parmesan melts into the broth and cream until the whole skillet tastes rounded and full. It’s the kind of meal that disappears fast because it eats like something that took a lot more effort than it did.
What makes this version work is the order. The beef gets browned first so you build flavor in the pan before any liquid goes in, and the flour cooks for a full minute so the sauce thickens cleanly instead of tasting pasty. The cream and cheese go in after the shells are tender and the pan is off the heat, which keeps the sauce smooth instead of grainy. That last part matters more than people think.
Below you’ll find the small details that keep the sauce velvety, the shells cooked through, and the cheese from clumping at the bottom of the pan. I’ve also included a few swaps for when you need to work with what’s already in the kitchen.
The sauce thickened up perfectly and the shells stayed tender without getting mushy. I added a little extra Parmesan at the end and my husband went back for seconds before I even sat down.
Save this creamy beef and shell pasta skillet for the nights when you want one pan, real garlic-Parmesan flavor, and dinner on the table fast.
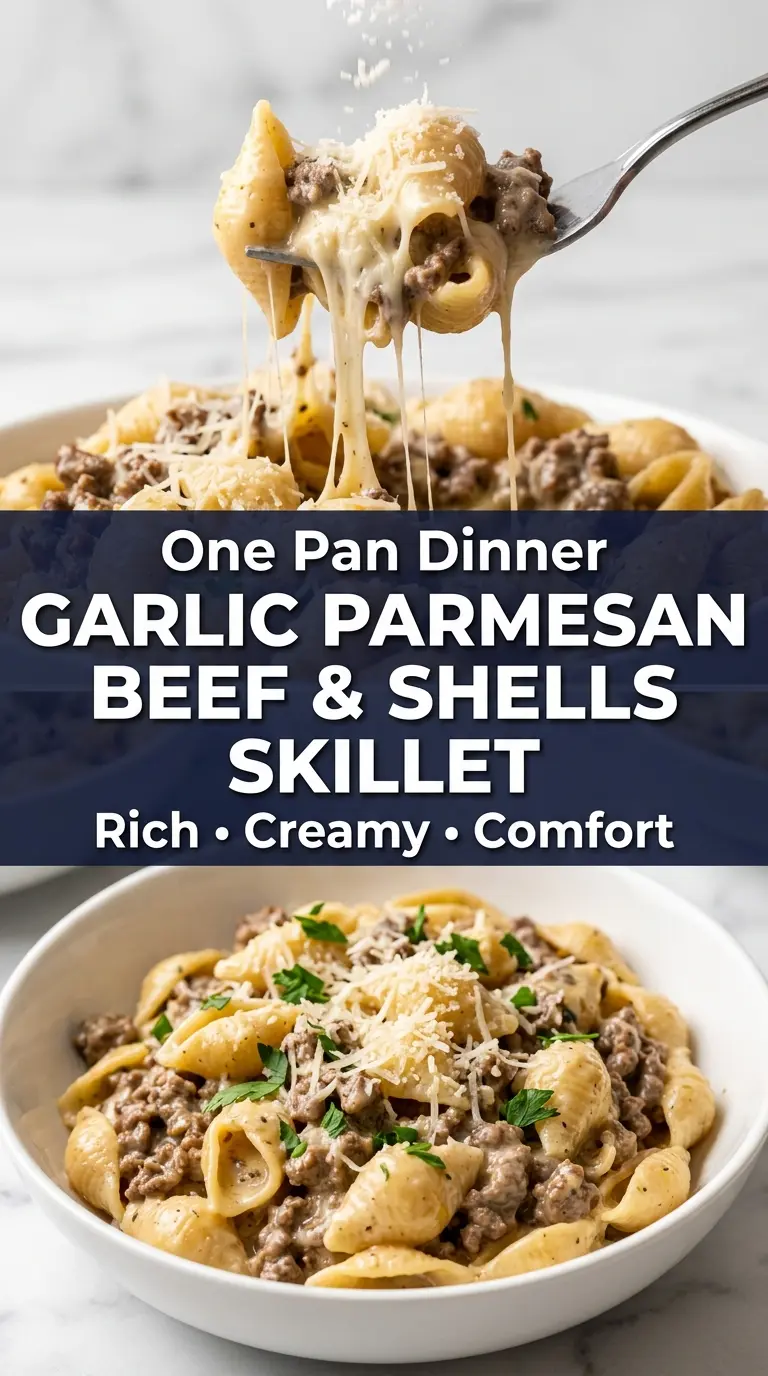
The Reason the Sauce Stays Creamy Instead of Turning Grainy
The biggest mistake in skillet pasta is rushing the dairy. Parmesan looks harmless, but if it hits a pan that’s still boiling hard, it can tighten up and turn a little gritty. This recipe avoids that by building the sauce with broth and flour first, then adding the cream and cheese only after the shells are tender and the heat is lowered. That keeps the dairy from getting shocked.
The other thing people miss is the thickness of the base before the pasta goes in. If the sauce is too thin at that stage, the shells drink it up and the skillet ends up soupy on one side and dry on the other. A brief flour cook and a gentle simmer give the sauce enough body to coat the pasta instead of disappearing around it.
- Lean ground beef — Lean works best because you still get browning without ending up with a greasy sauce. If you use a fattier blend, drain the excess after cooking so the dairy can emulsify cleanly.
- Freshly grated Parmesan — This is one place where the pre-shredded shortcut changes the result. Fresh Parmesan melts smoother and gives the sauce a cleaner, saltier finish. Pre-grated cheese often contains anti-caking agents that can make the sauce a little sandy.
- Heavy cream — Half-and-half will work in a pinch, but the sauce will be thinner and a little more fragile. Heavy cream gives you the safest, silkiest finish in a one-pan pasta.
- Medium pasta shells — Shells are excellent here because they trap the sauce inside and around the edges. Small elbows can work too, but bigger shapes need a longer simmer and a little more broth adjustment.
- Beef broth — Use a broth you actually like the taste of, because it seasons the whole pan. If yours is very salty, cut the added salt slightly so the Parmesan doesn’t push the dish over the edge.
Building the Skillet in the Right Order
Browning the Beef First
Heat the olive oil in a deep skillet and cook the beef until it loses its pink color and starts picking up browned bits on the bottom. Don’t stir constantly; let it sit long enough to sear in spots, because those browned bits are the base of the sauce. If the pan fills with liquid, the heat is too low or the skillet is overcrowded, and the beef will steam instead of brown.
Softening the Onion and Toasting the Seasonings
Once the beef is browned, add the onion and cook until it turns translucent and soft at the edges. Garlic, Italian seasoning, smoked paprika, salt, and pepper go in next, but only for about 30 seconds. You’re waking up the spices, not frying them; if the garlic darkens, it turns bitter fast.
Thickening the Base Before the Pasta Goes In
Sprinkle the flour over the meat mixture and stir until everything looks lightly coated. Let it cook for a minute so the raw flour taste disappears. Then pour in the broth slowly while stirring so the flour disperses smoothly instead of clumping into little white pockets.
Simmering the Shells Until Just Tender
Add the cream and pasta shells, bring the skillet to a gentle boil, then reduce the heat and cover. Stir occasionally so the shells don’t stick to the bottom or clump together, and keep the simmer gentle enough that the sauce moves in lazy bubbles, not a hard boil. If the sauce looks too thick before the pasta is done, add a splash of broth; if it looks too loose, keep it uncovered for the last couple of minutes.
Melting the Cheese Off the Heat
Take the skillet off the burner before stirring in the Parmesan and mozzarella. That pause keeps the cheese from tightening into strings or turning grainy. Stir until the sauce goes glossy and smooth, then let it sit for a minute before serving so it settles into that perfect creamy cling.
How to Adapt This for Different Pans, Diets, and Leftovers
Make It Gluten-Free
Use a gluten-free flour blend in place of all-purpose flour and swap in a sturdy gluten-free shell pasta. Keep the simmer gentle and check the pasta a minute or two early, since gluten-free noodles can go from tender to soft faster than wheat pasta.
Make It Lighter Without Losing the Creamy Texture
Swap the heavy cream for evaporated milk and reduce the broth by a few tablespoons. You’ll get a lighter sauce that still feels silky, though it won’t have quite the same rich finish or same margin for error if it simmers too hard.
Use Ground Turkey Instead of Beef
Ground turkey works well, but it needs the onion, garlic, and seasoning to carry more of the flavor because it’s milder than beef. Add an extra drizzle of olive oil if the pan looks dry, since turkey can cook up leaner and less forgiving.
Storage and Reheating
- Refrigerator: Store in an airtight container for up to 4 days. The sauce will thicken as it chills, and the pasta will absorb some of the liquid.
- Freezer: It freezes, but the texture softens a bit after thawing because of the cream and pasta. Freeze in portions for up to 2 months and expect the sauce to need a refresh.
- Reheating: Warm it gently on the stove or in the microwave with a splash of broth or milk. High heat is the mistake here; it can split the sauce and dry out the shells before the center is hot.
Questions I Get Asked About This Recipe
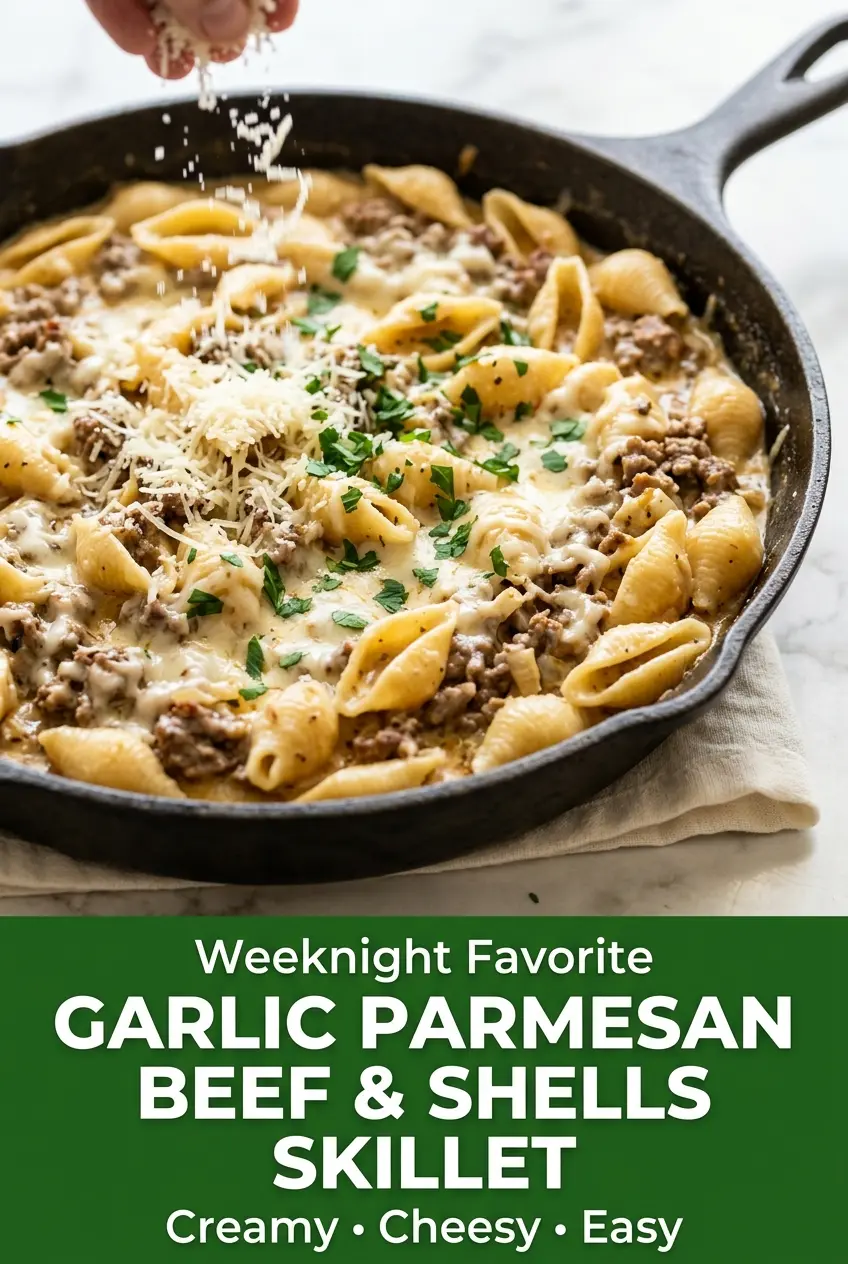
Garlic Parmesan Beef and Shells Skillet
Ingredients
Equipment
Method
- Heat the olive oil in a large deep skillet over medium-high heat. Cook the lean ground beef for 5–6 minutes until browned, breaking it into small pieces, and drain excess grease if needed.
- Add the diced yellow onion and cook for 3–4 minutes until softened. Stir in the minced garlic, Italian seasoning, smoked paprika, salt, and black pepper, and cook for 30 seconds until fragrant.
- Sprinkle the all-purpose flour over the beef mixture and stir continuously for 1 minute to coat the meat evenly. Keep stirring so the flour cooks without sticking.
- Slowly pour in the beef broth while stirring to create a smooth sauce. Add the heavy cream and mix well until combined.
- Stir in the medium pasta shells. Bring the mixture to a gentle boil, then reduce to medium-low heat, cover, and cook for 12–15 minutes, stirring occasionally, until the pasta is tender.
- Remove the skillet from the heat. Stir in the freshly grated Parmesan cheese and shredded mozzarella cheese until completely melted and the sauce is smooth and creamy.
- Garnish with chopped fresh parsley and serve immediately while hot. Let the skillet settle for 1 minute before serving if the sauce seems very loose.