
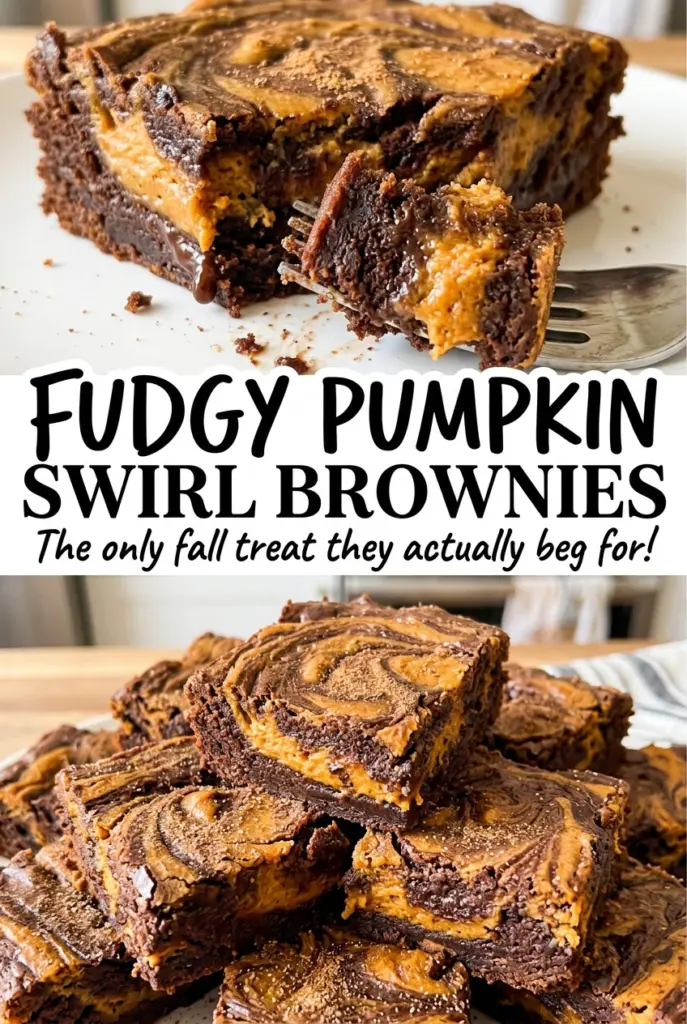
Fudgy Pumpkin Swirl Brownies
As the butter and sugar come together, the brownie batter turns glossy; then the pumpkin mixture lands on top in soft, pale dollops. I keep a little brownie batter aside…

By Ava
•
•
Reading time: 8 min
Tip: save now, make later.
As the butter and sugar come together, the brownie batter turns glossy; then the pumpkin mixture lands on top in soft, pale dollops. I keep a little brownie batter aside to dot over those dollops, so each slice gets distinct ribbons instead of one blended layer. These fudgy pumpkin swirl brownies bring rich chocolate and spiced pumpkin together without asking the pumpkin to do the work of the brownie batter.
The separate layers are what make the texture work. Pumpkin puree carries moisture, while the chocolate base stays dense and tender when it’s folded just until the dry streaks disappear. A few gentle passes with a butter knife create the marbling; too much swirling blurs the contrast. The finished squares have a dark, fudgy bite with a creamy pumpkin ribbon running through them.
Kitchen Note
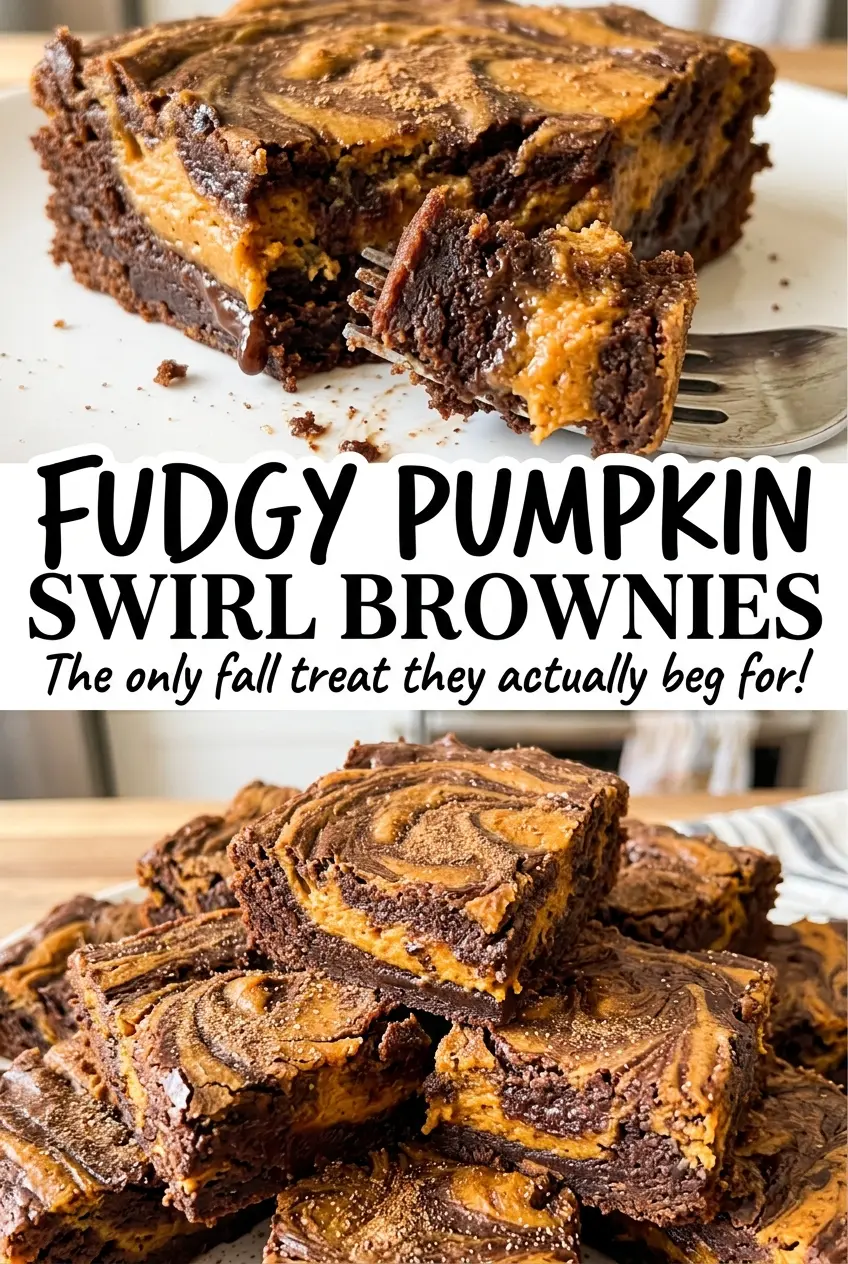
Let the brownies cool completely in the pan, about two hours, before lifting them out. The pumpkin layer firms as the pan cools, and cutting too soon can smear the ribbons instead of giving you neat squares.
Save these Fudgy Pumpkin Swirl Brownies for a bake with fudgy chocolate centers and creamy pumpkin ribbons.
Why the Pumpkin Belongs on Top, Not in the Brownie Batter
Pumpkin puree brings moisture, and mixing it straight into a chocolate batter would change the balance that gives these brownies their dense, fudgy crumb. Here, the pumpkin stays in its own cream-cheese layer. That separation lets the brownie base keep its chocolate-forward texture while the pumpkin adds a softer, lightly spiced contrast.
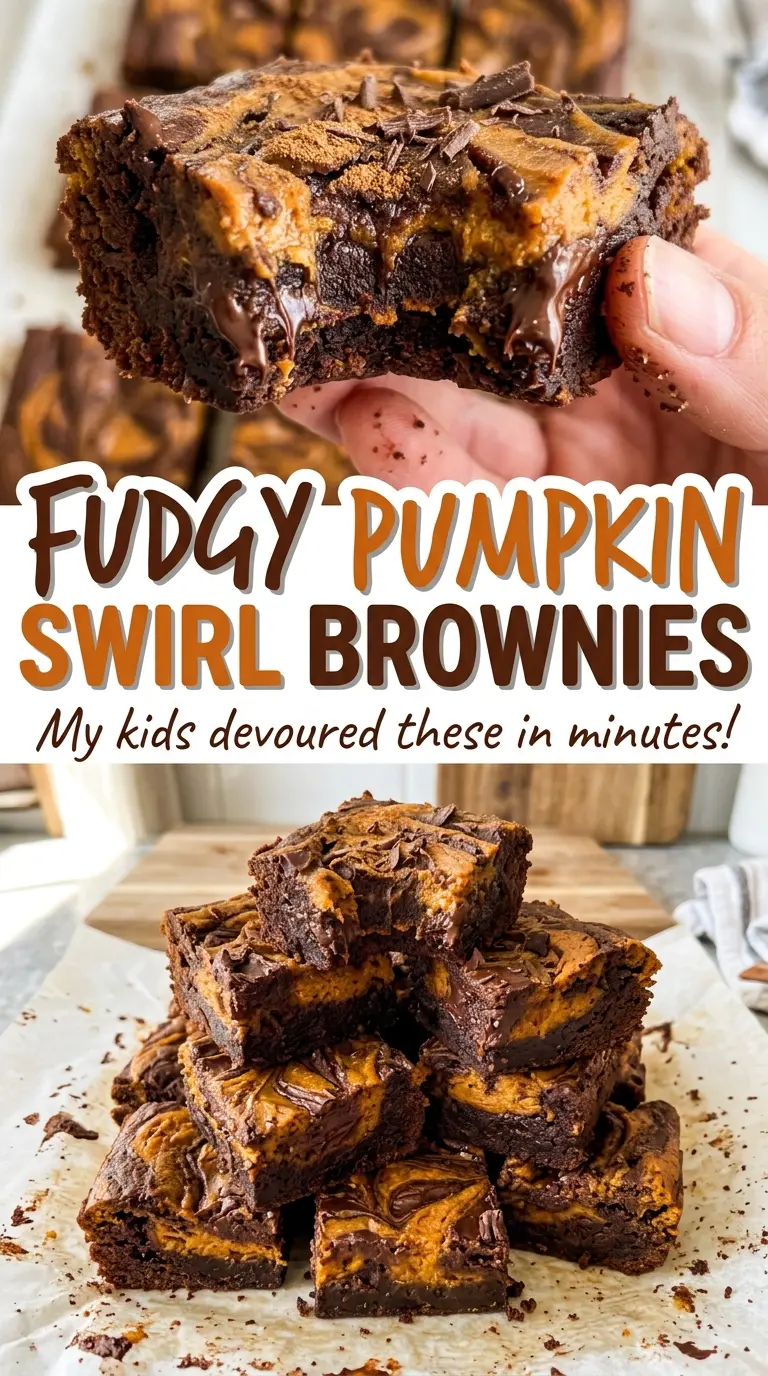
The swirl also gives you control over each bite. A butter knife moved gently through the dollops leaves visible ribbons, so you get chocolate and pumpkin together without turning the whole pan into a uniformly pumpkin-flavored cake. Keep the two batters distinct as you assemble them: the reserved brownie batter goes on top in small dollops, then just a few passes through the layers are enough. The marbling should look irregular, not completely blended.
What Keeps the Chocolate Base Fudgy and the Pumpkin Layer Smooth
- Unsweetened cocoa powder — Cocoa supplies the deep chocolate flavor without adding extra sugar. A fresh, unsweetened cocoa you enjoy tasting matters more here than a premium label; Dutch-process cocoa also works, with a slightly rounder flavor.
- All-purpose flour — Flour gives the brownie batter enough structure to hold the pumpkin ribbons. Fold it in only until you no longer see dry streaks; extra mixing works the batter more and can make the brownies less tender.
- Eggs and egg yolk — The whole eggs bind and enrich the chocolate batter, while the yolk helps the pumpkin-and-cream-cheese mixture set. Room-temperature eggs blend into the brownie batter more smoothly; separate the yolk carefully so no white slips into the swirl.
- Cream cheese — Softened cream cheese beats into a smooth base for the pumpkin layer. Cold cream cheese tends to leave lumps, so give it time to soften before mixing; there’s no need to seek out a specialty brand.
- Pumpkin puree — Use plain pumpkin puree, not pumpkin pie filling, which is already sweetened and spiced. A thick puree gives the swirl a creamy body without adding extra liquid.
- Pumpkin pie spice and vanilla — Pumpkin pie spice gives the filling its familiar warm flavor, while vanilla rounds out both batters. If you prefer a simpler spice note, ground cinnamon can stand in for the pumpkin pie spice.
Build the Two Batters, Then Swirl Without Overworking
Set Up the Pan and Melt the Butter
Heat the oven to 350°F. Line an 8-inch square metal baking pan with parchment, leaving an overhang on two sides, then lightly coat the parchment with cooking spray. Melt the butter in a medium microwave-safe bowl in 20-second bursts. Whisk in the sugar while the butter is warm.
Make a Thick, Tender Brownie Base
Whisk the eggs into the butter mixture one at a time, then whisk in the vanilla. Add the flour, cocoa powder, and salt. Fold just until the dry streaks disappear; stop there rather than beating the batter smooth, which can make the finished brownies tougher.
Beat the Pumpkin Mixture Until Smooth
In a separate medium bowl, beat the softened cream cheese and sugar with a hand mixer until smooth. Beat in the egg yolk and vanilla, then add the pumpkin puree and pumpkin pie spice. Keep beating until the filling looks even, with no cream-cheese lumps or streaks of puree.
Dollop, Marble, and Bake
Spread the brownie batter in the prepared pan, holding back 1/4 cup for the top. Dollop the pumpkin mixture over the brownie layer, then add small dollops of the reserved batter; draw a butter knife gently through the layers to make a few swirls. Bake for 35 to 40 minutes, until the pumpkin layer is set and a toothpick inserted into a brownie section comes out with a few moist crumbs. Cool completely in the pan on a wire rack, about two hours, then use the parchment overhang to lift the brownies out and cut them into squares.
Three Simple Swaps for a Different Pumpkin Brownie
Make the Brownies Gluten-Free
Replace the all-purpose flour with the same volume of a cup-for-cup gluten-free baking flour blend. Choose a blend made to replace wheat flour in baking; the brownie may be a little more tender, but the pumpkin swirl stays the same.
Give the Swirl a Straight Cinnamon Note
Use ground cinnamon in place of the pumpkin pie spice. You’ll lose the blend’s layered spice character and get a simpler cinnamon flavor that still sits comfortably with the pumpkin and chocolate.
Trade Pumpkin for Sweet Potato
Use the same volume of smooth, plain sweet potato puree in place of the pumpkin puree. The swirl will taste less distinctly pumpkin-like and a little earthier; choose a thick puree so the filling keeps its creamy consistency.
Storage and Reheating
- Refrigerator: Store the brownies in an airtight container for up to 4 days. The chilled brownie base will be firmer than it is at room temperature.
- Freezer: They freeze well. Wrap cut squares individually, place them in an airtight freezer container, and freeze for up to 2 months.
- Reheating: These are best without reheating; microwaving can soften the cream-cheese swirl too much. Thaw frozen squares overnight in the refrigerator before serving.
Questions That Come Up With Pumpkin Swirl Brownies
Fudgy Pumpkin Swirl Brownies
Ingredients
Equipment
Method
- Preheat the oven to 350°F.
- Line an 8-inch square metal baking pan with parchment paper, leaving an overhang on two sides.
- Lightly coat the parchment with nonstick cooking spray.
- Melt the butter in a medium microwave-safe bowl in 20-second bursts.
- Whisk in the sugar.
- Whisk in the eggs one at a time.
- Whisk in the vanilla.
- Add the flour, cocoa powder, and salt, and fold just until no dry streaks remain.
- In a medium bowl, beat the cream cheese and sugar with a hand mixer until smooth.
- Beat in the egg yolk and vanilla.
- Beat in the pumpkin puree and pumpkin pie spice until smooth.
- Spread the brownie batter in the prepared pan, reserving 1/4 cup.
- Dollop the pumpkin mixture over the batter.
- Dollop the reserved brownie batter over the pumpkin mixture.
- Gently swirl the layers with a butter knife.
- Bake for 35 to 40 minutes, until the pumpkin layer is set and a toothpick inserted into a brownie section comes out with a few moist crumbs.
- Cool completely in the pan on a wire rack, about 2 hours.
- Lift the brownies out using the parchment.
- Cut into squares.