
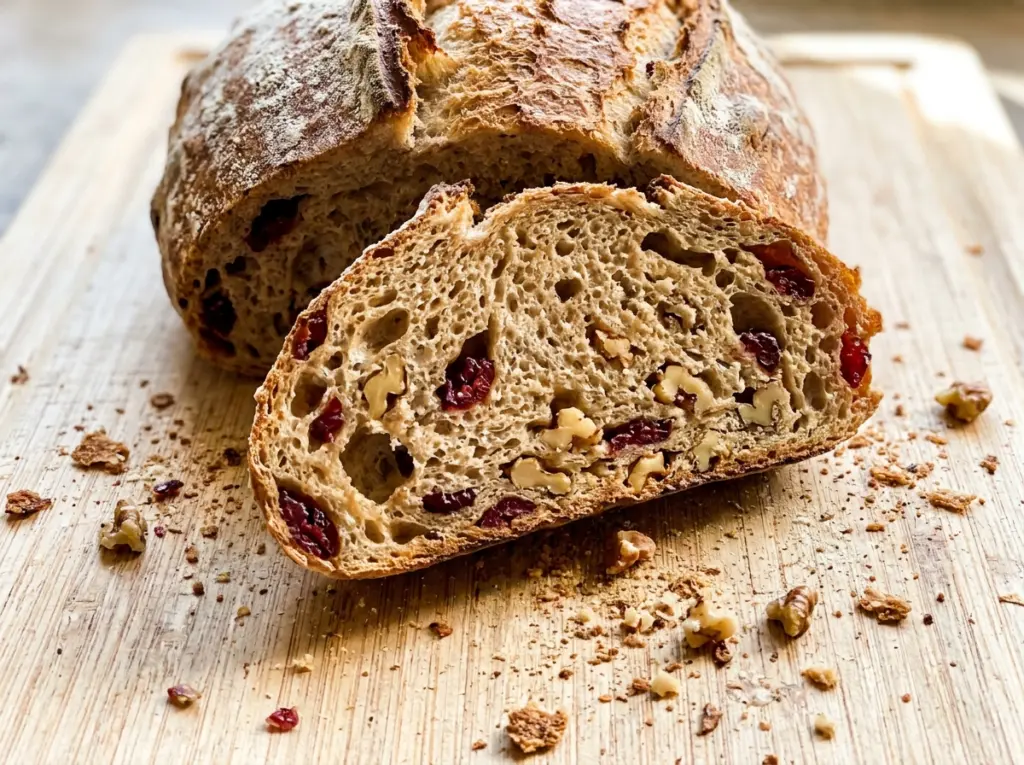
Cranberry Walnut No Knead Bread
The dough looks rough and lumpy when it first comes together, with dried cranberries and walnuts peeking out in every direction. That’s exactly what I want for this cranberry walnut…

By Ava
•
•
Reading time: 9 min
Tip: save now, make later.
The dough looks rough and lumpy when it first comes together, with dried cranberries and walnuts peeking out in every direction. That’s exactly what I want for this cranberry walnut no knead bread; there’s no kneading or smooth dough ball to chase before the long rise. A bowl, a spoon, and a little patience are enough to get a loaf with a crisp, deeply golden crust and a tender center.
I stir the add-ins into the flour before pouring in the water, which spreads them through the dough instead of leaving a pocket of fruit or nuts at the bottom. The slow rise gives the flour time to absorb the water and the dough time to develop without hands-on work. Once the loaf is shaped, a hot Dutch oven does the rest: the covered bake helps it expand, and the uncovered finish colors the crust. Each slice is chewy and lightly sweet, with walnuts tucked between the cranberries.
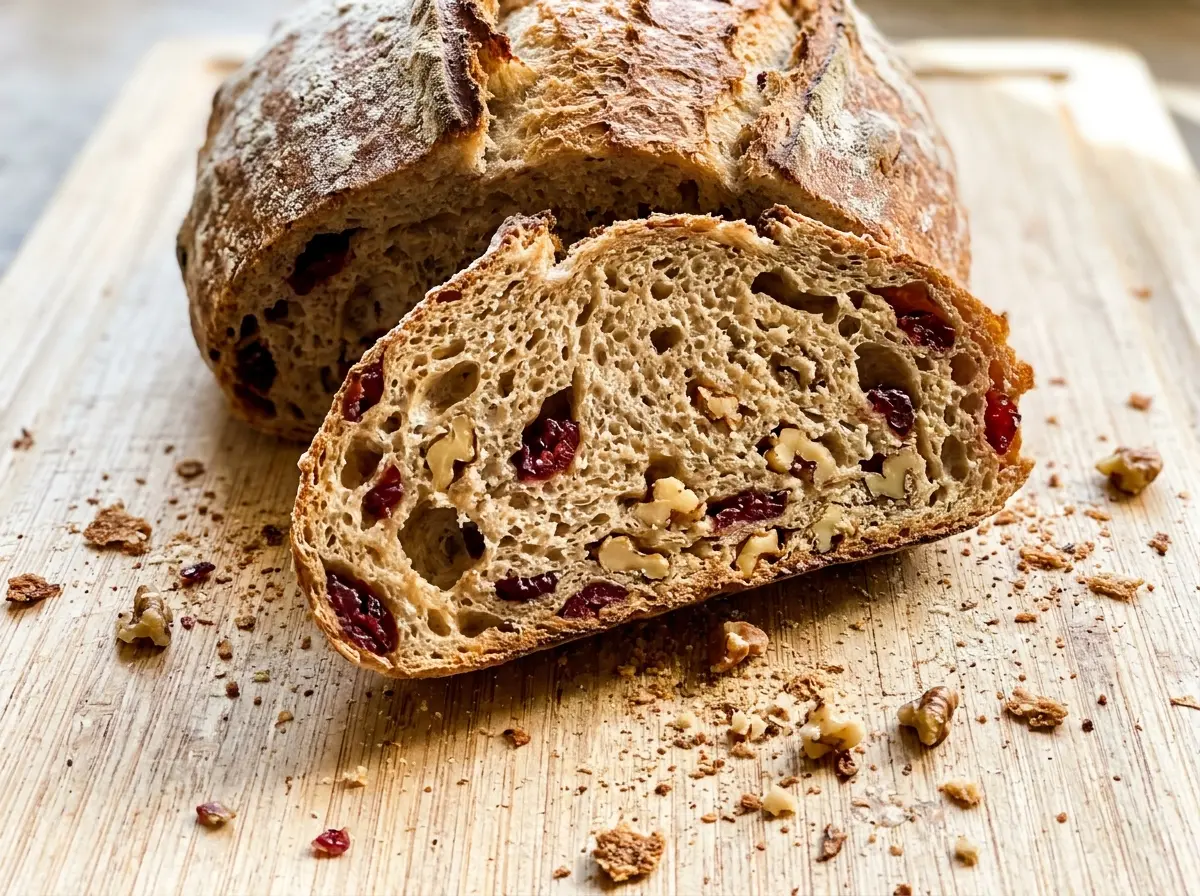
Kitchen Note
Keep the loaf on its parchment when you lower it into the hot Dutch oven. The paper works as a sling, so you can guide the dough in without reaching toward the pot’s hot sides.
Save this cranberry walnut no knead bread for a loaf with a crisp crust, chewy slices, and sweet dried cranberries in every bite.
Why the Long Rest Does the Work Your Hands Usually Would
No-knead dough can look unpromising at first: it’s sticky, uneven, and studded with fruit and nuts. The long room-temperature rise gives the flour time to absorb the water and lets the yeast slowly build structure in the dough. Instead of working the dough to make it elastic, you let time do that work. It’s a hands-off method, not a shortcut that skips fermentation.
That rest also gives you useful visual cues. A ready dough should be doubled and bubbly, not just a little larger than when it went into the bowl. Rushing to shape it while it’s still dense can leave the baked loaf heavy, even if the crust browns nicely. Room temperature matters because the rise is calibrated for a kitchen around 68–72°F; a much cooler room changes the pace. I watch the dough rather than treating the first possible rise time as a deadline.
The cranberries and walnuts are mixed in before the water, so they’re distributed throughout the dough from the start. There’s no need to knead them in later, which would mean handling a sticky dough and could leave the inclusions unevenly scattered. Once the dough has risen, the remaining work is gentle shaping and baking.
Why Dried Cranberries Belong in This Loaf
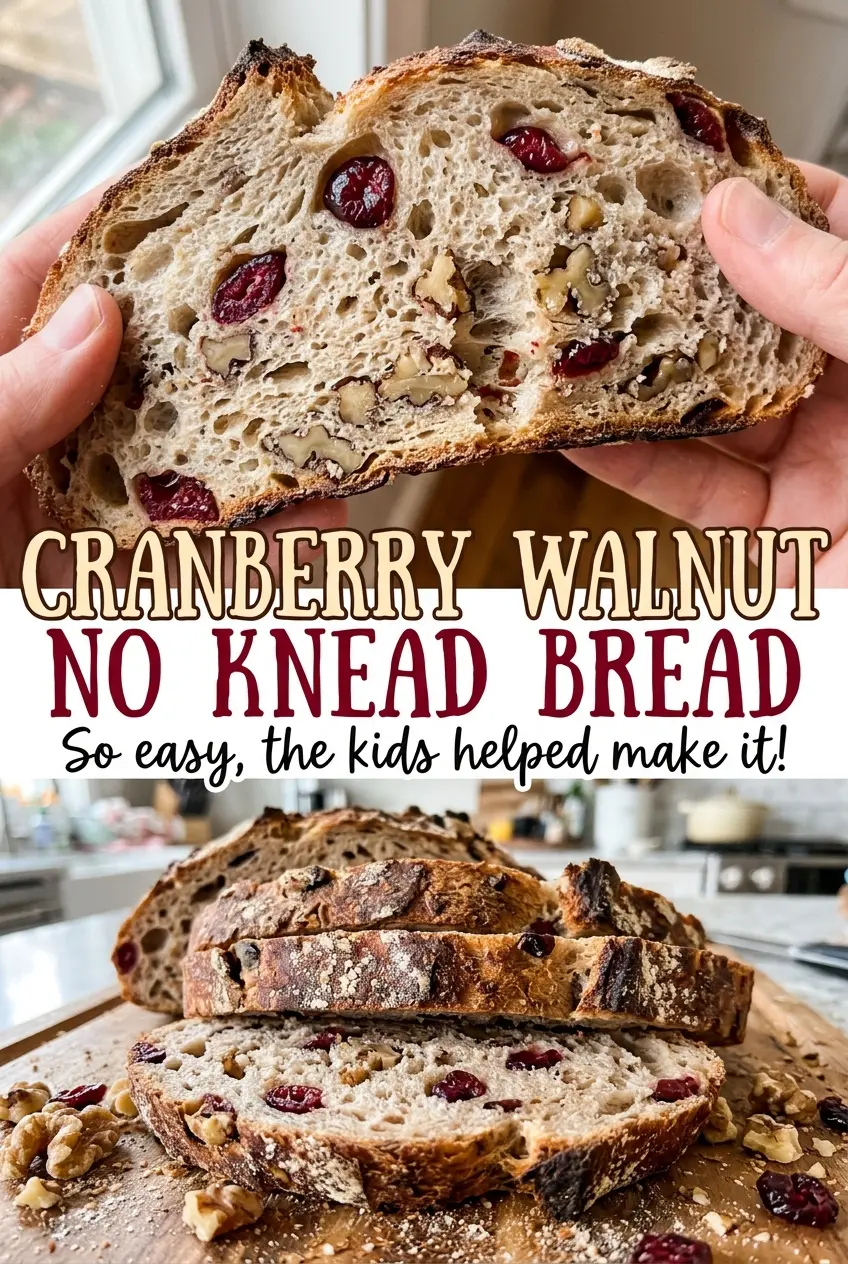
- All-purpose flour — It gives the loaf enough structure while keeping the crumb pleasantly chewy. I use ordinary all-purpose flour here; there’s no need for a specialty flour, and changing flour types can change how much water the dough absorbs.
- Instant yeast — It goes straight into the dry ingredients, which keeps the mixing simple. Check that it’s fresh; yeast that has lost its strength can leave the dough sluggish even when it has plenty of time to rise.
- Dried cranberries — Their concentrated sweetness and chewy texture suit the long rise without adding the extra moisture fresh fruit would bring. Softer dried cranberries distribute easily; if yours are unusually hard, they’ll stay firmer in the baked loaf.
- Walnuts — They add a tender crunch and a slightly earthy contrast to the sweet fruit. Fresh walnuts should smell mild and nutty, not bitter or stale; an inexpensive bag is fine when it’s fresh. No other ingredient in this dough gives quite the same crunch.
- Kosher salt — Salt balances the fruit’s sweetness and keeps the loaf from tasting flat. Stir it through the flour well before adding water so it doesn’t sit in one salty patch.
- Lukewarm water — It brings the dry ingredients together and supports the long rise. The water should feel gently warm, not hot; hot water can harm the yeast.
From a Shaggy Dough to a Deeply Golden Loaf
Mix the Add-Ins Before the Water
Stir the flour, kosher salt, instant yeast, dried cranberries, and chopped walnuts together in a large bowl. Take a moment to break up any clumps of fruit and distribute the yeast and salt through the flour. Add the lukewarm water and stir until no dry flour remains. The dough will look rough rather than smooth, and that’s fine; don’t try to knead it into a neat ball.
Let the Dough Rise Until It’s Doubled and Bubbly
Cover the bowl and leave it at room temperature, ideally 68–72°F, for 12–18 hours. The dough is ready when it has doubled and looks bubbly, not merely when a certain number of hours has passed. It may have an uneven surface, with small bubbles visible around the edges. If it’s still compact and quiet-looking, it hasn’t reached the visual cue this loaf needs.
Shape Gently While the Dutch Oven Heats
Scrape the dough onto parchment and use damp hands to shape it into a round loaf. Keep your hands damp as you work; the dough is sticky, and adding extra flour can make the finished loaf heavier. Cover it loosely with a clean kitchen towel and let it rise for 1–2 hours, until puffy. During the last 30 minutes of that rise, heat the oven to 450°F with a 5- to 6-quart Dutch oven and its lid inside.
Bake Covered, Then Uncover for Color
Carefully lower the dough, still on the parchment, into the hot Dutch oven and put on the lid. Reduce the oven to 425°F and bake covered for 30–35 minutes. Remove the lid and bake for another 15–20 minutes, until the crust is deeply golden and the center reaches 205–210°F. If the crust is pale, use the center temperature as well as the color to judge the finish.
Cool Before Slicing
Transfer the loaf to a wire rack and leave it there for at least 1 hour before cutting. The crust will sound firm, but the inside is still settling as the bread cools. Cutting too soon can compress the crumb and make a properly baked loaf seem gummy. Once cooled, use a serrated knife and a gentle sawing motion through the crust.
Three Simple Ways to Change the Cranberry-Walnut Mix
A Walnut-Free Cranberry Loaf
Leave out the walnuts for a nut-free version with the same chewy, fruit-filled character and a softer bite. If you’re baking for someone with a walnut allergy, use clean equipment and ingredients that haven’t had walnut cross-contact.
Walnut Bread Without the Fruit
Omit the dried cranberries and keep the walnuts for a less sweet loaf with a straightforward nutty flavor. It’s a good choice if you want the same rustic crust but prefer your bread without fruit in the crumb.
A Plain No-Knead Loaf
Leave out both the cranberries and walnuts for a simple everyday loaf. The bread won’t have the sweetness or crunchy pieces, but the same dough method gives you a crisp crust and a chewy center.
Storage and Reheating
- Refrigerator: Refrigeration isn’t recommended because it makes bread stale faster. Keep the loaf sealed at room temperature and use it within 2–3 days.
- Freezer: Once completely cool, freeze the whole loaf or individual slices in a tightly sealed freezer bag for up to 3 months.
- Reheating: Toast slices for crisp edges, including slices straight from the freezer. Avoid microwaving for a long stretch; it can make the crumb tough and chewy.
Questions That Come Up When Baking This Loaf
Cranberry Walnut No Knead Bread
Ingredients
Equipment
Method
- In a large bowl, stir together the all-purpose flour, kosher salt, instant yeast, dried cranberries, and chopped walnuts.
- Add the lukewarm water and stir until no dry flour remains.
- Cover the bowl and let the dough rise at room temperature (68–72°F) for 12–18 hours, until doubled and bubbly.
- Scrape the dough onto a sheet of parchment paper and use damp hands to shape it into a round loaf.
- Cover loosely with a clean kitchen towel and let the loaf rise for 1–2 hours, until puffy.
- During the last 30 minutes of rising, heat the oven to 450°F with a 5- to 6-quart Dutch oven and its lid inside.
- Carefully lower the dough, on the parchment, into the hot Dutch oven and cover with the lid.
- Reduce the oven to 425°F and bake covered for 30–35 minutes, then uncover and bake for 15–20 minutes, until deeply golden and the center reaches 205–210°F.
- Transfer the bread to a wire rack and cool for at least 1 hour before slicing.