
Christmas Drip Cake
The first ribbon of ganache tells you whether a drip cake is ready: it should travel down the edge without racing all the way to the plate. I let the…

By Ava
•
•
Reading time: 11 min
Tip: save now, make later.
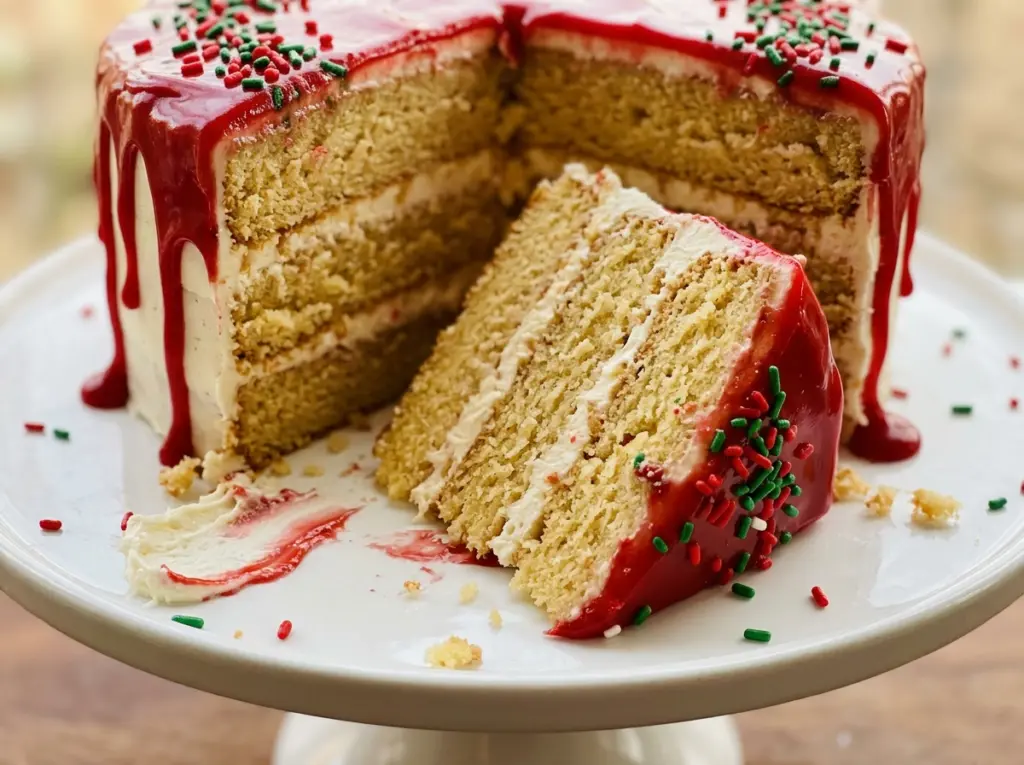
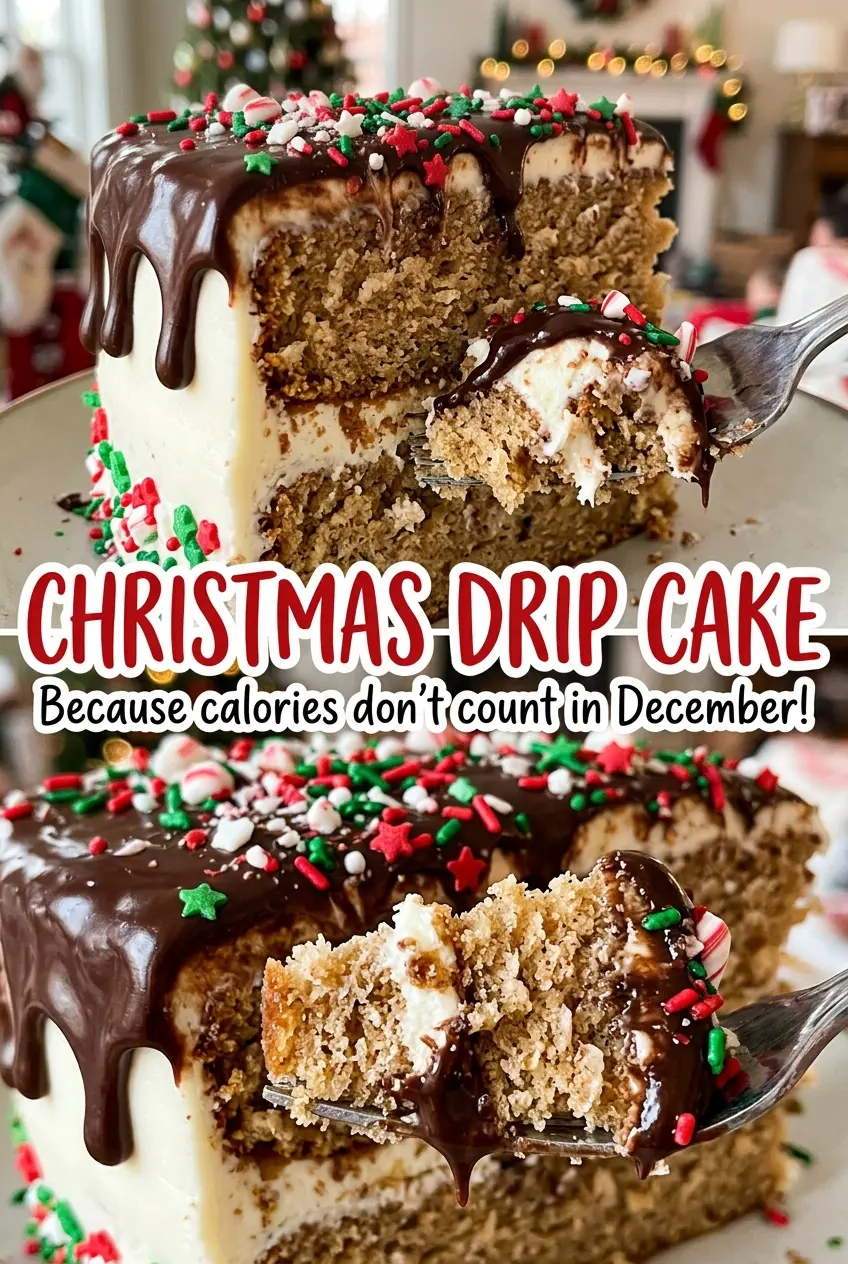
The first ribbon of ganache tells you whether a drip cake is ready: it should travel down the edge without racing all the way to the plate. I let the chocolate cool while the frosted cake chills, then test a drip near the back before working around the whole cake. That little pause makes a Christmas Drip Cake much easier to finish neatly, with glossy chocolate on top and festive sprinkles that stay put.
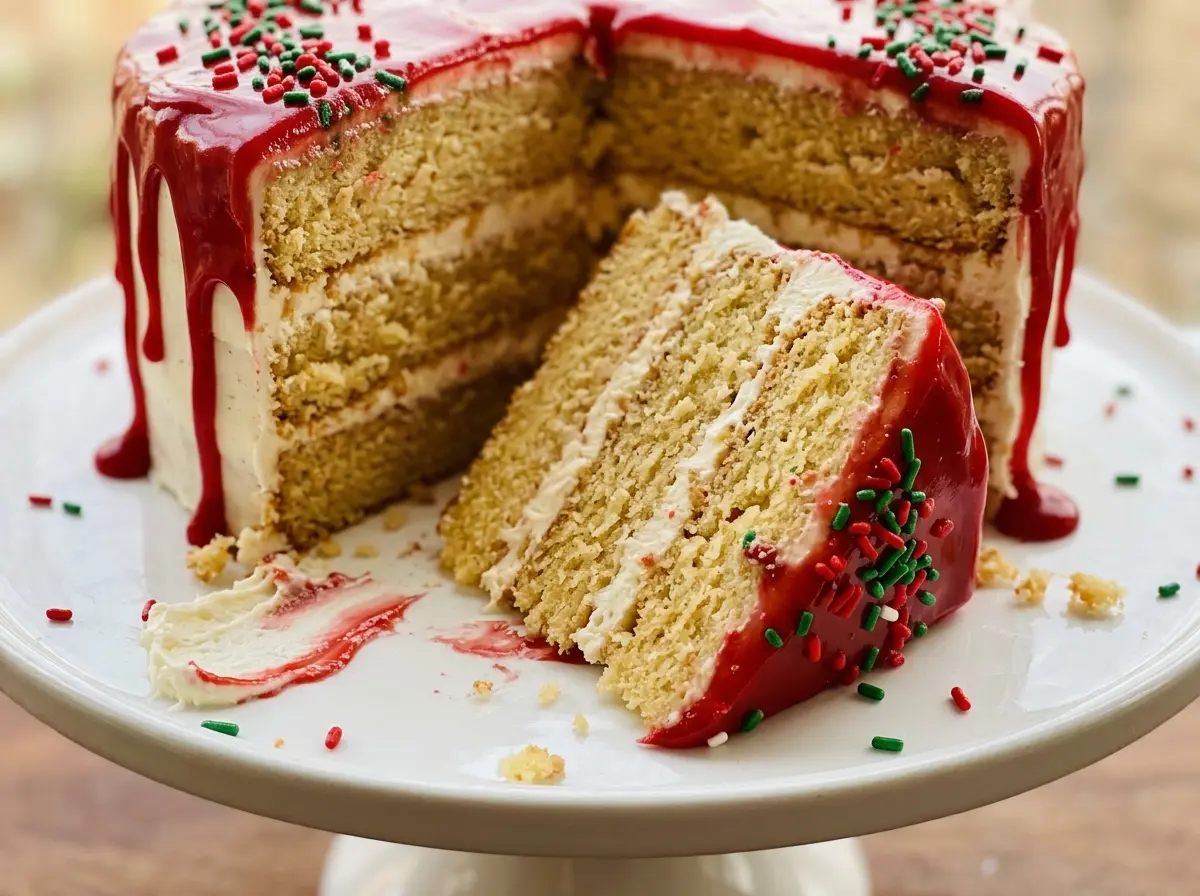
These three layers are tender, buttery, and sturdy enough to stack under green buttercream. The batter gets mixed just until the flour disappears, and the assembled cake gets two short chills before the ganache goes on. That gives the crumb coat time to firm up and the final frosting a smoother surface. When you cut in, you get distinct cake layers, a soft green finish, and a clean chocolate edge.
Kitchen Note
I get the neatest drips when the ganache has cooled to about 90°F: thick enough to cling to a spoon, but still loose enough to flow. If it looks thin and runs quickly off the spoon, give it another few minutes before you start decorating.
Save this Christmas Drip Cake for a festive bake: three soft layers, green buttercream, and a chocolate finish dressed with holiday sprinkles.
Why Alternating Flour and Milk Keeps These Layers Tender
A butter cake can turn dense or tough when the flour is worked too long. Flour contains proteins that form gluten as they’re mixed with liquid, and extra mixing encourages more of that structure. This batter uses a gentle rhythm instead: flour mixture, milk, flour mixture, milk, then the last of the flour. The additions help distribute the liquid through the batter without asking you to beat it for a long stretch.
Starting and ending with flour matters, too. The batter stays cohesive as you mix, rather than getting flooded with liquid in the middle. Once the last addition is in, stop as soon as you can’t see dry flour. A few small lumps are less of a problem than continuing to beat until the batter looks perfectly smooth; overmixing at this point can make the baked layers less tender. The goal is an even batter, not a whipped one.
The Ingredients That Give This Cake Its Tender Crumb and Green Finish
- All-purpose flour and baking powder — Flour gives the layers their structure, while baking powder helps them rise. A cup-for-cup gluten-free baking blend made for cakes is the most practical flour swap; the crumb may be a little more delicate, so handle the cooled layers gently.
- Unsalted butter — Butter brings the cake and frosting their rich, familiar taste. Use a standard grocery-store butter; a premium brand isn’t necessary here. For the cake, it should be softened enough to cream with the sugar, not melted or greasy.
- Eggs and whole milk — These add richness and moisture and help the batter come together. Room-temperature eggs and milk blend more evenly with the creamed butter. Two-percent milk works in place of whole milk, though the cake will be a little less rich; egg replacements tend to make this layered cake less sturdy.
- Powdered sugar and heavy cream — Powdered sugar gives the buttercream its body, and cream loosens it into a spreadable frosting. Heavy cream also makes the ganache smooth and fluid. Full-fat coconut cream is a workable dairy-free replacement, with a light coconut note in both the frosting and chocolate coating.
- Semisweet chocolate — Finely chopped chocolate melts evenly when the hot cream is poured over it. Pick a chocolate you enjoy eating; a budget semisweet baking bar works well, and bittersweet chocolate makes the coating less sweet.
- Green gel coloring and holiday sprinkles — Gel coloring gives the buttercream a strong tint without adding much liquid. Liquid food coloring can loosen the frosting, so stick with gel if you want the buttercream to hold its shape. Any red and green sprinkles work; a basic supermarket blend is fine.
Build the Layers, Chill the Frosting, Then Add the Drips
Cream the Butter and Bring the Batter Together
Heat the oven to 350°F, grease three 8-inch round pans with baking spray, and line their bottoms with parchment. Whisk the flour, baking powder, and cake portion of the salt in a medium bowl. Beat the softened cake butter with the granulated sugar until pale and fluffy, about 3 minutes, then add the eggs one at a time and mix in the cake vanilla. Add the dry mixture in three additions, alternating with the milk in two, starting and ending with flour; stop when combined.
Bake Until the Centers Spring Back
Divide the batter evenly among the prepared pans and bake for 23–28 minutes. Swap the pans’ rack positions halfway through so each layer bakes more evenly. Look for tops that spring back when lightly touched, and check that a tester inserted in the center comes out clean. Cool the cakes in their pans for 10 minutes, then turn them onto wire racks, remove the parchment, and let them cool completely before frosting.
Tint the Buttercream and Stack the Layers
Beat the remaining butter until creamy, then add the powdered sugar in three additions on low speed. Add the buttercream portion of the cream, the remaining vanilla, and the remaining salt; beat for 2–3 minutes until fluffy, then beat in the green gel coloring until evenly tinted. Level the cake layers if they’re domed, then place one on a serving plate and spread it with about 3/4 cup buttercream. Repeat with the second layer, add the third, and spread a thin coat over the top and sides to catch loose crumbs.
Chill for a Smooth Outer Coat
Refrigerate the thinly frosted cake until firm, about 20 minutes. This first coat traps crumbs so they don’t get dragged through the finished green frosting. Spread the remaining buttercream evenly over the top and sides, working gently to keep the coat smooth. Chill the cake for another 20 minutes while you make the ganache.
Pour the Ganache and Finish the Top
Microwave the remaining heavy cream in a heatproof measuring cup in 20-second bursts until steaming, about 40–60 seconds. Pour it over the finely chopped chocolate and leave it undisturbed for 3 minutes, then stir until smooth. After cooling for 10–15 minutes, spoon ganache around the top edge to form drips, then spread the rest over the top. Scatter the sprinkles while the chocolate is still soft, and let the cake stand until the ganache sets, about 20 minutes.
Three Ways to Change the Flavor Without Losing the Holiday Look
Peppermint chocolate drips
Stir 1/4 teaspoon peppermint extract into the smooth ganache. It gives the semisweet chocolate a cool mint note without changing the drip method; keep the amount modest so the mint doesn’t overpower the cake.
A gentle almond note
Add 1/2 teaspoon almond extract to the cake batter along with the vanilla. The change is subtle and pairs well with semisweet chocolate; using almond extract in place of all the vanilla would give a much stronger result.
A dairy-free version
Use plant-based butter sticks in the same amounts as the butter, unsweetened plant milk in place of the whole milk, and full-fat coconut cream in place of the heavy cream. Choose dairy-free semisweet chocolate. The cake and frosting will be less buttery, with a mild coconut flavor in the chocolate coating.
Storage and Serving
- Refrigerator: Cover the cake and refrigerate it for up to 4 days. The buttercream will firm up when cold, so the cake is easier to slice after it sits at room temperature for about 30 minutes.
- Freezer: Freeze the cake once the ganache has set. Freeze it uncovered until firm, then wrap it tightly; keep it frozen for up to 2 months. Thaw it overnight in the refrigerator, still wrapped, to limit condensation on the frosting.
- Serving: Let chilled slices sit out briefly before serving so the buttercream and cake soften. Don’t microwave a decorated slice; the frosting and chocolate can melt unevenly.
Questions That Come Up While Building a Drip Cake
Christmas Drip Cake
Ingredients
Equipment
Method
- Heat the oven to 350°F.
- Grease three 8-inch round cake pans with baking spray and line the bottoms with parchment paper.
- Whisk the flour, baking powder, and 1 teaspoon of the salt together in a medium bowl.
- Beat 1 cup of the butter and the granulated sugar in a large bowl until pale and fluffy, about 3 minutes.
- Beat in the eggs one at a time, then beat in 2 teaspoons of the vanilla.
- Add the flour mixture in three additions, alternating with the milk in two additions, beginning and ending with the flour; mix just until combined.
- Divide the batter evenly among the pans.
- Bake for 23–28 minutes, swapping the pans’ rack positions halfway through, until the tops spring back and a tester inserted in the centers comes out clean.
- Cool the cakes in the pans for 10 minutes.
- Turn the cakes out onto wire racks, remove the parchment, and cool completely.
- Beat the remaining 2 cups butter in a large bowl until creamy.
- Beat in the powdered sugar in three additions on low speed.
- Add 1/4 cup of the heavy cream, the remaining 1 teaspoon vanilla, and the remaining 1/4 teaspoon salt; beat until fluffy, 2–3 minutes.
- Beat in the green food coloring until evenly tinted.
- If needed, level the cake layers.
- Place one layer on a serving plate and spread with about 3/4 cup buttercream.
- Repeat with the second layer and top with the third.
- Spread a thin coat of buttercream over the top and sides to trap crumbs.
- Refrigerate until firm, about 20 minutes.
- Spread the remaining buttercream evenly over the top and sides.
- Refrigerate the cake for another 20 minutes.
- Microwave the remaining 1/2 cup heavy cream in a heatproof measuring cup in 20-second bursts until steaming, about 40–60 seconds.
- Pour the hot cream over the chocolate and let stand for 3 minutes.
- Stir the chocolate and cream until smooth.
- Cool for 10–15 minutes, until the ganache is thick but still pourable, about 90°F.
- Spoon the ganache around the top edge of the chilled cake to create drips.
- Spread the remaining ganache over the top.
- Scatter the sprinkles over the ganache while it is still soft.
- Let the cake stand until the ganache is set, about 20 minutes.