
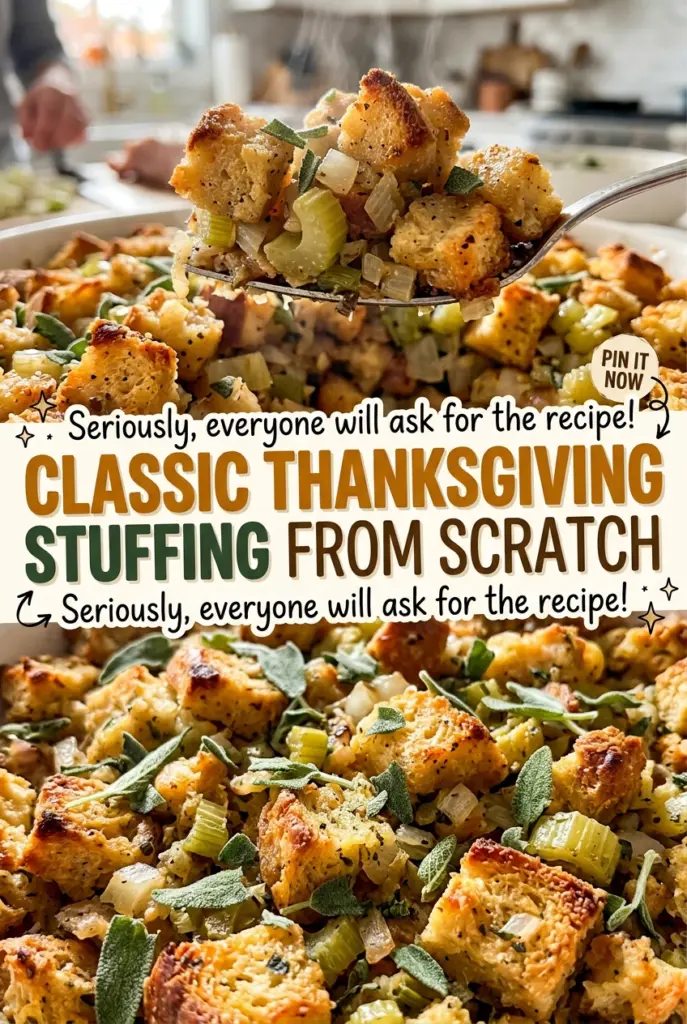
Classic Thanksgiving Stuffing from Scratch
The bread cubes should come out of the oven dry enough to feel crisp, not just warmed through. I learned not to rush that part: bread that still feels soft…

By Ava
•
•
Reading time: 9 min
Tip: save now, make later.
The bread cubes should come out of the oven dry enough to feel crisp, not just warmed through. I learned not to rush that part: bread that still feels soft in the middle takes up the broth differently and can leave the finished stuffing heavy. Spread across two baking sheets, the cubes dry evenly while the oven stays low.
For this classic Thanksgiving stuffing from scratch, I keep the flavor familiar with softened onion and celery, parsley, sage, and thyme. The broth and eggs bring the bread together, while the covered-then-uncovered bake gives the center time to set before the top turns golden.
It’s a straightforward side, but the little cues matter: dry bread, softened vegetables, and a center that reaches 165°F before resting. The result is savory stuffing with a tender middle and a browned top.
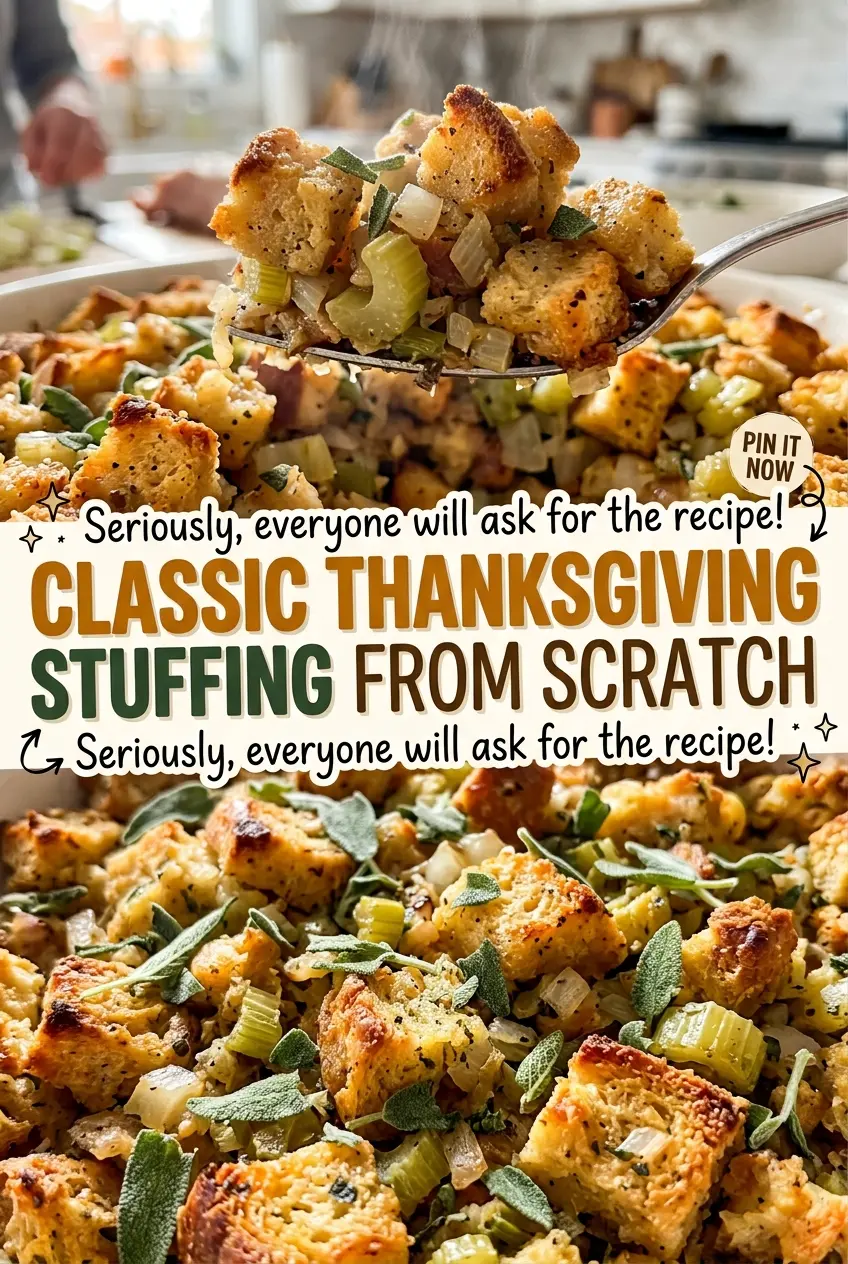
Kitchen Note
Give the onion and celery the full 8 to 10 minutes in the skillet. They should be softened before the herbs go in, not browned; that keeps the vegetable base sweet and gentle.
Save this classic Thanksgiving stuffing for a holiday table: soft in the middle, golden on top, and seasoned with sage and thyme.
Why the Bread Needs to Feel Almost Too Dry Before It Goes in the Bowl
Stuffing bread has two jobs: soak up the seasoned broth and hold its shape through baking. Fresh, soft bread starts out with plenty of moisture of its own, so it has less room to absorb the broth evenly. Drying the cubes first gives them a crisp surface and a firm interior that can take on liquid without immediately collapsing.
Keep the oven at 250°F for this stage. Spread the cubes between two rimmed baking sheets rather than crowding them into a deep pile, and stir them once so the pieces dry more evenly. They’re ready when they feel dry and crisp; if the centers still bend or feel soft, give them more time within the stated baking range.
This small bit of patience makes the final texture easier to control. The goal isn’t toasted, deeply browned bread. It’s bread that has lost its softness before it meets the broth, so the finished casserole has distinct, tender pieces instead of a uniformly dense texture.
What the Bread, Eggs, and Broth Each Bring to This Stuffing
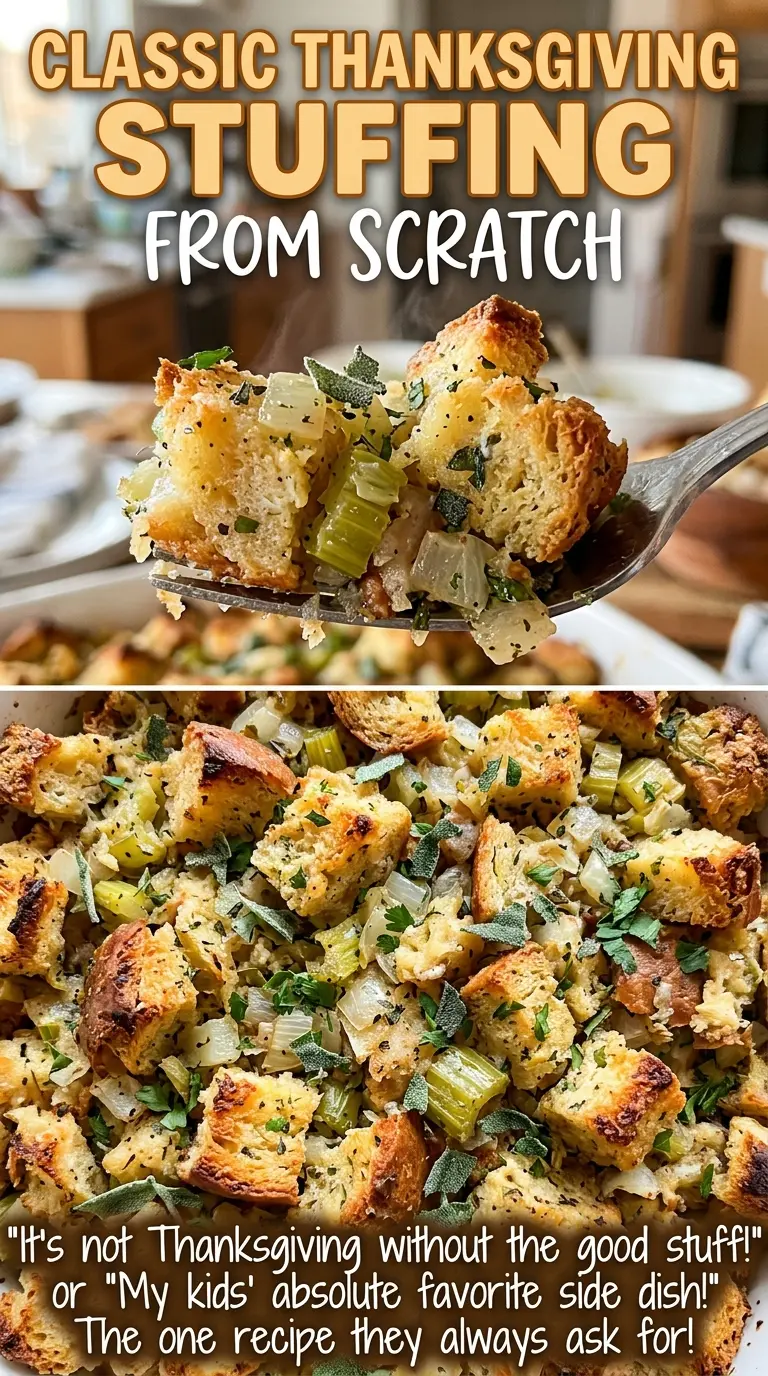
- Hearty white bread — A sturdy loaf gives the cubes enough structure to absorb broth without dissolving. A plain, hearty loaf is a better fit here than a delicate, airy bread; cut the cubes evenly so they dry at about the same pace. For a gluten-free version, see the variation below.
- Unsalted butter — Butter carries the onion, celery, and dried herbs as they cook, and its unsalted form leaves room to season with the measured kosher salt. A dairy-free butter substitute is an option if you need one, though it can bring a slightly different buttery flavor.
- Yellow onion and celery — These make the savory, aromatic base. Finely chopping both helps them soften in the skillet during the same cooking window, so you don’t end up with crunchy pockets in the casserole.
- Parsley, sage, and thyme — Fresh parsley adds a lighter herbal note, while dried rubbed sage and dried thyme give the familiar savory seasoning. Rubbed sage disperses through the bread mixture more evenly than large, intact leaves would.
- Low-sodium chicken broth — It moistens the cubes and adds savory depth. Low-sodium broth keeps the final seasoning easier to control; low-sodium vegetable broth works as a one-for-one alternative for a vegetarian version.
- Eggs — Whisked with the broth, eggs help the mixture set as it bakes. Whisk them thoroughly into the broth before adding the bread so they’re distributed through the casserole rather than concentrated in a few spots.
Build the Stuffing in Four Stages, From Dry Cubes to Golden Top
Dry the Bread Without Toasting It Dark
Heat the oven to 250°F and spread the 3/4-inch bread cubes between two rimmed baking sheets. Bake for 45 to 60 minutes, stirring once, until the cubes feel dry and crisp, then let them cool. The lower oven temperature dries the bread without rushing the outside into dark toast. If the cubes still feel soft, they need more drying time before you add the liquid.
Soften the Vegetables in Butter
Melt the butter in a large skillet over medium heat, then add the finely chopped onion and celery. Cook for 8 to 10 minutes, stirring as needed, until both are softened. They should lose their raw crunch without taking on deep color. Stir in the parsley, sage, thyme, kosher salt, and black pepper so the seasonings are spread through the warm vegetable mixture.
Toss Until the Bread Is Evenly Moistened
Whisk the broth and eggs together in a large bowl before adding the cooled bread cubes and cooked vegetables. Toss carefully until the mixture looks evenly moistened, with no dry clusters hiding at the bottom of the bowl. Avoid crushing the bread as you mix; the cubes should stay recognizable. Uneven tossing is the main reason one part of the casserole can turn out wetter than another.
Bake Covered, Then Brown the Surface
Heat the oven to 350°F and grease a 9×13-inch baking dish. Transfer the stuffing to the dish and cover it tightly with foil, then bake for 30 minutes. Uncover and bake for 20 to 25 minutes more, until the top is golden and the center reaches 165°F. Let it rest for 10 minutes before serving so the center settles after baking.
Three Practical Swaps for Different Tables
Make It Vegetarian with Vegetable Broth
Replace the low-sodium chicken broth with the same amount of low-sodium vegetable broth. The savory base stays balanced, though the finished stuffing will have a slightly different broth flavor.
Use a Hearty Gluten-Free Loaf
Swap in a 1-pound hearty gluten-free white loaf and cut it into the same 3/4-inch cubes. Gluten-free breads vary in moisture, so use the dry-and-crisp texture cue rather than relying only on the clock; the finished stuffing may be a little more delicate.
Choose a Dairy-Free Butter
Use an unsalted dairy-free butter in the same quantity as the butter. It will soften the onion and celery as usual, though the buttery flavor and richness may differ slightly from a dairy-based version.
Storage and Reheating
- Refrigerator: Refrigerate leftovers within 2 hours and use them within 3 to 4 days. The browned top softens as the stuffing chills.
- Freezer: Freeze cooled portions in airtight containers for up to 1 month for best quality. Thaw in the refrigerator before reheating.
- Reheating: Reheat in a covered baking dish at 350°F until hot throughout, uncovering near the end if you’d like to restore some color on top. Leaving it uncovered for the full reheating time can dry the edges.
Questions That Come Up When Making This Stuffing
Classic Thanksgiving Stuffing from Scratch
Ingredients
Equipment
Method
- Heat the oven to 250°F and spread the bread cubes between two rimmed baking sheets.
- Bake for 45 to 60 minutes, stirring once, until dry and crisp, then cool.
- Melt the butter in a large skillet over medium heat, add the onion and celery, and cook for 8 to 10 minutes until softened.
- Stir in the parsley, sage, thyme, salt, and pepper.
- Whisk the broth and eggs together in a large bowl.
- Add the dried bread cubes and cooked vegetable mixture and toss until evenly moistened.
- Heat the oven to 350°F and grease a 9x13-inch baking dish.
- Transfer the stuffing to the dish and cover tightly with foil.
- Bake for 30 minutes, uncover, and bake for 20 to 25 minutes more until the top is golden and the center reaches 165°F.
- Rest for 10 minutes before serving.