
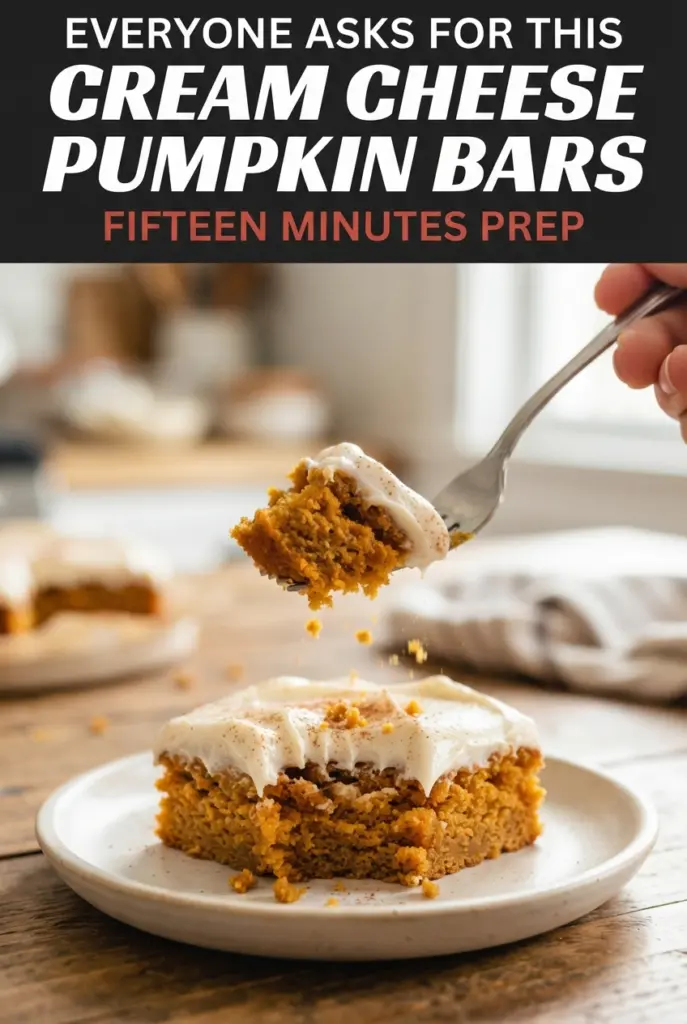
Classic Pumpkin Bars with Cream Cheese Frosting (Sheet Pan)
Soft pumpkin bars with cream cheese frosting have a way of disappearing fast because they land right in the sweet spot between cake and dessert bar. The crumb stays tender…

By Ava
•
•
Reading time: 10 min
Tip: save now, make later.
Soft pumpkin bars with cream cheese frosting have a way of disappearing fast because they land right in the sweet spot between cake and dessert bar. The crumb stays tender and moist without turning gummy, the spice is warm instead of heavy, and the frosting adds that cool tangy layer that keeps each bite from feeling too sweet. Baked in a sheet pan, they cut neatly into a crowd-friendly batch that works just as well for a bake sale as it does for a holiday table.
What makes these bars work is the balance in the batter. Pumpkin puree brings moisture, but the eggs and oil keep the texture light enough to rise instead of sinking into a dense slab. The spices go into the wet mixture before the flour, which helps them distribute evenly so every square tastes like pumpkin, cinnamon, and vanilla-rich frosting instead of one bitter pocket of spice.
Below, you’ll find the cooling step that matters more than most people expect, plus a couple of practical swaps if you need to adjust the frosting or feed a larger group. The bars are simple, but the little details are what keep them soft, sliceable, and sturdy enough to stack on a platter.
The bars came out perfectly cakey, and the frosting spread like a dream once they were completely cool. I loved that the pumpkin flavor was there without being heavy, and they cut into clean squares for my office party.
Save these sheet pan pumpkin bars for the kind of bake that feeds a crowd and still tastes soft, spiced, and frosted the next day.
The Cooling Step That Keeps Pumpkin Bars from Sliding Into Frosting Soup
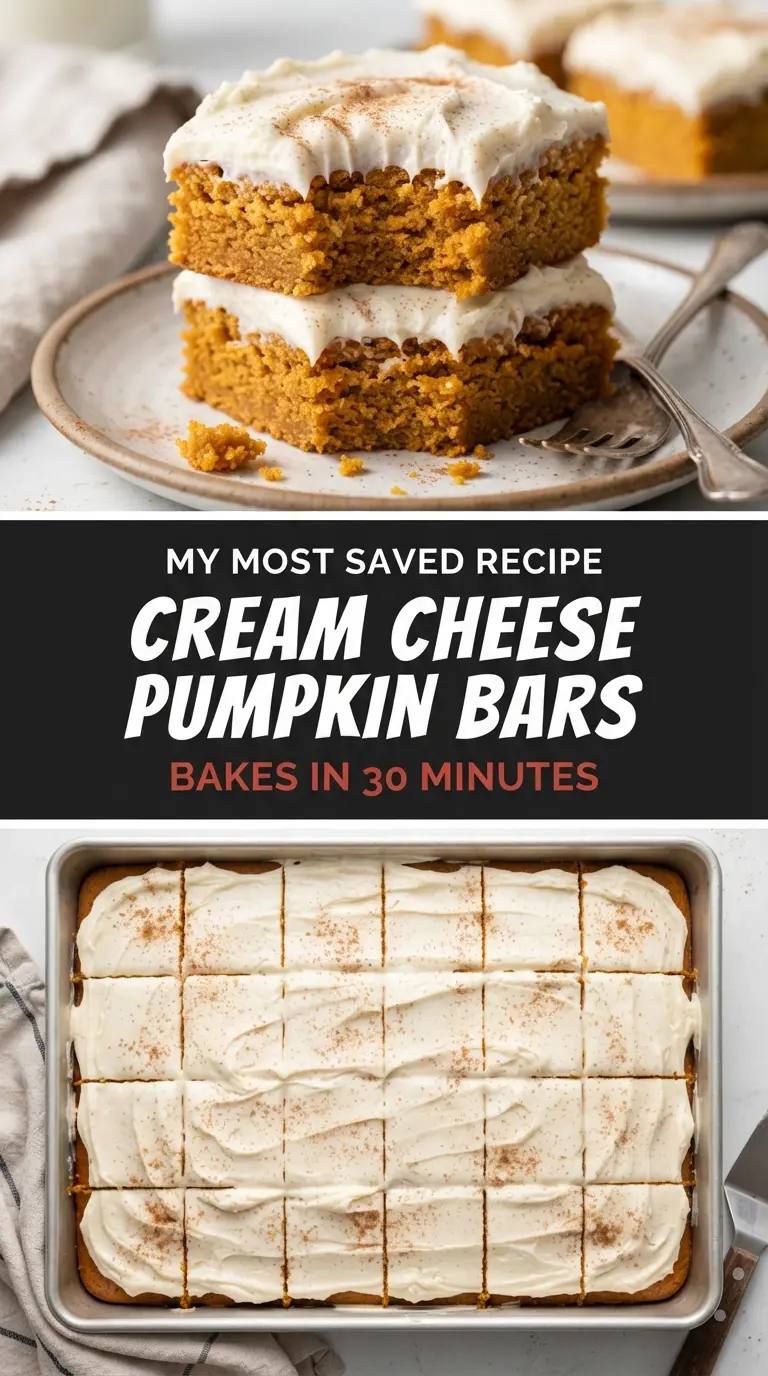
Pumpkin bars look forgiving, but the biggest mistake is frosting them before they’ve fully cooled. The bars hold a lot of moisture, and even a faint trace of heat softens the cream cheese frosting until it turns loose and shiny instead of thick and spreadable. If the center still feels warm to the touch, give it more time. The frosting wants a completely cool surface so it can sit on top in a clean, even layer.
The other trap is overbaking. These bars should spring back when touched and pull away slightly at the edges, but they shouldn’t dry out enough to become crumbly. That little bit of residual moisture is what keeps the crumb soft for days. Pull them when a toothpick comes out clean or with a few moist crumbs, not when the whole pan looks dry.
- Eggs — Room-temperature eggs whisk into the sugar and oil more smoothly, which helps the batter turn light and evenly mixed instead of streaky. Cold eggs can still work, but they take longer to emulsify and can leave the batter looking broken for a minute.
- Pumpkin puree — Use plain pumpkin puree, not pumpkin pie filling. Pie filling already has sugar and spices added, which throws off both the sweetness and the spice balance here.
- Vegetable oil — Oil is what keeps these bars soft even after chilling. Butter would give a little more flavor, but it also firms up more in the fridge and changes the tender, cakey texture these bars are known for.
- All-purpose flour — This gives the bars enough structure to lift in the pan without turning bready. Spoon and level it if you can; packing in too much flour is the fastest way to end up with a dry bar.
- Cream cheese — Full-fat cream cheese is the one ingredient here worth keeping rich. Lower-fat versions can loosen the frosting and make it less tangy and less stable.
- Powdered sugar — Sifting matters if yours tends to clump. It blends faster and keeps the frosting smooth instead of grainy.
How to Mix the Batter So the Bars Stay Tender
Building the Pumpkin Base
Whisk the eggs, sugar, oil, and pumpkin until the mixture turns smooth and evenly orange. You’re looking for a glossy base with no visible streaks of egg or pools of oil. This is where the structure starts, and a well-emulsified base gives you bars that bake up even instead of dense in the middle.
Adding the Spices Before the Flour
Sprinkle the baking powder, baking soda, cinnamon, pumpkin pie spice, and salt over the wet mixture, then whisk again before the flour goes in. That step keeps the leaveners and spices from clumping in one corner of the bowl. If the spices go in unevenly, you’ll taste it later as one harsh bite instead of a balanced pan.
Folding in the Flour Just Enough
Add the flour and fold until the last dry streak disappears. Stop there. Overmixing develops gluten and turns a tender bar into something springy and tight, which is the opposite of what you want. The batter should look thick and spreadable, not whipped.
Baking Until the Center Springs Back
Spread the batter into a greased, parchment-lined 15×10 pan and bake until the top springs back lightly and the edges begin to pull away. A clean toothpick is a good sign, but the texture tells you even more: the top should feel set, not wet or sticky. If the middle is puffed and the whole pan still jiggles, it needs more time. Once it overbakes, the bars lose that soft, cake-like crumb.
How to Adapt These Pumpkin Bars for a Bigger Crowd or a Different Frosting Style
Dairy-Free Frosting That Still Spreads Well
Swap the cream cheese and butter for plant-based versions that are meant for baking, not tubs. The texture will be a little softer and less tangy, but it still works if you chill the frosting for a few minutes before spreading. Don’t use a thin whipped spread here; it won’t hold up on the bars.
Gluten-Free Bars With a Better Crumb
Use a cup-for-cup gluten-free flour blend that includes xanthan gum. The bars will be a little more delicate when warm, but they set up well after cooling. If your blend is particularly absorbent, let the batter sit for 5 minutes before spreading so the flour hydrates evenly.
Thicker Frosting for Layered Presentation
Use the frosting as written, then hold back the milk unless the mixture truly won’t spread. A thicker frosting sits like a bakery-style cap on top of the bars and slices cleanly for stacked platters. If you want sharp edges, chill the frosted pan for 15 minutes before cutting.
Storage and Reheating
- Refrigerator: Store covered for up to 4 days. The bars stay moist, and the frosting firms up slightly, which helps them cut neatly.
- Freezer: Freeze unfrosted bars for up to 2 months, wrapped well. Frosted bars can be frozen too, but the texture of the cream cheese layer softens a bit after thawing.
- Reheating: These are best served cold or at cool room temperature, not warmed. If they’ve been in the fridge, let them sit out for 15 to 20 minutes so the frosting loses its chill and the crumb tastes softer.
Answers to the Questions Worth Asking
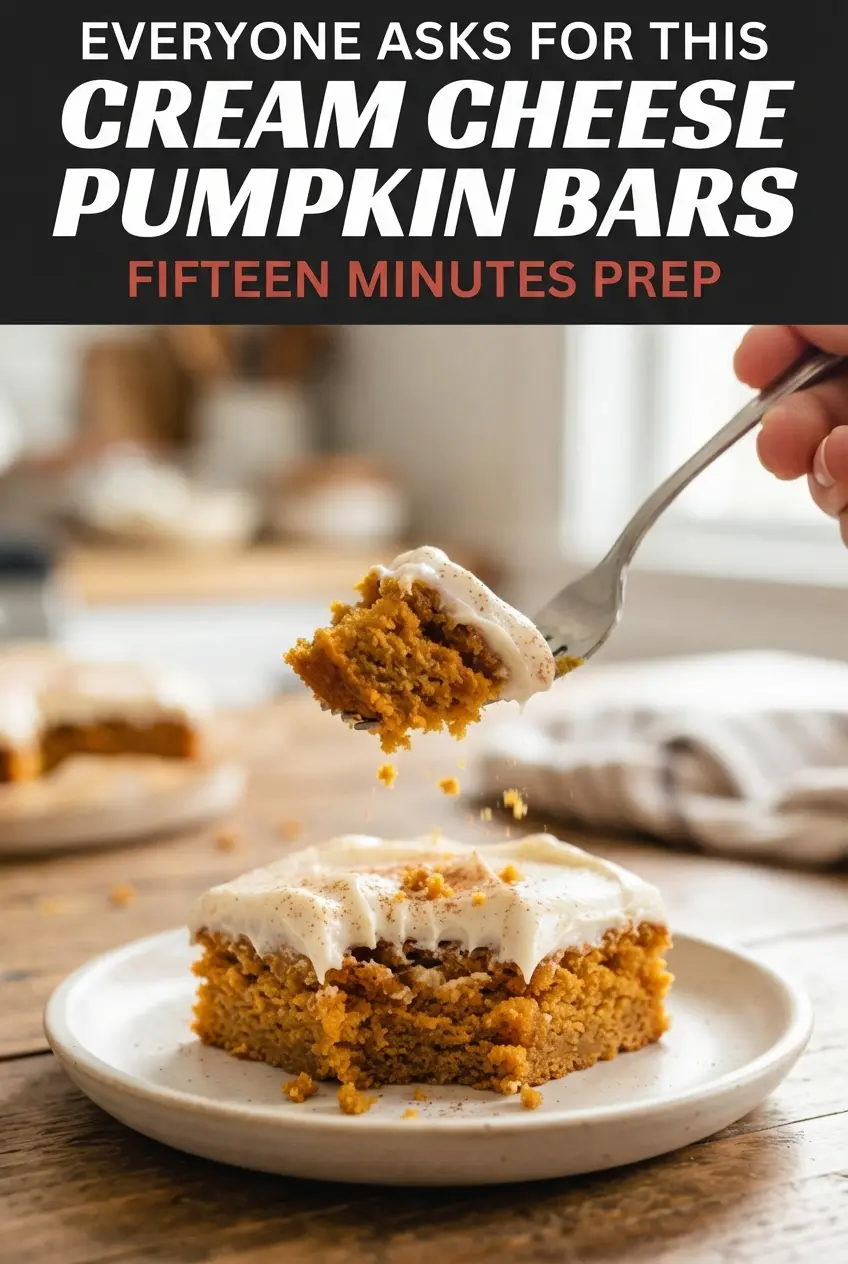
Classic Pumpkin Bars with Cream Cheese Frosting (Sheet Pan)
Ingredients
Equipment
Method
- Preheat the oven to 350°F. Grease a 15x10x1-inch sheet pan and line it with parchment paper, keeping the corners covered.
- In a large bowl, whisk the eggs, granulated sugar, vegetable oil, and pumpkin puree until smooth and evenly orange. Scrape the bowl to ensure no streaks remain.
- Sprinkle the baking powder, baking soda, ground cinnamon, pumpkin pie spice, and fine salt over the mixture. Whisk them in until fully combined and no dry pockets show.
- Fold in the all-purpose flour until no dry streaks remain. Stop mixing as soon as the flour disappears for a tender crumb.
- Pour the batter into the prepared sheet pan and spread it into the corners. Tap the pan lightly to level the surface.
- Bake at 350°F for 25–30 minutes. Look for a top that springs back when touched, edges that pull away from the pan, and a toothpick that comes out clean.
- Cool completely in the pan for about 1 1/2 hours. Ensure the bars are fully cool before frosting so the frosting doesn’t melt.
- Beat the full-fat cream cheese and unsalted butter with a hand mixer on medium for 2 minutes until smooth. Pause and scrape the bowl once for even texture.
- Add the powdered sugar, vanilla extract, and fine salt, then mix on low until combined. Increase to medium and mix until fluffy, watching for a thick, spreadable consistency.
- Add milk only if the frosting is too stiff to spread. Add it 1 tablespoon at a time and mix briefly after each addition.
- Spread the frosting over the cooled bars, then dust lightly with ground cinnamon. Cut into 24 bars once the frosting is set on top.