
Christmas Tree Brownies
The edges of a brownie slab can look ready while the middle still needs a few minutes; I watch for set edges and a toothpick carrying moist crumbs, not a…

By Ava
•
•
Reading time: 9 min
Tip: save now, make later.
The edges of a brownie slab can look ready while the middle still needs a few minutes; I watch for set edges and a toothpick carrying moist crumbs, not a spotless pick. That gives these Christmas Tree Brownies a soft center that holds up beneath piped icing. Once the slab is cool, tree-shaped cuts turn a pan of brownies into individual treats without changing the batter or baking method.
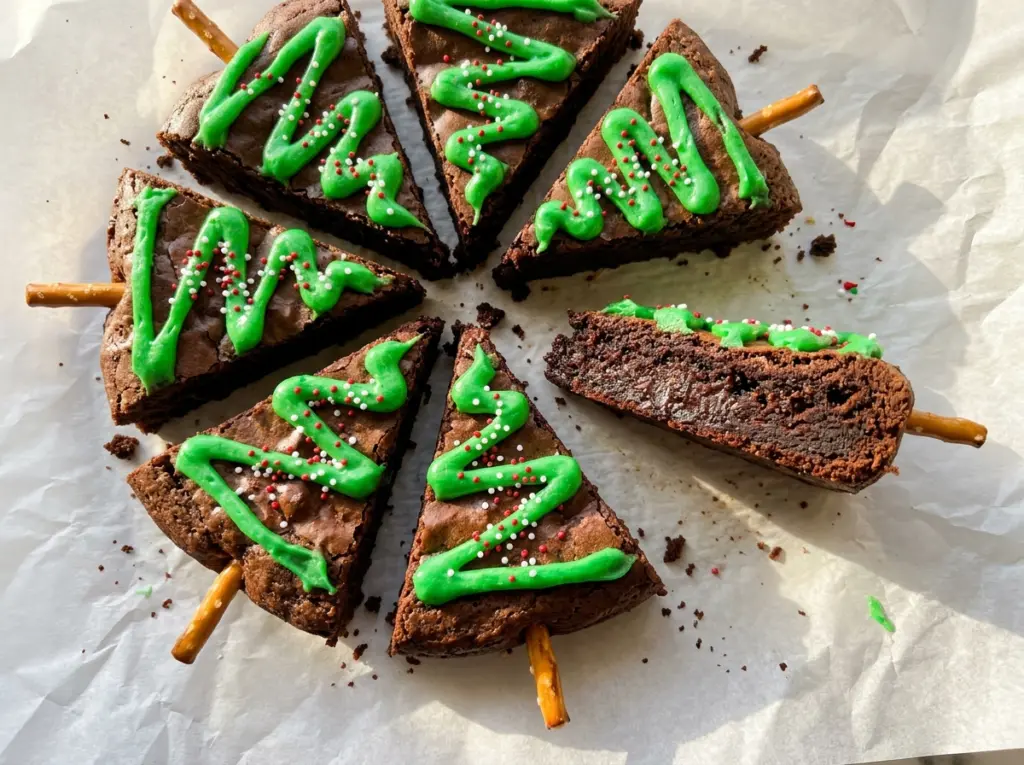
I like this format because each brownie gets its own little trunk and green zigzag, but the decoration stays simple: a piping bag, pretzel sticks, and red and green sprinkles. The tree shape comes from the cutter, not a special mold, so the brownies bake as one even slab before they’re dressed up. Chilling the slab before cutting helps keep the pointed tops intact. The finished trees have defined outlines, a tender middle, and a neat swipe of icing that makes each one look distinct on a dessert plate.
Kitchen Note
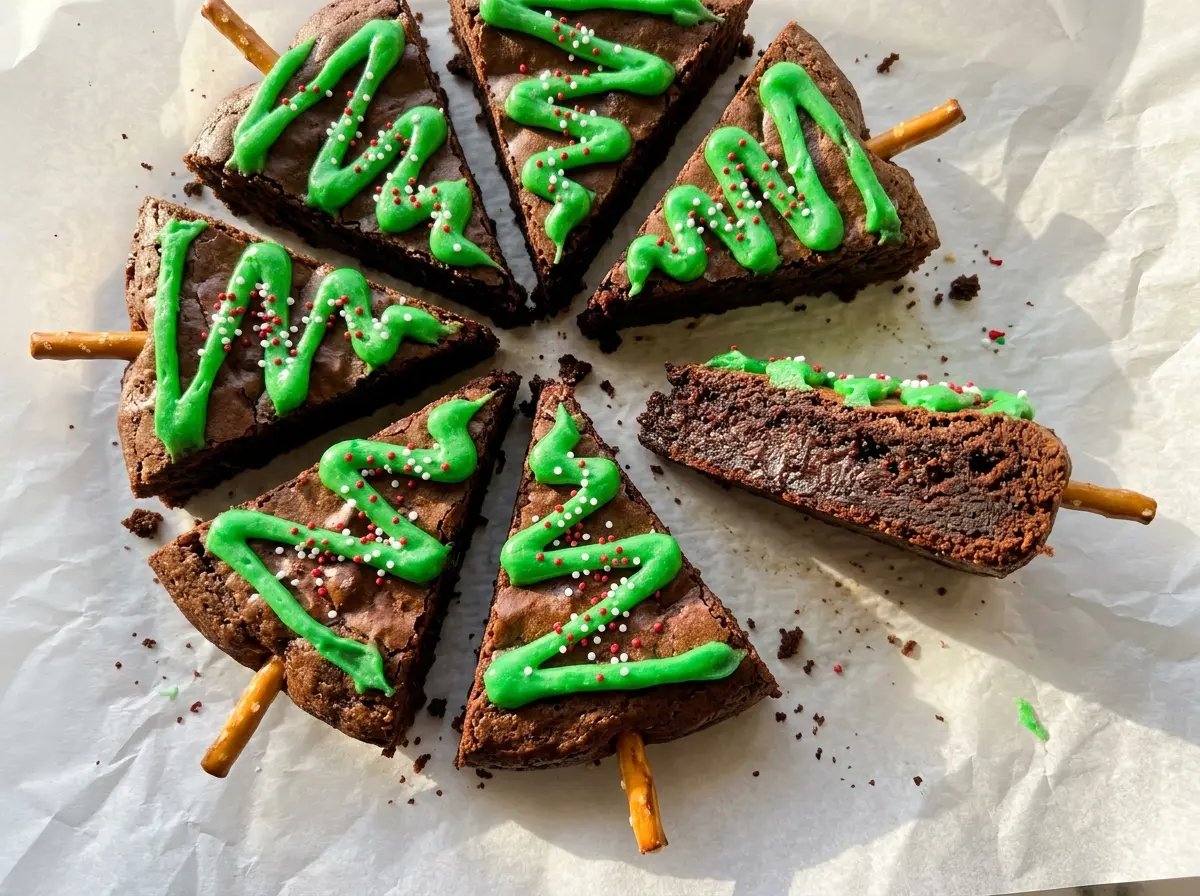
For icing that holds a zigzag instead of running down the sides, start with the smaller amount of milk and whisk in the rest a teaspoon at a time. Stop as soon as it pipes smoothly; thin icing is harder to keep on the trees.
Save these Christmas Tree Brownies for a festive bake, with fudgy centers, green icing, and pretzel-stick trunks.
Why Unsweetened Chocolate Balances the Sweet Icing
These brownies get their chocolate flavor from unsweetened chocolate, which brings cocoa depth without adding sugar. That matters when each piece will also get a confectioners’ sugar icing and a sprinkle finish. The brownie itself can stay rich and chocolate-forward instead of leaning sweet from the first bite to the last.
The granulated sugar in the batter still gives the brownies sweetness and helps create their tender texture; the unsweetened chocolate keeps that sweetness in check. I wouldn’t swap in semisweet or milk chocolate here, since both bring sugar along with the chocolate and can shift the balance of the finished dessert. This contrast is especially useful in small decorated portions, where icing covers more of each bite than it would on a plain brownie square.
What Keeps the Brownie Trees Sturdy Enough to Decorate
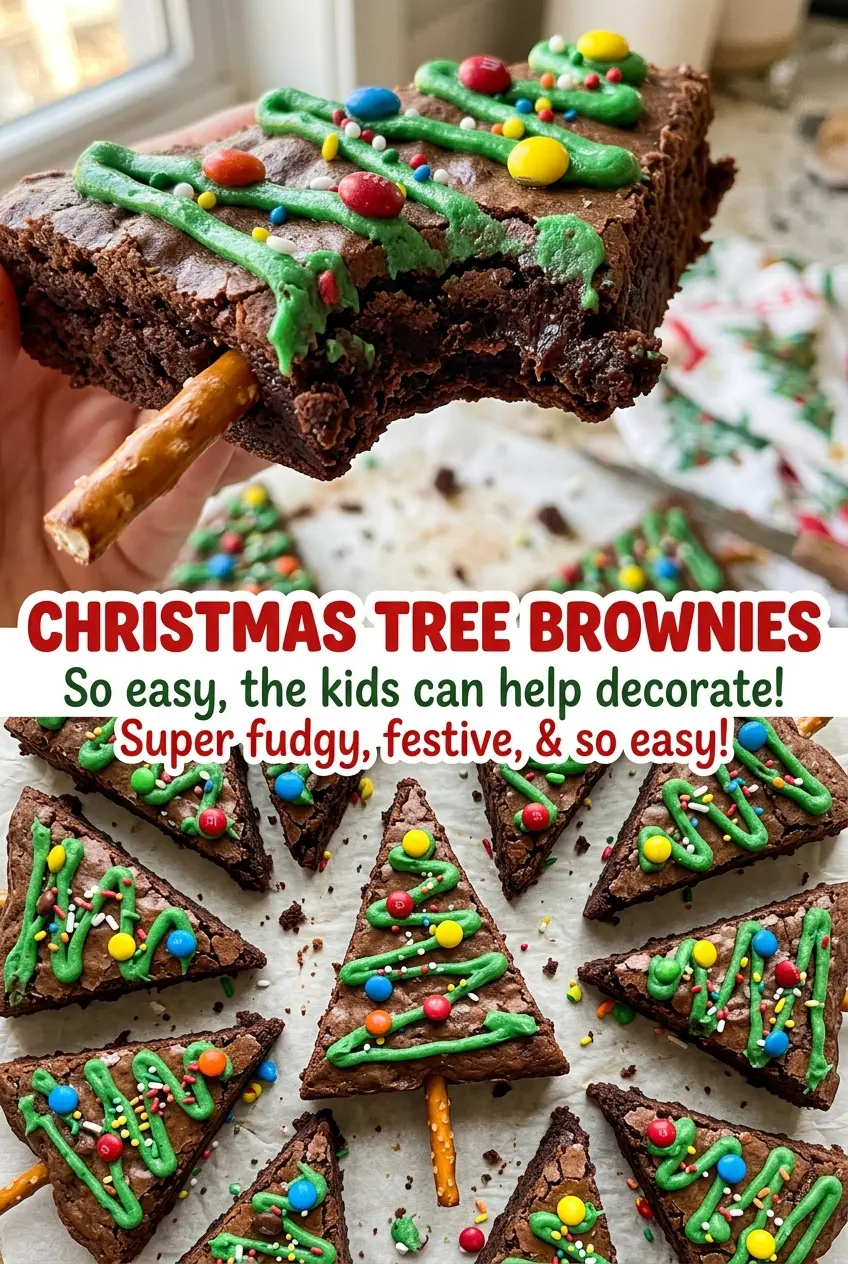
- Unsalted butter — It melts smoothly with the chocolate and keeps the salt level predictable. A regular grocery-store butter works well; I’d stick with unsalted rather than swapping in oil, which changes the brownie’s texture.
- Large eggs — They bind the batter and help it set into a slab firm enough to cut. Use large eggs for the intended structure; smaller eggs can leave the batter looser, and there isn’t a simple one-for-one substitute that gives the same result.
- All-purpose flour and kosher salt — Flour gives the brownies enough structure to hold the tree points, while salt balances the chocolate. A standard all-purpose flour is all you need; a gluten-free flour blend isn’t a direct swap in this formula.
- Green gel food coloring — Gel gives the icing a clear green color without adding much liquid. Baking gel from any grocery store works; liquid coloring can thin the icing, so use the gel or leave the color out for a white finish.
- Pretzel sticks and red and green sprinkles — The pretzels make crisp little trunks, and the sprinkles provide color and texture. Fresh, unbroken pretzel sticks are easiest to work with, but there’s no need to buy a premium brand; the decorations can also be left off.
From Smooth Brownie Batter to Piped Tree Shapes
Melt the Chocolate Without Scorching It
Heat the oven to 350°F and prepare a 9×13-inch pan with nonstick cooking spray, parchment with overhanging edges, and another light coating of spray on the parchment. Melt the butter and chopped unsweetened chocolate in a microwave-safe bowl in 30-second increments, stirring between each one. Stop when the mixture is smooth, then let it cool for 5 minutes before adding the sugar.
Mix Just Until the Flour Disappears
Whisk the sugar into the chocolate mixture, then add the eggs one at a time, whisking after each addition. Whisk in the vanilla, then fold in the flour and kosher salt. Stop as soon as no dry streaks remain; mixing the flour longer than that can make the brownies tougher.
Bake to Moist Crumbs, Then Cool Completely
Spread the batter evenly in the prepared pan so the slab bakes at a consistent thickness. Bake for 28 to 34 minutes, until the edges are set and a toothpick inserted in the center comes out with a few moist crumbs. A toothpick with wet batter needs more baking time, but don’t wait for it to come out completely clean. Cool the brownie slab completely in the pan before cutting.
Chill and Cut the Trees
Refrigerate the cooled slab for 30 minutes, then use the parchment overhang to lift it out of the pan. Cut 12 trees with a 2 1/2-inch tree-shaped cookie cutter, pressing straight down for defined outlines. If a brownie sticks in the cutter, ease it out gently rather than pulling on the narrow points.
Pipe the Icing and Add the Trunks
Whisk the confectioners’ sugar with 2 tablespoons of milk, vanilla, and green gel coloring until smooth; add the remaining milk a teaspoon at a time as needed. Spoon the icing into a piping bag or a zip-top bag with a corner snipped off. Pipe a zigzag over each brownie, press a pretzel stick into the base for a trunk, and snap sticks to fit if needed. Add the sprinkles and let the icing set for 20 minutes.
Two Easy Ways to Change the Look of These Brownies
Make a square-cut brownie tray
Skip the tree cutter and cut the slab into 12 squares with a knife. Pipe the same green zigzag over each one, add a pretzel stick at one edge, and finish with sprinkles. You’ll get more brownie in each piece and fewer shaped scraps, though the platter won’t have the tree silhouette.
Pipe the trees in white
Leave the green gel coloring out of the icing and pipe the trees with the vanilla icing as-is. The white zigzag gives you a different look without changing the brownie or the icing texture, and the red and green sprinkles still bring color to each tree.
Storage and Reheating
- Refrigerator: Store the decorated brownies in an airtight container for up to 4 days. The icing firms up, and the pretzels gradually lose some crunch.
- Freezer: Freeze the cooled, undecorated brownie slab tightly wrapped for up to 2 months. Thaw it in the refrigerator before cutting and decorating.
- Reheating: These are best without reheating; heat can soften the icing and pretzels. Let refrigerated brownies sit at room temperature for about 20 minutes before serving if you prefer a softer center.
Questions That Come Up While Making Christmas Tree Brownies
Christmas Tree Brownies
Ingredients
Equipment
Method
- Heat the oven to 350°F. Grease a 9x13-inch baking pan with nonstick cooking spray, line it with parchment paper with overhanging edges, and grease the parchment.
- Melt the butter and chocolate in a microwave-safe bowl in 30-second increments, stirring between each, until smooth; cool for 5 minutes.
- Whisk the sugar into the chocolate mixture, then whisk in the eggs one at a time and the vanilla.
- Fold in the flour and salt just until no dry streaks remain.
- Spread the batter evenly in the pan.
- Bake for 28-34 minutes, until the edges are set and a toothpick inserted in the center comes out with a few moist crumbs.
- Cool completely in the pan.
- Refrigerate the brownie slab for 30 minutes.
- Lift it out using the parchment and cut 12 trees with a 2 1/2-inch tree-shaped cookie cutter.
- Whisk the confectioners' sugar, 2 tablespoons milk, vanilla, and green food coloring until smooth, adding the remaining milk a teaspoon at a time until the icing is thick enough to pipe.
- Spoon the icing into a piping bag or a zip-top bag with a corner snipped off, then pipe a zigzag over each brownie.
- Press a pretzel stick into the base of each tree for a trunk, snapping the sticks to fit if needed.
- Add sprinkles.
- Let the icing set for 20 minutes.