
Christmas Morning No Bake Peppermint Bars
The first time I cut into a pan of peppermint bars too soon, the filling shifted under the chocolate and the edges looked messy. Giving the bars a full chill…

By Ava
•
•
Reading time: 9 min
Tip: save now, make later.
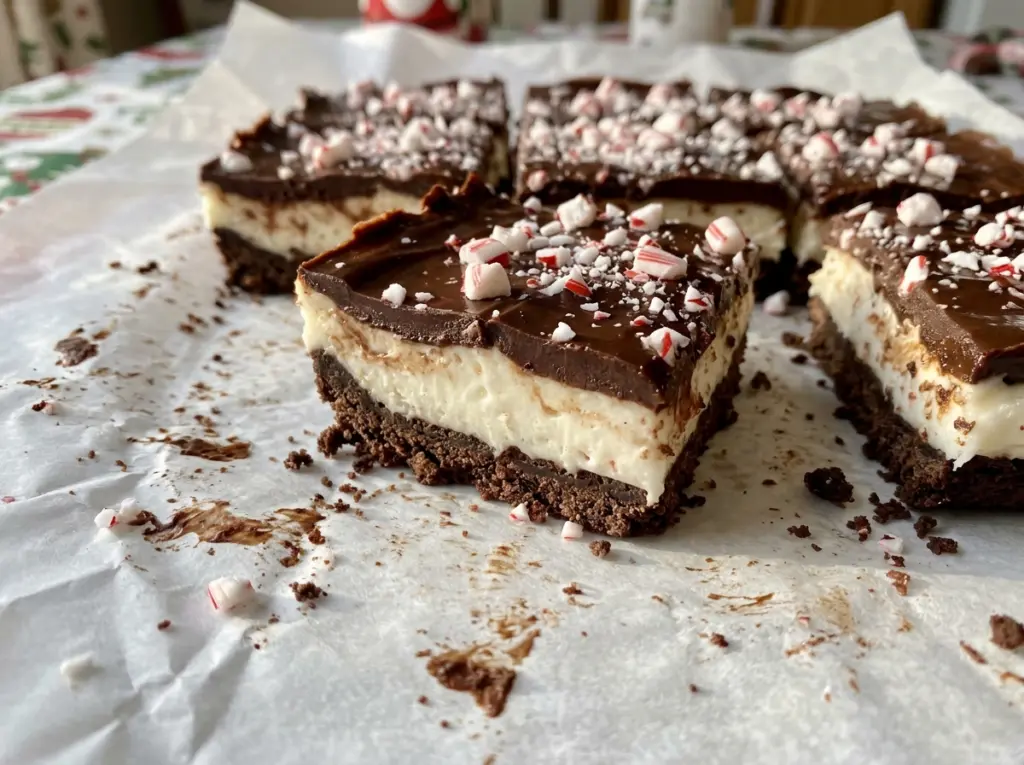
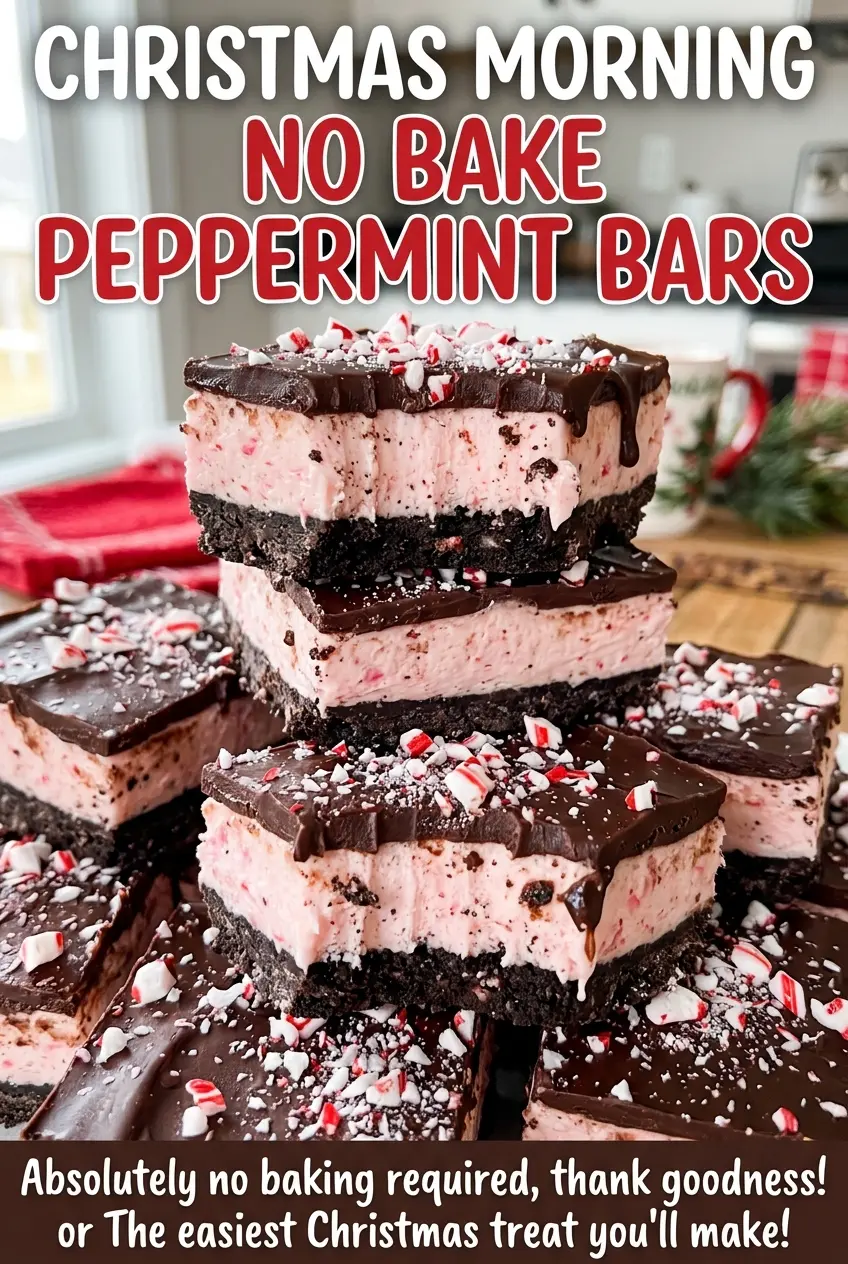
The first time I cut into a pan of peppermint bars too soon, the filling shifted under the chocolate and the edges looked messy. Giving the bars a full chill changed everything: the layers held together, and each square showed a neat stripe of cookie crust, pale peppermint filling, and glossy chocolate. These Christmas Morning No Bake Peppermint Bars are a cold, make-ahead treat with no oven time and a clear peppermint crunch from crushed candy canes.
I like the balance here: chocolate sandwich cookies make a sturdy base, while softened cream cheese and thawed whipped topping keep the middle light instead of dense. Peppermint extract carries the flavor through the filling, and the candy canes add little crisp bits. The ganache is just chocolate chips and steaming cream, so there’s no need for a candy thermometer. Once the bars are chilled and set, let them stand for 10 minutes before cutting into 16 squares with a sharp knife.
Kitchen Note
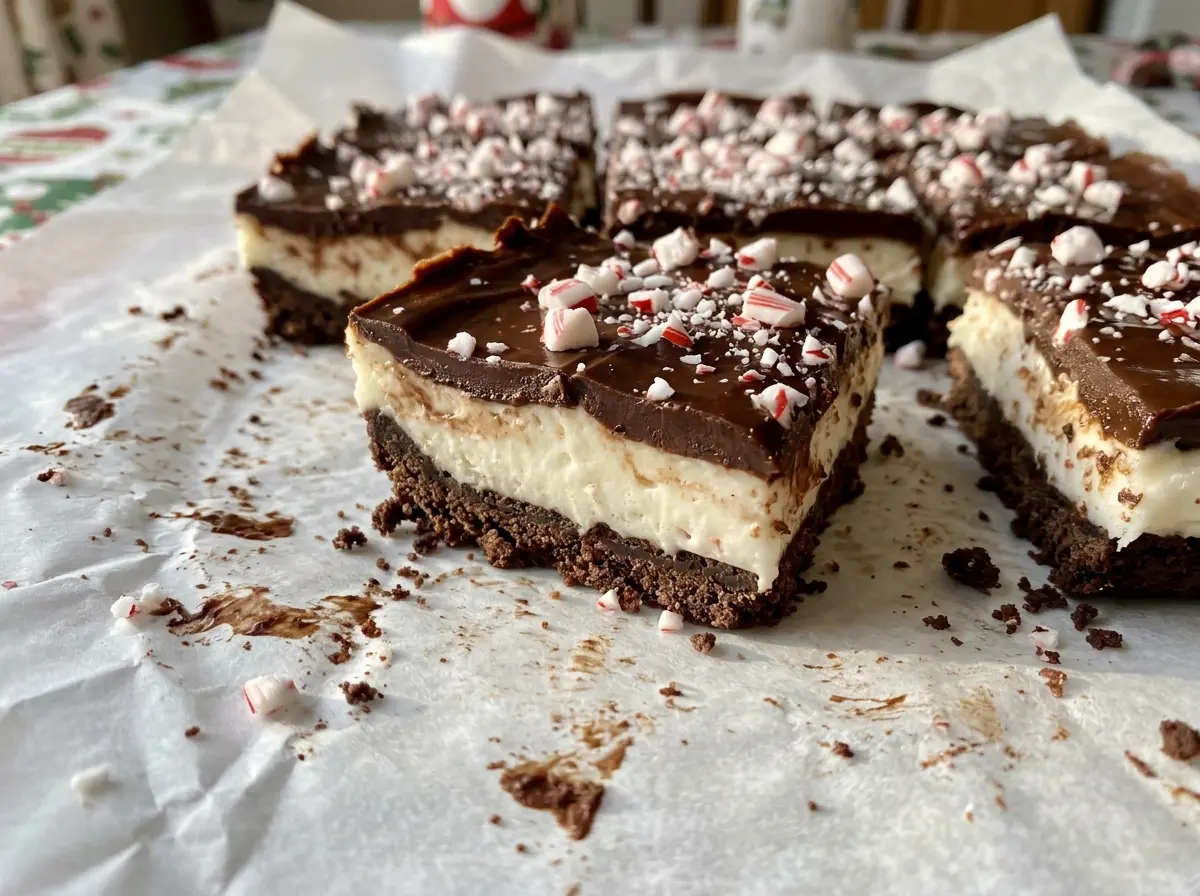
I scatter the last crushed candy canes as soon as the chocolate is spread, while the surface is still soft. They stick in place instead of rolling off when I cut the chilled bars.
Save these Christmas Morning No Bake Peppermint Bars for a make-ahead holiday treat with a crisp cookie base, fluffy peppermint filling, and a smooth chocolate top.
A No-Bake Crust Still Needs a Firm Press and a 20-Minute Chill
Because this base never goes into the oven, it won’t firm up through baking. The melted butter has to coat the fine cookie crumbs evenly, then the crumbs need to be packed tightly enough to hold together when you lift and slice the bars. If the mixture looks dry or loose, the finished base is more likely to crumble; keep mixing until the crumbs look evenly moistened.
Press the mixture into an even layer across the bottom of the parchment-lined pan, paying attention to the corners. A flat-bottomed measuring cup gives you a level surface, but steady pressure with your fingertips works, too. The 20-minute refrigerator chill gives the butter time to firm before the filling goes on. That pause also gives you a better-defined crust when you cut the finished bars, rather than a loose scatter of crumbs beneath the filling.
The pan size matters because it sets the thickness of each layer. A 9-inch square pan gives the crust enough depth to support the filling and chocolate without making the bars awkwardly tall. Leave parchment overhanging the sides so you can lift the whole chilled slab out cleanly; tugging at the crust itself is the easiest way to break an edge.
Why the Filling Needs Stabilized Whipped Topping, Not Just Cream
- Chocolate sandwich cookies — The cookie crumbs bring the chocolate flavor and the structure for the base. A familiar store brand works well; a gluten-free chocolate sandwich cookie is a practical one-for-one choice if you need a gluten-free crust, though the crumb texture can vary a little.
- Unsalted butter — Melted butter binds the crumbs, and unsalted butter keeps the crust from picking up extra salt. It’s worth using butter rather than a liquid oil, which won’t firm in the same way once chilled.
- Cream cheese and powdered sugar — Softened cream cheese gives the filling body, while powdered sugar blends in smoothly. Let the cream cheese soften before beating so you don’t end up chasing small lumps through the finished filling. Granulated sugar won’t give the same smooth texture.
- Peppermint extract and candy canes — Extract seasons the creamy filling evenly; crushed candy canes bring the brighter crunch. Peppermint candies can stand in for candy canes in the same amount, crushed finely. Use peppermint extract rather than spearmint, which gives the bars a different, less candy-cane-like taste.
- Frozen whipped topping — Once thawed and folded in, this keeps the filling airy and stable after chilling. Freshly whipped cream isn’t a direct replacement here because it doesn’t hold the same structure in these bars.
- Semisweet chocolate chips and heavy cream — The chips make a pleasantly sweet chocolate cap, and heavy cream turns them into a spreadable ganache. Choose chips you enjoy eating, since their chocolate flavor is front and center; the cream needs to be steaming, not boiling, to melt them smoothly.
Layering the Bars So Every Slice Stays Neat
Pack and chill the cookie base
Line a 9-inch square baking pan with parchment, leaving enough overhang to lift out the bars later. Stir the finely crushed chocolate sandwich cookies with the melted butter until there are no dry pockets, then press the mixture into an even layer. Refrigerate it for 20 minutes before adding the filling. A loose, uneven press now will show up later as a crumbly bottom or a thin spot at the edge.
Fold the peppermint filling until it looks even
Beat the softened cream cheese with the powdered sugar and peppermint extract in a medium bowl until smooth. Fold in the thawed whipped topping and one-third cup of the crushed candy canes, stopping when the mixture looks consistent and there are no obvious streaks of cream cheese. Spread it across the chilled crust in an even layer. If the filling is lumpy, the cream cheese needed more softening or beating before the whipped topping went in.
Make the ganache, then give the layers time to set
Put the semisweet chocolate chips in a heatproof bowl. Warm the heavy cream in a small saucepan over medium heat until steaming, pour it over the chips, and let it stand for 2 minutes before stirring until smooth. Spread the chocolate over the filling and add the remaining crushed candy canes. Refrigerate the pan for at least 4 hours, until set; lift out the slab, let it stand for 10 minutes, and cut 16 bars with a sharp knife.
Three Ways to Adjust the Peppermint and Chocolate
A gentler peppermint filling
For a softer mint note, use half the peppermint extract and leave the candy canes as written. The filling tastes less minty, while the candy pieces still bring a clear peppermint crunch.
A darker chocolate cap
Swap bittersweet chocolate chips for the semisweet chips, keeping the amount and heavy cream the same. The ganache tastes less sweet and more intensely chocolatey, which makes the peppermint stand out.
A dairy-free version
Use dairy-free chocolate sandwich cookies, vegan butter, dairy-free cream cheese, and dairy-free whipped topping in place of their dairy counterparts. Make the topping with dairy-free chocolate chips and the same volume of canned coconut cream instead of heavy cream; it adds a mild coconut note. The filling may set a little softer, so give it the full chill before slicing.
Storage and Serving
- Refrigerator: Keep the bars covered and chilled for 3 to 4 days. The candy cane pieces soften a little over time.
- Freezer: Freeze the bars in a single layer until firm, then wrap them individually and store in an airtight container for up to 1 month. Thaw in the refrigerator; the candy cane topping may lose some crunch.
- Serving: Keep the bars refrigerated until serving, and don’t leave them at room temperature for more than 2 hours.
Questions That Come Up When Making These Peppermint Bars
Christmas Morning No Bake Peppermint Bars
Ingredients
Equipment
Method
- Line a 9-inch square baking pan with parchment paper, leaving enough overhang to lift out the bars.
- Mix the cookie crumbs and melted butter until evenly moistened.
- Press the mixture firmly into the pan in an even layer.
- Refrigerate for 20 minutes.
- Beat the cream cheese, powdered sugar, and peppermint extract in a medium bowl until smooth.
- Fold in the whipped topping and 1/3 cup of the crushed candy canes until evenly combined.
- Spread the filling evenly over the chilled crust.
- Put the chocolate chips in a heatproof bowl.
- Heat the heavy cream in a small saucepan over medium heat until steaming.
- Pour the hot cream over the chocolate and let stand for 2 minutes.
- Stir the chocolate mixture until smooth.
- Spread the chocolate mixture over the filling.
- Sprinkle with the remaining 2 tablespoons crushed candy canes.
- Refrigerate for at least 4 hours, until set.
- Lift the bars from the pan and let stand for 10 minutes.
- Cut into 16 bars with a sharp knife.
- Keep refrigerated until serving and refrigerate leftovers.