
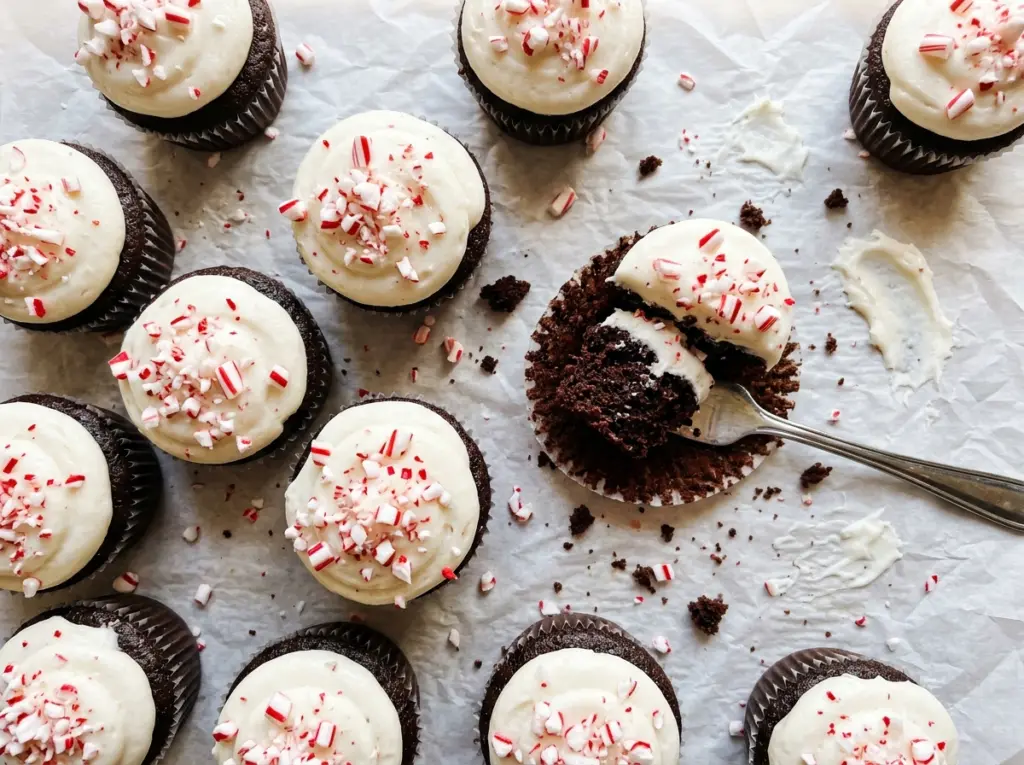
Chocolate Peppermint Cupcakes
The batter for these cupcakes pours more like a ribbon than a thick cake batter, and that’s exactly how it should look. I used to reach for extra flour when…

By Ava
•
•
Reading time: 9 min
Tip: save now, make later.
The batter for these cupcakes pours more like a ribbon than a thick cake batter, and that’s exactly how it should look. I used to reach for extra flour when I saw a chocolate batter this loose, but that would throw off the balance and make the cakes heavy. Hot coffee brings the cocoa together into a smooth batter that bakes up tender and deeply chocolatey.
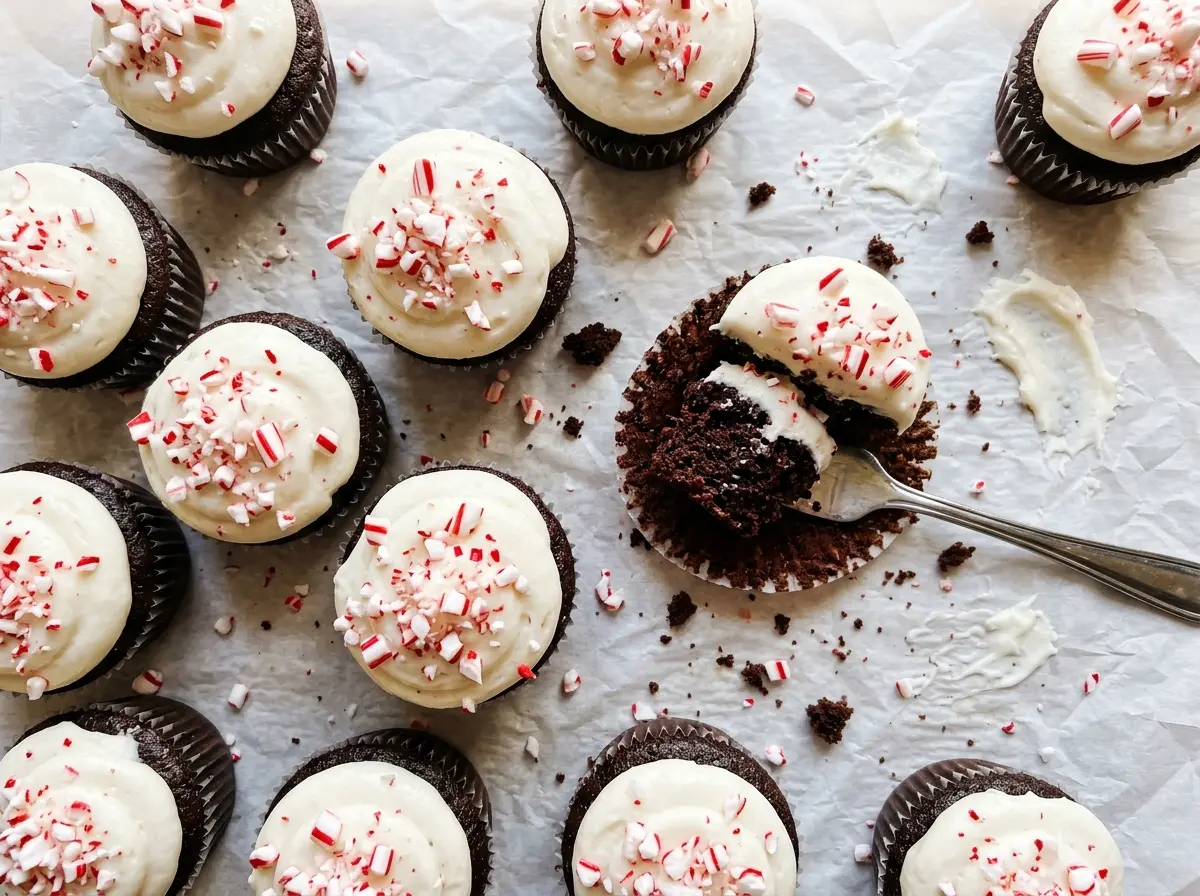
Chocolate peppermint cupcakes get their mint from the frosting and crushed candies, so the cool peppermint stays bright instead of getting lost in the cake. The frosting is soft enough to spread or pipe, and the candy adds a crisp little crunch on top. Let the cupcakes cool all the way before frosting, and you’ll have a clean contrast between the soft cake and fluffy mint topping.
Kitchen Note
Peppermint extract is easy to overdo, so measure it instead of pouring straight from the bottle. A small amount gives the buttercream a clear mint flavor while the crushed candies bring another peppermint hit on top.
Save these chocolate peppermint cupcakes for a bake with soft chocolate centers, fluffy mint frosting, and a crunchy candy finish.
Why Thin Chocolate Cupcake Batter Isn’t a Mistake
After the hot coffee goes in, the batter is noticeably looser than a typical cupcake batter. Don’t correct that by stirring in more flour. The flour, cocoa, and liquids are already balanced for a tender crumb, and adding extra flour can leave the baked cupcakes dense instead of soft.
A smooth, pourable batter also makes it easier to divide the mixture evenly among the liners. Use a spoon or a small measuring cup and fill each liner about halfway; the cupcakes need room to rise without spilling over the edges. If the batter looks thin in the bowl, trust the texture and move on to baking. The cake will set in the oven, where the tops should spring back when lightly pressed.
What Gives These Cupcakes Their Chocolate-and-Mint Balance

- Unsweetened cocoa powder — This is the main chocolate flavor, so use a cocoa you like the taste of. Regular unsweetened cocoa is the right fit; Dutch-process cocoa can behave differently with the baking soda and baking powder in this batter.
- All-purpose flour — It gives the cupcakes structure without making them chewy. Spoon it into the measuring cup and level the top rather than scooping and packing it, which can add too much flour.
- Buttermilk, egg, and vegetable oil — Buttermilk adds tang and works with the leaveners, the egg binds the batter, and oil helps keep the cake tender as it cools. If you’re out of buttermilk, stir 1/2 tablespoon lemon juice or white vinegar into 1/2 cup milk and let it stand for 5 minutes before using.
- Hot coffee — Use plain brewed coffee, not a sweetened or flavored coffee drink. A basic cup is fine here; there’s no need to choose an expensive roast for baking.
- Butter and powdered sugar — Softened butter gives the frosting its creamy base, while powdered sugar makes it sweet and fluffy. A fresh bag of powdered sugar is a good choice if yours has been open long enough to pick up pantry odors.
- Peppermint candies — Crushed candies give the soft frosting a crisp finish. Choose hard peppermint candies and crush them into small pieces; very large shards are awkward to bite through on top of a cupcake.
Mixing, Baking, and Frosting Without Losing the Tender Crumb
Bring the Dry and Wet Mixtures Together
Heat the oven to 350°F and line a standard 12-cup muffin pan with paper liners. Whisk the flour, sugar, cocoa, baking powder, baking soda, and salt in one bowl so the leaveners are distributed. In a separate bowl, whisk the egg, buttermilk, oil, and vanilla, then add that mixture to the dry ingredients. Stop whisking as soon as the dry streaks are gone; continuing to beat can make the cupcakes tougher.
Whisk in the Coffee and Portion the Batter
Whisk the hot coffee into the batter until it looks smooth and no pockets of cocoa remain. Scrape around the bottom of the bowl as you mix, where dry ingredients can hide. Divide the batter evenly among the liners, filling each about halfway. Wipe up any drips on the pan before it goes into the oven so they don’t bake onto the edges.
Bake Until the Centers Spring Back
Bake for 18 to 22 minutes. The tops should spring back when you press them lightly, and a toothpick inserted in the center should come out with a few moist crumbs rather than wet batter. If the toothpick comes out coated in batter, give the cupcakes a little more time and check again. Cool them in the pan for 5 minutes, then transfer them to a wire rack to cool completely.
Beat the Frosting and Finish the Tops
Beat the softened butter in a medium bowl until it’s smooth and creamy. Add the powdered sugar gradually, then beat in the peppermint extract, salt, and heavy cream until the frosting is fluffy. If you’re spreading the frosting, use a small offset spatula or the back of a spoon; for piped tops, use a piping bag. Frost only fully cooled cupcakes, then scatter the crushed peppermint candies over the frosting.
Three Easy Ways to Adapt the Cupcakes
Make Them Gluten-Free
Replace the all-purpose flour with the same amount of a measure-for-measure gluten-free baking blend that contains xanthan gum. The cupcakes may have a slightly different crumb, but the blend keeps the batter structure close to the original without changing the other ingredients.
Make a Dairy-Free Version
Use the milk-and-lemon-juice buttermilk substitute above, plant-based baking sticks in place of butter, and an unsweetened plant-based cream in the frosting. Choose firm baking sticks rather than a soft tub spread; the frosting will be less predictable with a high-water spread and may need chilling before piping.
Turn Them Into Vanilla-Frosted Chocolate Cupcakes
Leave out the peppermint extract and crushed candies, and use vanilla extract in the frosting instead. You’ll keep the chocolate cake and creamy topping, but lose the cool mint and crunchy finish for a simpler flavor.
Storage and Reheating
- Refrigerator: Keep frosted cupcakes in an airtight container for 3 to 4 days. The buttercream firms when chilled, so let a cupcake sit at room temperature until the frosting softens before eating.
- Freezer: Freeze unfrosted cupcakes in an airtight container for up to 2 months. Thaw them while wrapped at room temperature, then frost and add the crushed candies.
- Reheating: These are best served at room temperature, not warmed with frosting on top. If you want a warm cake, remove the frosting and heat the cupcake briefly; microwaving the frosted top can melt the buttercream.
Questions That Come Up When Baking Chocolate Peppermint Cupcakes
Chocolate Peppermint Cupcakes
Ingredients
Equipment
Method
- Heat the oven to 350°F.
- Line a standard 12-cup muffin pan with paper liners.
- Whisk the flour, granulated sugar, cocoa powder, baking powder, baking soda, and salt in a medium bowl.
- Whisk the egg, buttermilk, oil, and vanilla in a separate bowl.
- Whisk the egg mixture into the dry ingredients just until combined.
- Whisk in the hot coffee until the batter is smooth; it will be thin.
- Divide the batter evenly among the liners, filling each about halfway.
- Bake for 18 to 22 minutes, until the tops spring back when lightly pressed and a toothpick inserted in the center comes out with a few moist crumbs.
- Cool the cupcakes in the pan for 5 minutes.
- Transfer the cupcakes to a wire rack and cool completely.
- Beat the softened butter in a medium bowl until smooth and creamy.
- Beat in the powdered sugar gradually.
- Add the peppermint extract, salt, and heavy cream, then beat until fluffy.
- Spread or pipe the frosting onto the cooled cupcakes.
- Sprinkle with the crushed peppermint candies.