
Caramel Apple Pie Cobbler
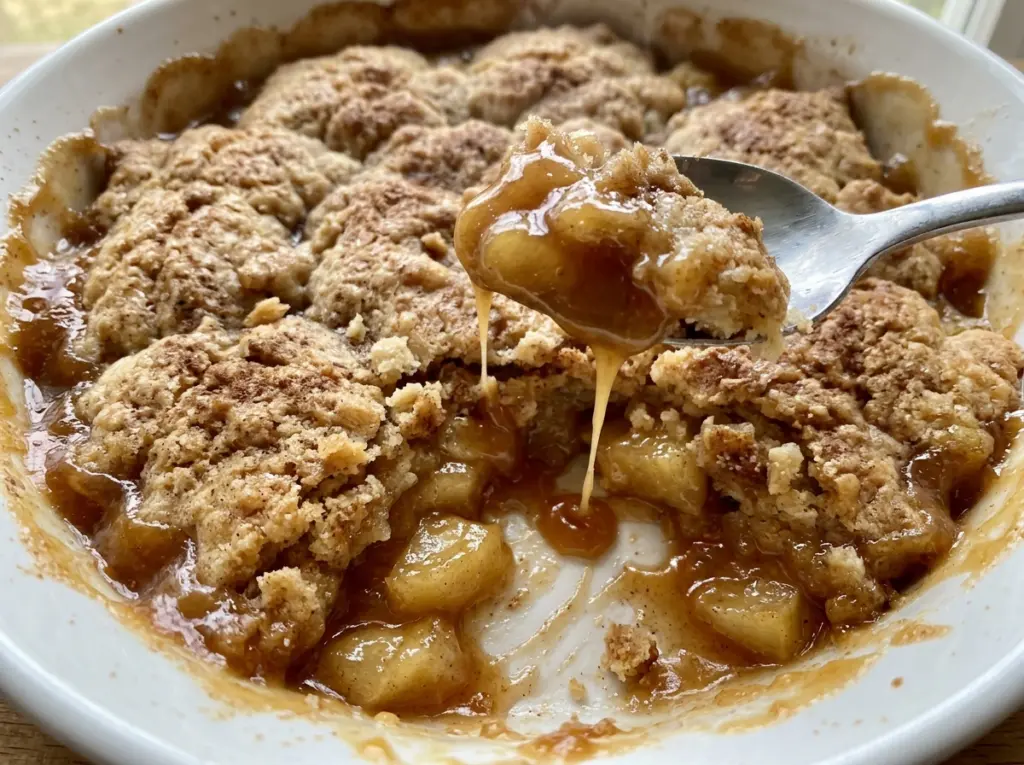
The apples start bubbling at the center while the topping turns golden around the edges. That’s the moment I watch for with this Caramel Apple Pie Cobbler, because a browned…

By Ava
•
•
Reading time: 9 min
Tip: save now, make later.
The apples start bubbling at the center while the topping turns golden around the edges. That’s the moment I watch for with this Caramel Apple Pie Cobbler, because a browned top alone doesn’t tell you whether the fruit underneath is tender. The Granny Smith apples bring a tart edge that keeps the caramel from making every bite taste sugary, and the biscuit-like topping gives the dish plenty of contrast.
I toss the apples with cornstarch before they go into the pan, so their juices thicken as the cobbler bakes instead of pooling thinly at the bottom. The dough stays shaggy rather than being worked smooth, and I drop it over the fruit instead of spreading it into a solid lid. After a short rest, the filling turns glossy and spoonable beneath the golden topping, with caramel running through every bite.
Kitchen Note
Keep the butter cold while you cut it into the flour. If it starts to look greasy or smear across the bowl, the topping loses those little tender pockets that make it more like cobbler than cake.
Save this Caramel Apple Pie Cobbler for a cozy bake: tart apples, a tender biscuit topping, and warm caramel drizzled over the top.
Those Gaps in the Cobbler Topping Are Doing More Than You Think
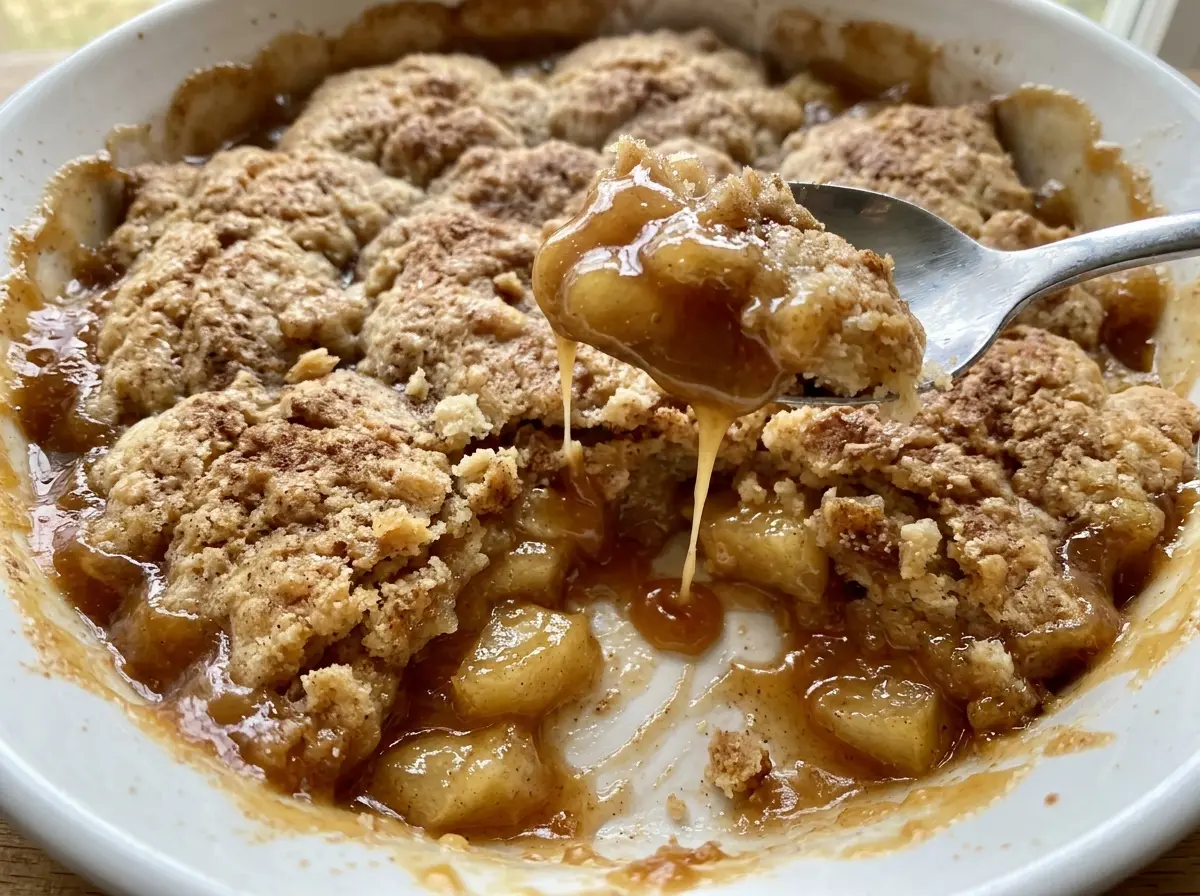
A solid blanket of dough might look tidy, but this cobbler bakes better with small spaces between the spoonfuls. The gaps let steam escape from the apples instead of trapping it beneath a sealed crust. They also leave patches of fruit exposed, so you get tender biscuit topping alongside bubbling, caramel-coated apples in each scoop. Don’t press the dough together or spread it edge to edge.
There’s a useful visual cue here: the exposed apples should be actively bubbling in the center before the pan comes out. The edges often bubble first, so a few lively bubbles around the sides aren’t enough on their own. That center bubbling tells you the fruit and its juices have heated through, while the topping should look golden rather than pale. The apples will continue to settle as the pan rests, and the open layout keeps the topping from becoming one heavy, damp layer.
Why Granny Smith Apples and Cornstarch Matter in This Filling
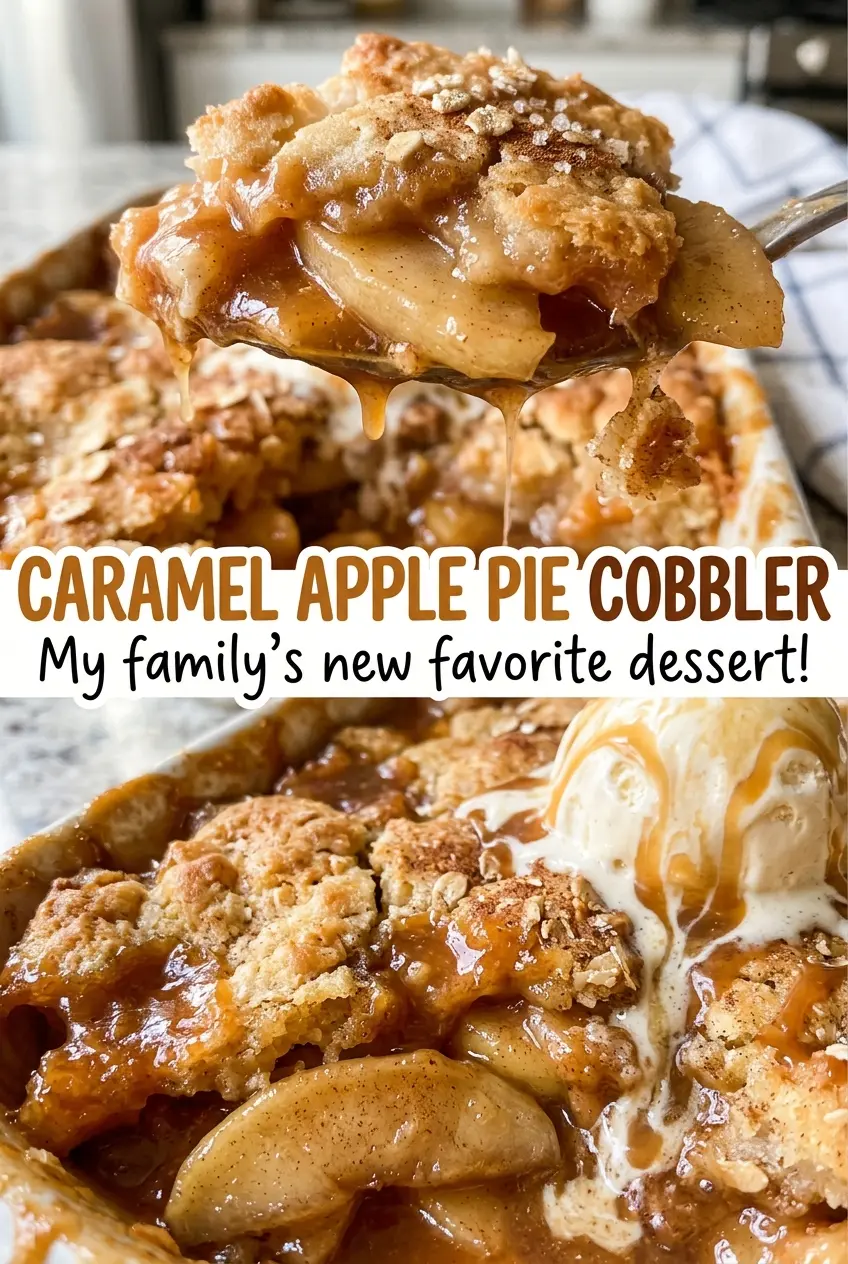
- Granny Smith apples — Their firm flesh holds up during baking, and their tartness balances the sweetness of the caramel and topping. Choose firm apples without soft spots; peeling, coring, and slicing them evenly helps the filling cook at the same pace. A different firm baking apple can work, but expect a sweeter result and potentially softer pieces.
- Cornstarch and lemon juice — The cornstarch thickens the liquid released by the apples, while lemon juice brightens the filling and helps keep the apple flavor from tasting flat. Toss everything together thoroughly so the starch coats the slices instead of collecting in one spot. Flour is already in the topping, but it doesn’t make the same clear, glossy fruit filling as cornstarch.
- Prepared caramel sauce — A ready-made sauce is a practical choice here; an ordinary jar works well as long as it’s pourable when warmed. The caramel in the filling adds sweetness throughout, and the finishing drizzle gives the top a distinct caramel note. Thin caramel syrup won’t give the same rich finish.
- Cold butter and whole milk — Cold butter keeps the topping tender, while whole milk brings enough richness to make the dough soft and cohesive. Standard all-purpose flour and granulated sugar are fine; there’s no need for specialty brands. Stir the milk and vanilla in only until the dough comes together so the topping doesn’t turn tough.
From Tart Apples to a Set, Saucy Center
Coat the Apples Before They Hit the Pan
Heat the oven to 375°F and lightly coat a 9×13-inch baking dish with nonstick cooking spray. In a large bowl, toss the peeled, cored, and 1/4-inch-sliced Granny Smith apples with the sugar, cornstarch, cinnamon, nutmeg, salt, lemon juice, and half of the caramel sauce. Turn the apples until the dry ingredients are distributed across the slices, then spread the mixture in the prepared dish. If you spot a pocket of dry starch at the bottom of the bowl, keep tossing before transferring the fruit.
Mix a Shaggy Biscuit Dough
Whisk the flour, sugar, baking powder, and salt together in a medium bowl. Cut in the cold butter until the pieces are about pea-sized; you should still see small bits of butter rather than a uniform sandy mixture. Stir in the whole milk and vanilla just until a shaggy dough forms. If you keep mixing until it looks smooth, the baked topping can turn dense instead of tender.
Leave the Fruit Visible as It Bakes
Drop spoonfuls of dough over the apples, keeping small gaps between them. Bake at 375°F for 45 to 55 minutes, until the topping is golden brown and the filling bubbles in the center. If the top is browned but the middle hasn’t begun bubbling, it needs more oven time; don’t use color alone as your doneness test. The finished topping should look set, not wet where the dough meets the fruit.
Let the Filling Set Before Adding the Finish
Take the cobbler out of the oven and let it rest for 20 minutes so the filling can thicken. Warm the remaining caramel sauce in the microwave in 10-second bursts, stopping once it’s pourable. Drizzle it over the cobbler just before serving. If you pour the sauce while it’s too hot and runny, it can race off the topping instead of sitting in ribbons across the surface.
Small Changes That Shift the Cobbler’s Flavor and Texture
A Cinnamon-Led Filling Without Nutmeg
Leave out the nutmeg if you prefer a simpler, more direct cinnamon flavor. The apples will still have the same tart-sweet balance from the Granny Smiths, lemon, and caramel, but the warm spice will be less layered.
Fewer, Larger Biscuit Mounds
For a more biscuit-like bite, use fewer, larger spoonfuls of the same topping dough and keep spaces between them. The larger mounds give you softer centers and less crisp edge in each scoop, while the uncovered fruit still releases steam as it bakes.
Storage and Reheating
- Refrigerator: Cover and refrigerate leftovers within 2 hours. They’ll keep for 3 to 4 days; the topping softens as it absorbs moisture from the apples.
- Freezer: Freeze cooled portions in an airtight container for up to 2 months. Thaw in the refrigerator; the topping will be softer than it was fresh.
- Reheating: Warm individual portions in the microwave until heated through, checking as you go. Long, uninterrupted heating can make the topping rubbery and the apple filling overly hot.
Questions That Come Up When Baking This Apple Cobbler
Caramel Apple Pie Cobbler
Ingredients
Equipment
Method
- Heat the oven to 375°F.
- Lightly coat a 9x13-inch baking dish with the nonstick cooking spray.
- In a large bowl, toss the apples with the sugar, cornstarch, cinnamon, nutmeg, salt, lemon juice, and 1/2 cup of the caramel sauce.
- Spread the apple mixture in the baking dish.
- In a medium bowl, whisk together the flour, sugar, baking powder, and salt.
- Cut in the cold butter until the pieces are about pea-sized.
- Stir in the milk and vanilla just until a shaggy dough forms.
- Drop spoonfuls of dough over the apples, leaving small gaps.
- Bake for 45 to 55 minutes, until the topping is golden brown and the filling bubbles in the center.
- Let the cobbler rest for 20 minutes so the filling can thicken.
- Warm the remaining 1/2 cup caramel sauce in the microwave in 10-second bursts until pourable.
- Drizzle the caramel sauce over the cobbler before serving.