
Caramel Apple Dump Cake
Once the edges of the apple filling start bubbling, the caramel smell reaches the oven door before the top has finished turning golden. That’s the cue I watch for with…

By Ava
•
•
Reading time: 8 min
Tip: save now, make later.
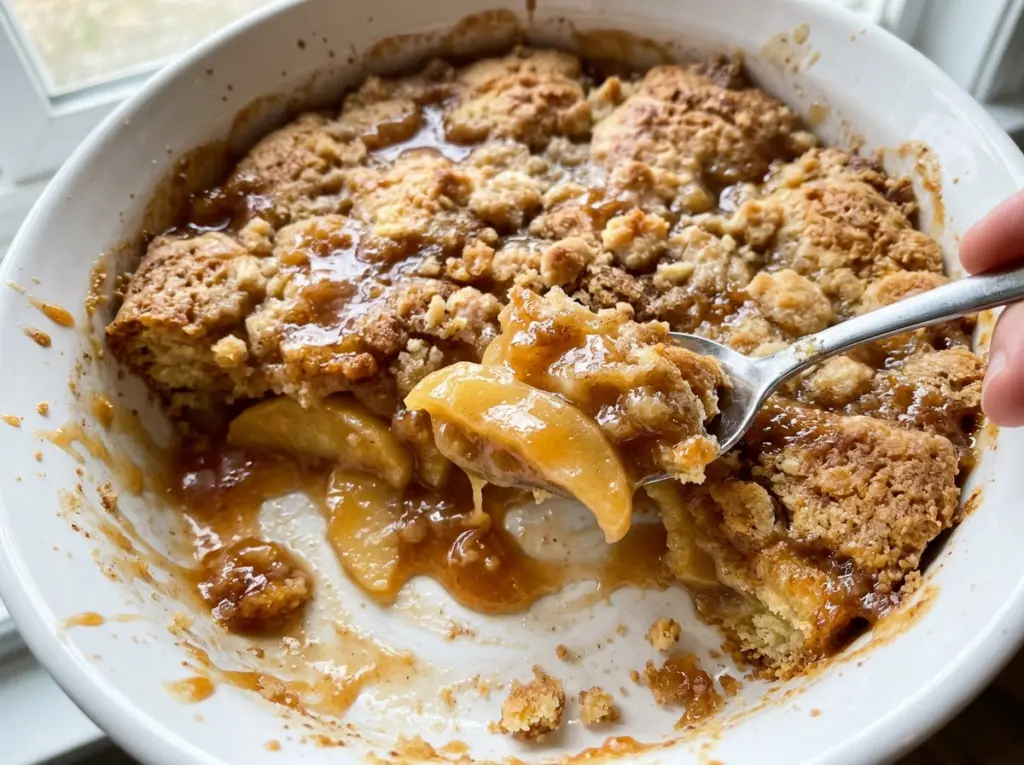
Once the edges of the apple filling start bubbling, the caramel smell reaches the oven door before the top has finished turning golden. That’s the cue I watch for with this caramel apple dump cake: the fruit should be hot all the way through while the cake mix forms a browned, buttery layer above it.
The layers do different jobs, so I don’t stir them together. Apple pie filling stays underneath, cinnamon and caramel run through the fruit, and dry yellow cake mix goes over the top. Melted butter helps the mix bake into a crisp, tender topping instead of leaving a blanket of dry powder. After a short rest, each scoop has soft apple filling under a golden crust.
Kitchen Note
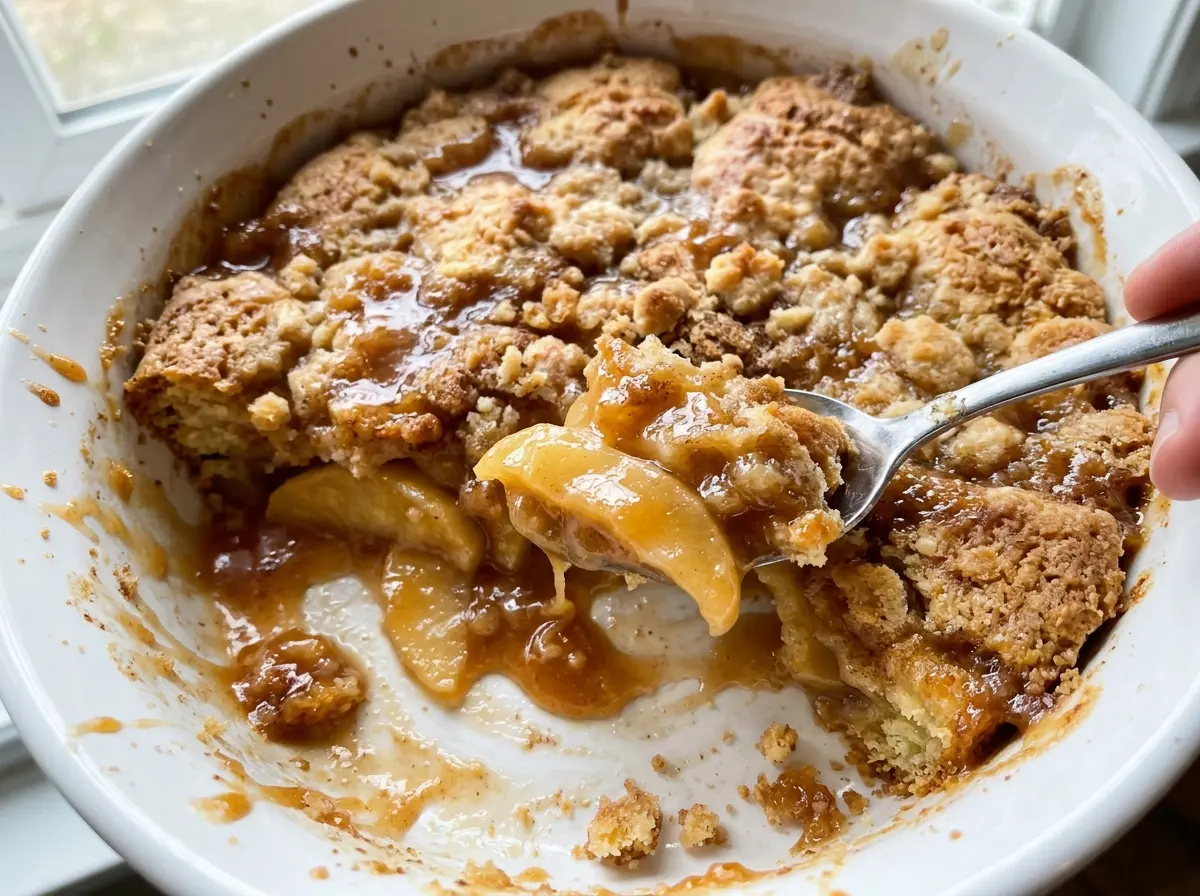
Give the cake its full 15-minute rest before serving. The bubbling filling is loose straight from the oven, and that pause lets it settle enough to scoop without losing the soft fruit-and-crust layers.
Save this caramel apple dump cake for its bubbling fruit filling and golden yellow-cake topping—a cozy dessert built from pantry-friendly ingredients.
Why the Butter Coverage Matters More Than Stirring the Topping
Dump cakes are meant to be layered, not mixed like a regular cake batter. The dry cake mix needs moisture from the melted butter as it bakes; stirring it into the apple filling would change the texture and leave you with a denser, more uniform dessert instead of fruit beneath a distinct topping. Keep the layers where they belong.
Butter coverage is the part that takes a little attention. Sprinkle the dry mix in an even layer, then drizzle the melted butter across as much of that surface as you can. A few uncovered flecks can remain, but large dry patches are more likely to stay powdery after baking. I move slowly across the pan rather than pouring the butter in one spot and hoping it spreads. The filling bubbles around the edges as the cake bakes, and the buttered mix turns golden on top; those are the two visual signs that the contrasting layers are coming together properly.
This is also why an even layer of filling matters before the topping goes on. If the fruit is heaped on one side, the cake mix and butter won’t be distributed evenly across the dish. A level base gives the topping a fair chance to brown throughout.
What the Apples, Caramel, and Cake Mix Each Bring
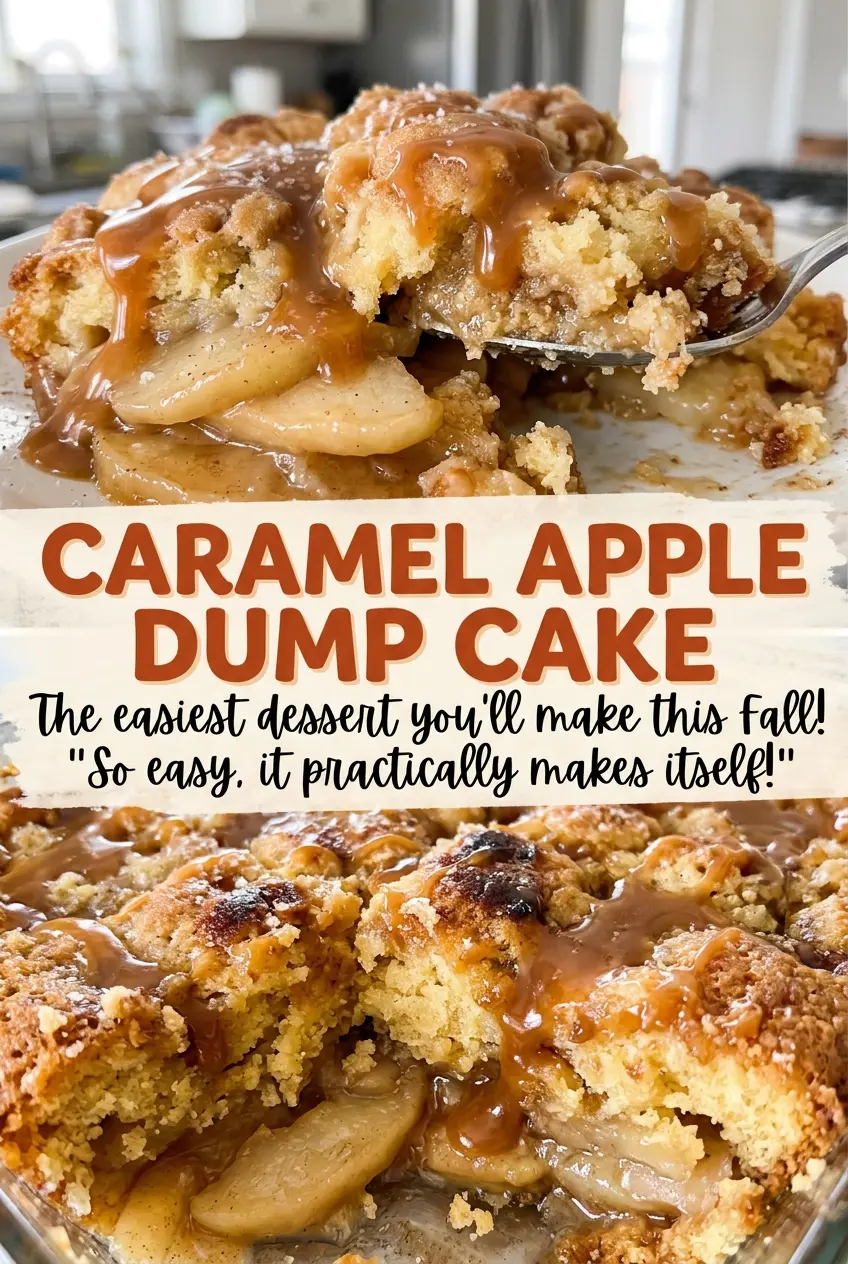
- Apple pie filling — Canned filling brings cooked, sweetened apples along with the thick sauce that keeps the bottom layer tender. Choose a can with apple pieces you’d enjoy eating; the size and softness of the pieces shape the texture of every scoop. Spread the filling out rather than leaving it piled in the middle.
- Ground cinnamon — Cinnamon gives the apple layer its warm, familiar spice without overpowering the caramel. Fresh-smelling ground cinnamon makes a noticeable difference here; if the jar has been open for years and smells faint, the baked fruit will taste flatter.
- Caramel sauce — The sauce adds a buttery, browned-sugar note to the apples and brings extra moisture to the filling. A smooth, pourable sauce is easiest to drizzle evenly. Thick sauce straight from the refrigerator is harder to distribute, so let it sit until it flows from a spoon.
- Yellow cake mix — The dry mix becomes the crisp-edged topping and supplies the sweetness that balances the tartness of the apples. A standard yellow mix is the closest match for the intended flavor and texture; the box should be the specified size for the pan to get the right layer.
- Unsalted butter — Melted butter is what turns the dry mix into a golden topping. Unsalted butter keeps the cake’s sweetness in balance, and melting it first makes it easier to drizzle over the full surface. For a dairy-free adaptation, use melted dairy-free butter in the same amount; the topping may be a little less rich.
Building the Apple Layer and Baking Until the Edges Bubble
Prepare the Dish and Spread the Fruit
Heat the oven to 350°F and coat a 9×13-inch baking dish with nonstick cooking spray. Spread the apple pie filling evenly across the bottom so the fruit reaches the corners. Sprinkle the cinnamon over the apples, then drizzle the caramel sauce across the filling. Keep this layer undisturbed once it’s seasoned; the topping goes over it as a separate layer.
Cover the Cake Mix with Melted Butter
Sprinkle the dry yellow cake mix evenly over the apple filling. Break up any large clumps as you go so you don’t end up with thick mounds beside bare spots. Drizzle the melted butter over the mix, covering as much of the surface as possible. Don’t stir the layers together; the cake mix needs to stay on top to bake into a topping.
Bake for a Golden Top and Bubbling Fruit
Bake for 50 to 60 minutes. Look for a golden-brown surface and apple filling bubbling around the edges; those cues tell you the fruit is hot and the topping has browned. If the top is still pale and the filling hasn’t started bubbling, it needs more time in the oven. Take the dish out when both signs are present, then let it rest for 15 minutes before serving.
Three Practical Ways to Adapt the Cake
A Gluten-Free Topping
Use a gluten-free yellow cake mix in place of the standard yellow mix, choosing the same package amount. The topping may bake up a little more crumbly, but it keeps the apple-and-caramel layers intact. Check the mix’s package size before you buy so the amount of dry topping stays close to the original.
A Dairy-Free Version
Replace the unsalted butter with an equal amount of melted dairy-free butter. The topping still gets the fat it needs to brown, though the buttery taste may be less pronounced. Check that the caramel sauce you choose is also dairy-free, since many caramel sauces contain dairy.
A Salted-Caramel Twist
Swap in salted caramel sauce for the regular caramel sauce, keeping the same amount. The salt gives the sweet apple filling a sharper contrast without changing the layering or baking method. Since salt levels vary by brand, choose a sauce that tastes balanced on its own.
Storage and Reheating
- Refrigerator: Cover leftovers and refrigerate within 2 hours. They’ll keep for 3 to 4 days; the topping softens as it sits against the fruit.
- Freezer: Freeze cooled portions in an airtight container for up to 2 months. Thaw overnight in the refrigerator; the topping will be softer than it was fresh from the oven.
- Reheating: Warm individual portions in the microwave until steaming hot throughout, or reheat a larger portion in a covered oven-safe dish. Avoid prolonged microwave heating, which can make the topping soft and the filling overly hot at the edges.
Questions About Caramel Apple Dump Cake
Caramel Apple Dump Cake
Ingredients
Equipment
Method
- Heat the oven to 350°F.
- Coat a 9x13-inch baking dish with nonstick cooking spray.
- Spread the apple pie filling evenly in the prepared dish.
- Sprinkle with cinnamon.
- Drizzle with caramel sauce.
- Sprinkle the dry cake mix evenly over the filling.
- Drizzle the melted butter over the cake mix, covering as much of the surface as possible.
- Bake for 50 to 60 minutes, until the top is golden brown and the filling is bubbling around the edges.
- Let the cake rest for 15 minutes before serving.