
Candied Carrots
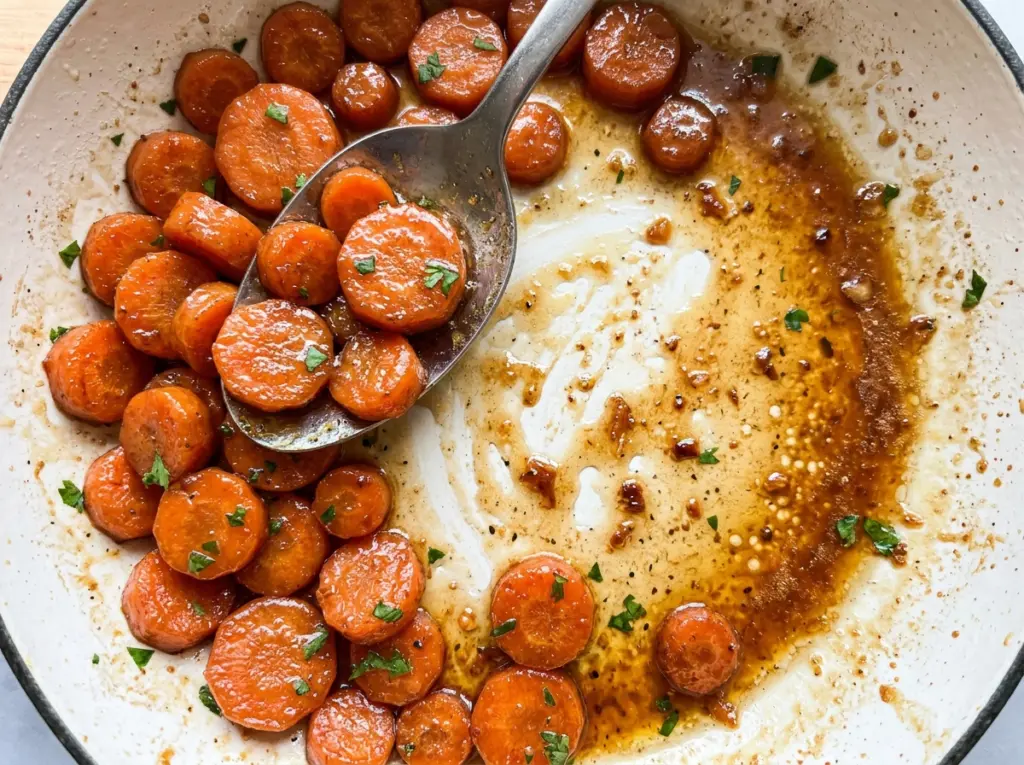
The carrots soften under the lid first, and only then do the butter and brown sugar go into the skillet. That order matters: you get tender rounds with a glossy…

By Ava
•
•
Reading time: 7 min
Tip: save now, make later.
The carrots soften under the lid first, and only then do the butter and brown sugar go into the skillet. That order matters: you get tender rounds with a glossy coating instead of carrots that are still firm while the sugar thickens around them. These candied carrots are a simple stovetop side, but a couple of small details make the difference between a thin, watery glaze and one that clings.
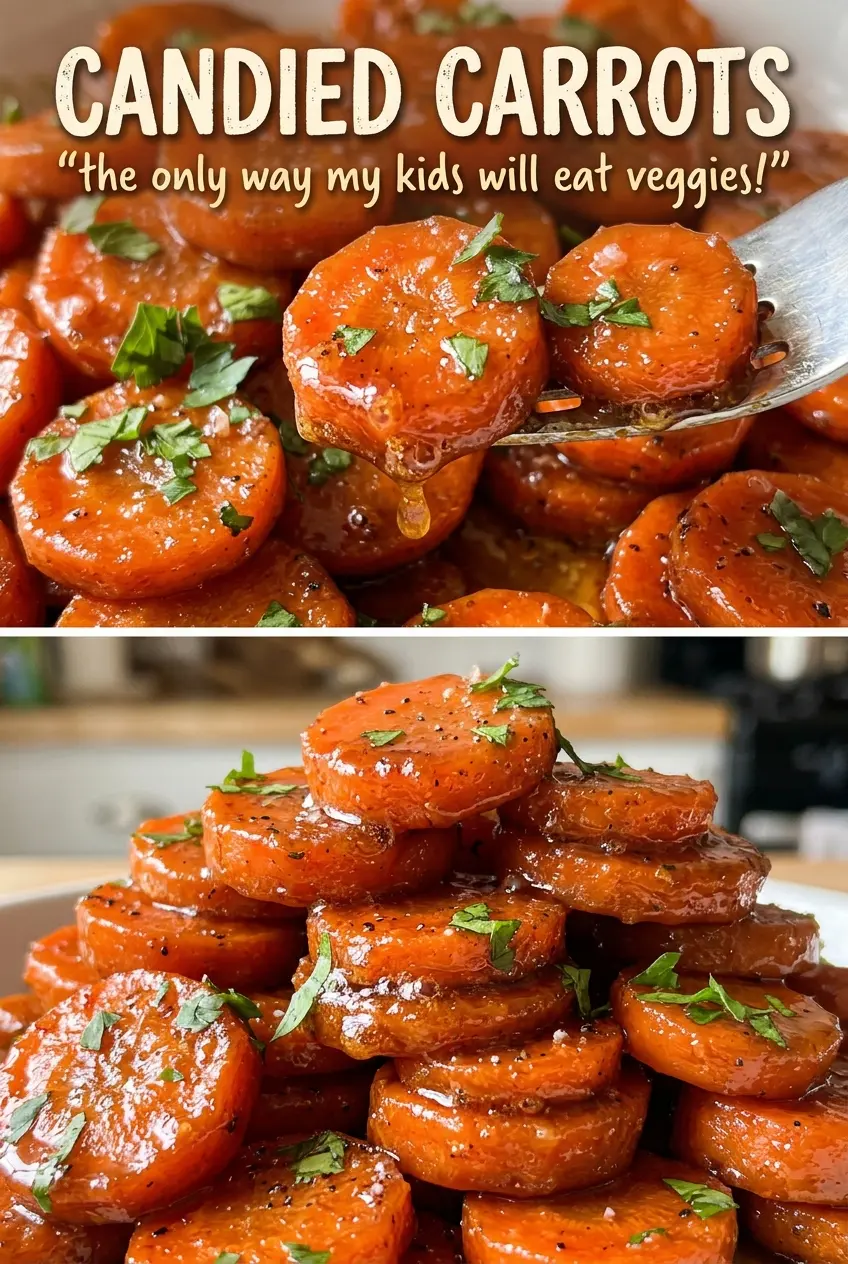
I cut the carrots into even rounds so they cook at the same pace, then check them with a fork before adding anything sweet. Once they’re tender, the uncovered skillet gives the butter and sugar time to coat them without hiding their natural carrot flavor. The finished carrots are soft but still hold their shape, with a shiny brown-sugar glaze that catches on every slice.
Kitchen Note
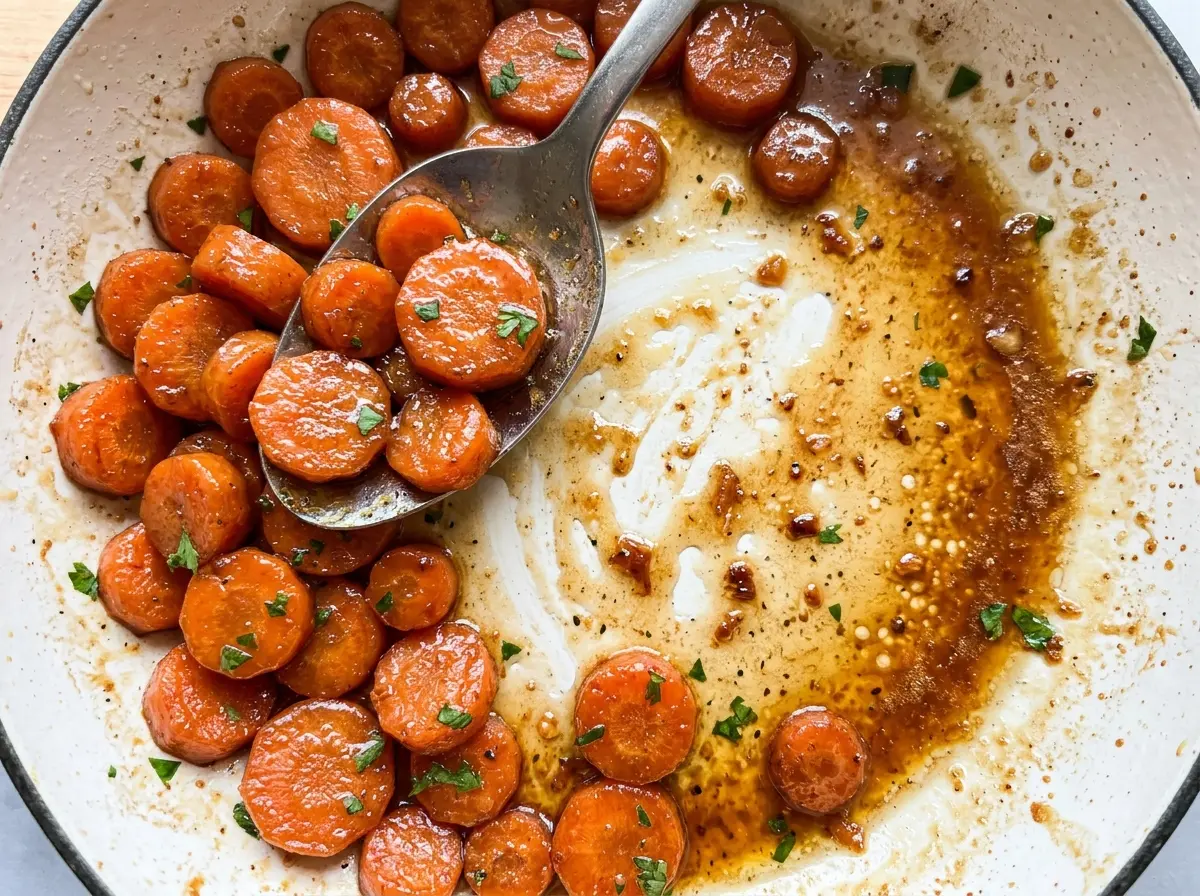
When the butter and sugar go in, stir frequently and sweep the spoon around the skillet’s edges as well as the middle. The glaze should look glossy and coat the carrots, not sit in a separate puddle at the bottom.
Save these candied carrots for a simple stovetop side with tender rounds and a glossy brown-sugar coating.
Why the Carrots Need to Turn Tender Before the Sugar Goes In
It’s easy to think the brown sugar will help soften the carrots as everything cooks together. For this dish, it works better to keep the cooking in two stages. Covered carrots cook with the water first, giving the centers time to turn fork-tender before the sweet coating begins to form.
That separation gives you more control over the final texture. If you add the butter and sugar while the carrot rounds are still firm, you’re asking the glaze and the carrots to finish at the same time. Instead, test a few slices with a fork while they’re still in the covered-cooking stage. Once the fork goes in easily, uncover the skillet and let the butter and sugar coat the carrots. Cutting the rounds to an even thickness helps the whole batch reach that point together, rather than leaving you with a mix of soft edges and hard centers.
The uncovered finish is brief, but it changes the dish: the coating goes from melted ingredients to a glossy glaze that clings to each slice. Keep the carrots moving through that stage so the sugar doesn’t collect in one spot.
What Each Ingredient Does in the Carrot Glaze
- Carrots — Choose firm carrots that feel heavy for their size, without limp ends or shriveled patches. Peeling and cutting them into uniform rounds helps them cook evenly; unusually thick or thin pieces won’t reach fork-tenderness at the same time.
- Unsalted butter — Butter brings richness and helps the brown sugar become a smooth coating. Unsalted butter also lets you control the seasoning separately. A standard grocery-store butter works well here; there’s no need to seek out a specialty brand.
- Light brown sugar — Its sweetness and molasses notes give the glaze its warm, caramel-like taste. Pack it firmly when measuring so the amount is consistent. Dark brown sugar works as a swap if you want a deeper molasses flavor and a darker coating.
- Water — The water creates steam in the covered skillet so the carrots soften before the glaze is added. It’s part of the cooking method, not something to pour off before glazing.
- Salt — A little salt balances the sweetness and makes the buttery coating taste fuller. Since the butter is unsalted, the measured salt seasons the dish without leaving it overly salty.
From Covered Skillet to Glossy Candied Carrots
Set Up Even Carrot Rounds
Peel the carrots and cut them into rounds about 1/4 inch thick. Add the carrots and water to a 12-inch skillet with a lid, spreading the rounds across the pan. The even cut helps the pieces cook at a similar rate, so you’re less likely to find tender slices beside stubbornly firm ones.
Steam Until the Centers Are Tender
Cover the skillet and cook over medium heat for 8–10 minutes, stirring once. The lid holds in steam while the water heats the carrots through. Check with a fork: it should pass into a carrot round without a hard center, but the slice should still hold its shape. If the rounds aren’t fork-tender yet, give them more time before moving on to the glaze.
Coat the Carrots in the Glaze
Uncover the skillet and add the butter, brown sugar, and salt. Keep the heat at medium and cook for 4–6 minutes, stirring frequently so the butter and sugar coat the carrots evenly. The mixture should turn glossy and cling to the rounds rather than looking like separate melted butter and sugar. Don’t stop while the carrots are still sitting in a thin, loose mixture; look for the glaze to coat them.
Small Changes for a Different Batch
A Deeper Brown-Sugar Glaze
Swap the light brown sugar for the same amount of packed dark brown sugar. The carrots will have a more pronounced molasses note and a darker-looking glaze, while keeping the same stovetop method.
A Dairy-Free Version
Use an equal amount of unsalted plant-based butter in place of the dairy butter. Choose a product meant for cooking, not a soft spread from a tub; the finished glaze may taste a little less buttery, but the carrots will still get a sweet coating.
A Less-Sweet Glaze
Reduce the light brown sugar to 1/4 cup for a less-sweet finish. You’ll get less glaze on the carrots, but the butter and carrot flavor will come through more clearly.
Storage and Reheating
- Refrigerator: Cool and refrigerate in an airtight container within 2 hours. The carrots keep for 3–4 days; the glaze may firm up when cold.
- Freezer: Freeze in an airtight freezer-safe container for up to 2 months. The carrots will be softer after thawing, and the glaze may lose some of its original shine.
- Reheating: Warm them gently in a skillet over low heat, stirring until the glaze loosens. If it looks too thick, add a small splash of water; high heat can scorch the sugar before the carrots warm through.
Questions That Come Up While Making Candied Carrots
Candied Carrots
Ingredients
Equipment
Method
- Combine the carrots and water in a 12-inch skillet with a lid.
- Cover and cook over medium heat for 8–10 minutes, stirring once, until the carrots are fork-tender.
- Uncover and add the butter, brown sugar, and salt; cook over medium heat for 4–6 minutes, stirring frequently, until the butter and sugar form a glossy glaze that coats the carrots.