
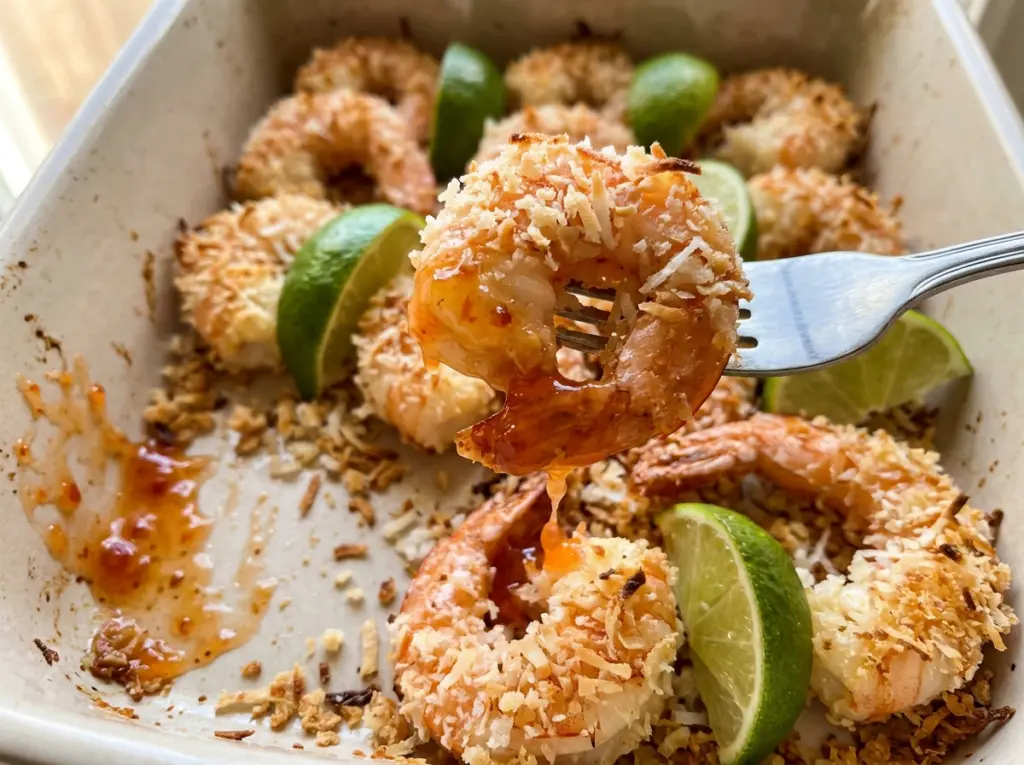
Baked Coconut Shrimp
The coconut starts to smell warm and sweet before the shrimp are done, so I watch the coating closely near the end. Baked coconut shrimp can turn out crisp without…

By Ava
•
•
Reading time: 8 min
Tip: save now, make later.
The coconut starts to smell warm and sweet before the shrimp are done, so I watch the coating closely near the end. Baked coconut shrimp can turn out crisp without a pot of hot oil, but the underside needs attention too. A wire rack set over the baking sheet gives the hot air room to move around the shrimp instead of trapping steam against the pan.
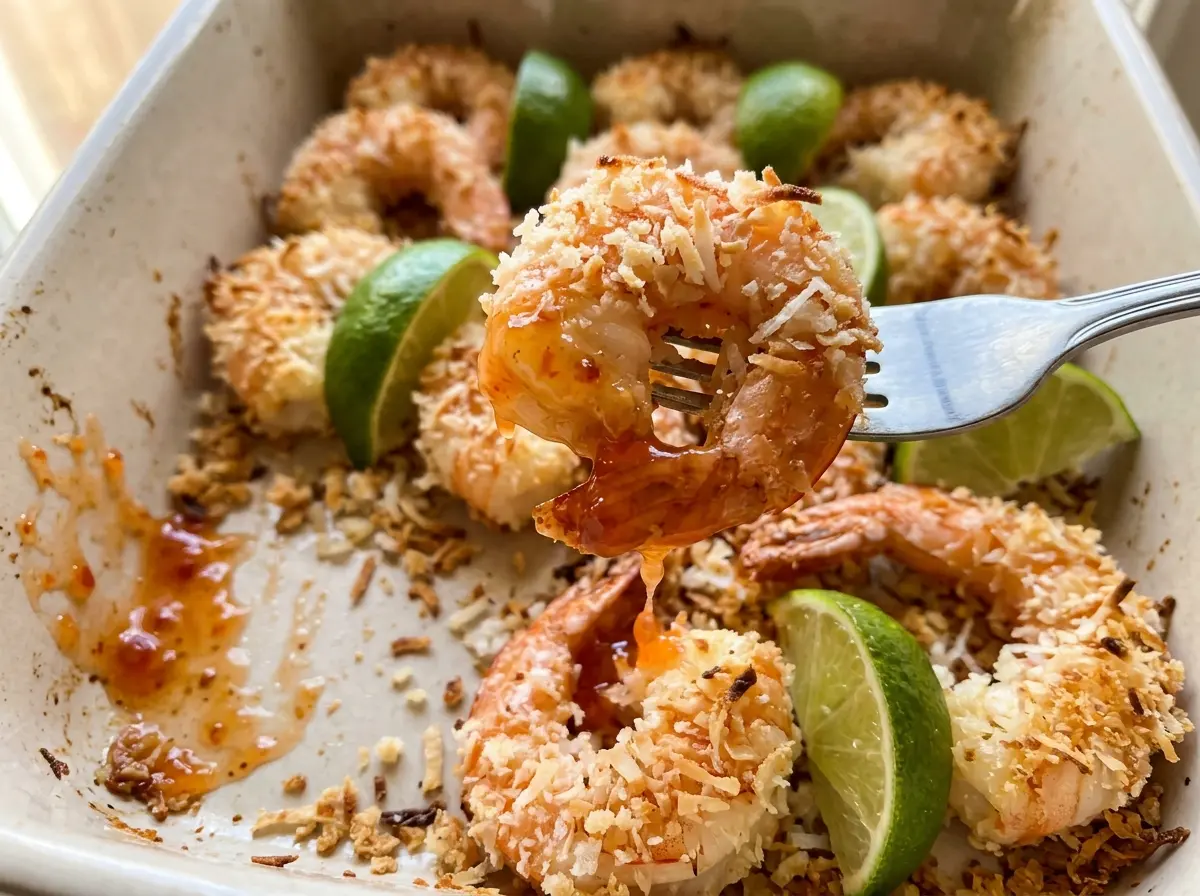
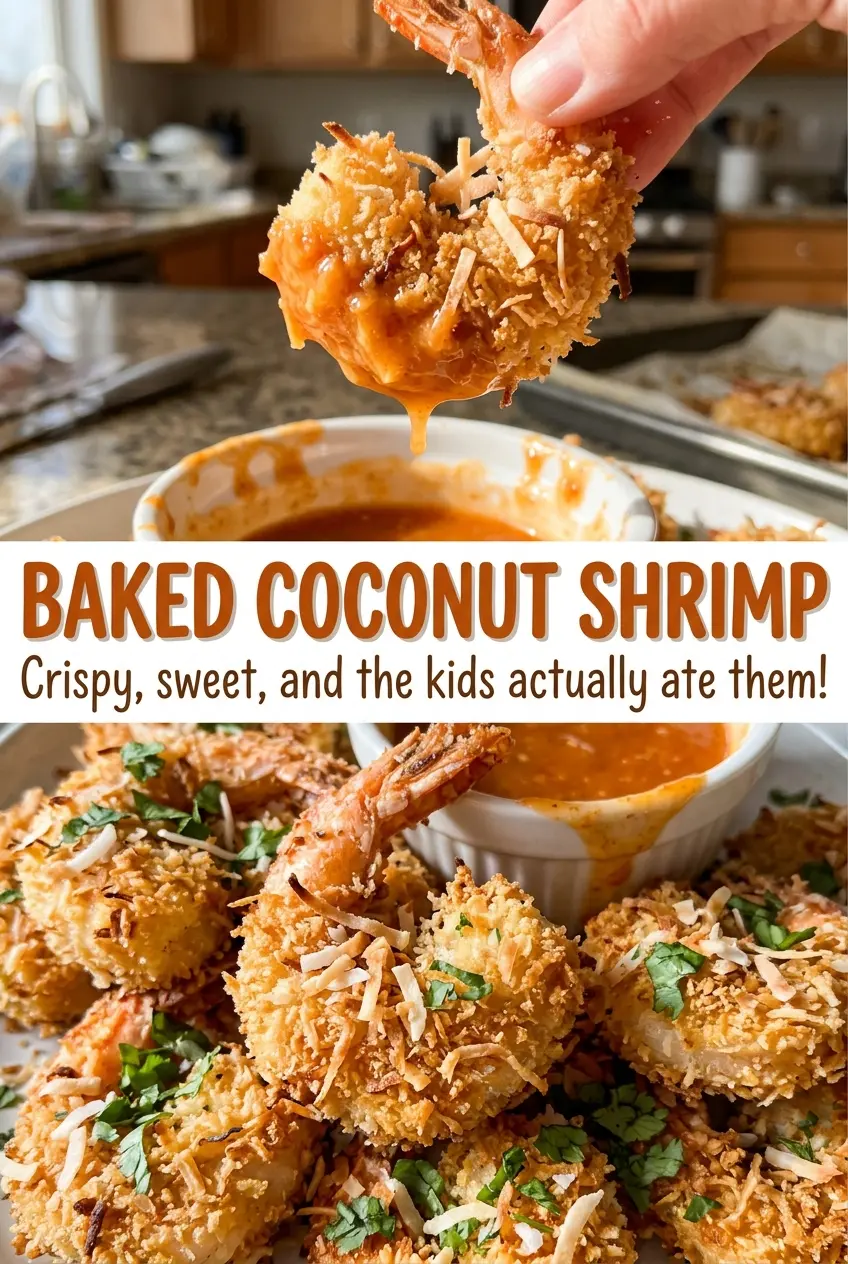
I use large shrimp with the tails on, which gives me a handy place to hold each one while I dip it through the flour, egg, and coconut-panko coating. Patting the shrimp dry first helps the flour cling, and a light spray over the tops encourages the crumbs to turn golden in the oven. The finished Baked Coconut Shrimp have a crisp, toasty coating wrapped around tender shrimp.
Kitchen Note
Press the panko and coconut onto each shrimp instead of giving it a quick roll. That little bit of pressure helps the flakes stay put when you turn the shrimp on the rack.
Save these Baked Coconut Shrimp for a crisp, coconut-covered appetizer baked in the oven, not fried.
Why the Wire Rack Keeps Coconut Shrimp Crisp Underneath
A baking sheet is sturdy, but shrimp sitting directly on it have a damp side where the coating meets the pan. As the shrimp cook, moisture has nowhere to go. That can leave the bottom coating soft while the top is already turning golden.
The rack solves that by lifting each shrimp above the sheet and letting heat circulate around it. Coat the rack with nonstick spray before arranging the shrimp, then keep them in a single layer so they have space around them. Turning them halfway through gives both sides time facing the heat, and the rimmed sheet underneath catches any loose crumbs. The result is a more evenly crisp coating without deep-frying.
What Each Layer Adds to the Coconut Shrimp Coating
- Large shrimp — The 16–20 count gives you shrimp substantial enough to hold a thick coating while still cooking through in the stated oven time. Buy them peeled and deveined, with tails on; thaw them fully and pat them dry before breading. The tails make a useful handle, and dry surfaces take the flour coating more evenly.
- All-purpose flour — This first, thin layer gives the egg something to cling to. Shake away loose flour so you don’t end up with a pasty patch beneath the crumbs. A cup-for-cup gluten-free flour blend works as a direct replacement if you also use gluten-free panko.
- Eggs — Beaten eggs are the binder between the flour and the crumb mixture. Beat them until the whites and yolks are fully blended; streaks of egg white can leave some spots wetter than others.
- Panko and sweetened shredded coconut — Panko brings a light, crisp crunch, while the coconut gives the coating its distinctive sweet, toasted flavor. Sweetened shredded coconut is the familiar choice here; unsweetened shredded coconut works in the same amount if you’d rather have a less-sweet coating.
- Nonstick cooking spray — Spraying the rack helps the coating release instead of sticking when you turn the shrimp. A light coat over the tops also helps the crumbs brown; too much spray can leave the coating greasy.
The Breading and Baking Stages That Make the Difference
Set Up the Rack Before Breading
Heat the oven to 400°F with a rack in the middle. Set a wire rack inside a rimmed 13×18-inch baking sheet and coat the wire rack with nonstick cooking spray. Getting the pan ready first keeps you from having to handle wet, breaded shrimp while you prepare the baking surface. Pat the thawed shrimp dry before starting the coating station.
Keep the Three Coatings Separate
Stir the flour, kosher salt, and black pepper together in one shallow bowl. Beat the eggs in a second shallow bowl, then mix the panko and sweetened shredded coconut in a third. Shallow bowls make it easier to coat each shrimp evenly without bending or crowding it. Keep the bowls in that order so the shrimp moves cleanly from flour to egg to crumbs.
Coat From Flour to Coconut-Panko
Dredge one shrimp in the flour mixture and shake off the excess before dipping it into the egg. Let excess egg drip back into its bowl, then move the shrimp into the panko-coconut mixture and coat it all over. If you skip shaking off the flour, the egg layer can get thick and slippery instead of forming a thin bridge to the crumbs. Arrange each coated shrimp on the prepared rack in a single layer.
Bake Until Golden and Cooked Through
Lightly coat the tops of the arranged shrimp with nonstick cooking spray, then bake for 12–15 minutes, turning them halfway through. The coating should look golden, and the thickest shrimp should reach 145°F. Check a thick shrimp rather than judging doneness by the color of the coconut alone. If the coating is golden before the shrimp reaches temperature, give it the remaining time it needs in the oven.
Simple Changes for a Different Coconut Shrimp
Make the Coating Gluten-Free
Replace the all-purpose flour with a cup-for-cup gluten-free flour blend and use gluten-free panko in place of regular panko. Keep the coconut, eggs, and coating order the same. The crunch may vary a little by panko brand, but the layers still work as a crisp shell around the shrimp.
Tone Down the Coconut’s Sweetness
Swap in the same volume of unsweetened shredded coconut for a less-sweet crust. The coconut flavor still comes through, but the coating won’t have the same sugary note as the version made with sweetened shreds. Mix it with the panko just as you would the sweetened kind.
Make Tail-Free, One-Bite Shrimp
Remove the tails before breading if you want the shrimp to be easier to eat in one bite. The coating will cover more of each shrimp, but you’ll lose the convenient handle for dipping through the bowls. Stick with large shrimp so the coating and cooking time stay in balance.
Storage and Reheating
- Refrigerator: Store cooked shrimp in an airtight container for up to 3 days. The coating softens as it sits.
- Freezer: Freeze cooled shrimp in a single layer until firm, then transfer them to an airtight freezer container for up to 2 months. The crumb coating won’t be quite as crisp after thawing.
- Reheating: Warm them in a 350°F oven until the thickest shrimp reaches 165°F. Skip the microwave if you want to avoid a soft coating and overcooked shrimp.
Questions That Come Up When Making Baked Coconut Shrimp
Baked Coconut Shrimp
Ingredients
Equipment
Method
- Heat the oven to 400°F.
- Position a rack in the middle.
- Set a wire rack inside a rimmed 13x18-inch baking sheet.
- Coat the rack with nonstick cooking spray.
- Put the flour, salt, and pepper in a shallow bowl and stir to combine.
- Beat the eggs in a second shallow bowl.
- Mix the panko and coconut in a third shallow bowl.
- Dredge each shrimp in the flour mixture, shaking off the excess.
- Dip each shrimp in the egg.
- Press each shrimp into the panko mixture to coat.
- Arrange the shrimp in a single layer on the rack.
- Lightly coat the tops with nonstick cooking spray.
- Bake for 12–15 minutes, turning the shrimp halfway through, until the coating is golden and the thickest shrimp reach 145°F.