
Bacon-Wrapped Green Bean Bundles
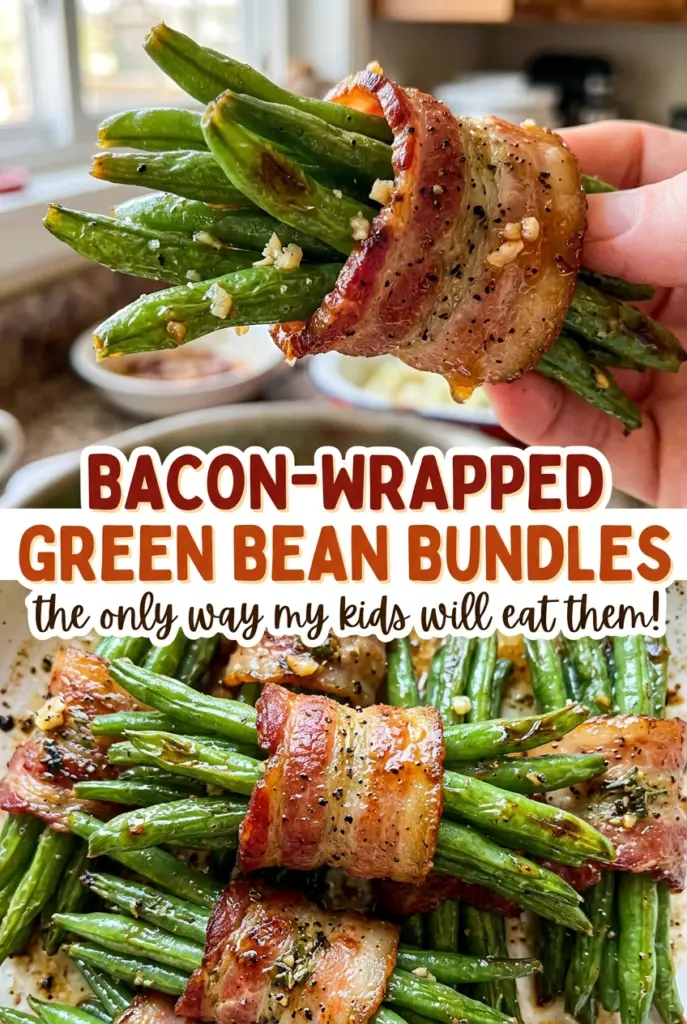
When these bundles come out of the oven, the bacon edges are browned and the butter-brown sugar glaze has settled into the folds. The beans underneath should be tender, not…

By Ava
•
•
Reading time: 9 min
Tip: save now, make later.
When these bundles come out of the oven, the bacon edges are browned and the butter-brown sugar glaze has settled into the folds. The beans underneath should be tender, not limp. I like this recipe because each bundle is already portioned, and the sweet, garlicky coating gives the green beans a little more presence than they’d have on their own.
Bacon-Wrapped Green Bean Bundles start with a quick boil before they go into the oven. That short head start matters: the beans have time to soften while the bacon browns, instead of leaving you with crisp bacon wrapped around undercooked beans. Letting the beans cool before wrapping also makes the bundles easier to handle, and regular-cut bacon cooks through in the same window as the beans. The finished bundles are glossy at the edges, savory from the bacon, and just sweet enough from the glaze.
Kitchen Note
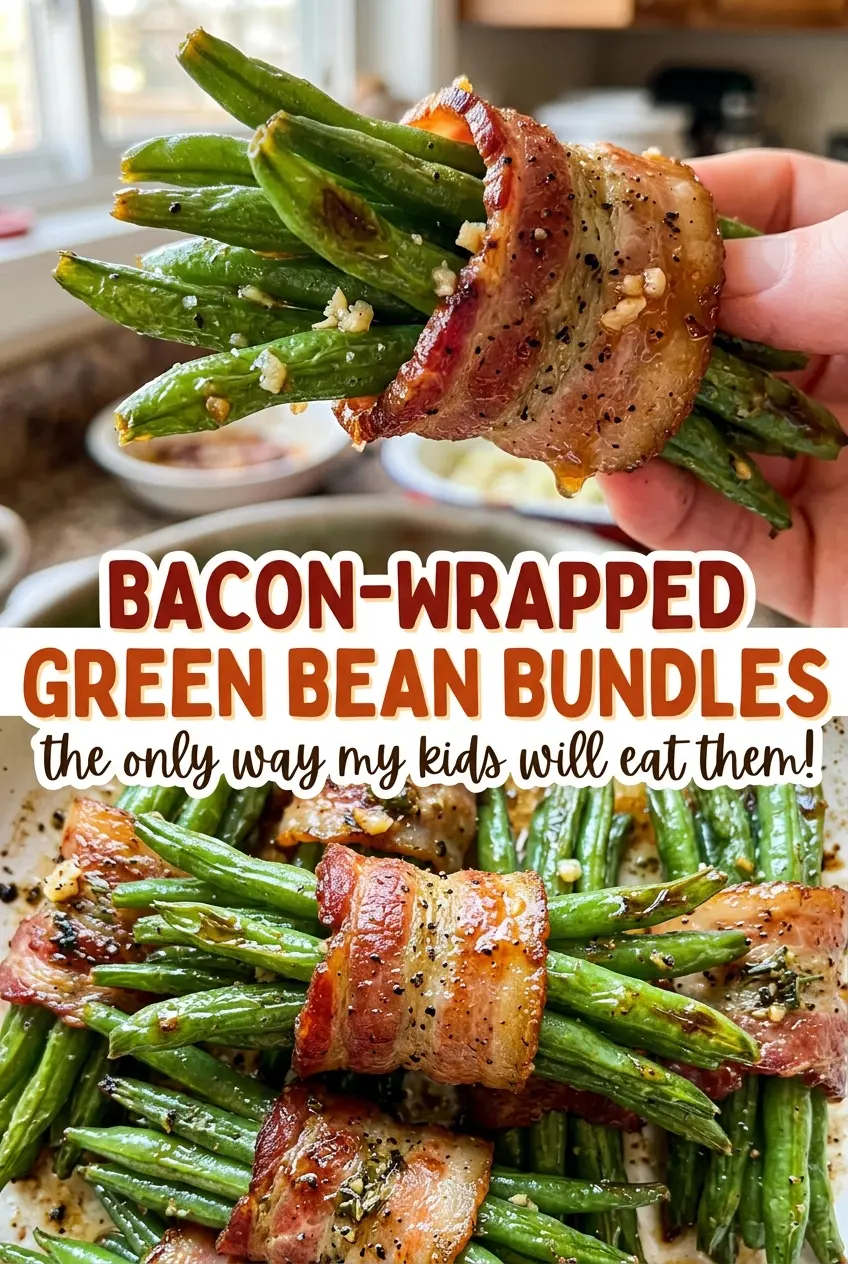
Keep each bundle to 6 or 7 beans. That size is easy to wrap with half a slice of bacon, and the bundles cook more evenly than oversized handfuls.
Save these Bacon-Wrapped Green Bean Bundles for a side dish with tender beans, browned bacon, and a buttery brown sugar glaze.
Why These Beans Need a Head Start Before the Bacon Goes On
Bacon and green beans don’t reach their best textures at the same pace. Bacon needs time in the oven to render and brown, while raw green beans can stay firm longer than you’d expect beneath a wrapped bundle. A three-minute boil gives the beans a head start without cooking them all the way through. They finish in the oven as the bacon crisps.
That short boil also gives you a better chance of keeping the beans tender rather than baking the bundles until the bacon is past its best. It’s a small step, but skipping it changes the timing problem: you’d be waiting for the centers to soften while the outside keeps cooking. Drain the beans thoroughly after boiling, then let them cool before handling. The goal is beans that are flexible enough to bundle but still hold their shape.
This balance is why the bundles are built in small portions instead of wrapped as one large cluster. A compact group lets the heat reach the beans while each piece of bacon stays in contact with the bundle. You get distinct portions with beans that still have a little structure, rather than a crowded pile with unevenly cooked centers.
Regular-Cut Bacon and Fresh Beans Set the Texture
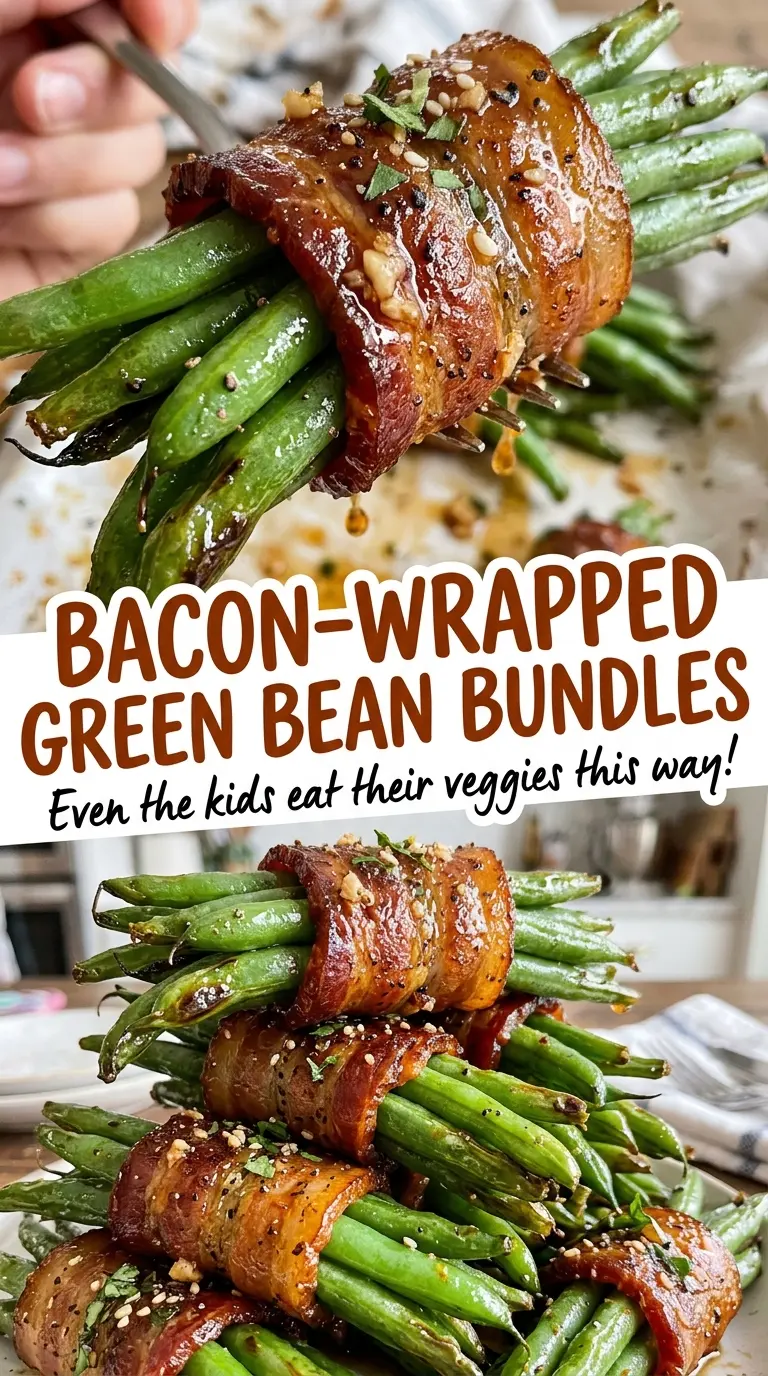
- Fresh green beans — Fresh beans hold their shape through the boil and the longer oven bake. Trim the ends before cooking so the bundles are easy to eat and the beans sit neatly together. Choose beans that feel firm rather than limp; you don’t need unusually large or specialty beans.
- Regular-cut bacon — This thickness wraps around a small bundle and has time to brown during the bake. Thick-cut bacon is less dependable here because it takes longer to crisp, which can leave the beans cooking past tender. Use slices that are flexible enough to wrap, and cut each slice in half crosswise.
- Unsalted butter — Melted butter carries the brown sugar and seasonings over the beans and bacon. Unsalted butter keeps the glaze from picking up extra salt from an ingredient that’s already savory. A standard grocery-store butter works well; there’s no need for a specialty brand.
- Packed light brown sugar — Its mild molasses note gives the glaze a gentle sweetness and helps it cling as it bakes. Pack it into the measuring spoon or cup so the amount is consistent. Dark brown sugar has a stronger molasses taste, so it would make the coating more pronounced rather than identical.
- Garlic powder and black pepper — These season the buttery coating without adding pieces that could scorch during the long bake. Garlic powder distributes evenly when stirred into melted butter, so take a moment to break up any clumps before brushing.
From a Quick Blanch to a Browned, Tender Bundle
Get the Oven and Pan Ready
Heat the oven to 400°F and line an 18×13-inch rimmed baking sheet with parchment paper. Set out the pan before you start boiling the beans so the bundles can go straight into the oven once they’re coated. The rim helps keep the butter mixture on the sheet instead of dripping over the edge. Parchment also makes it easier to lift off the baked-on glaze afterward.
Boil Briefly, Then Dry the Beans Well
Bring 8 cups of water to a boil in a large pot, add the trimmed beans, and cook for 3 minutes. Drain them thoroughly, spread them on a clean kitchen towel, and pat them dry. Let them cool for 5 to 10 minutes before wrapping; warm beans are harder to handle, and surface water makes the glaze less likely to stay in place. Don’t leave them wet in a colander while you prepare the bacon.
Wrap Small Bundles and Set the Seam Down
Divide the beans into 24 bundles of 6 to 7 beans each. Wrap each bundle with half a slice of bacon, then arrange it seam side down on the lined pan so the bacon stays tucked around the beans. Keep the bundles in a single layer rather than stacking them. If a bundle feels loose, bring the bacon snugly around the beans before setting it down.
Brush on the Glaze and Turn Once
Melt the butter in a small bowl, then stir in the brown sugar, garlic powder, and black pepper until combined. Brush the mixture over the bundles, reaching the visible bacon and beans rather than pouring it all in one spot. Bake for 35 to 40 minutes, turning the bundles after 20 minutes. They’re ready when the bacon is browned and crisp and the beans are tender; use the full range as a guide because bacon can brown at different rates.
Simple Changes That Keep the Bundles Practical
Use Gluten-Free Regular-Cut Bacon
For a gluten-free version, replace the regular-cut bacon with gluten-free regular-cut bacon in the same amount. The bundles keep their savory, crisp finish; choosing a similar thickness keeps the cooking time closest to the original.
Make the Glaze Less Sweet
Leave out the brown sugar and brush the bundles with the melted butter, garlic powder, and black pepper. The coating will taste more savory and won’t have the same sweet, lightly sticky finish, but it still seasons the beans and bacon.
Make a Half Batch
Halve each ingredient to make 12 bundles, keeping each portion at 6 to 7 beans. This is a useful way to make a smaller batch without changing the basic method. Begin checking for browned bacon and tender beans within the original bake-time range.
Storage and Reheating
- Refrigerator: Refrigerate leftovers within 2 hours and keep them in a covered container for 3 to 4 days. The bacon will lose some crispness, and the beans will soften.
- Freezer: Freeze cooled bundles in an airtight container for up to 2 months for the best quality. The beans soften further after thawing, and the bacon won’t be as crisp as freshly baked.
- Reheating: Arrange the bundles in a single layer and warm them in a 350°F oven until hot throughout; check that leftovers reach 165°F. Avoid reheating until the bacon is hard, since the beans will dry out before the bacon gets crisp again.
Questions That Come Up Before You Bake the Bundles
Bacon-Wrapped Green Bean Bundles
Ingredients
Equipment
Method
- Heat the oven to 400°F.
- Line an 18x13-inch rimmed baking sheet with parchment paper.
- Bring the water to a boil in a large pot, add the green beans, and cook for 3 minutes.
- Drain the green beans thoroughly.
- Spread the beans on a clean kitchen towel and pat dry.
- Let the beans cool for 5 to 10 minutes.
- Divide the beans into 24 bundles of 6 to 7 beans each.
- Wrap each bundle with half a slice of bacon and arrange seam side down on the baking sheet.
- Melt the butter in a small bowl.
- Stir in the brown sugar, garlic powder, and black pepper.
- Brush the butter mixture over the bundles.
- Bake for 35 to 40 minutes, turning the bundles after 20 minutes, until the bacon is browned and crisp and the beans are tender.