
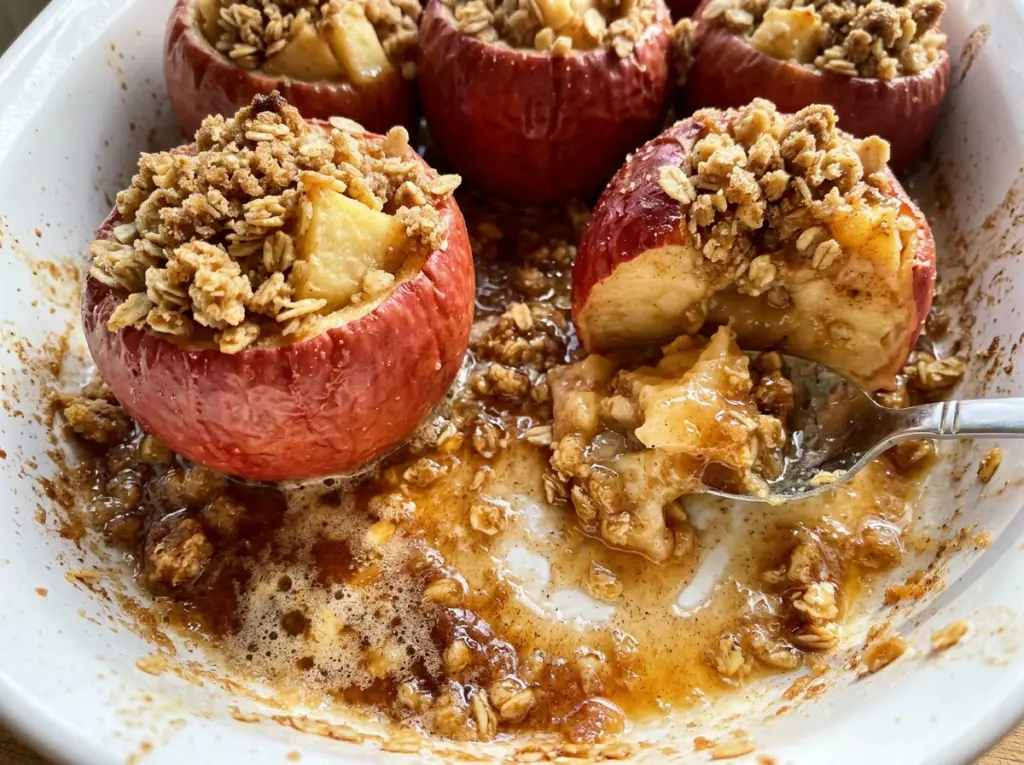
Apple Crisp Stuffed Apples
When a paring knife slips into a tender apple and the oat topping gives a little crunch, you get the best parts of apple crisp in a tidy individual serving.…

By Ava
•
•
Reading time: 9 min
Tip: save now, make later.
When a paring knife slips into a tender apple and the oat topping gives a little crunch, you get the best parts of apple crisp in a tidy individual serving. I like that each apple holds its own filling, so there’s no need to scoop portions from a baking dish or worry about the topping ending up in one corner.
For these Apple Crisp Stuffed Apples, the fruit needs to be firm and large enough to hold a generous cavity. Granny Smith apples make the filling taste a little tarter, while Honeycrisp apples bring a sweeter, milder finish. Either way, leave a sturdy layer of apple around the sides and bottom so the fruit keeps its shape as it bakes.
The topping comes together with rolled oats, flour, brown sugar, cinnamon, salt, and melted butter. Once it’s tucked into the apples, the oven softens the fruit and turns the mounded oats golden. Each warm apple has a soft center and a buttery, crisp-topped bite.
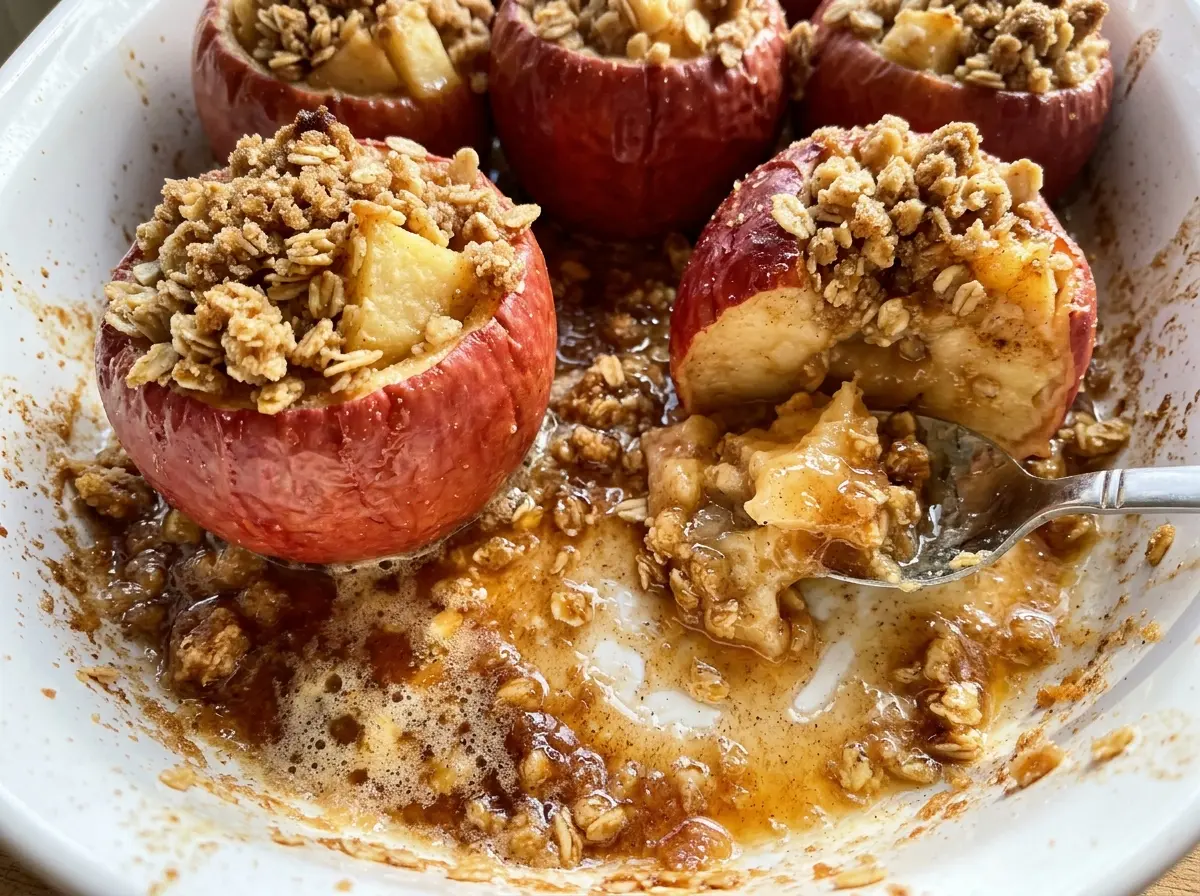
Kitchen Note
When you scoop the centers, stop while about 1/4 inch of apple flesh remains around the sides and bottom. A thin spot or hole at the base lets the filling slip out, and the apple won’t hold together as neatly.
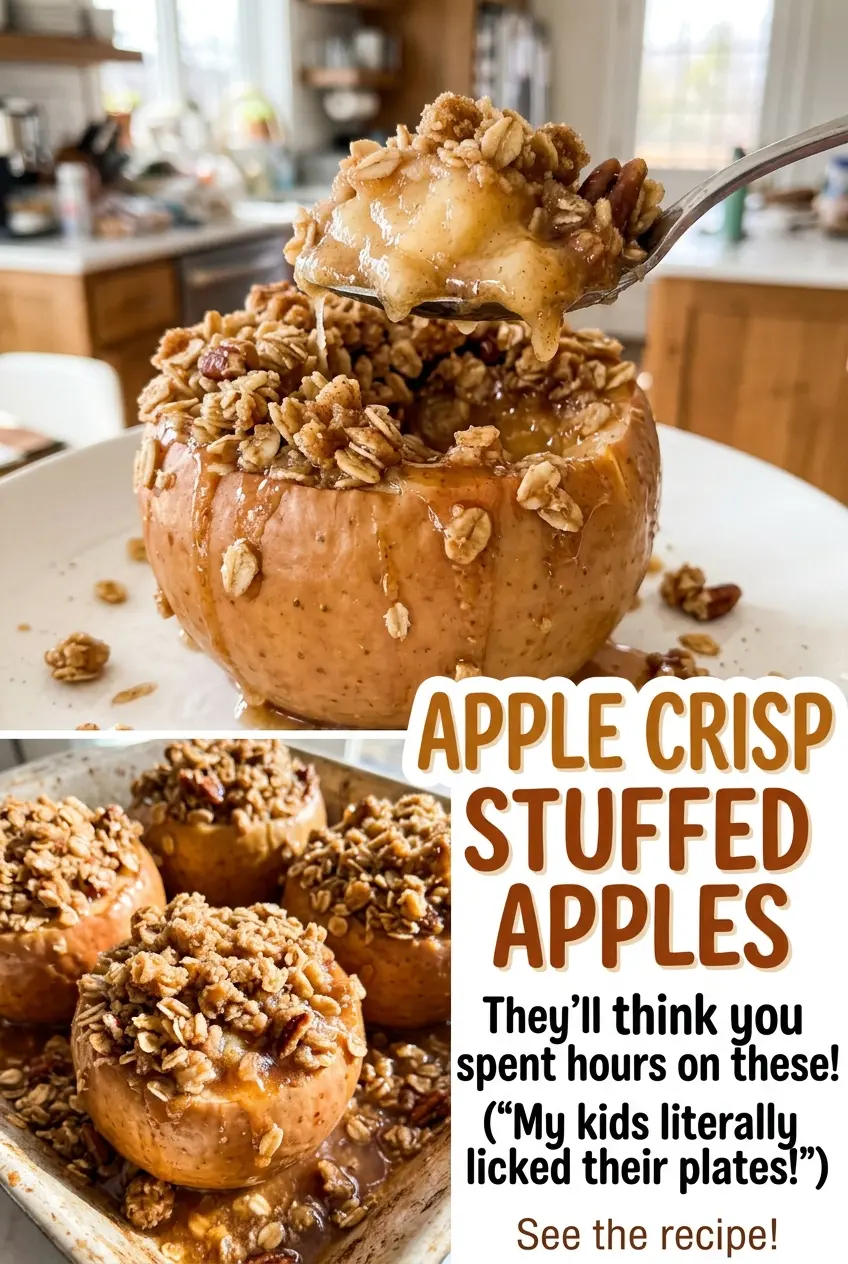
Save these Apple Crisp Stuffed Apples for a cozy dessert with tender baked fruit and a golden oat filling.
Why the Water Belongs Around the Apples, Not in the Filling
It might seem odd to add water to a crisp, but it goes into the baking dish around the apples, not into the oat mixture. That distinction matters. The water creates a moist environment as the apples bake, helping the fruit soften without asking the topping to carry all the cooking liquid.
Keep the apples upright and pour the water into the open space in the dish. Don’t pour it over the mounds of topping; that can wet the oats before they have a chance to turn golden. The topping itself gets its buttery clumps from melted butter, and it should sit above the apple cavity rather than sink into the water.
The result is a tender apple with a crisp surface instead of a soggy layer of oats. If you’ve baked whole apples without any liquid in the dish and found that the fruit stayed firm while the top browned, this small detail helps the apple and topping finish together.
What the Apples and Oats Bring to Each Bite
- Firm baking apples — Large apples leave room for a proper scoop of filling, and firm flesh holds its shape better during baking. Granny Smith brings a brighter tartness; Honeycrisp leans sweeter. Choose fruit that feels firm with no soft spots.
- Old-fashioned rolled oats — Their broad flakes keep the topping pleasantly textured. They don’t disappear into the butter and sugar the way finer oats can, so rolled oats are the better choice for distinct, hearty clumps.
- All-purpose flour — Flour helps bind the oats and melted butter into a topping that stays on the apples. For a gluten-free version, use a 1:1 gluten-free baking flour and certified gluten-free rolled oats; the topping may have a slightly different texture.
- Light brown sugar and cinnamon — Brown sugar adds a gentle molasses note, while cinnamon gives the filling its familiar warm aroma. Light brown sugar keeps that flavor balanced rather than strongly molasses-forward.
- Unsalted butter — Melted butter coats the dry topping ingredients and helps them form clumps. For a dairy-free adaptation, use plant-based butter in the same quantity; the topping may taste a little less buttery, depending on the brand.
From Hollow Apples to a Golden, Tender Center
Hollow the Apples Without Cutting Through
Heat the oven to 375°F and lightly grease a 9×13-inch baking dish. Slice about 1/2 inch off the top of each apple, then scoop out the core and seeds. Keep the bottom and sides intact, leaving about 1/4 inch of flesh so each apple can hold the filling.
Work carefully near the base; a small hole can let the topping fall through. The cavity doesn’t need to look perfectly smooth, but it should be deep enough to hold a mound of oats. Set the prepared apples upright in the greased dish.
Set Up the Apples for Baking
Pour the water around the apples once they’re standing in the dish. Keep it at the bottom of the pan rather than drizzling it over the fruit or topping. Check that each apple sits steadily; if one leans, adjust it before filling so the topping stays centered.
The 9×13-inch dish gives the apples room to stand while they bake. Use the water as the surrounding moisture in the pan, not as an ingredient to stir into the filling.
Stir the Topping Until Clumps Form
In a medium bowl, stir together the rolled oats, flour, brown sugar, cinnamon, and salt. Add the melted butter and stir until the mixture forms clumps. If the mixture still looks dry and powdery, keep stirring so the butter reaches the dry ingredients rather than leaving loose flour at the bottom of the bowl.
You’re looking for a crumbly mixture that gathers when pressed, not a smooth paste. That texture lets you mound the topping into the apple cavities while leaving plenty of visible oat pieces on top.
Fill, Bake, and Let the Apples Rest
Divide the topping among the apple cavities, mounding it slightly. Bake for 40–50 minutes, until the apples are tender when pierced with a paring knife and the topping is golden. If the topping browns before the apples are tender, loosely cover the dish with foil so the fruit can keep baking without the top darkening further.
Let the apples rest in the dish for 10 minutes before serving. They’ll be hot straight from the oven, and the short rest gives the filling a chance to settle instead of tumbling out as soon as you move an apple.
How to Adapt the Apples and Topping for Different Needs
Choose Granny Smith for a tarter bite
Use Granny Smith apples when you want their tartness to balance the brown sugar topping. They give the finished dessert a sharper apple flavor than Honeycrisp, while still fitting the same stuffed-apple method.
Make the topping gluten-free
Replace the all-purpose flour with an equal amount of 1:1 gluten-free baking flour, and choose certified gluten-free rolled oats. The apples stay the same; the topping may be a touch more delicate or grainy than the wheat-flour version.
Make the topping dairy-free
Swap the unsalted butter for plant-based butter, using the same quantity and melting it before stirring it into the dry ingredients. The topping still clumps, though its buttery flavor and browning can vary by brand.
Storage and Reheating
- Refrigerator: Refrigerate leftovers promptly in a covered container and use within 3–4 days. The apples soften more as they sit, and the topping won’t stay as crisp.
- Freezer: Freezing isn’t my first choice because thawed apples can turn soft and the oat topping loses its crisp texture.
- Reheating: Warm an apple in the microwave in short bursts until heated through. A long blast can make the apple collapse and leave the topping soft.
Questions That Come Up Before the First Bite
Apple Crisp Stuffed Apples
Ingredients
Equipment
Method
- Heat the oven to 375°F.
- Lightly grease a 9x13-inch baking dish.
- Slice about 1/2 inch off the top of each apple.
- Scoop out the core and seeds, leaving the bottom and sides intact with about 1/4 inch of flesh.
- Set the apples upright in the baking dish.
- Pour the water around the apples.
- Stir the oats, flour, brown sugar, cinnamon, and salt together in a medium bowl.
- Stir in the melted butter until clumps form.
- Divide the topping among the apple cavities, mounding it slightly.
- Bake for 40-50 minutes, until the apples are tender when pierced with a paring knife and the topping is golden; loosely cover with foil if the topping browns before the apples are tender.
- Let the apples rest in the dish for 10 minutes before serving.