
Thanksgiving Morning Pumpkin Waffles
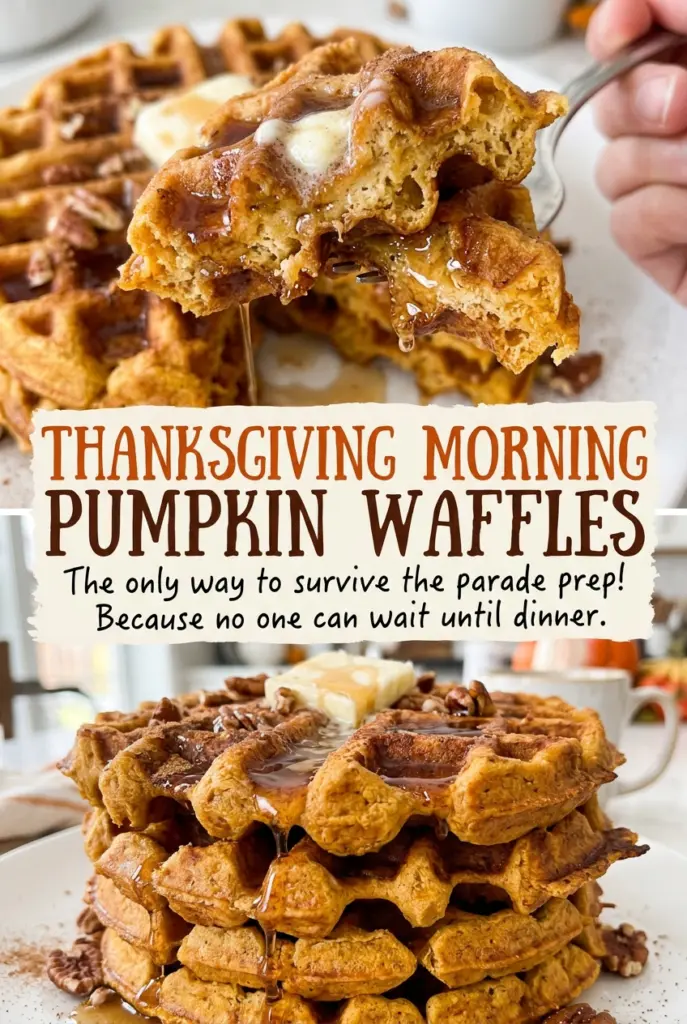
When the waffle iron opens, I look for a deep golden surface and edges that feel crisp rather than bendy. Pumpkin adds moisture to the batter, so a waffle can…

By Ava
•
•
Reading time: 8 min
Tip: save now, make later.
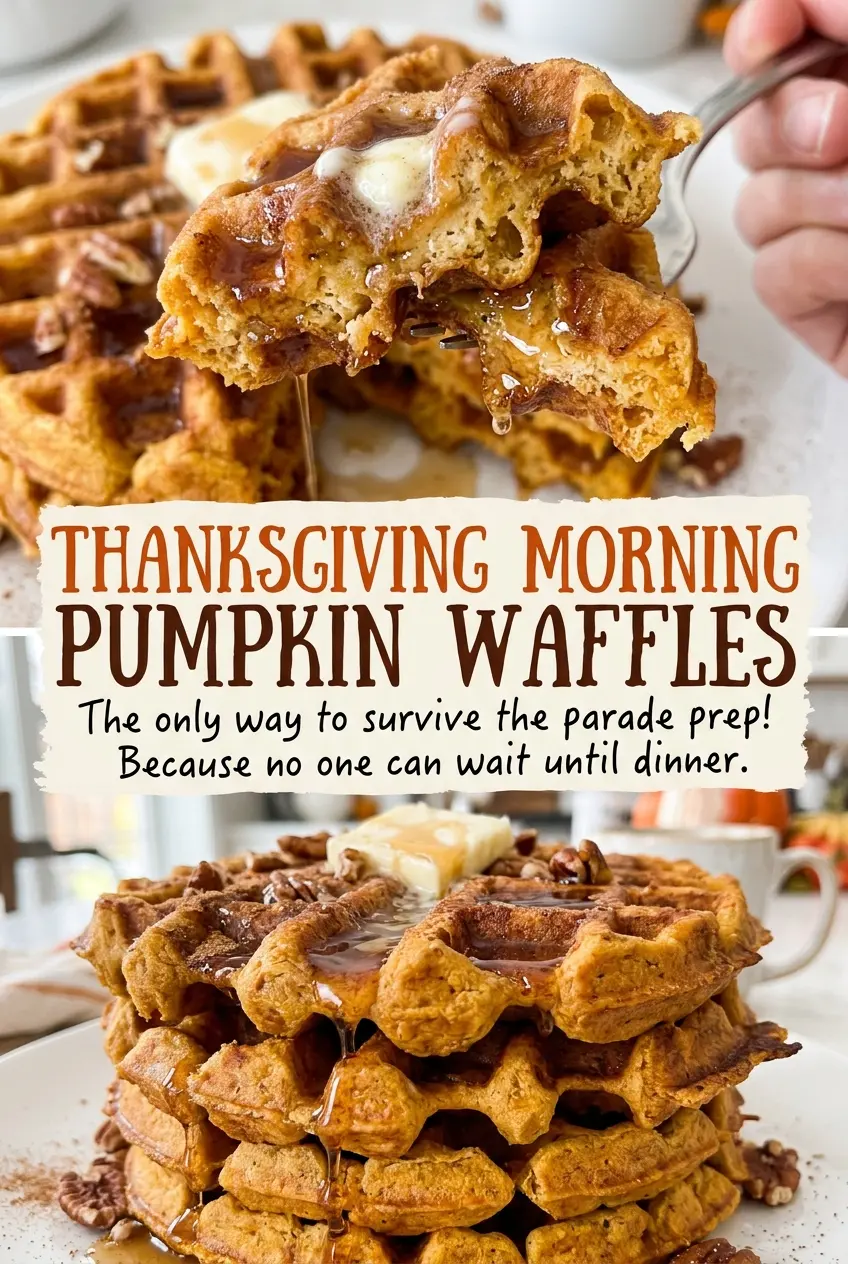
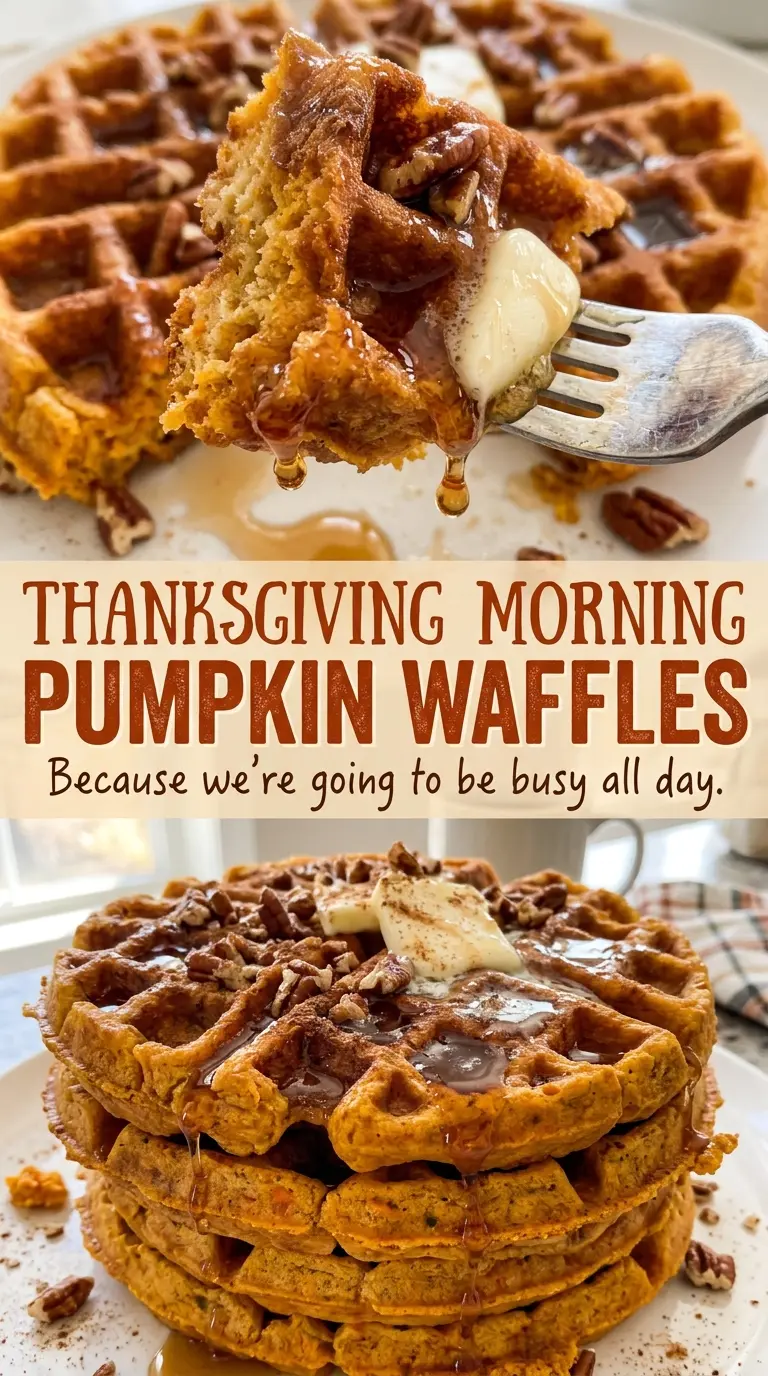
When the waffle iron opens, I look for a deep golden surface and edges that feel crisp rather than bendy. Pumpkin adds moisture to the batter, so a waffle can look finished before it has released enough steam to develop that crust. Waiting for the iron’s cues instead of rushing the lid gives these Thanksgiving Morning Pumpkin Waffles tender centers and crisp edges.
Plain canned pumpkin puree brings the pumpkin flavor, while brown sugar and warm spices round it out. I whisk the wet and dry ingredients separately, then bring them together with just a few strokes. A few small lumps don’t hurt anything; working the batter until it’s perfectly smooth can make the waffles dense. This batch makes four servings, and each waffle cooks fresh in the iron.
Kitchen Note
Stop stirring when the flour has just disappeared, even if you can still see a few small lumps. Those lumps smooth out as the waffles cook, and extra mixing can make the centers heavy.
Save these Thanksgiving Morning Pumpkin Waffles for a breakfast with crisp edges, tender centers, and warm pumpkin spice.
Why Pumpkin Pie Filling Throws Off Waffle Batter
Canned pumpkin puree and pumpkin pie filling may sit side by side at the store, but they don’t behave the same way in this batter. Pie filling is already sweetened and seasoned. Using it would add more sugar and spice on top of the brown sugar and measured spices here, making the waffles sweeter and changing the balance the batter was built around.
Look for a can labeled pumpkin puree, not pumpkin pie filling. The plain puree gives the batter pumpkin flavor without bringing in extra ingredients or seasoning. It also lets you control the taste with the cinnamon, ginger, and nutmeg already included in the dry mixture. This small label check matters more than choosing a premium brand; a basic can of plain puree is the right fit.
The same distinction helps when you’re shopping quickly: the ingredient list on the can should identify pumpkin, rather than a prepared pie mixture. Keep the puree plain and the waffles come out with a gently sweet pumpkin flavor that doesn’t compete with the warm spices.
The Pantry Choices That Keep Pumpkin Waffles Balanced
- All-purpose flour — It gives the waffles enough structure to hold the pumpkin puree while keeping the crumb soft. A standard store-brand flour works well; fluff it in the bag, spoon it into the measuring cup, and level the top so you don’t pack in extra flour.
- Baking powder and baking soda — The two leaveners work alongside the other ingredients to lift the batter and help the waffles cook through. Use fresh containers if yours have been open for a long time; old leaveners can leave waffles flatter and heavier.
- Canned pumpkin puree — Plain puree brings moisture and pumpkin flavor, and a regular grocery-store brand is fine. Pumpkin pie filling is not a substitute here because it’s already sweetened and seasoned.
- Whole milk, eggs, and melted butter — Milk loosens the batter, eggs help it hold together, and butter contributes richness. The butter should be melted and slightly cooled before it meets the eggs, so it blends into the wet mixture rather than feeling hot when you whisk.
- Brown sugar and ground spices — Packed light brown sugar gives the waffles a mild molasses note, while the spices bring warmth without needing a premixed blend. Ground spices from a fresh, fragrant jar will have more aroma; there’s no need for specialty brands.
Mixing and Cooking the Batter for Crisp Pumpkin Waffles
Let the Waffle Iron Preheat Fully
Preheat the waffle iron according to the manufacturer’s instructions before you start cooking. A properly heated iron begins setting the batter as soon as it makes contact, which helps the surface turn golden instead of pale and soft. The iron’s indicator and directions are more useful than guessing from how warm the outside feels. Have the cooking spray nearby, since the plates may need a light coating between batches.
Whisk the Dry and Wet Mixtures Separately
In a large bowl, whisk together the flour, brown sugar, baking powder, baking soda, cinnamon, ginger, nutmeg, and salt. In a second bowl, whisk the eggs, milk, pumpkin puree, and melted, slightly cooled butter until the mixture looks smooth. Keeping the mixtures separate until this point distributes the leaveners and spices through the flour before the wet ingredients go in. If the butter is still piping hot, give it a little longer to cool before whisking it with the eggs.
Bring the Batter Together Gently
Pour the wet mixture into the dry ingredients and stir just until combined. A few small lumps are fine, so don’t keep mixing in an effort to make the batter perfectly smooth. Overmixing develops the flour’s gluten and can leave the cooked waffles dense rather than tender. Once there are no large pockets of dry flour, move on to the iron.
Cook Until the Steam Eases Off
Lightly coat the waffle iron with nonstick cooking spray as needed, then add batter according to the iron’s fill line. Cook each batch for 3 to 5 minutes, until the waffles are golden and crisp and the steam has mostly subsided. The exact point within that range depends on the iron, so use the color and steam as cues rather than opening it early just to check. If the waffle is still pale or the iron is releasing plenty of steam, give it more time before lifting the lid.
Two Easy Swaps for Different Kitchens
A Dairy-Free Pumpkin Waffle
Replace the whole milk with an equal amount of unsweetened oat milk and the unsalted butter with an equal amount of plant-based butter. The pumpkin and spices still come through, though the waffles may taste a little less rich depending on the butter substitute. Choose an unsweetened milk so it doesn’t add sweetness to the batter.
A Gluten-Free Batch
Use a cup-for-cup gluten-free all-purpose baking blend in place of the all-purpose flour, choosing one intended for baking. The waffles will be a little more delicate, so stir only until the batter comes together and let each waffle cook until golden and crisp before lifting it from the iron.
Storage and Reheating
- Refrigerator: Keep cooled waffles in an airtight container for up to 3 days. They’ll soften in the refrigerator, but the toaster brings back some crispness.
- Freezer: Freeze cooled waffles in a single layer, then transfer them to a freezer-safe bag for up to 2 months. Separate layers with parchment if you’re stacking them before they’re fully frozen.
- Reheating: Toast refrigerated or frozen waffles until hot and crisp, adding time for frozen waffles. Don’t microwave them if you want crisp edges; the trapped steam makes the surface soft.
Questions That Come Up With Pumpkin Waffles
Thanksgiving Morning Pumpkin Waffles
Ingredients
Equipment
Method
- Preheat a waffle iron according to the manufacturer's instructions.
- Whisk the flour, brown sugar, baking powder, baking soda, cinnamon, ginger, nutmeg, and salt in a large bowl.
- In a second bowl, whisk the eggs, milk, pumpkin puree, and melted butter until smooth.
- Pour the wet mixture into the dry mixture and stir just until combined; a few small lumps are fine.
- Lightly coat the waffle iron with cooking spray as needed.
- Add batter according to the manufacturer's fill line.
- Cook each batch for 3 to 5 minutes, until the waffles are golden and crisp and the steam has mostly subsided.