
Salted Caramel Brownie Truffles
The brownie edges set before the middle, and that center toothpick comes out with a few moist crumbs. That’s the texture I want here: rich enough to crumble into soft,…

By Ava
•
•
Reading time: 9 min
Tip: save now, make later.
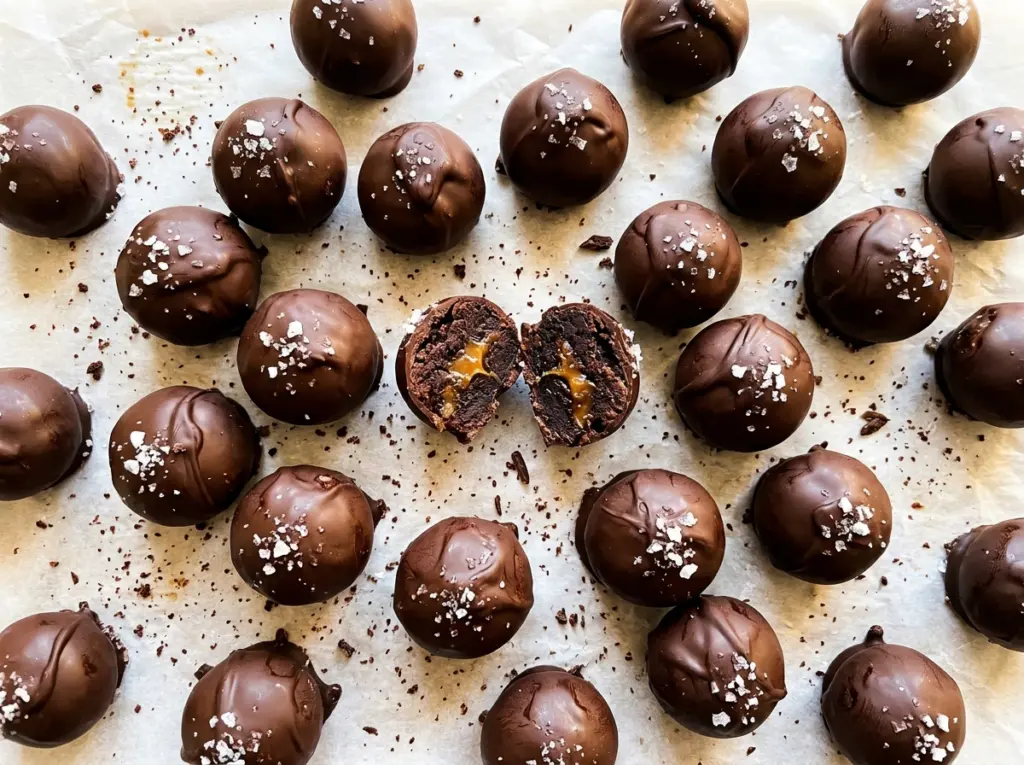
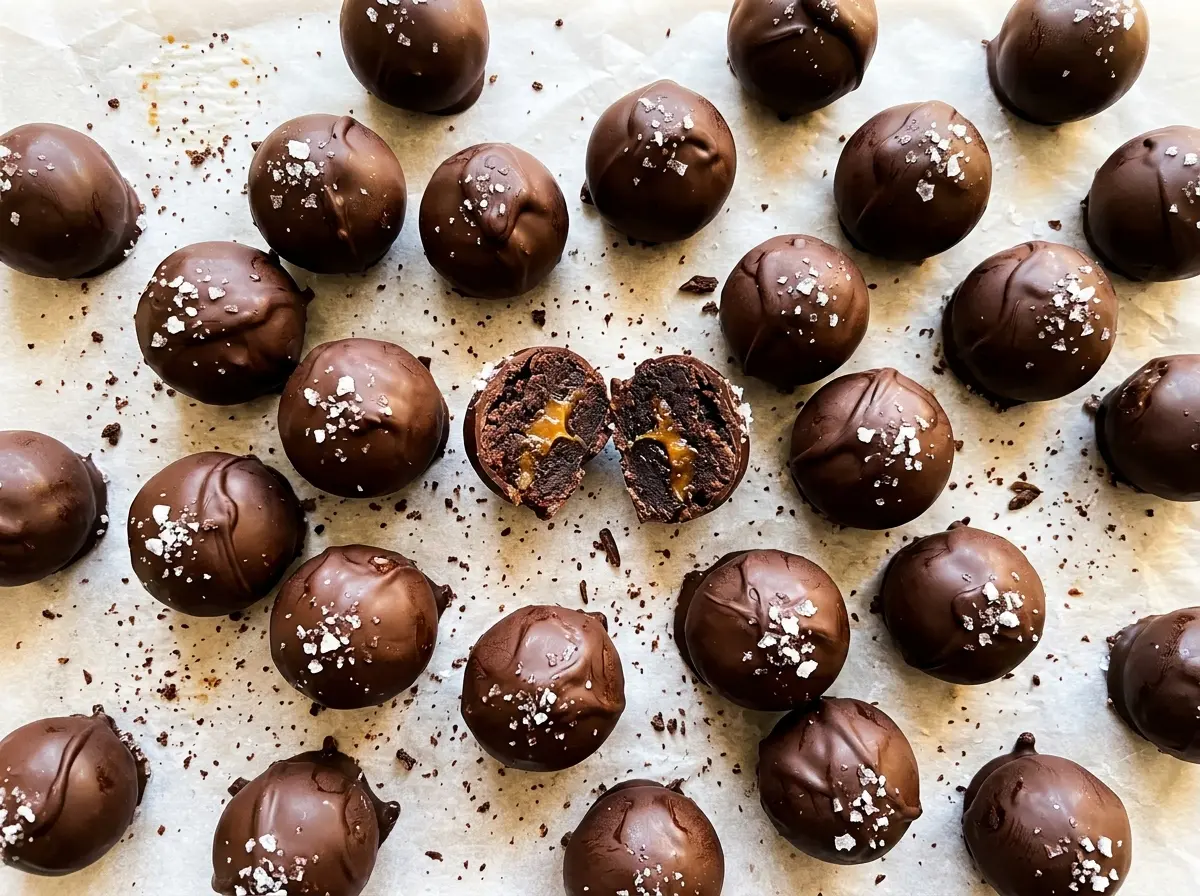
The brownie edges set before the middle, and that center toothpick comes out with a few moist crumbs. That’s the texture I want here: rich enough to crumble into soft, chocolatey bits, but baked through so the truffles hold together. These Salted Caramel Brownie Truffles turn a pan of brownies into small, hand-dipped bites with a thick caramel center and a crisp chocolate shell.
I let the brownies cool all the way before crumbling them. Warm brownie crumbs can turn pasty when they meet the caramel, while completely cooled crumbs stay easy to mix and shape. The caramel does the binding without taking over the chocolate, and the flaky salt on top keeps each bite from tasting one-note. Once the chocolate sets, the outside gives a little snap before you reach the soft brownie center.
Kitchen Note
Leave the parchment overhang on two sides instead of trimming it flush with the pan. Once the brownies are completely cool, those edges give you a simple way to lift the slab out without tearing it before you crumble it.
Save these Salted Caramel Brownie Truffles for a chocolate shell, soft brownie middle, and a little flaky salt in every bite.
Why Thick Caramel Holds These Brownie Crumbs Together
Truffles made from cake or dry crumbs often need a frosting-style binder, but these start with brownies that already have a tender, moist crumb. Thick caramel pulls those crumbs into a cohesive mixture and adds a distinct caramel note without turning the centers into frosting. That balance matters: the chocolate coating is rich, so a binder that’s too sweet or too loose can make each truffle feel heavy.
Use a caramel sauce with enough body to cling to a spoon, not a thin pourable topping. Once it’s mixed into the cooled crumbs, test a small pinch by squeezing it in your palm. It should hold together as a ball rather than fall apart or feel wet. If the mixture looks uneven, keep mixing until the caramel is distributed through the crumbs; a streak of sauce in one spot can make some truffles softer than others. The goal is a brownie mixture that shapes cleanly before it goes into the refrigerator.
What the Cocoa, Caramel, and Coating Each Bring

- Unsweetened cocoa powder gives the brownie base its concentrated chocolate taste without adding extra sweetness. Use cocoa that smells rich and fresh; an old, flat-smelling container leaves nowhere for the caramel to hide. The flour and eggs give the batter its structure, while the cocoa keeps the centers tasting like brownies rather than plain cake.
- Thick caramel sauce is both the defining flavor and the binder. Its consistency matters more than choosing a fancy brand: a thick sauce works into the crumbs, while a runny one can leave the mixture too soft to roll neatly. I wouldn’t swap in a thin caramel topping for this job.
- Semisweet chocolate chips and coconut oil make a coating that’s easy to dip once melted. The coconut oil loosens the chocolate so it flows around the chilled balls instead of clinging in a thick, lumpy layer. Good-quality chips are a nice choice when the coating is a big part of each bite, but standard semisweet chips work well here.
- Flaky sea salt gives the finished coating a crisp little contrast. Its larger flakes are easier to see and taste than fine salt, so save it for the finish rather than mixing it into the brownie batter. The kosher salt in the batter seasons the brownies from within; the flaky salt is a separate finishing touch.
- Butter, sugar, eggs, and vanilla build the brownie itself. Unsalted butter lets the measured kosher salt do its job, and vanilla rounds out the cocoa without competing with the caramel. Use large eggs as listed so the brownie batter keeps the intended balance of moisture and structure.
From Brownie Pan to Smooth Chocolate Shell
Bake a brownie slab with a moist center
Heat the oven to 350°F, line an 8×8-inch pan with parchment with overhang on two sides, and lightly grease the parchment. Melt the butter and let it cool for 5 minutes, then whisk it with the sugar, eggs, and vanilla until smooth. Stir in the cocoa powder, flour, and kosher salt just until no dry streaks remain, then spread the batter evenly in the pan. Bake for 22–27 minutes; a toothpick in the center should come out with a few moist crumbs, and the brownies need to cool completely in the pan.
Turn the cooled brownies into rollable centers
Crumble the cooled brownie slab into a bowl, then mix in the caramel sauce until the crumbs hold together when squeezed. Don’t worry if the mixture looks rough at first; continue mixing until the caramel is worked through the crumbs. Roll it into 24 balls, about 1 tablespoon each, and set them on a parchment-lined baking sheet. Chill the balls for 30–45 minutes, until firm.
Dip each ball without burying the brownie flavor
Put the semisweet chocolate chips and coconut oil in a microwave-safe bowl. Microwave at 50% power in 30-second bursts, stirring between each burst, until the chocolate is smooth. Dip each chilled ball, let the excess coating drip back into the bowl, and return it to the lined baking sheet. Sprinkle with flaky sea salt while the coating is still unset, then chill until the chocolate shell is firm.
Simple Ways to Adapt the Truffles
Make the brownie base gluten-free
Replace the all-purpose flour with the same amount of a cup-for-cup gluten-free baking blend. The brownie may have a slightly more tender crumb, but the caramel helps the rolled centers hold their shape. Keep the rest of the ingredients and method the same.
Use a darker chocolate shell
Swap the semisweet chocolate chips for an equal amount of dark chocolate chips. The coating will taste less sweet and more intense, which makes the caramel stand out. Melt it with the coconut oil using the same short microwave bursts.
Leave off the flaky salt
Skip the finishing salt for a sweeter, more straightforward chocolate-and-caramel bite. The kosher salt still seasons the brownie base, so the truffles won’t taste entirely flat; you’ll just lose the crunchy salty finish.
Storage and Serving
- Refrigerator: Store the finished truffles in an airtight container for up to 5 days. The centers stay soft, while the chocolate coating firms up when cold.
- Freezer: Freeze the truffles in a single layer until firm, then transfer them to an airtight container for up to 2 months. Thaw them in the refrigerator so the chocolate shell doesn’t collect condensation as quickly.
- Serving: Serve chilled for the cleanest bite and a firm chocolate coating. These are best enjoyed cold rather than reheated.
Questions That Come Up While Making Brownie Truffles
Salted Caramel Brownie Truffles
Ingredients
Equipment
Method
- Heat the oven to 350°F and line an 8x8-inch baking pan with parchment paper, leaving overhang on two sides; lightly grease the parchment.
- Melt the butter and let it cool for 5 minutes, then whisk in the sugar, eggs, and vanilla until smooth. Add the cocoa powder, flour, and kosher salt, and stir just until no dry streaks remain.
- Spread the batter in the pan and bake for 22–27 minutes, until a toothpick inserted in the center comes out with a few moist crumbs; cool completely in the pan.
- Crumble the cooled brownies into a bowl, add the caramel sauce, and mix until the crumbs hold together when squeezed. Roll into 24 balls, about 1 tablespoon each, and place them on a parchment-lined baking sheet.
- Chill the brownie balls for 30–45 minutes, until firm.
- Put the chocolate chips and coconut oil in a microwave-safe bowl and microwave at 50% power in 30-second bursts, stirring between bursts, until smooth.
- Dip each chilled ball in the melted chocolate, let the excess drip back into the bowl, and return it to the baking sheet. Sprinkle with flaky sea salt and chill until the coating is set.